Experimental Sculptural Forms…..

I’m writing this sitting in my B&B in Stoney Stanton having just eaten a delicious meal in Nemos Bar.  I travelled down here last night ahead of a two day workshop with Mandy Nash to make experimental sculptural forms.  The workshop is being held in Arnesby, a small village just south of Leicester.

Experimental Sculptural Forms by Mandy Nash

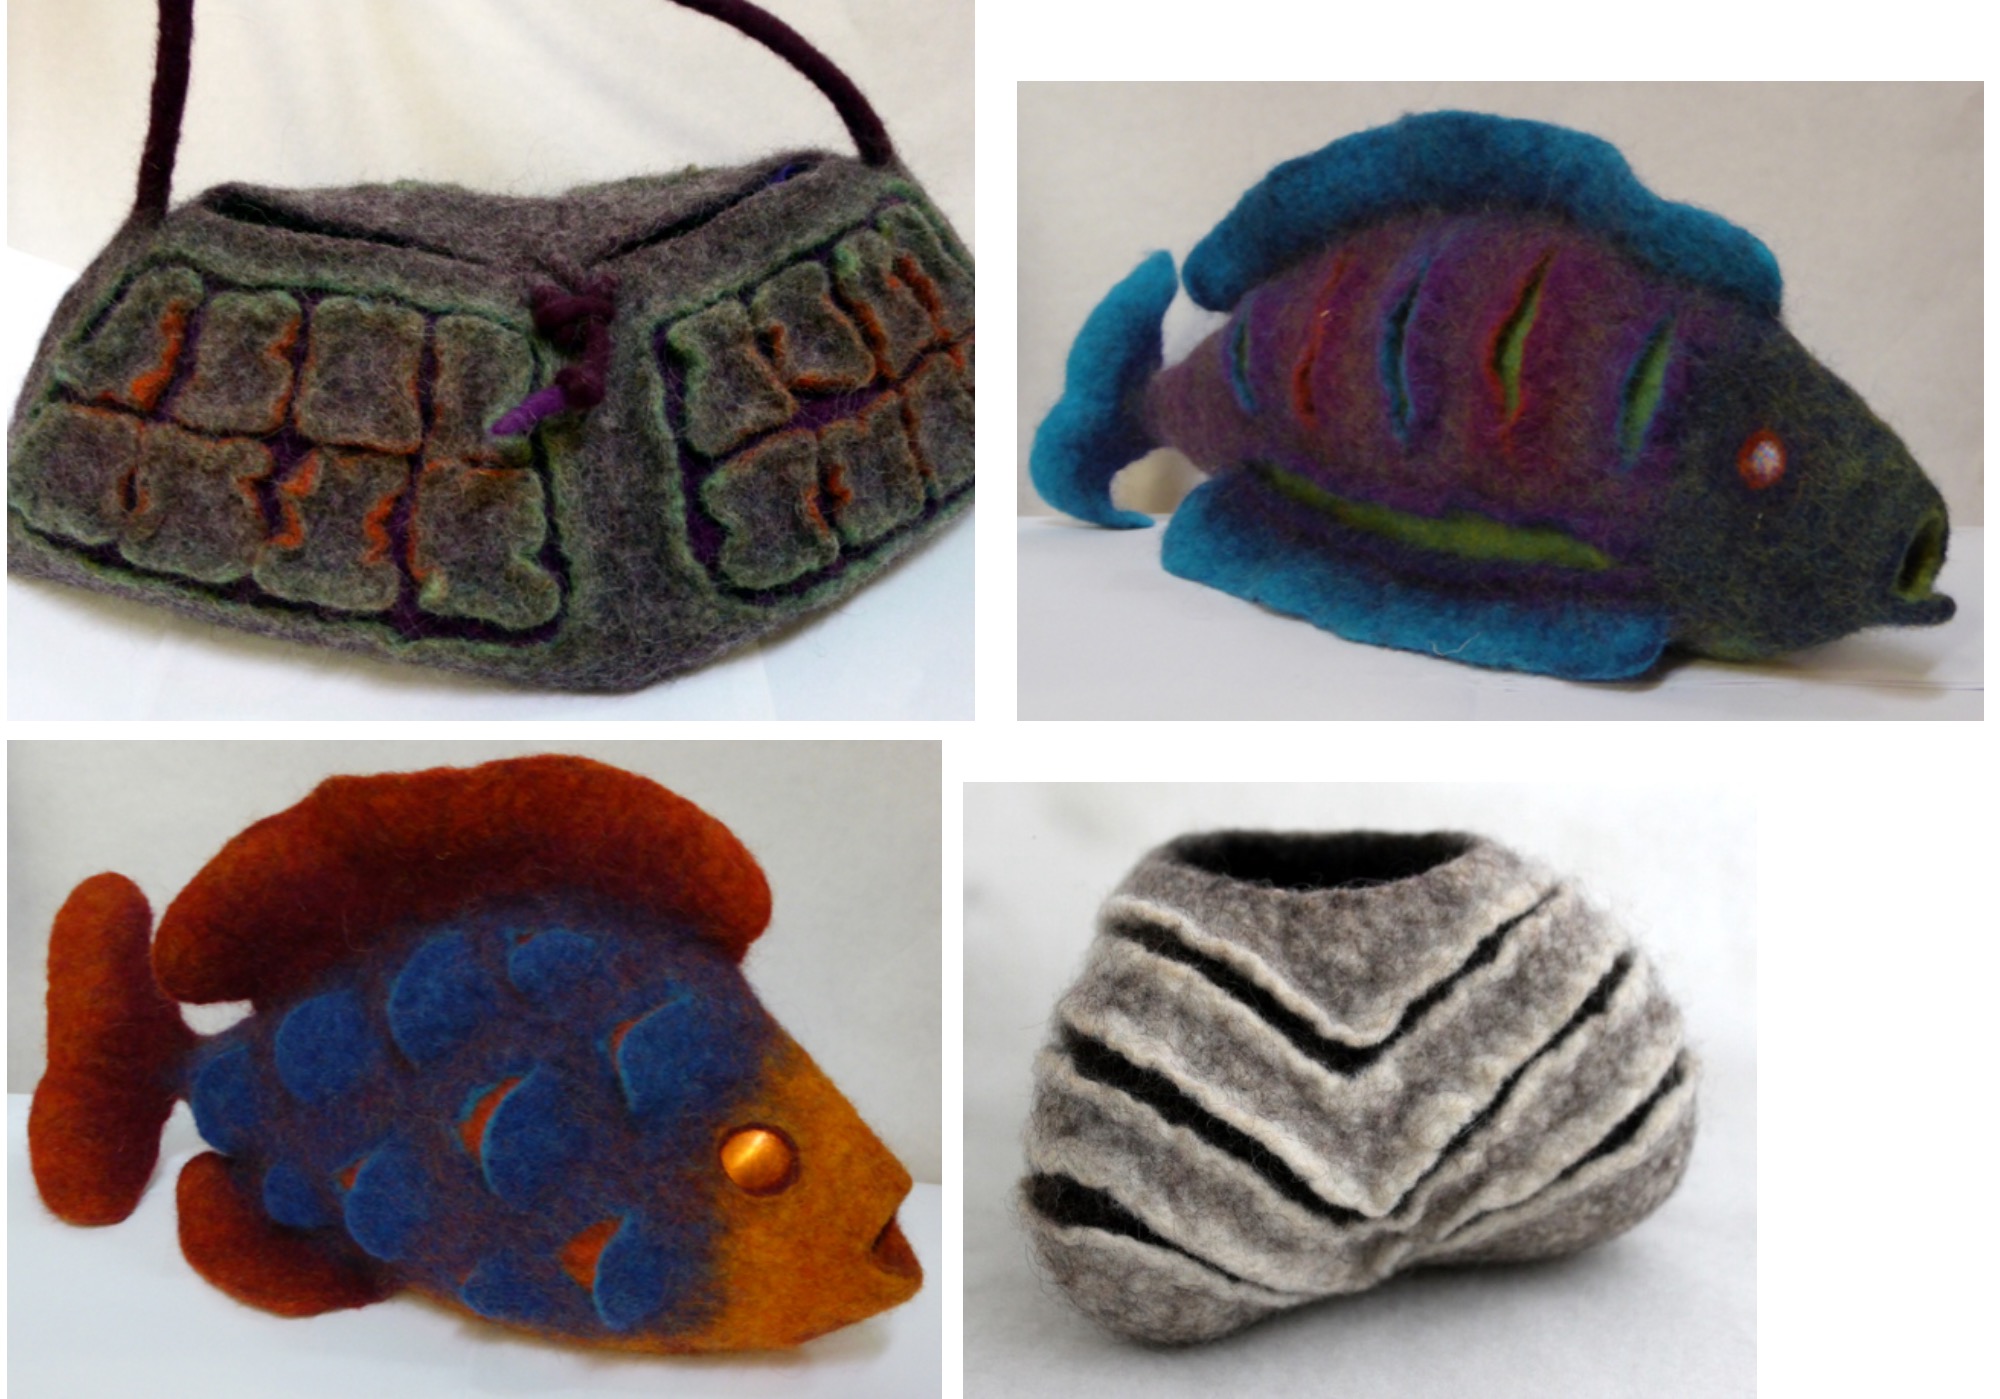
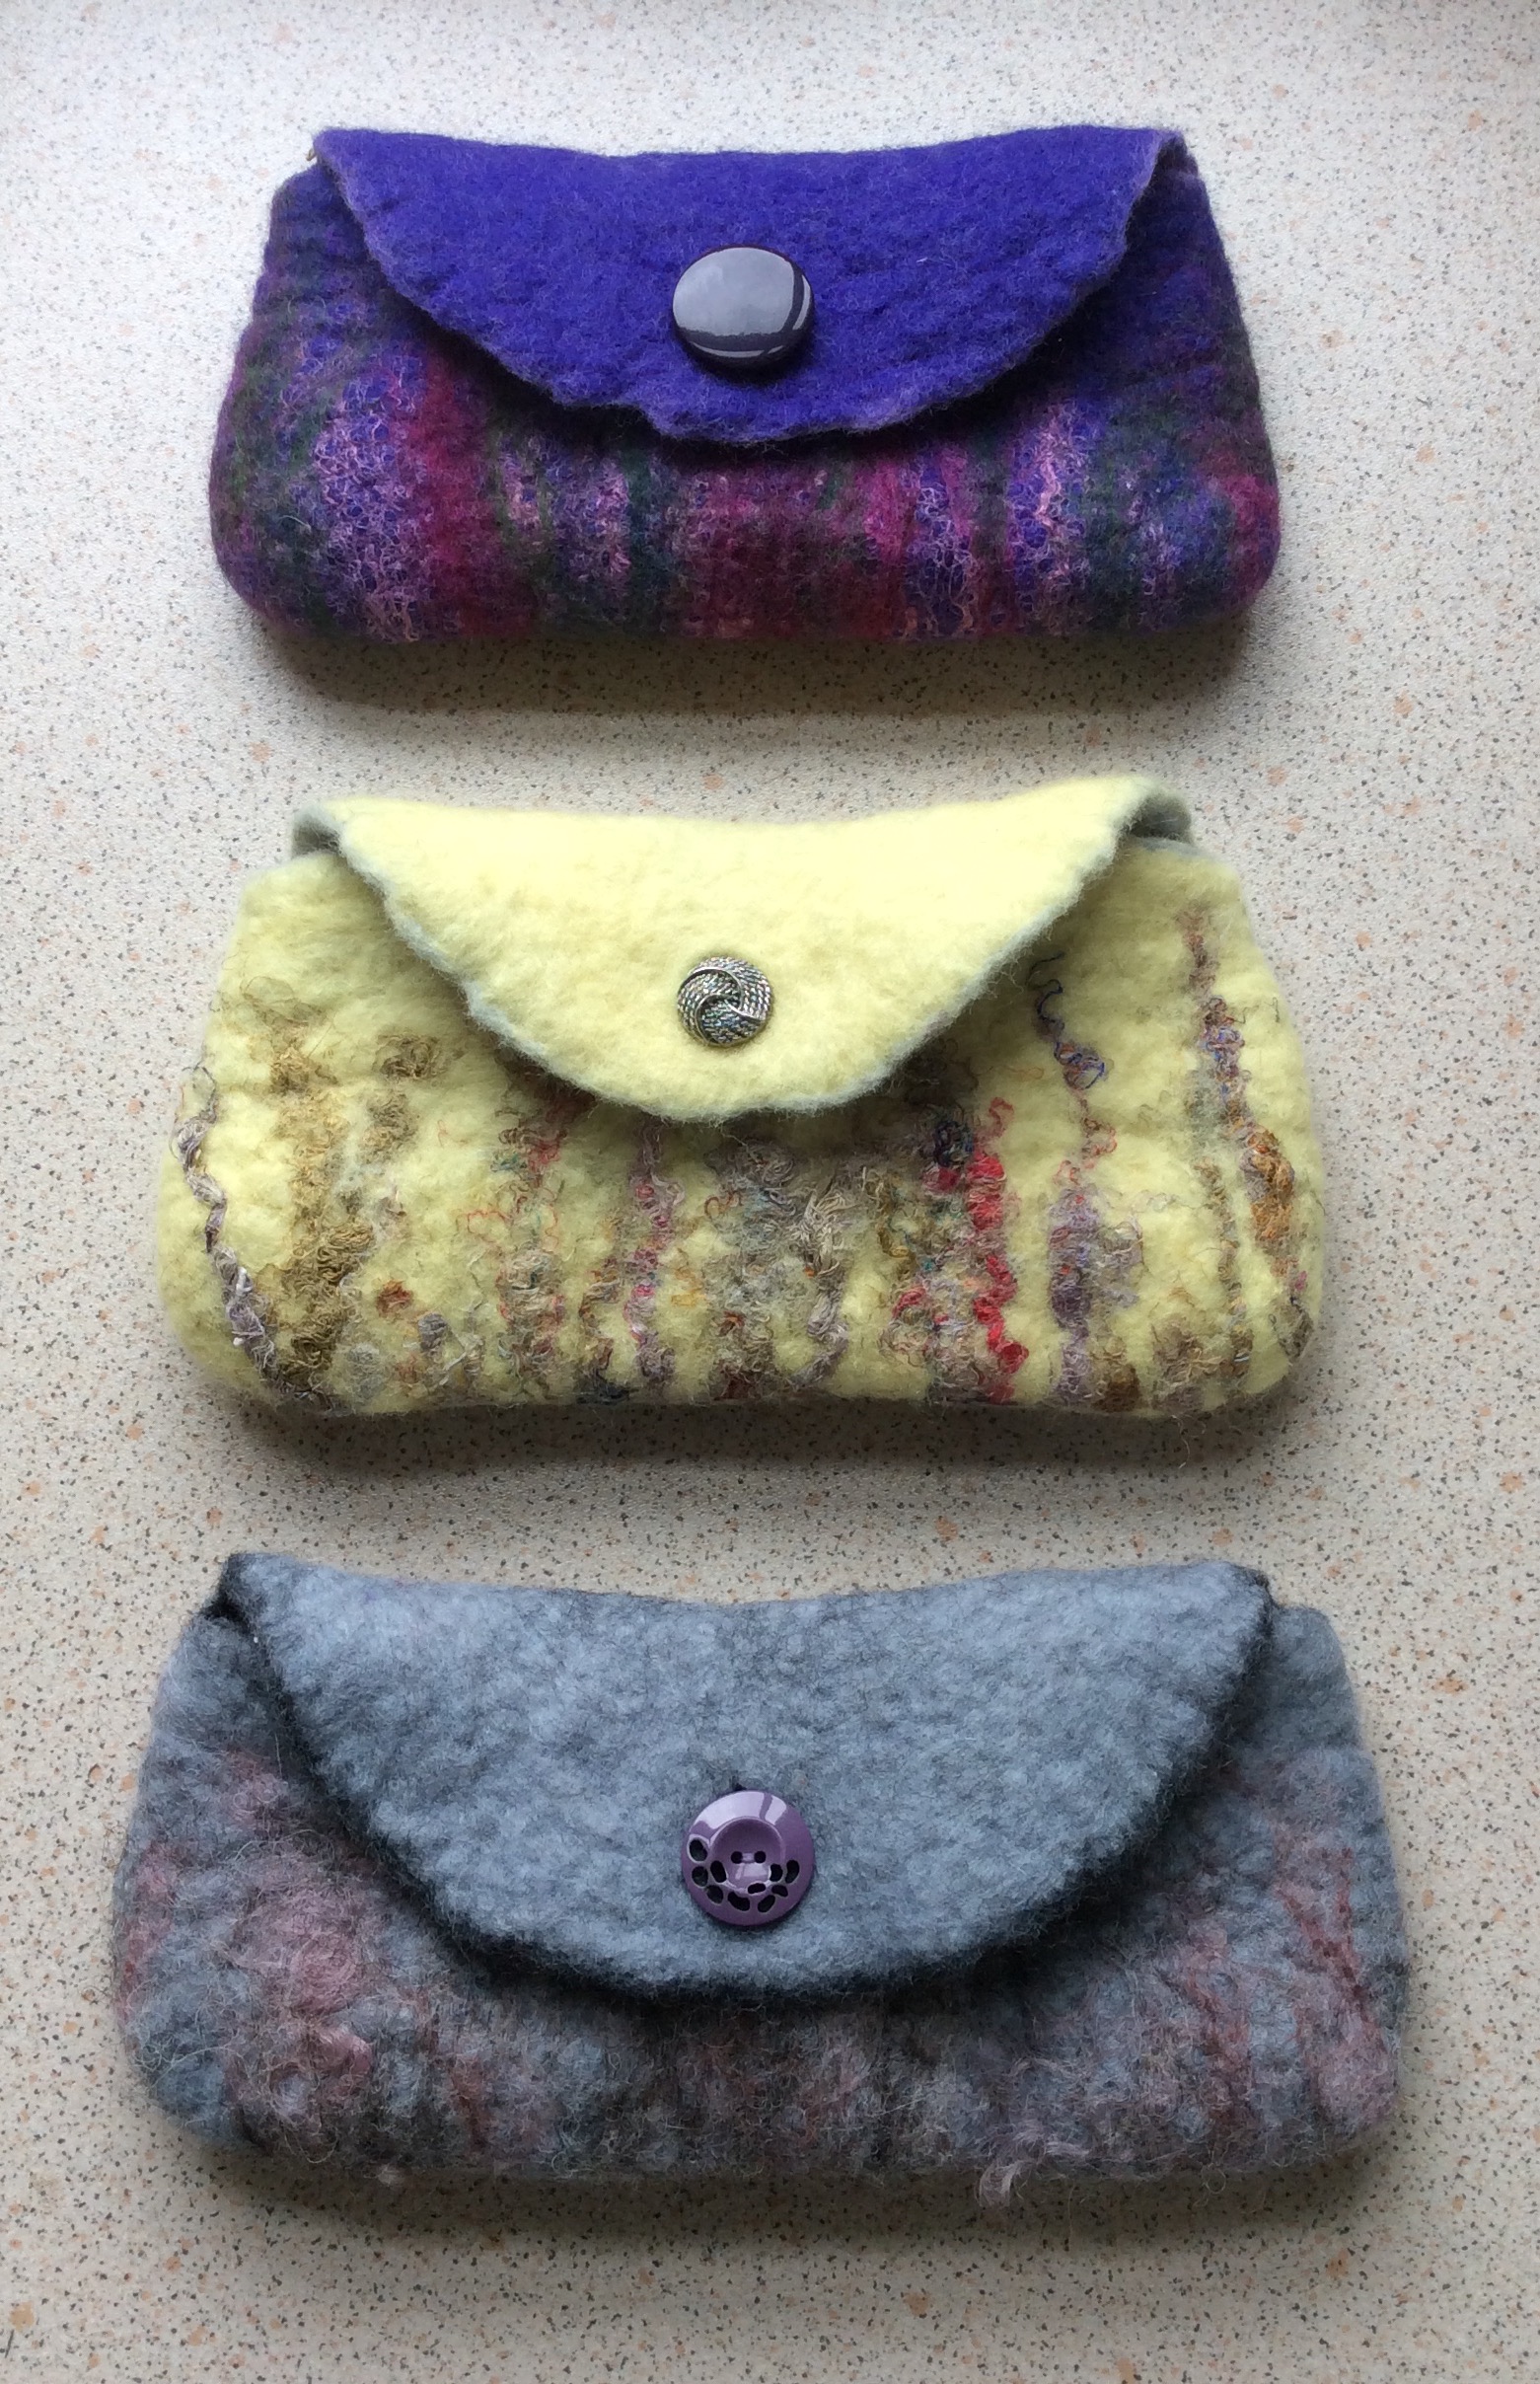
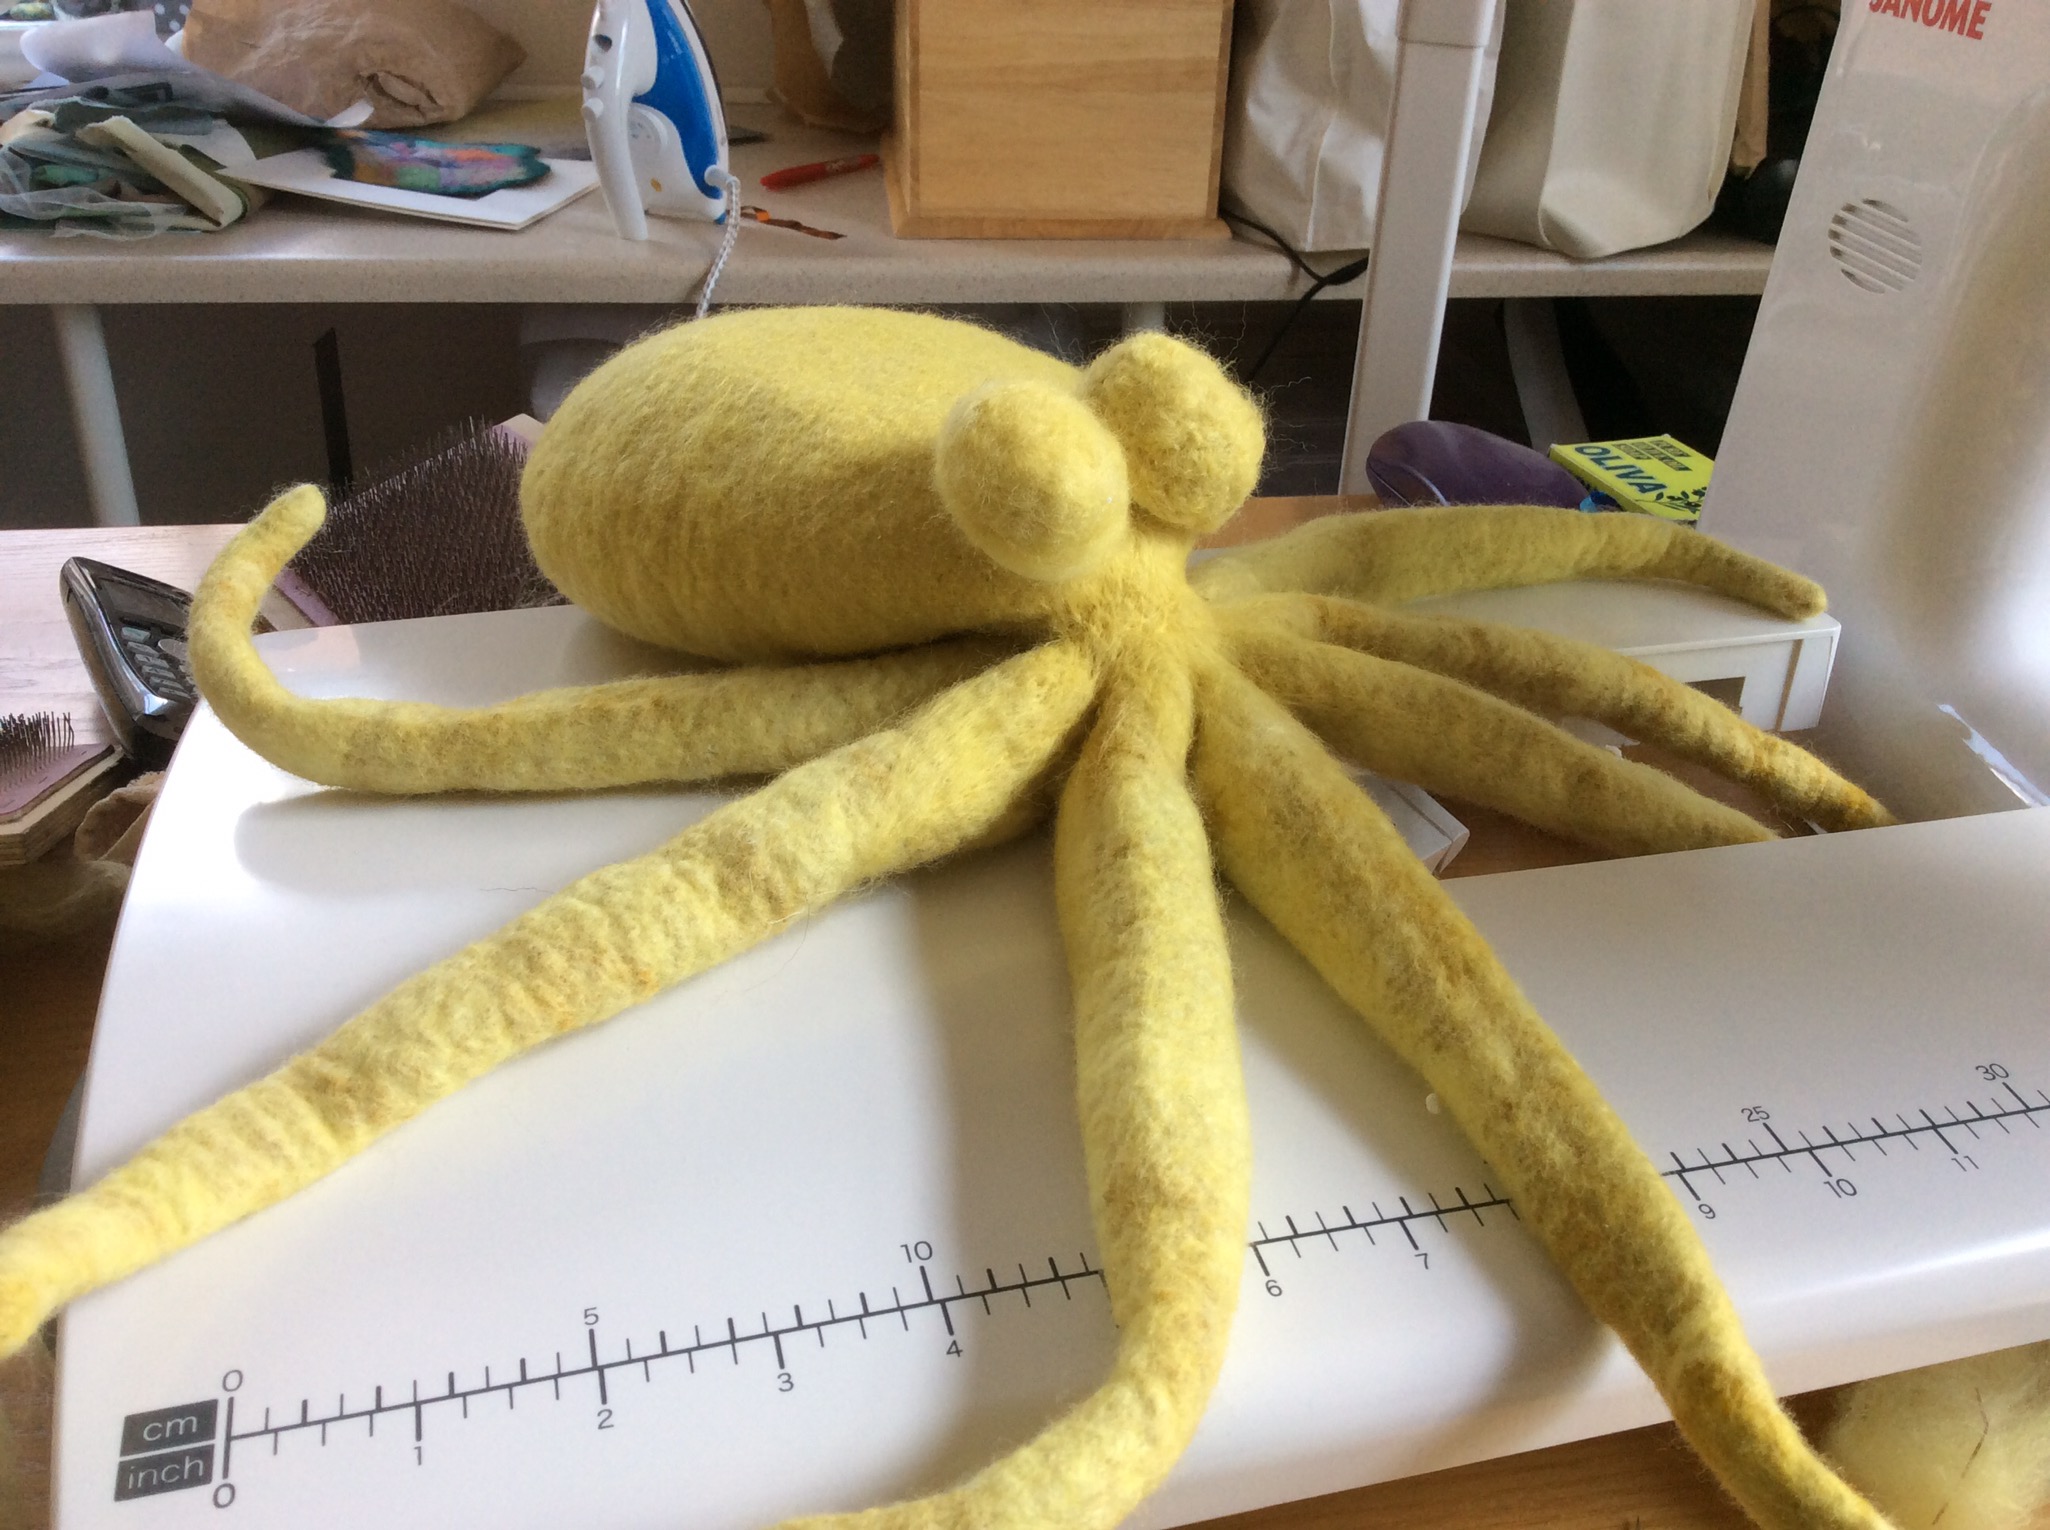
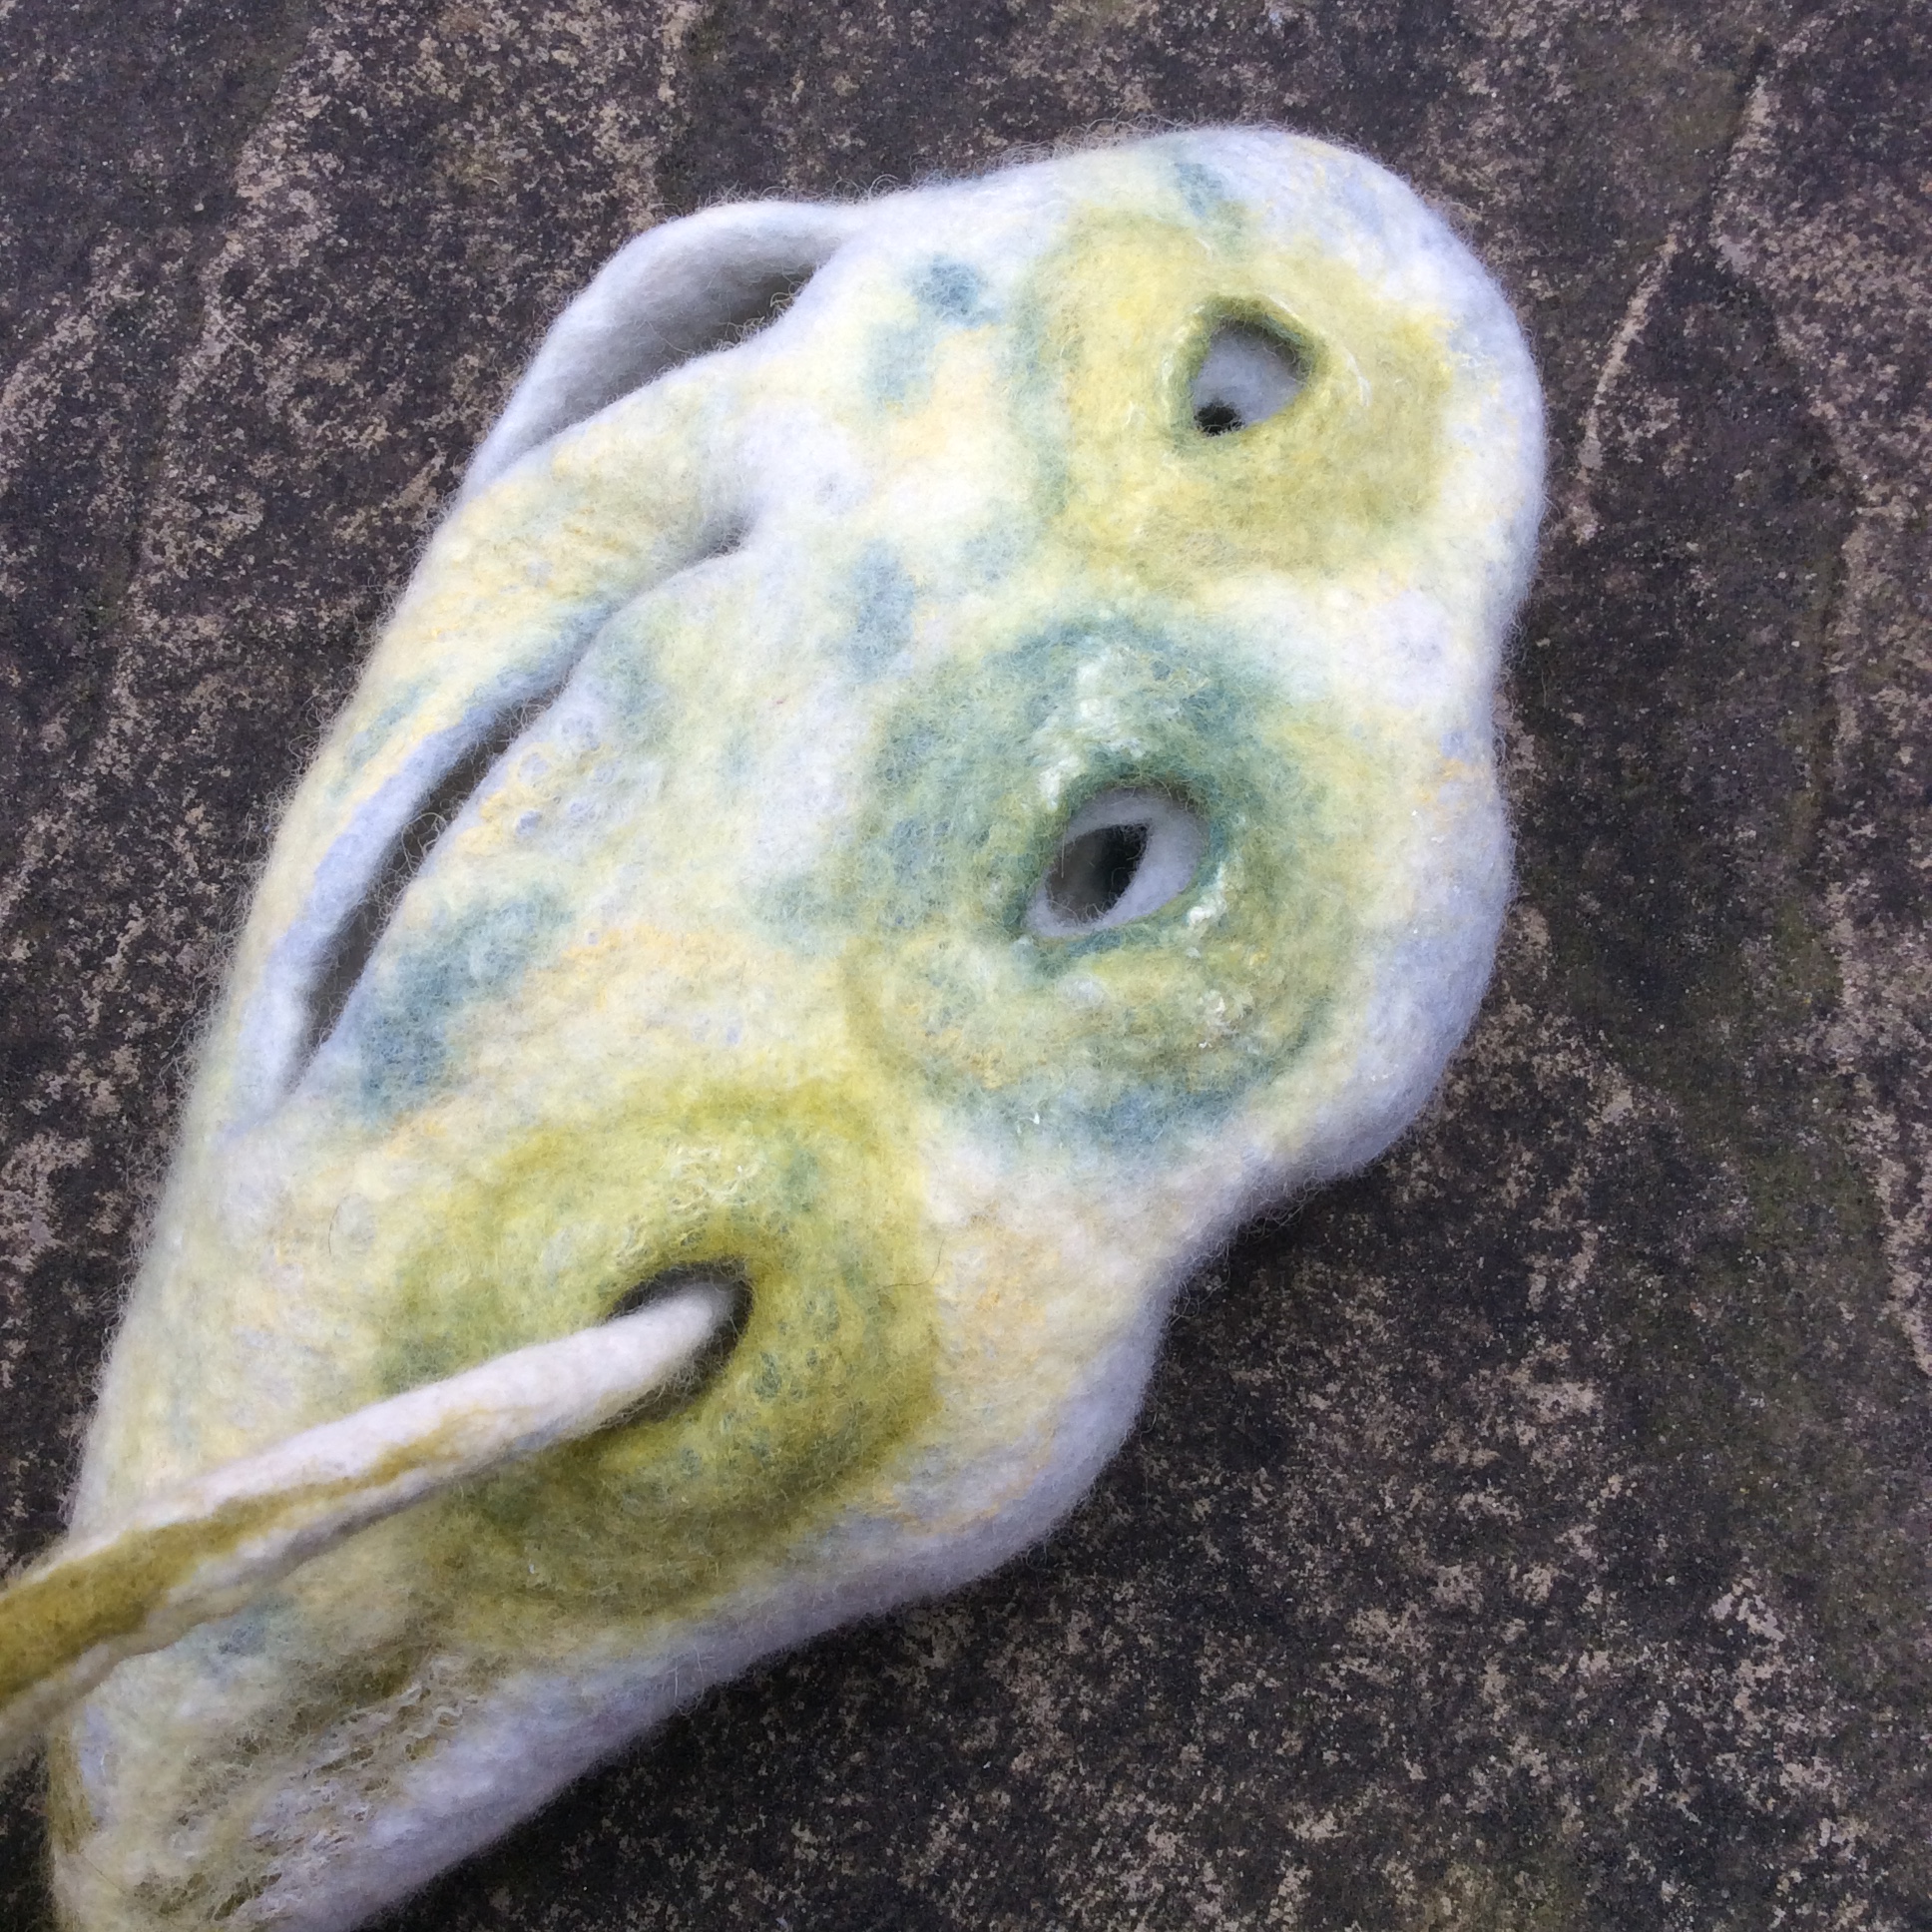
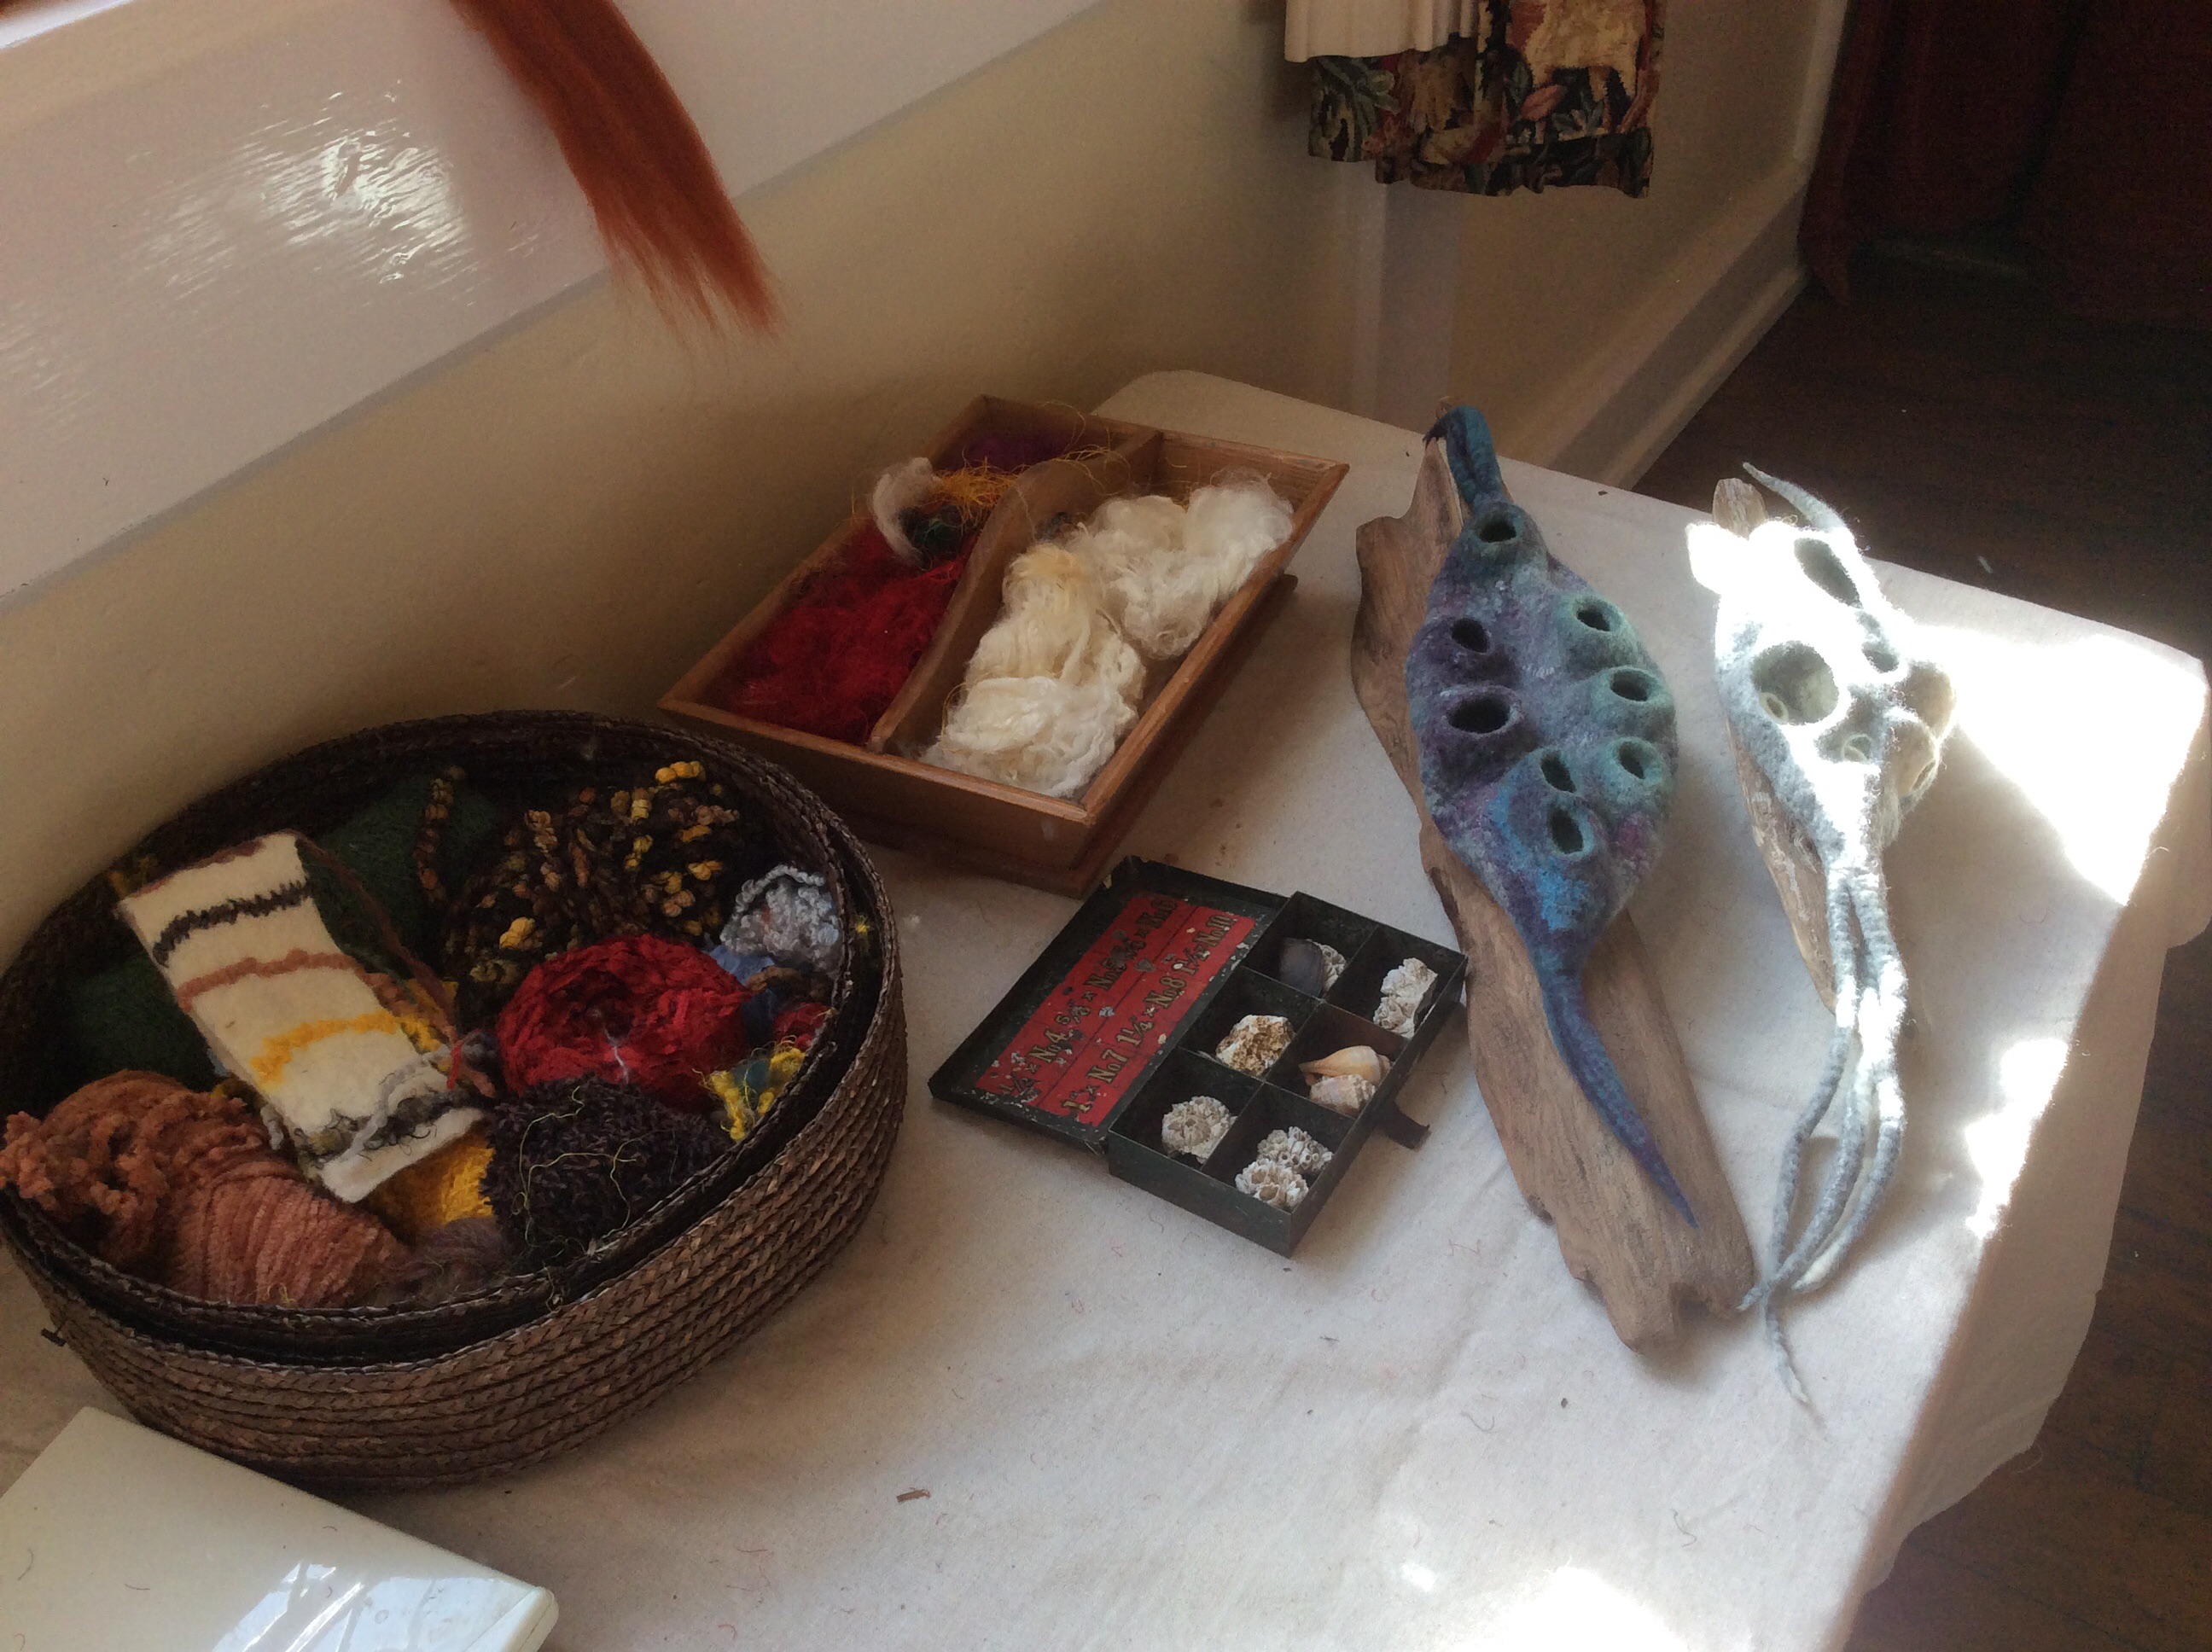
Examples of Mandy’s sculptural work

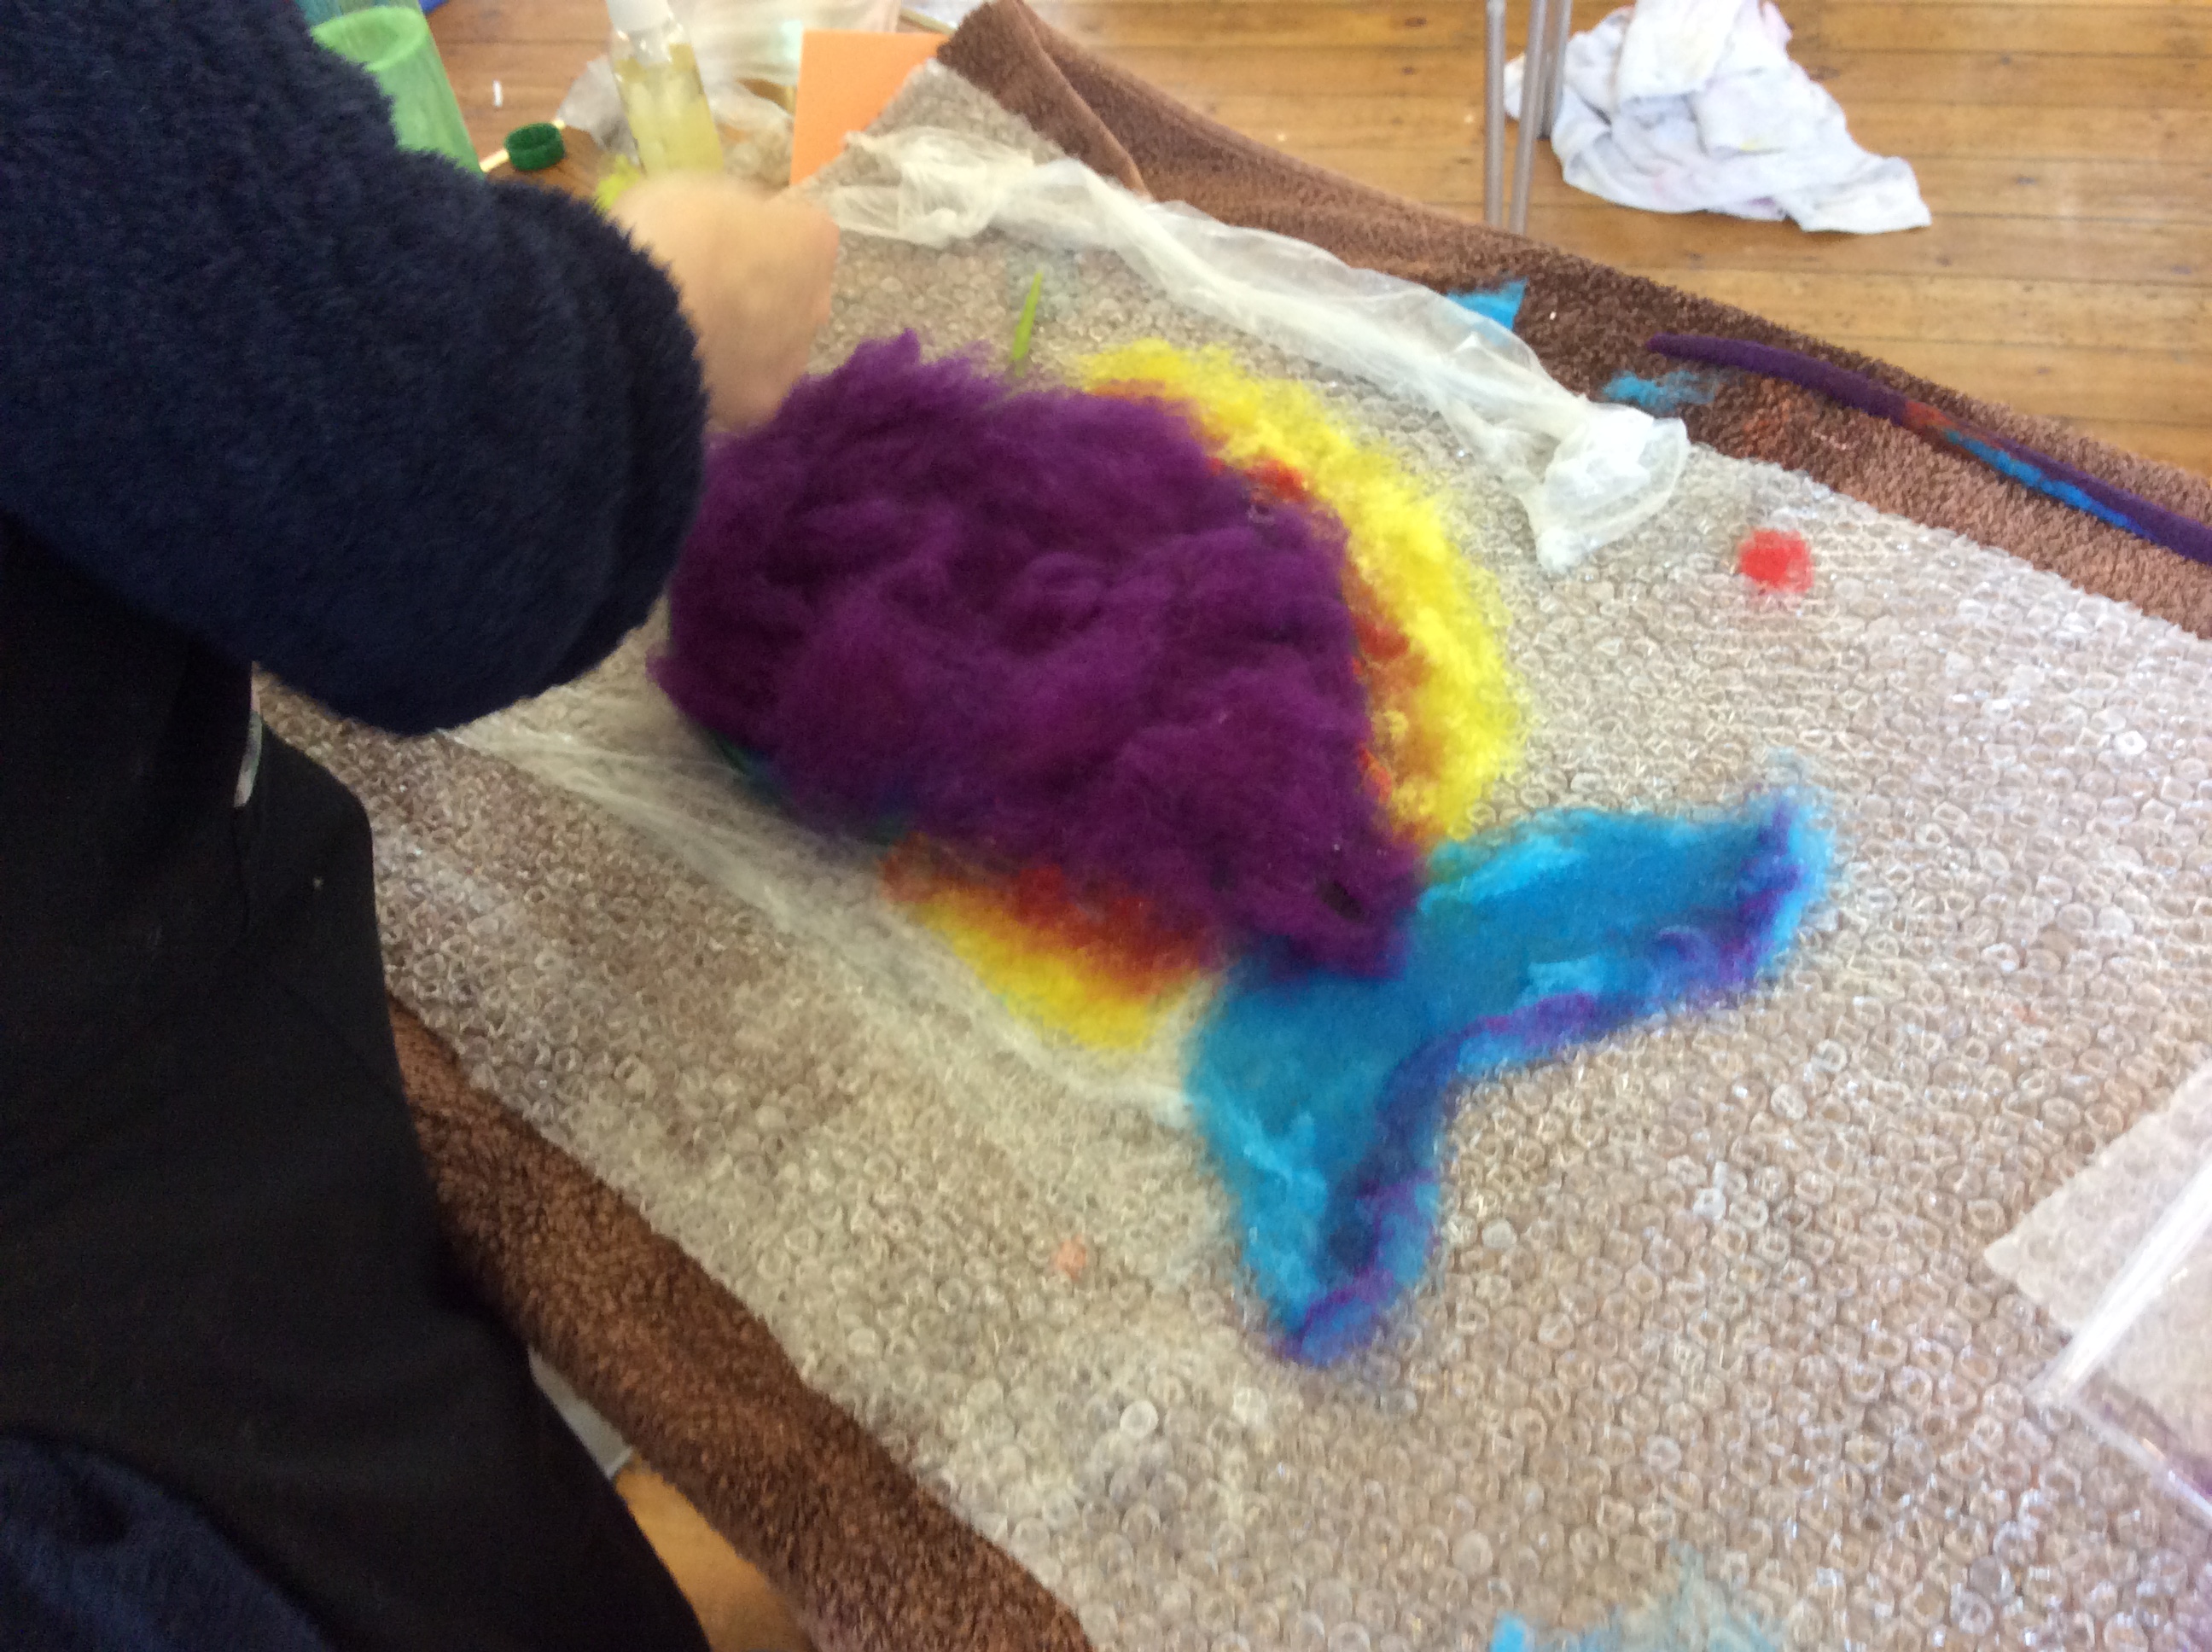
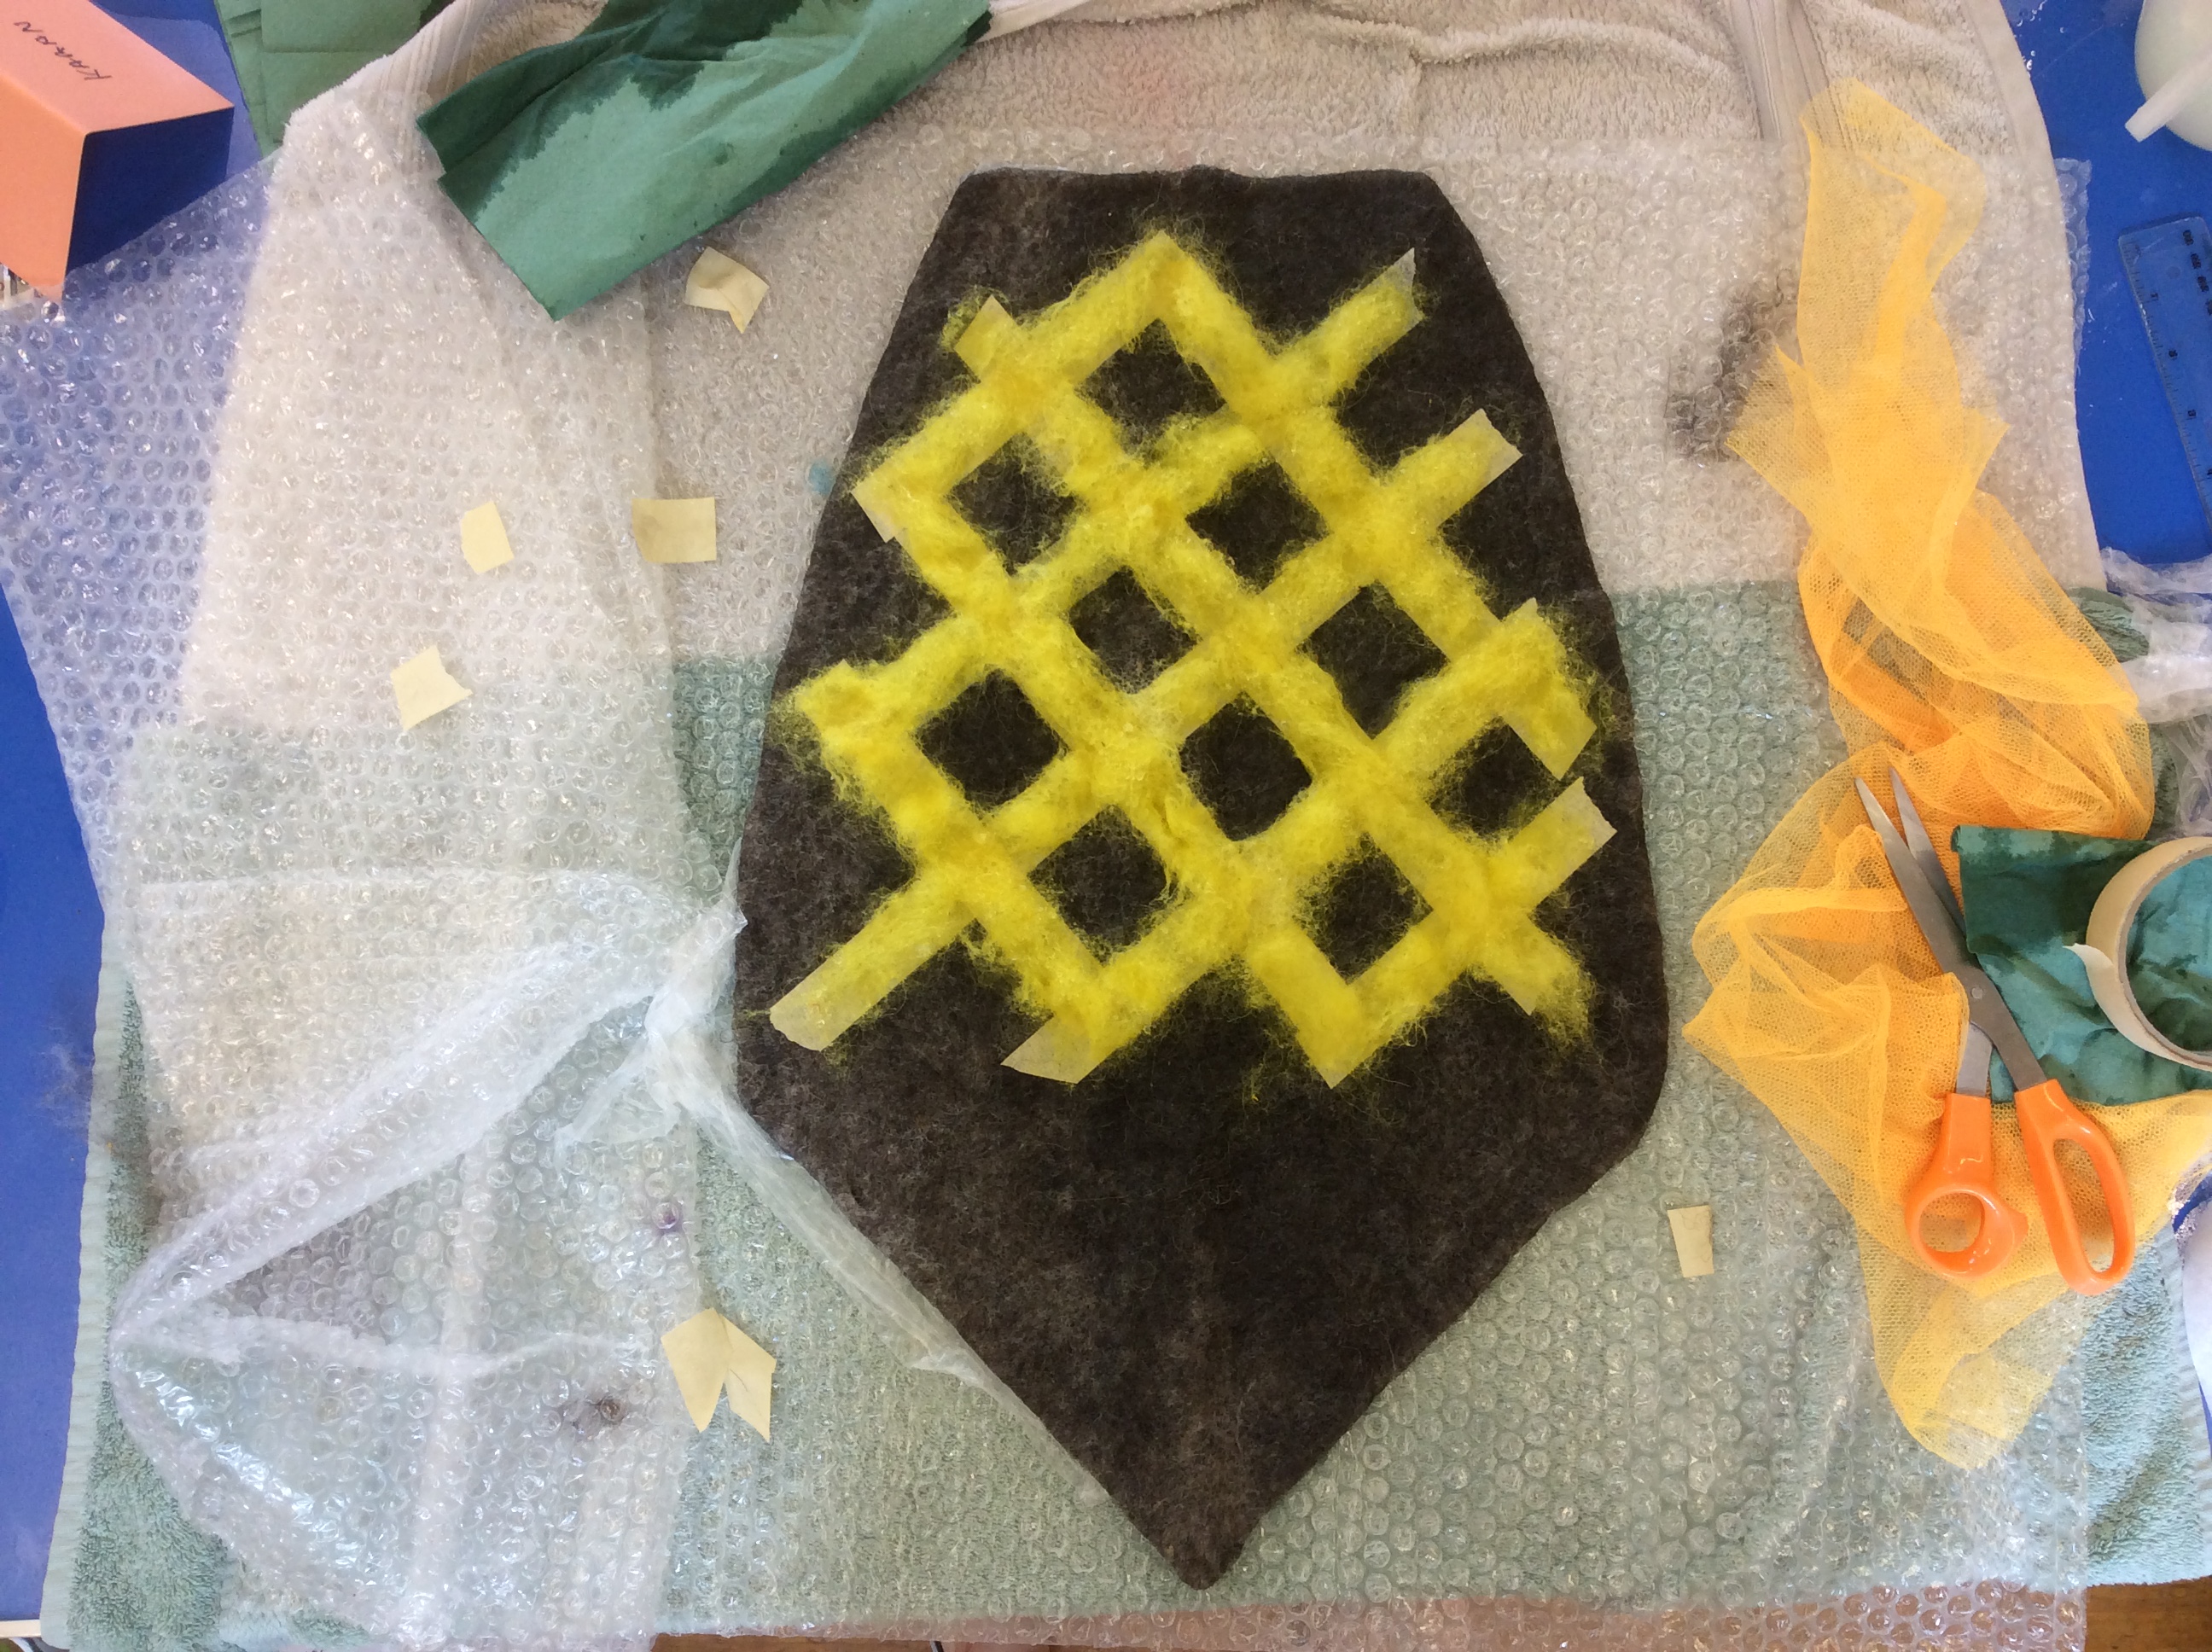
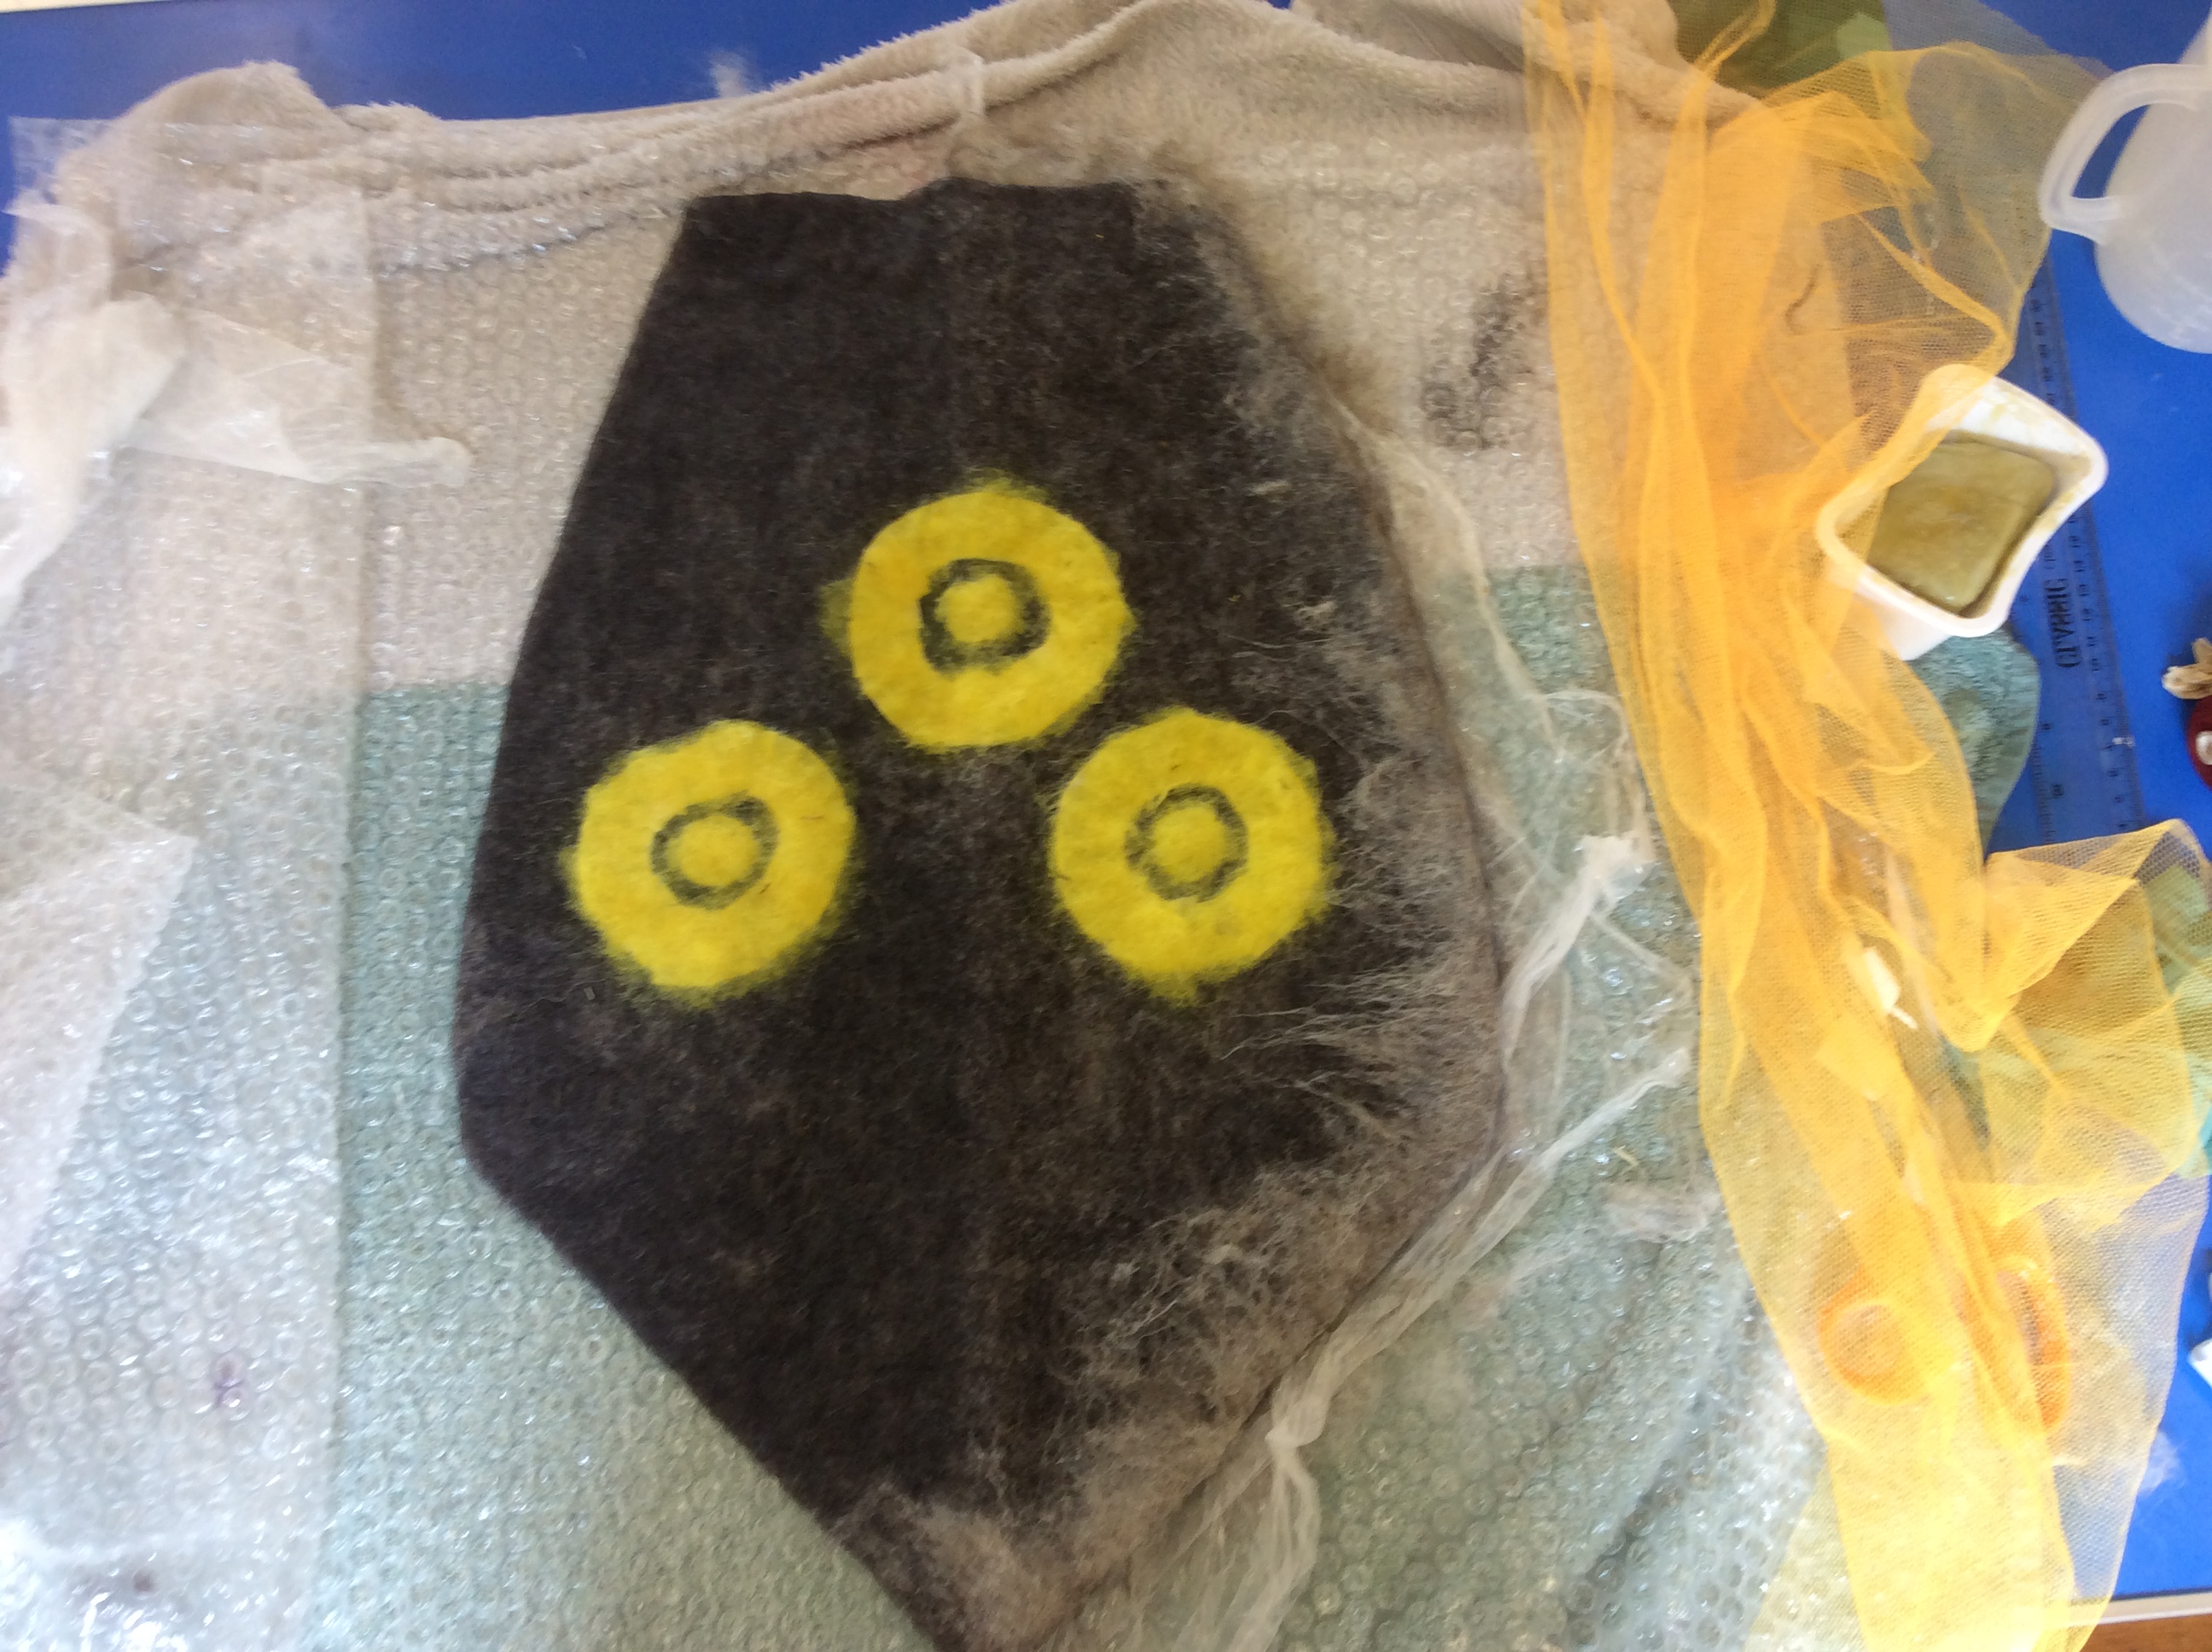
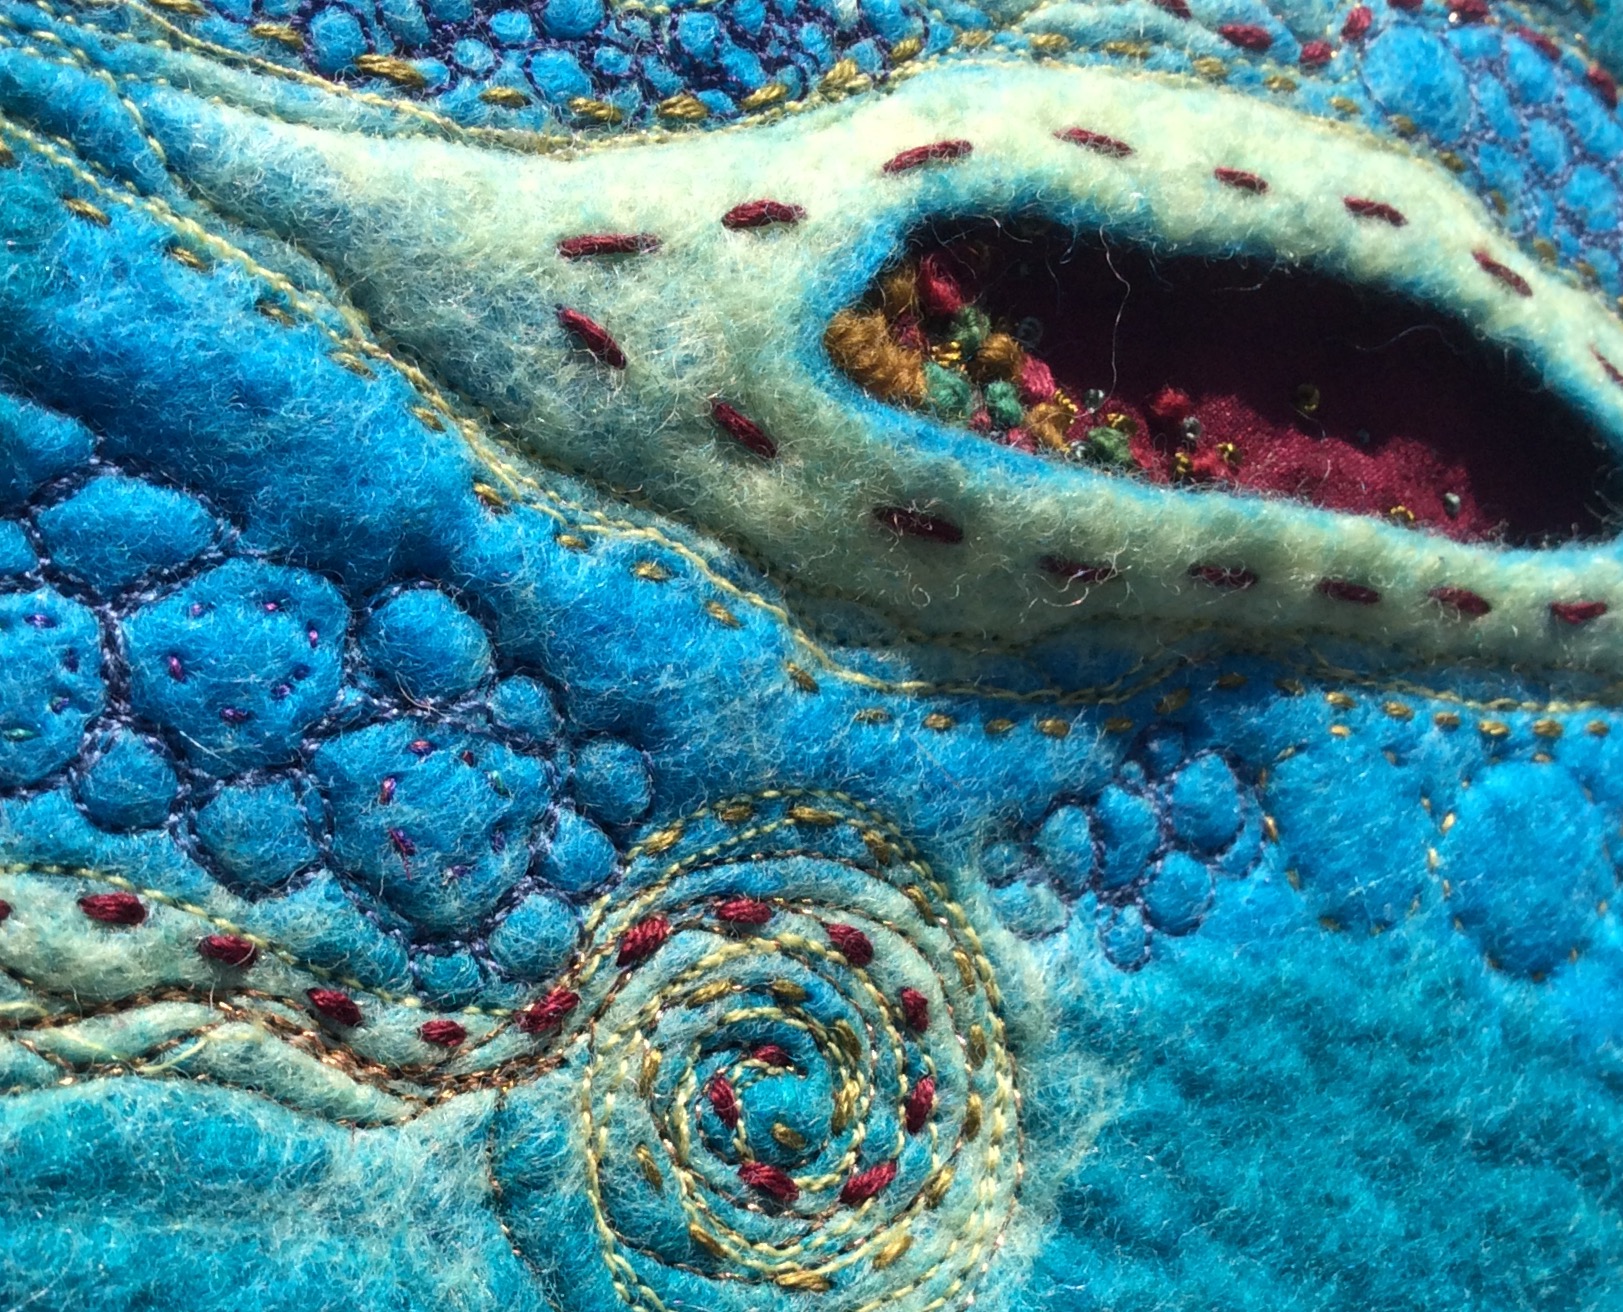
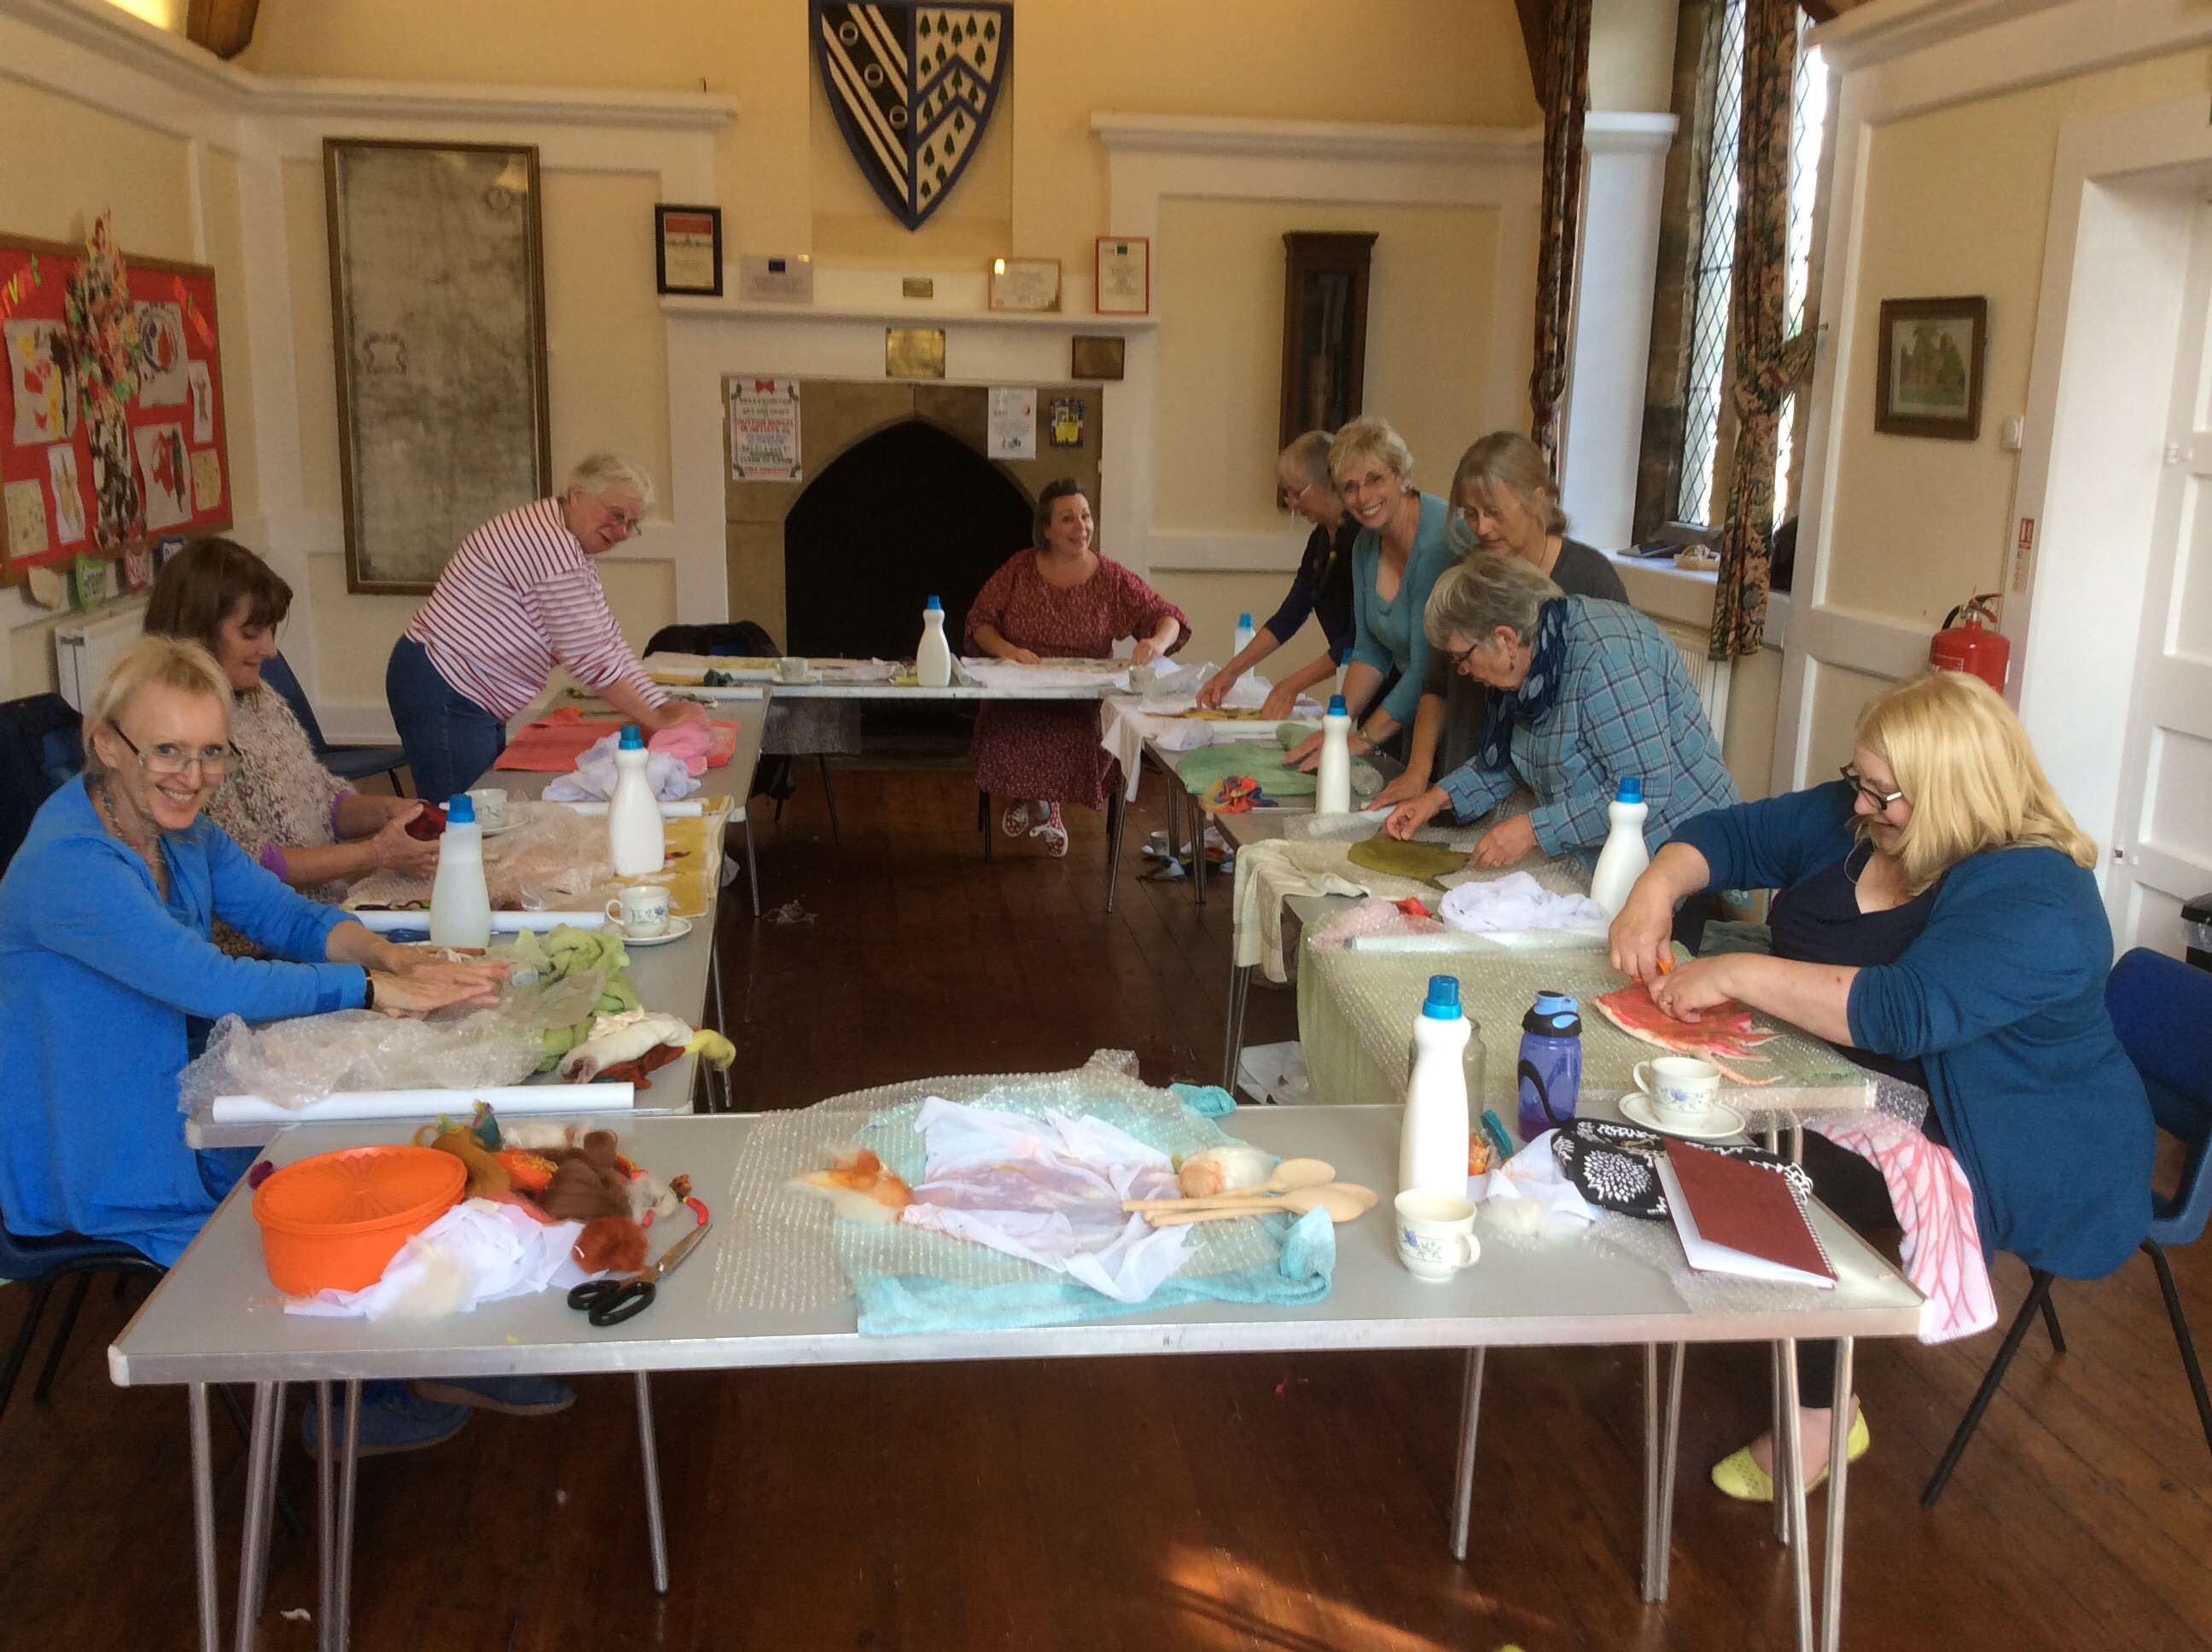
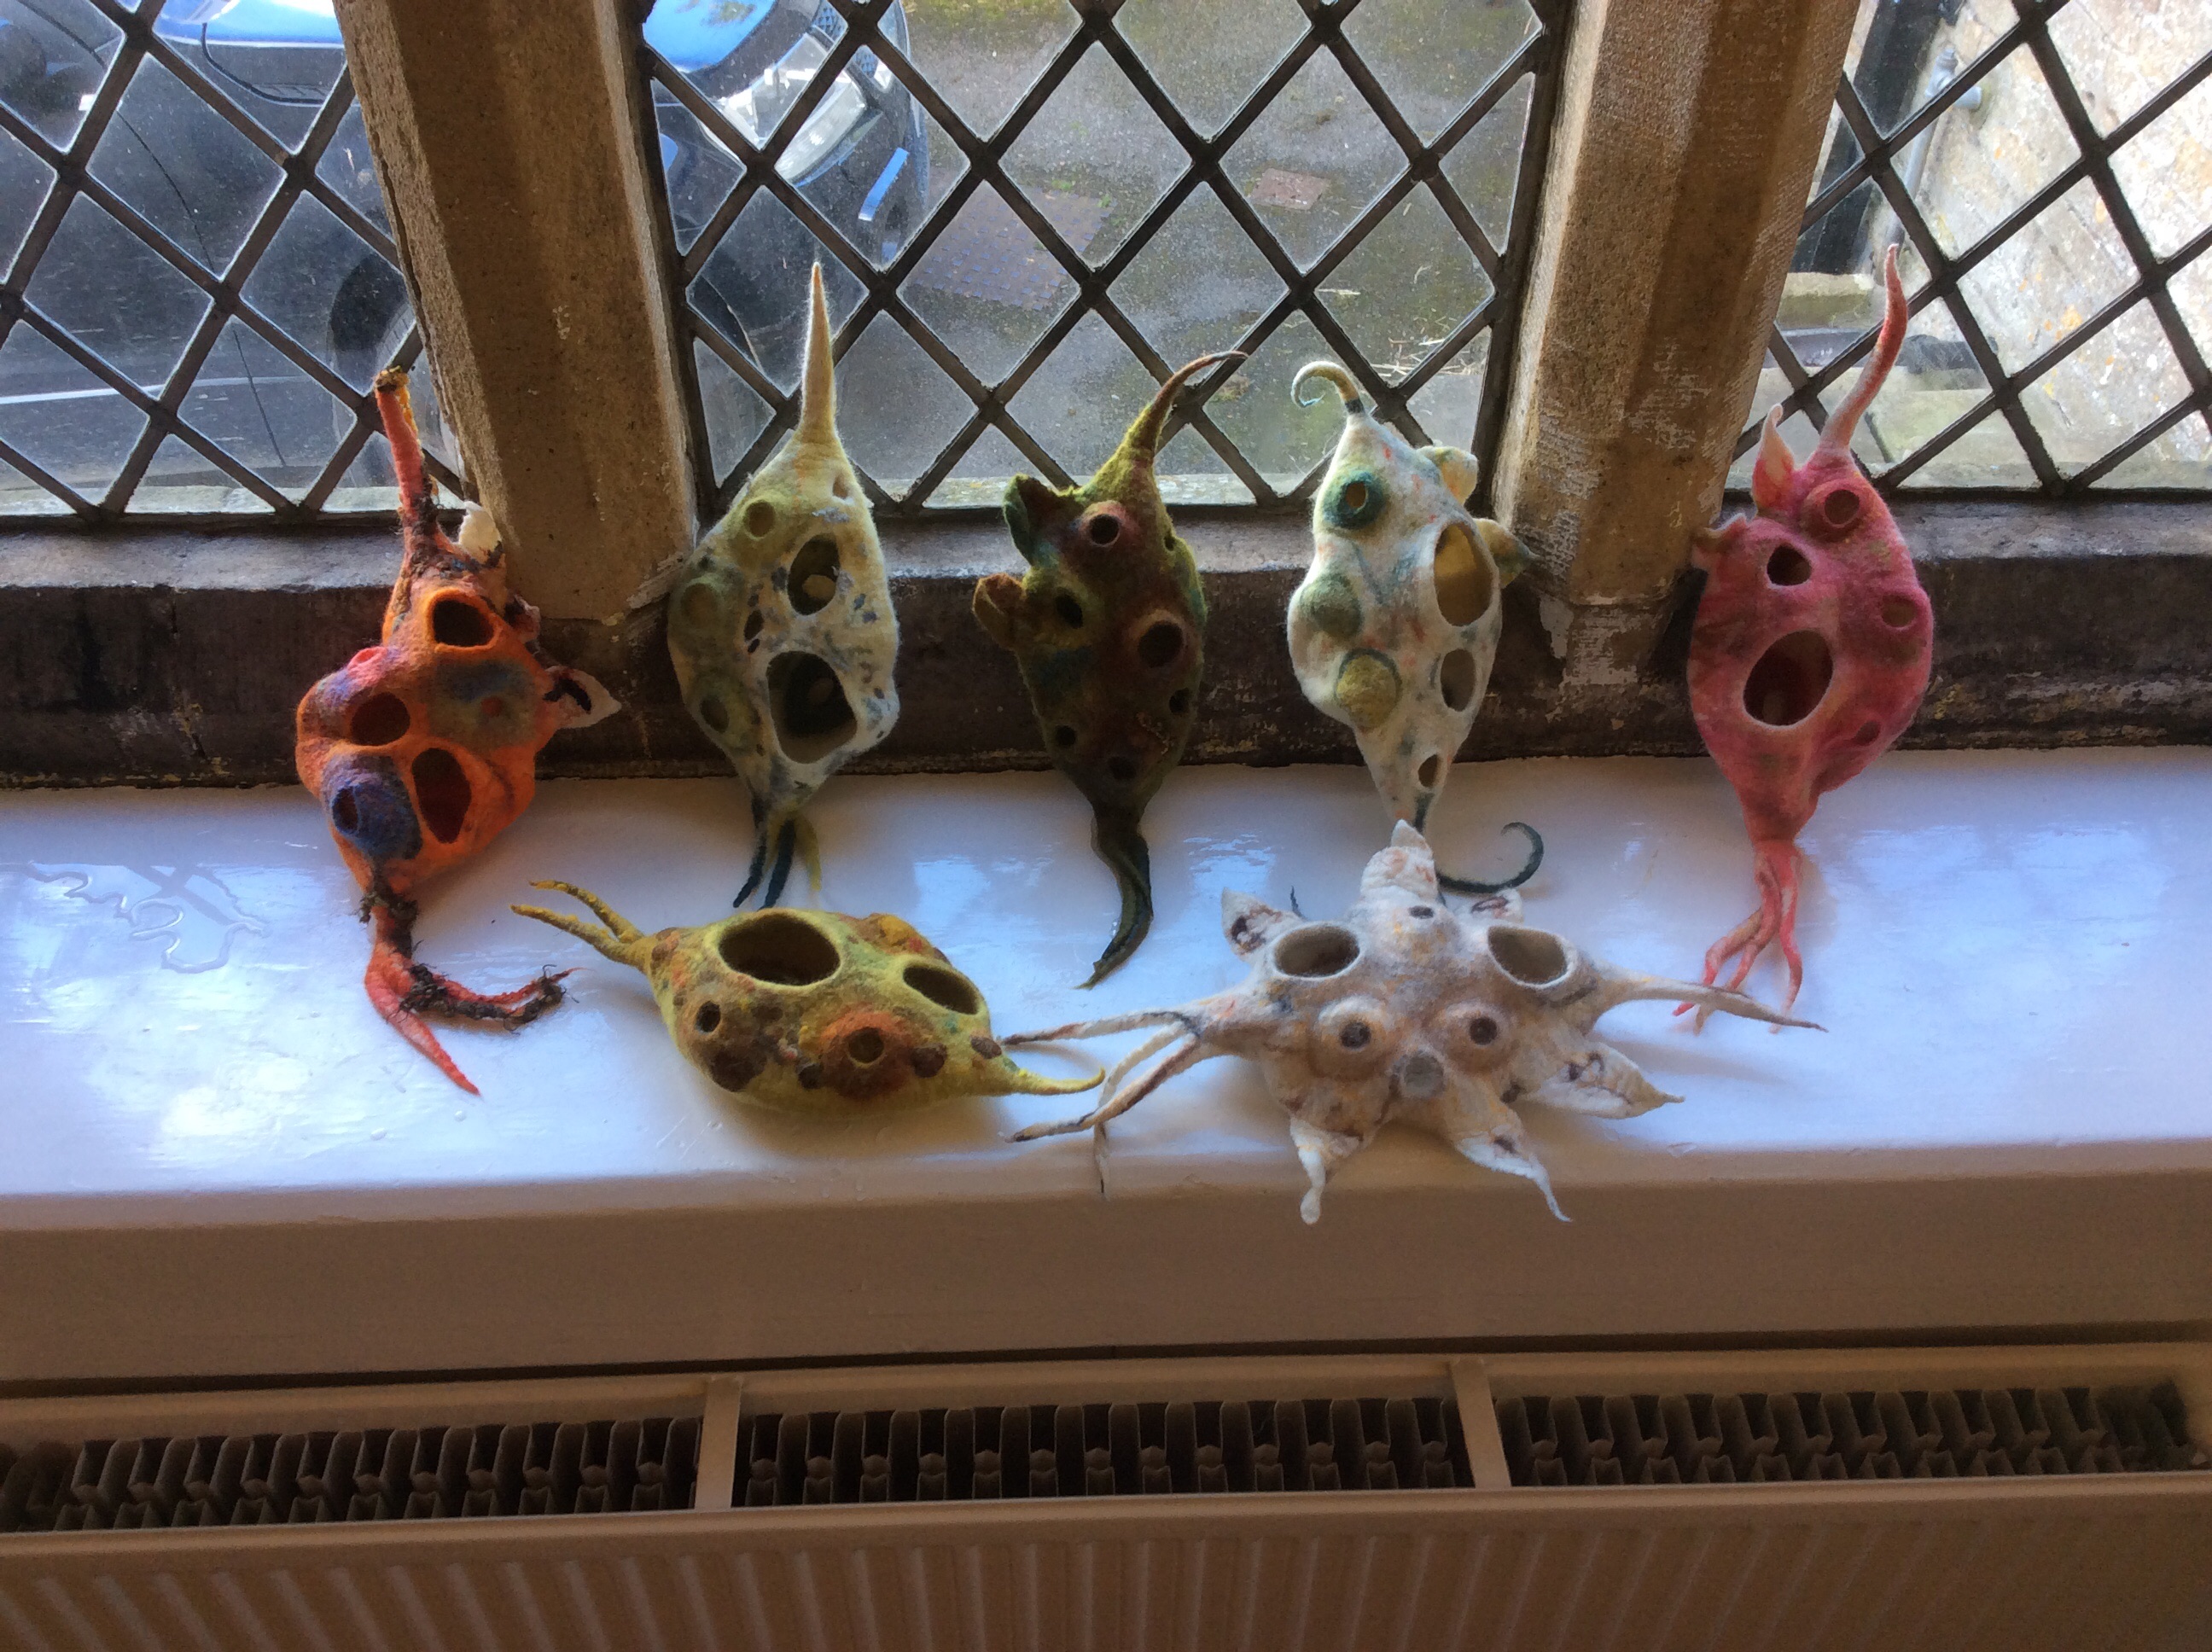
This morning Mandy began by showing us some of her wonderful wet felted objects, including hats, bags and funky fish, and explaining how the various 3 dimensional shapes were achieved.  Several of the bags and vessels had been created using “book resists” and this was the method we were going to be working with.  In addition Mandy talked us through the various surface design techniques she uses and demonstrated how we could achieve these effects using Bergschaf wool batts.  Most of the ladies chose to make a fish and the following photos show their work in progress.

image

image

image

image

image

image

Georgina and I chose to make a vessel and treat it as a sampler, using the various surface treatments on each of the sides.

image

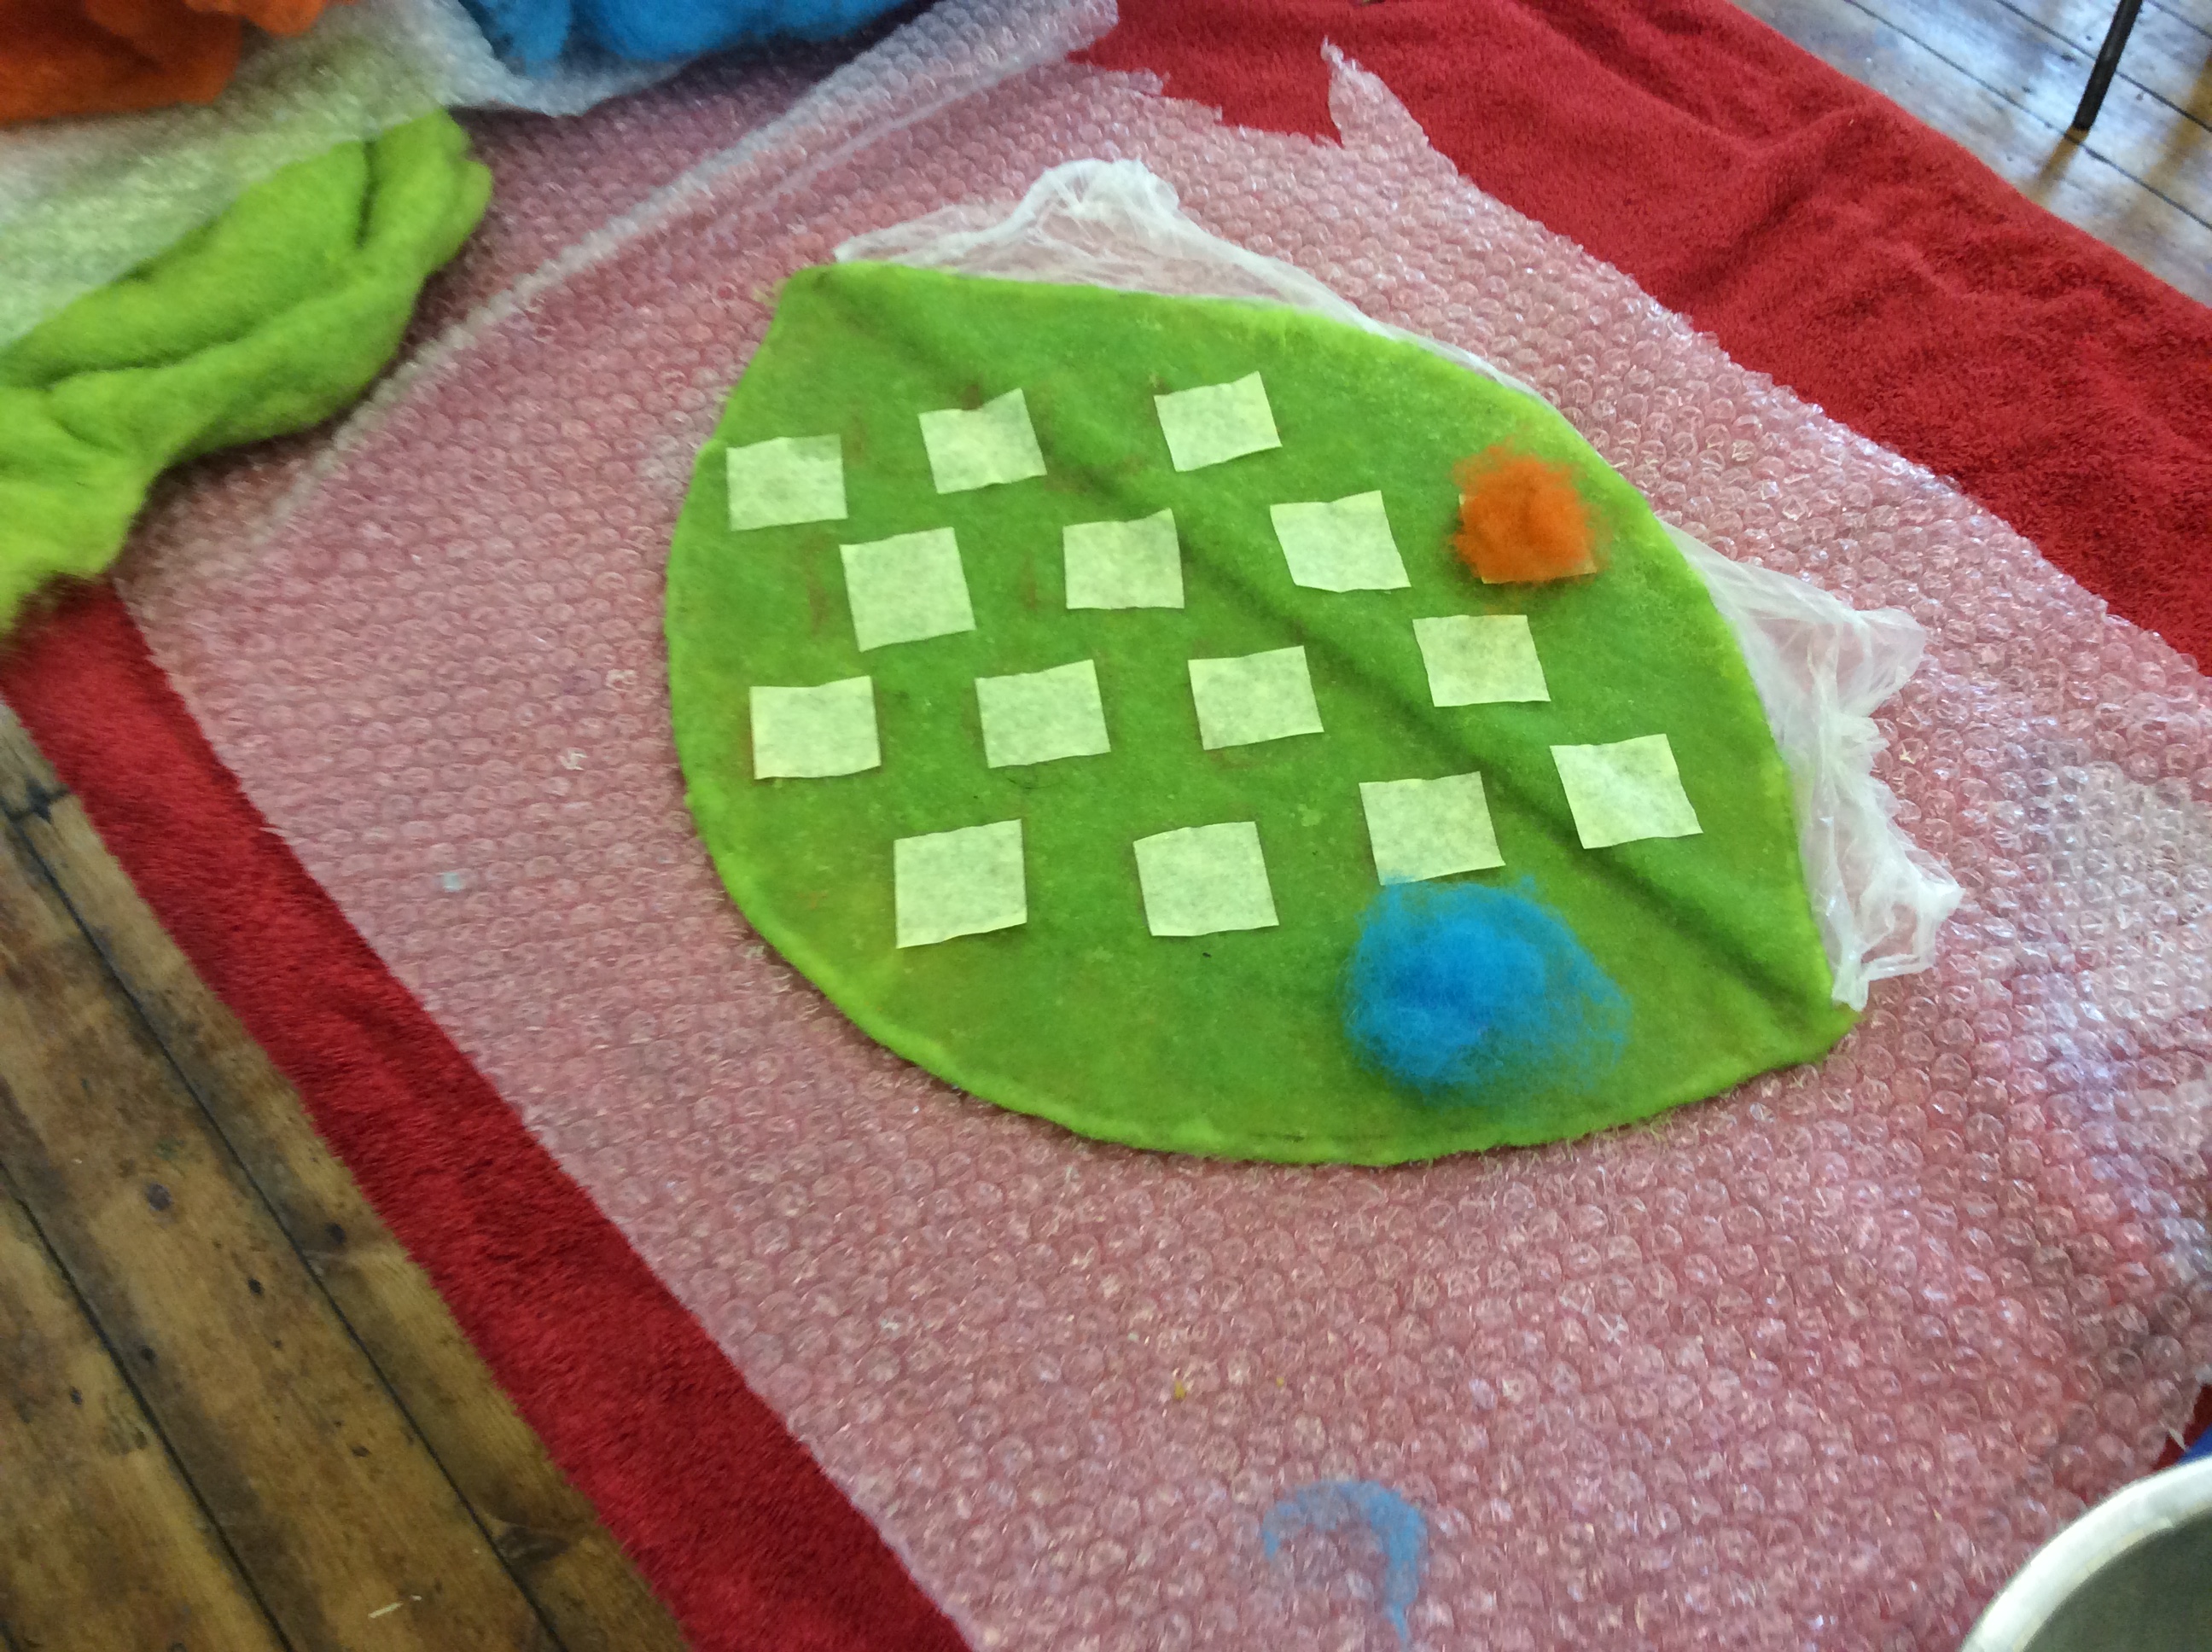
Georgina applying resists for surface decoration

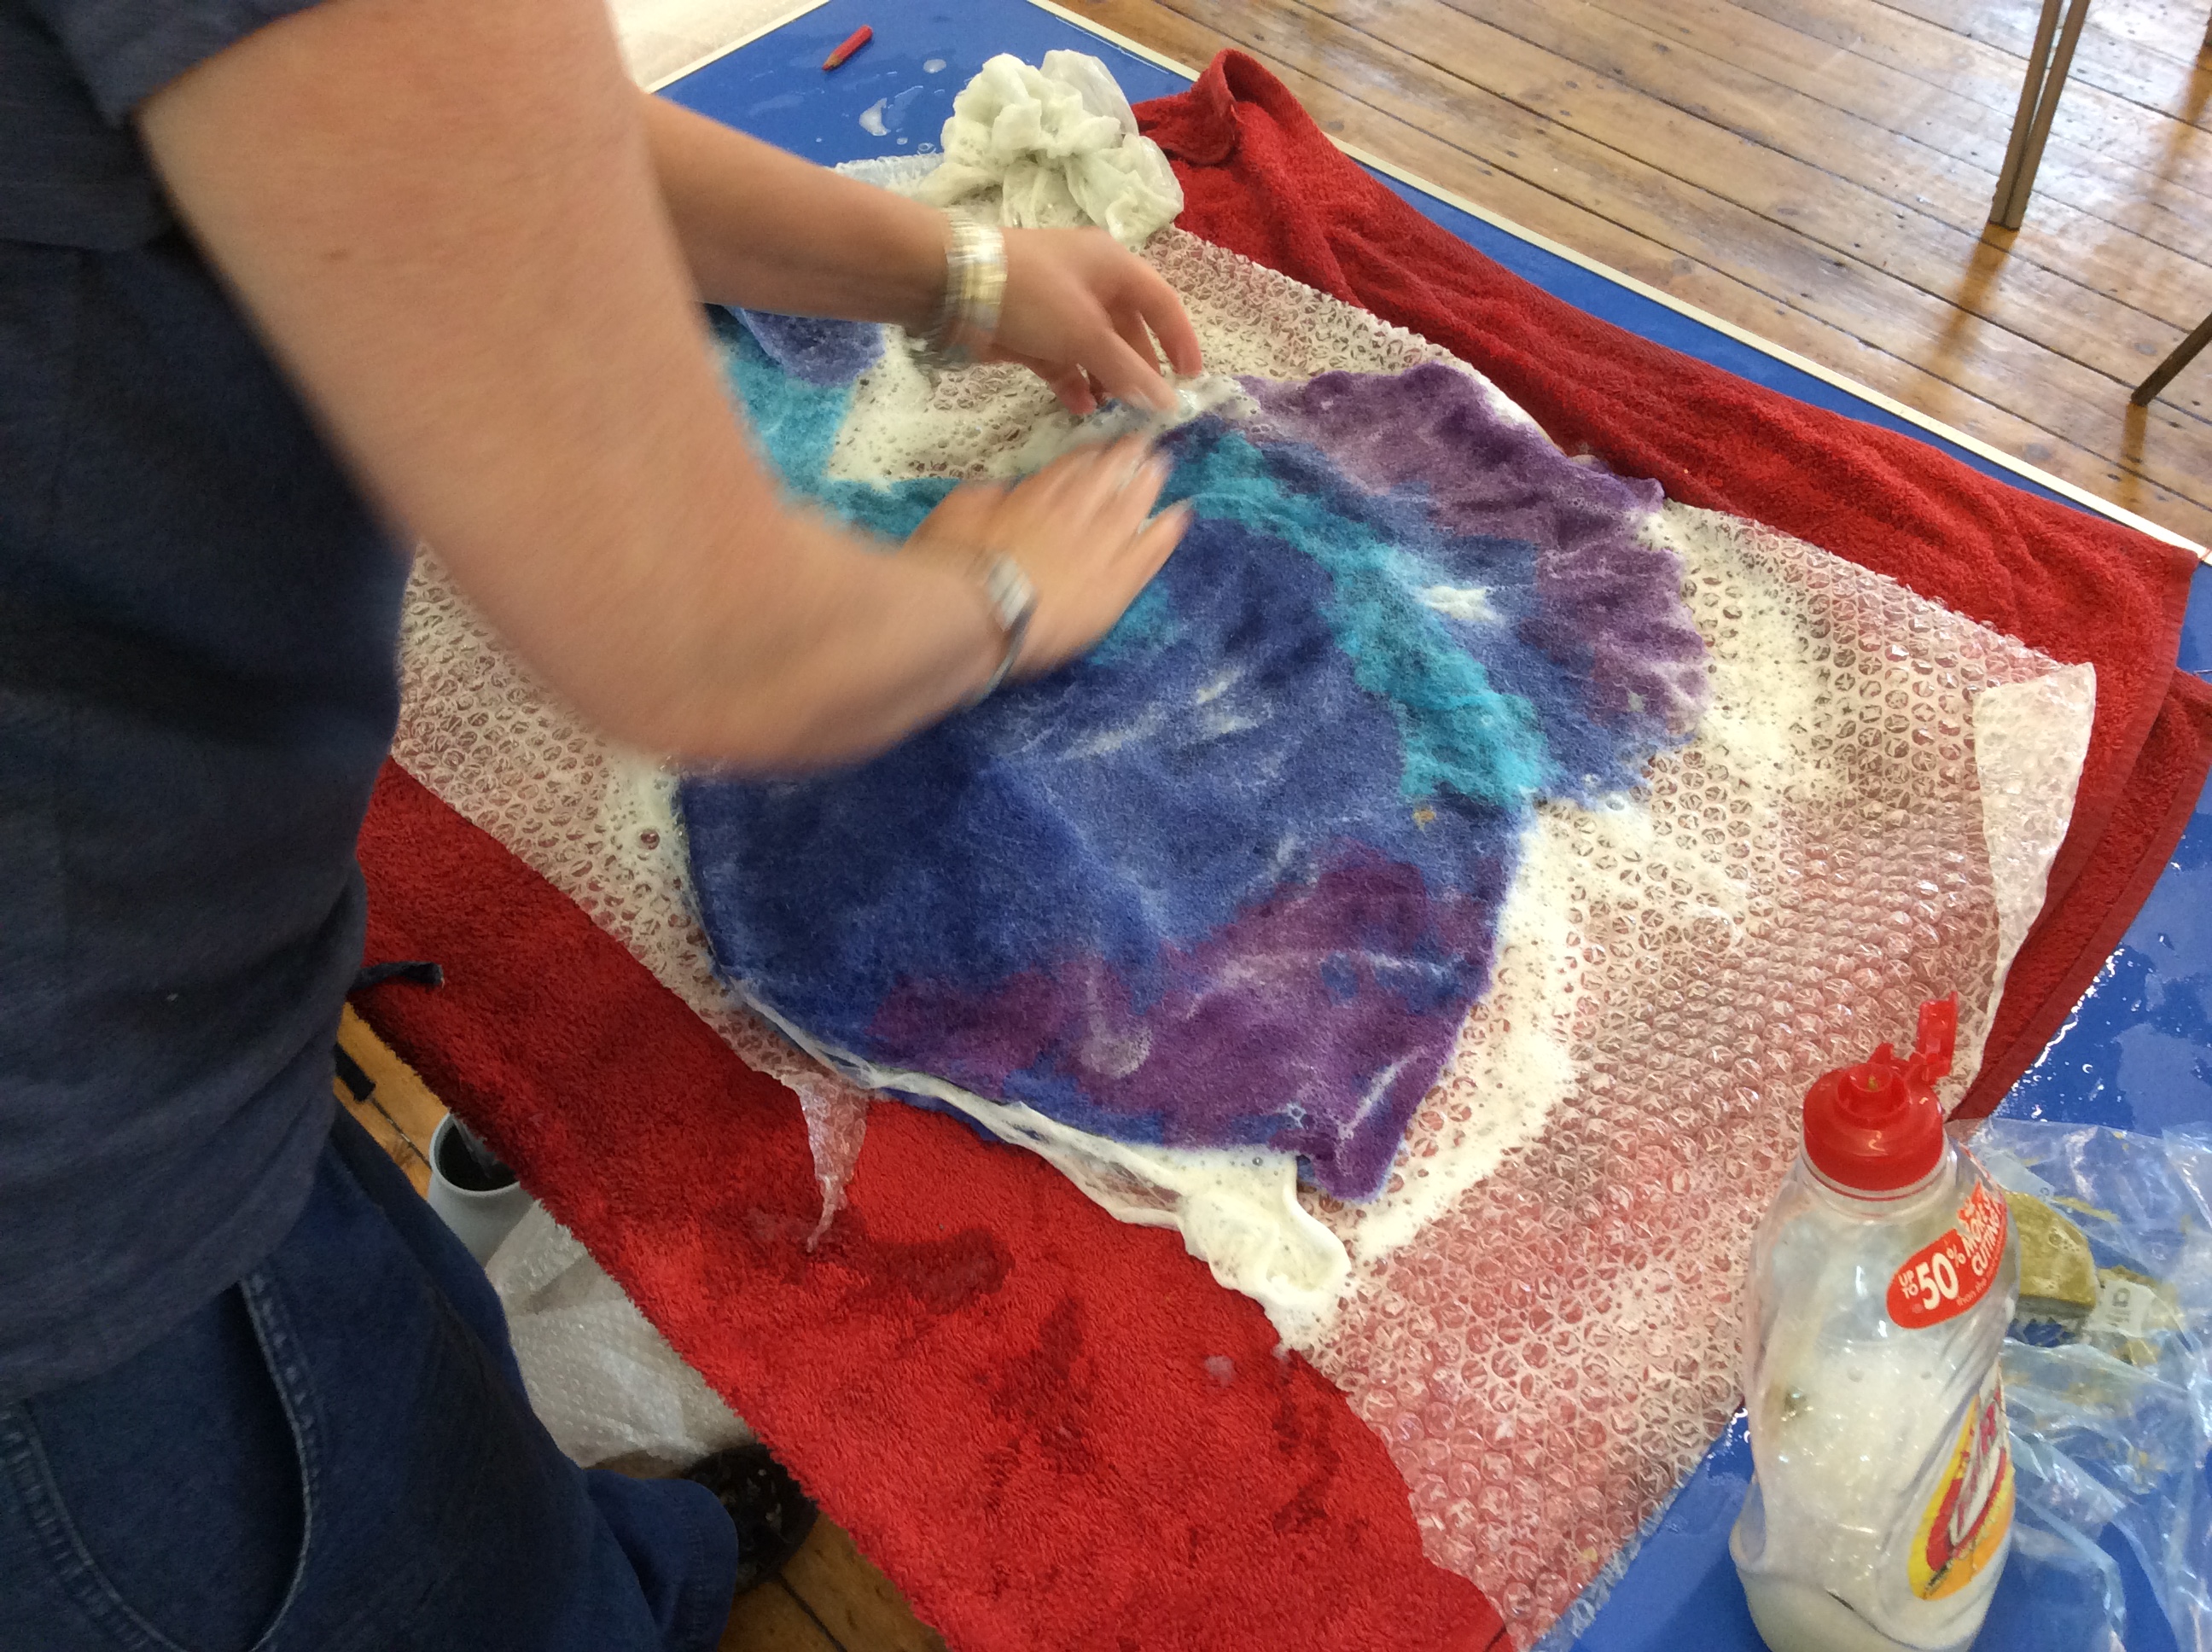
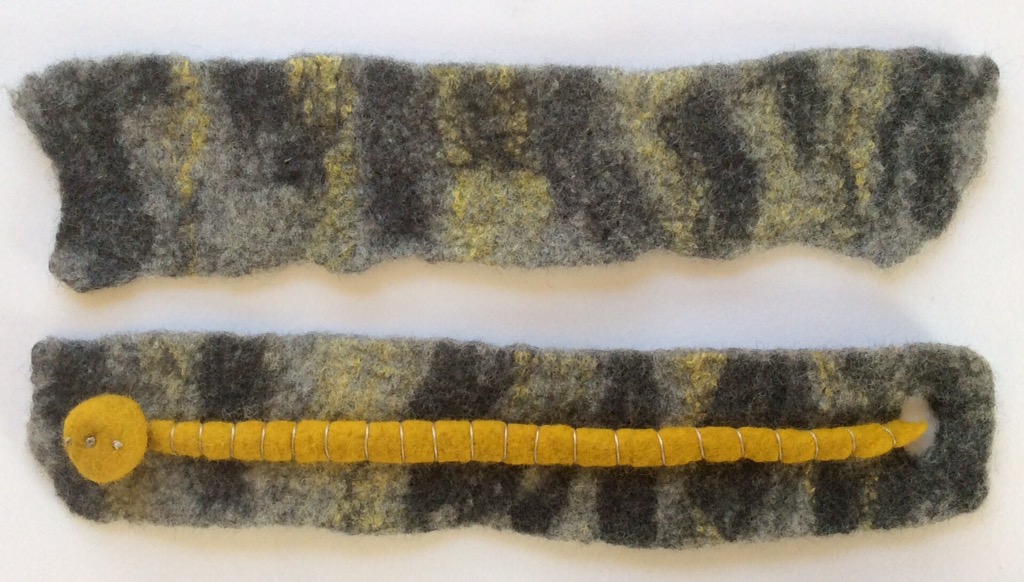
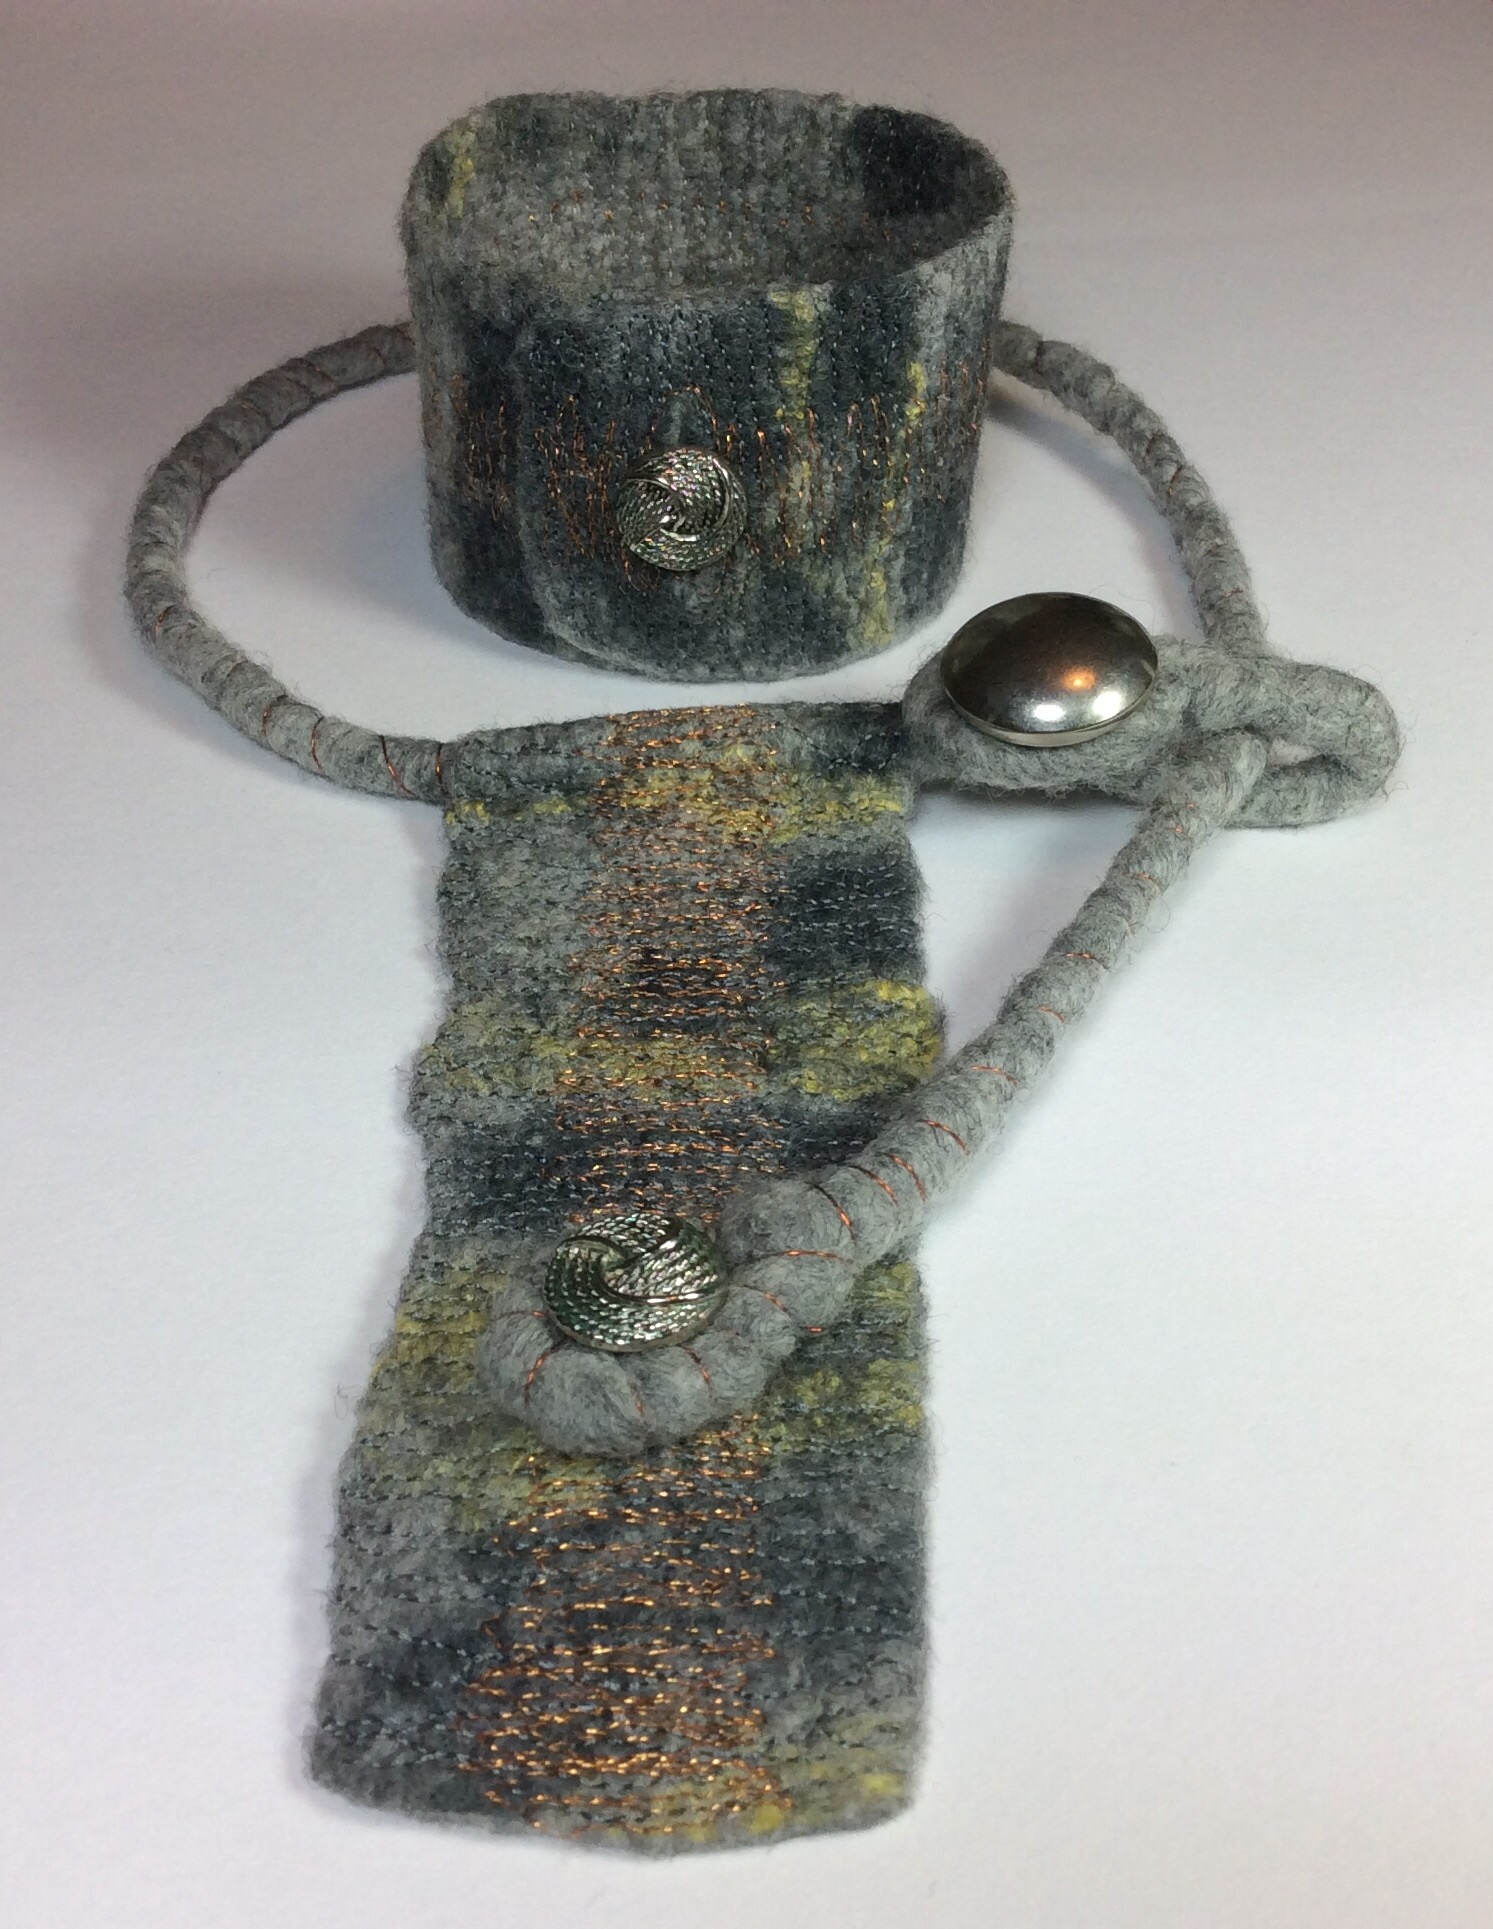
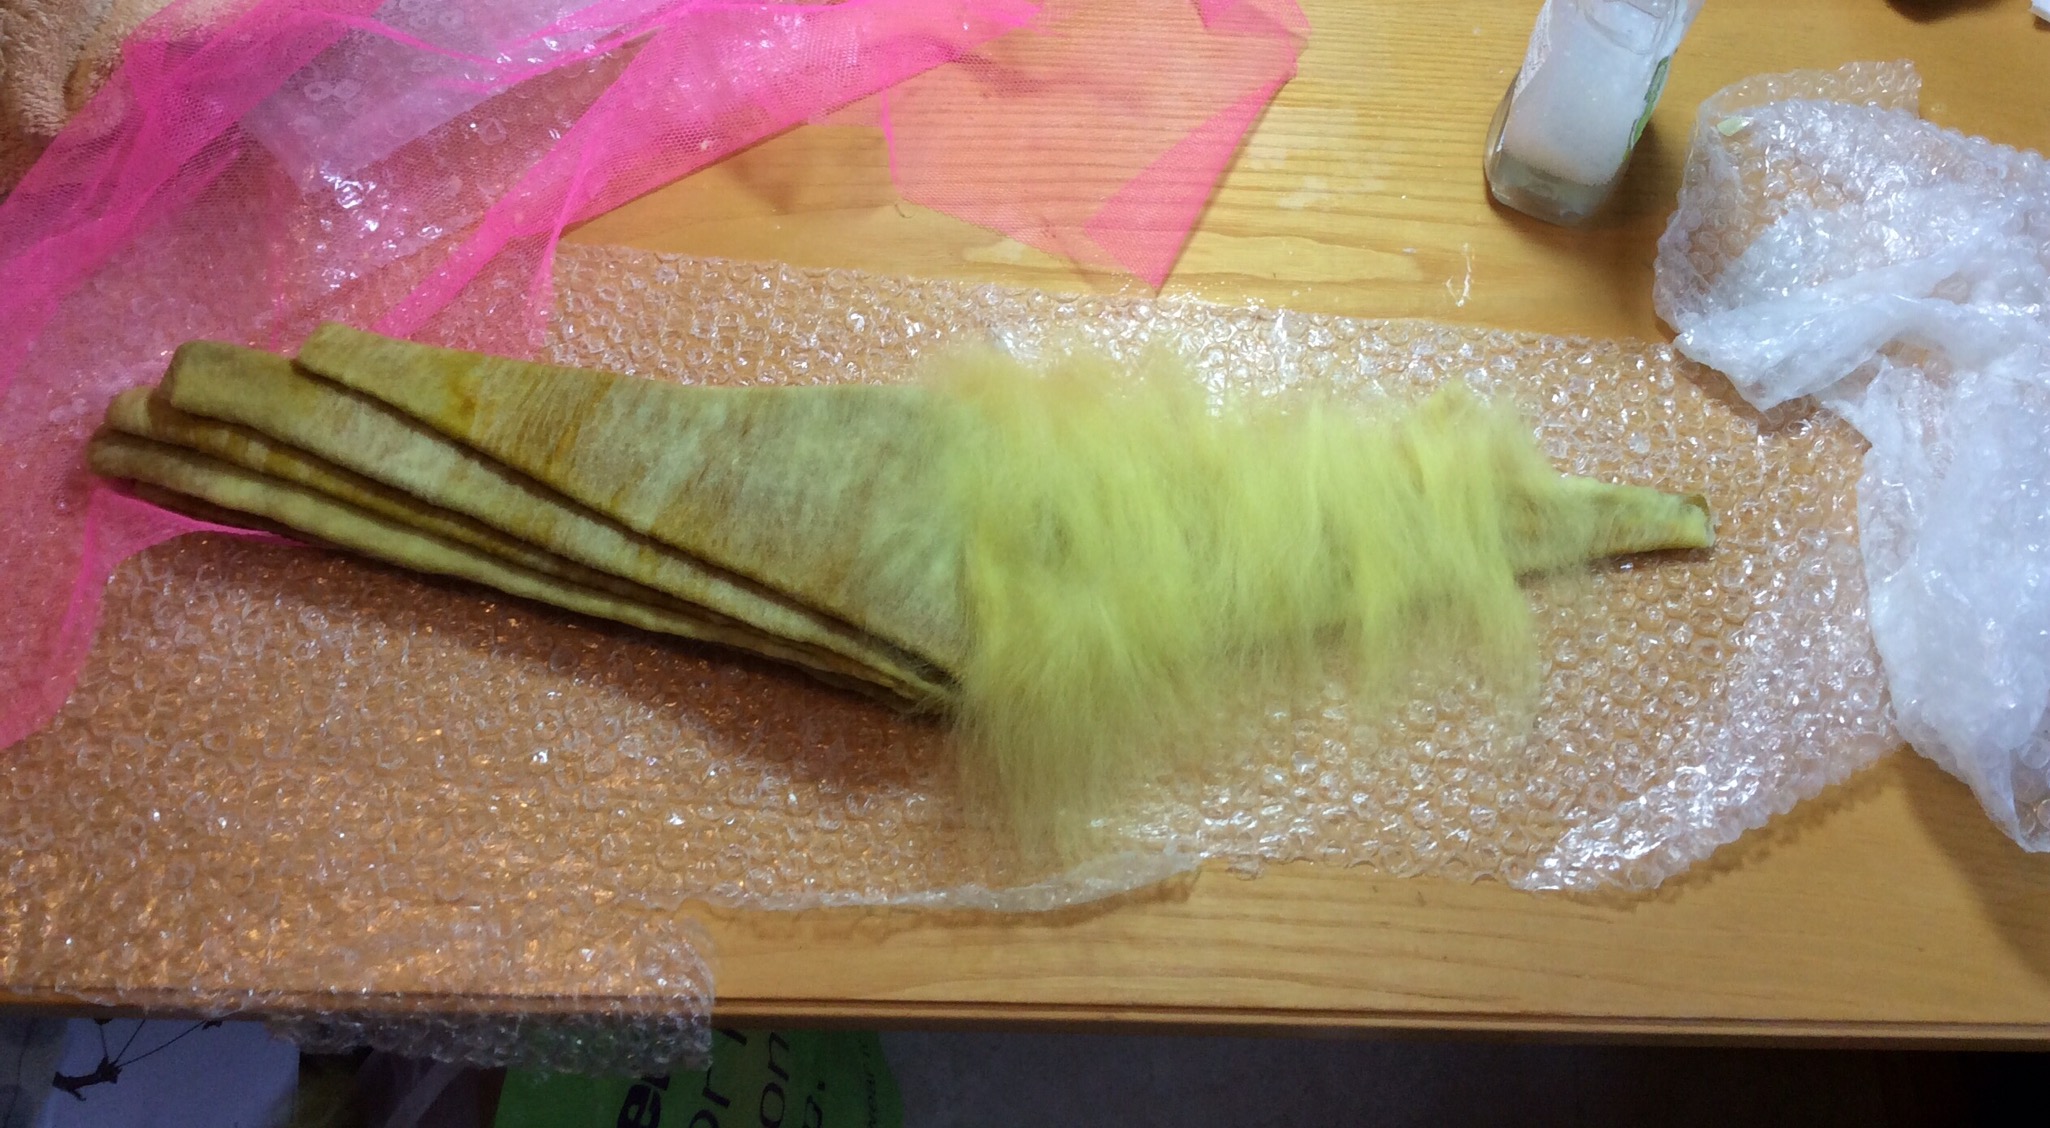
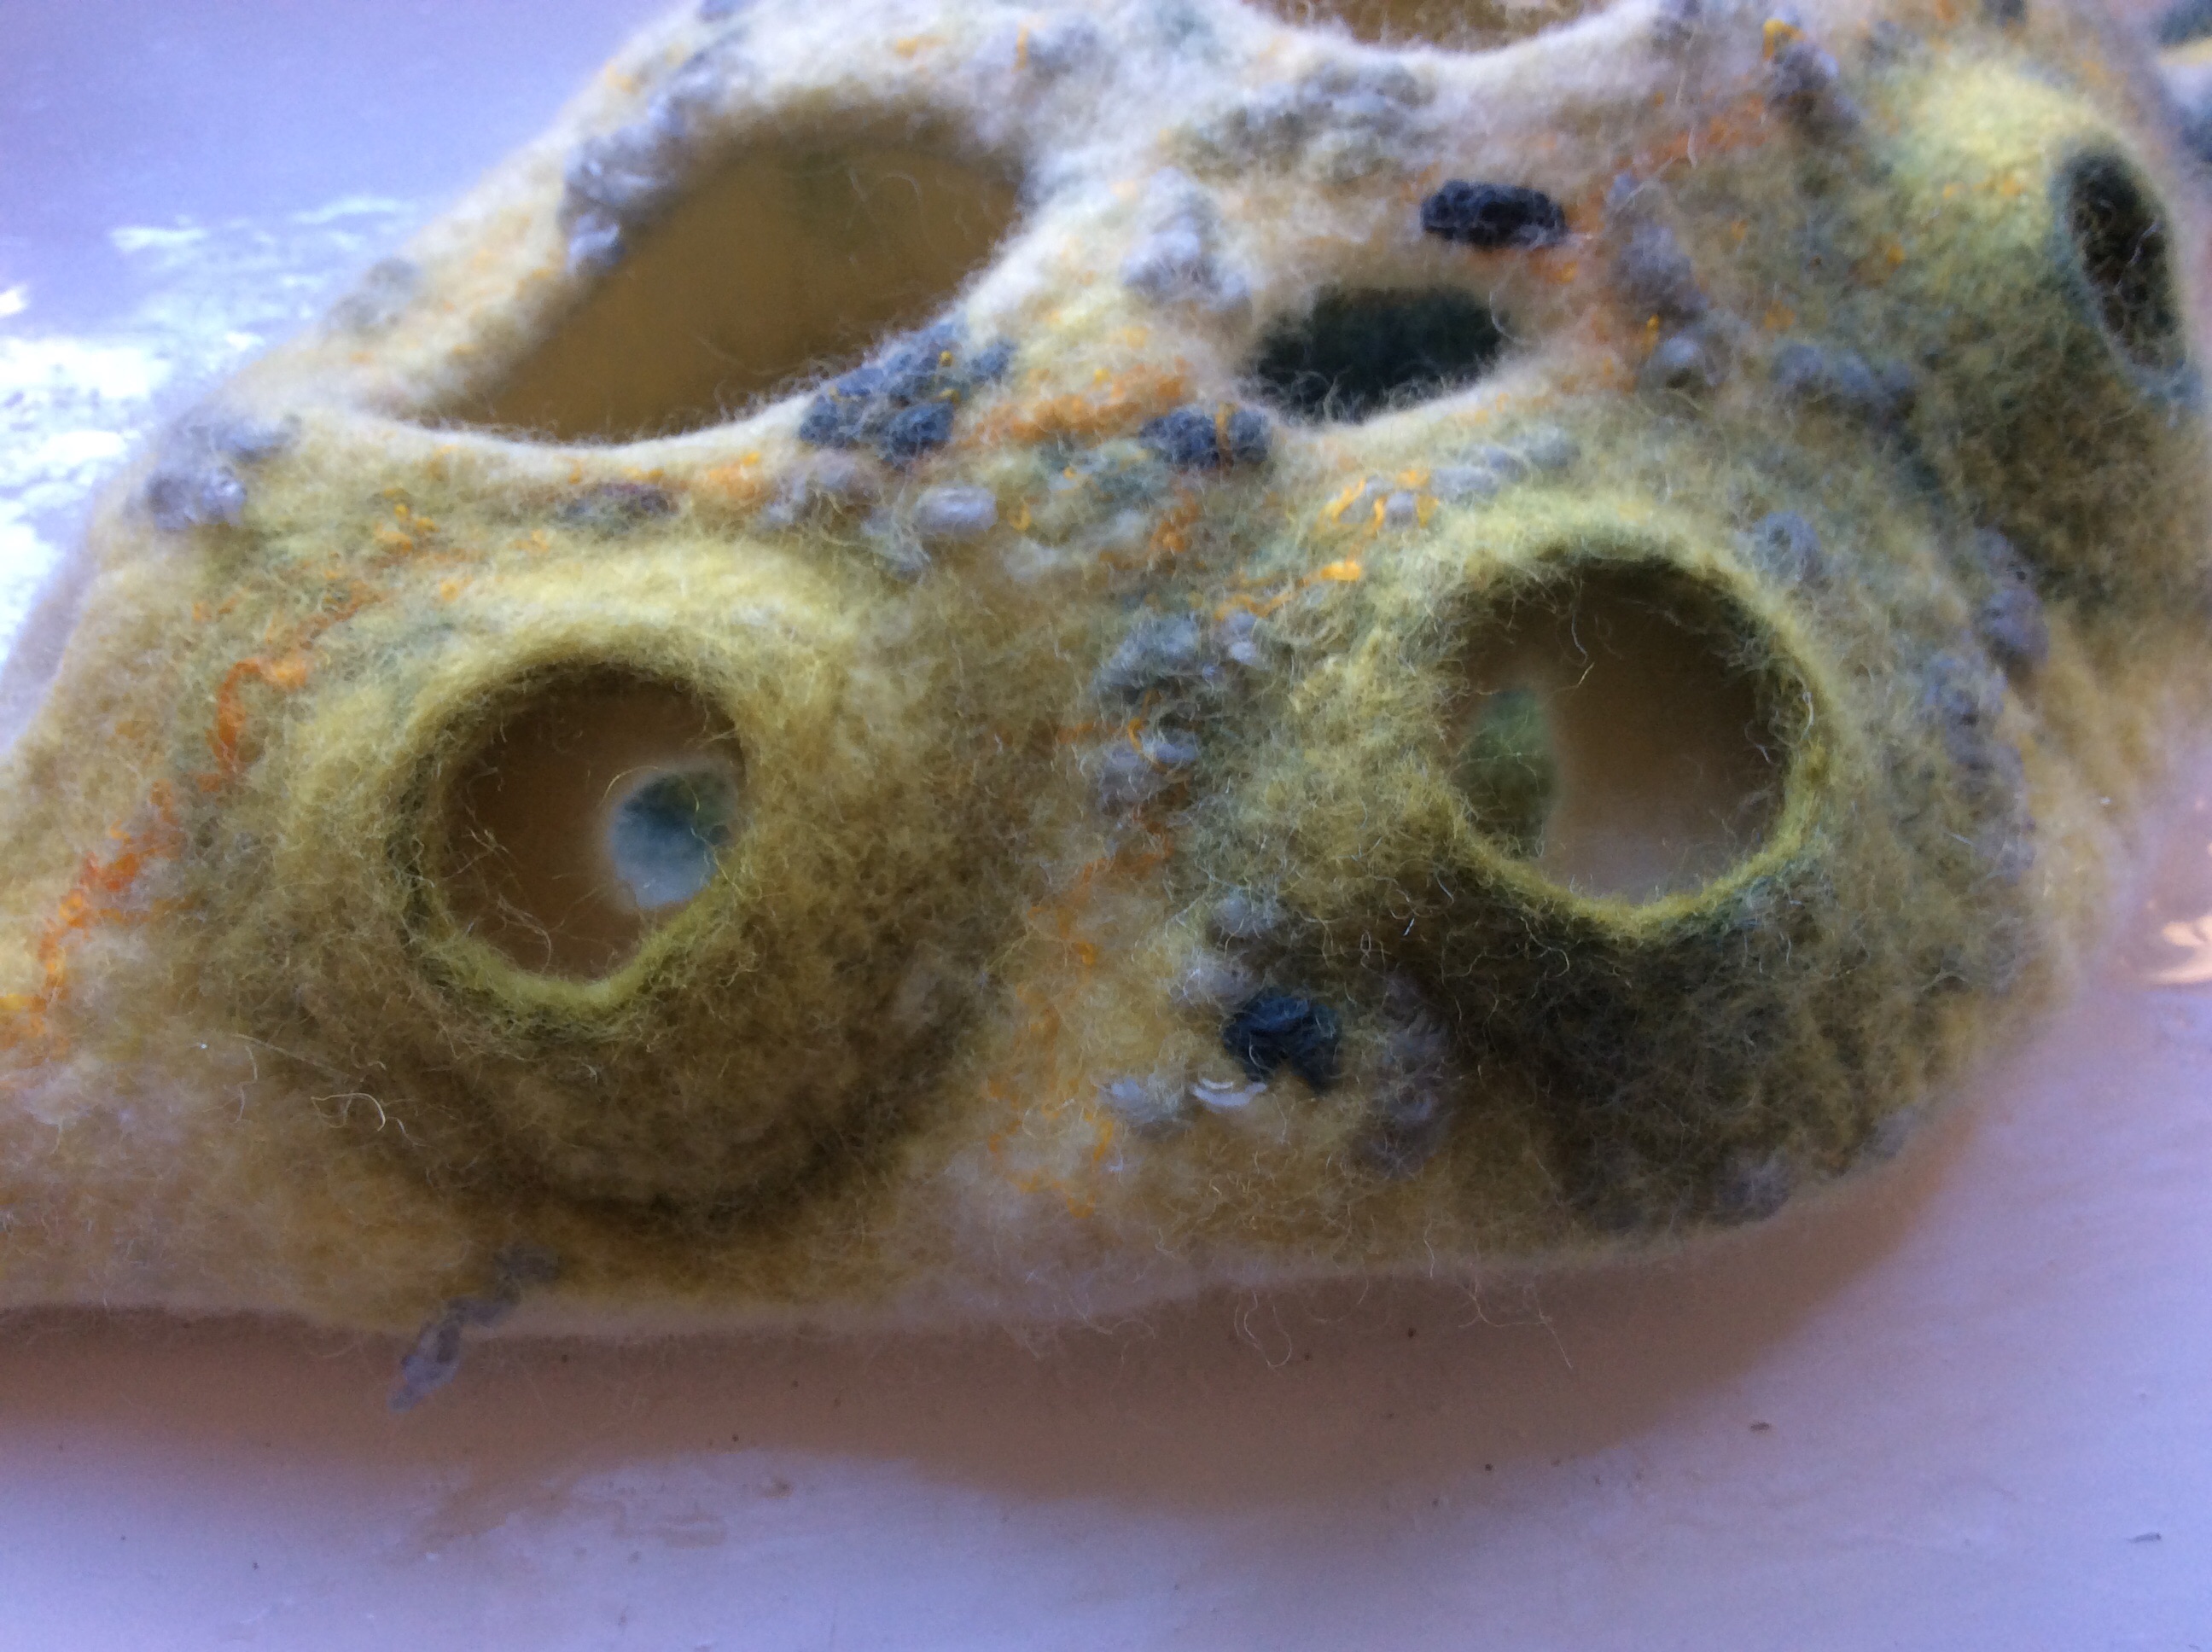
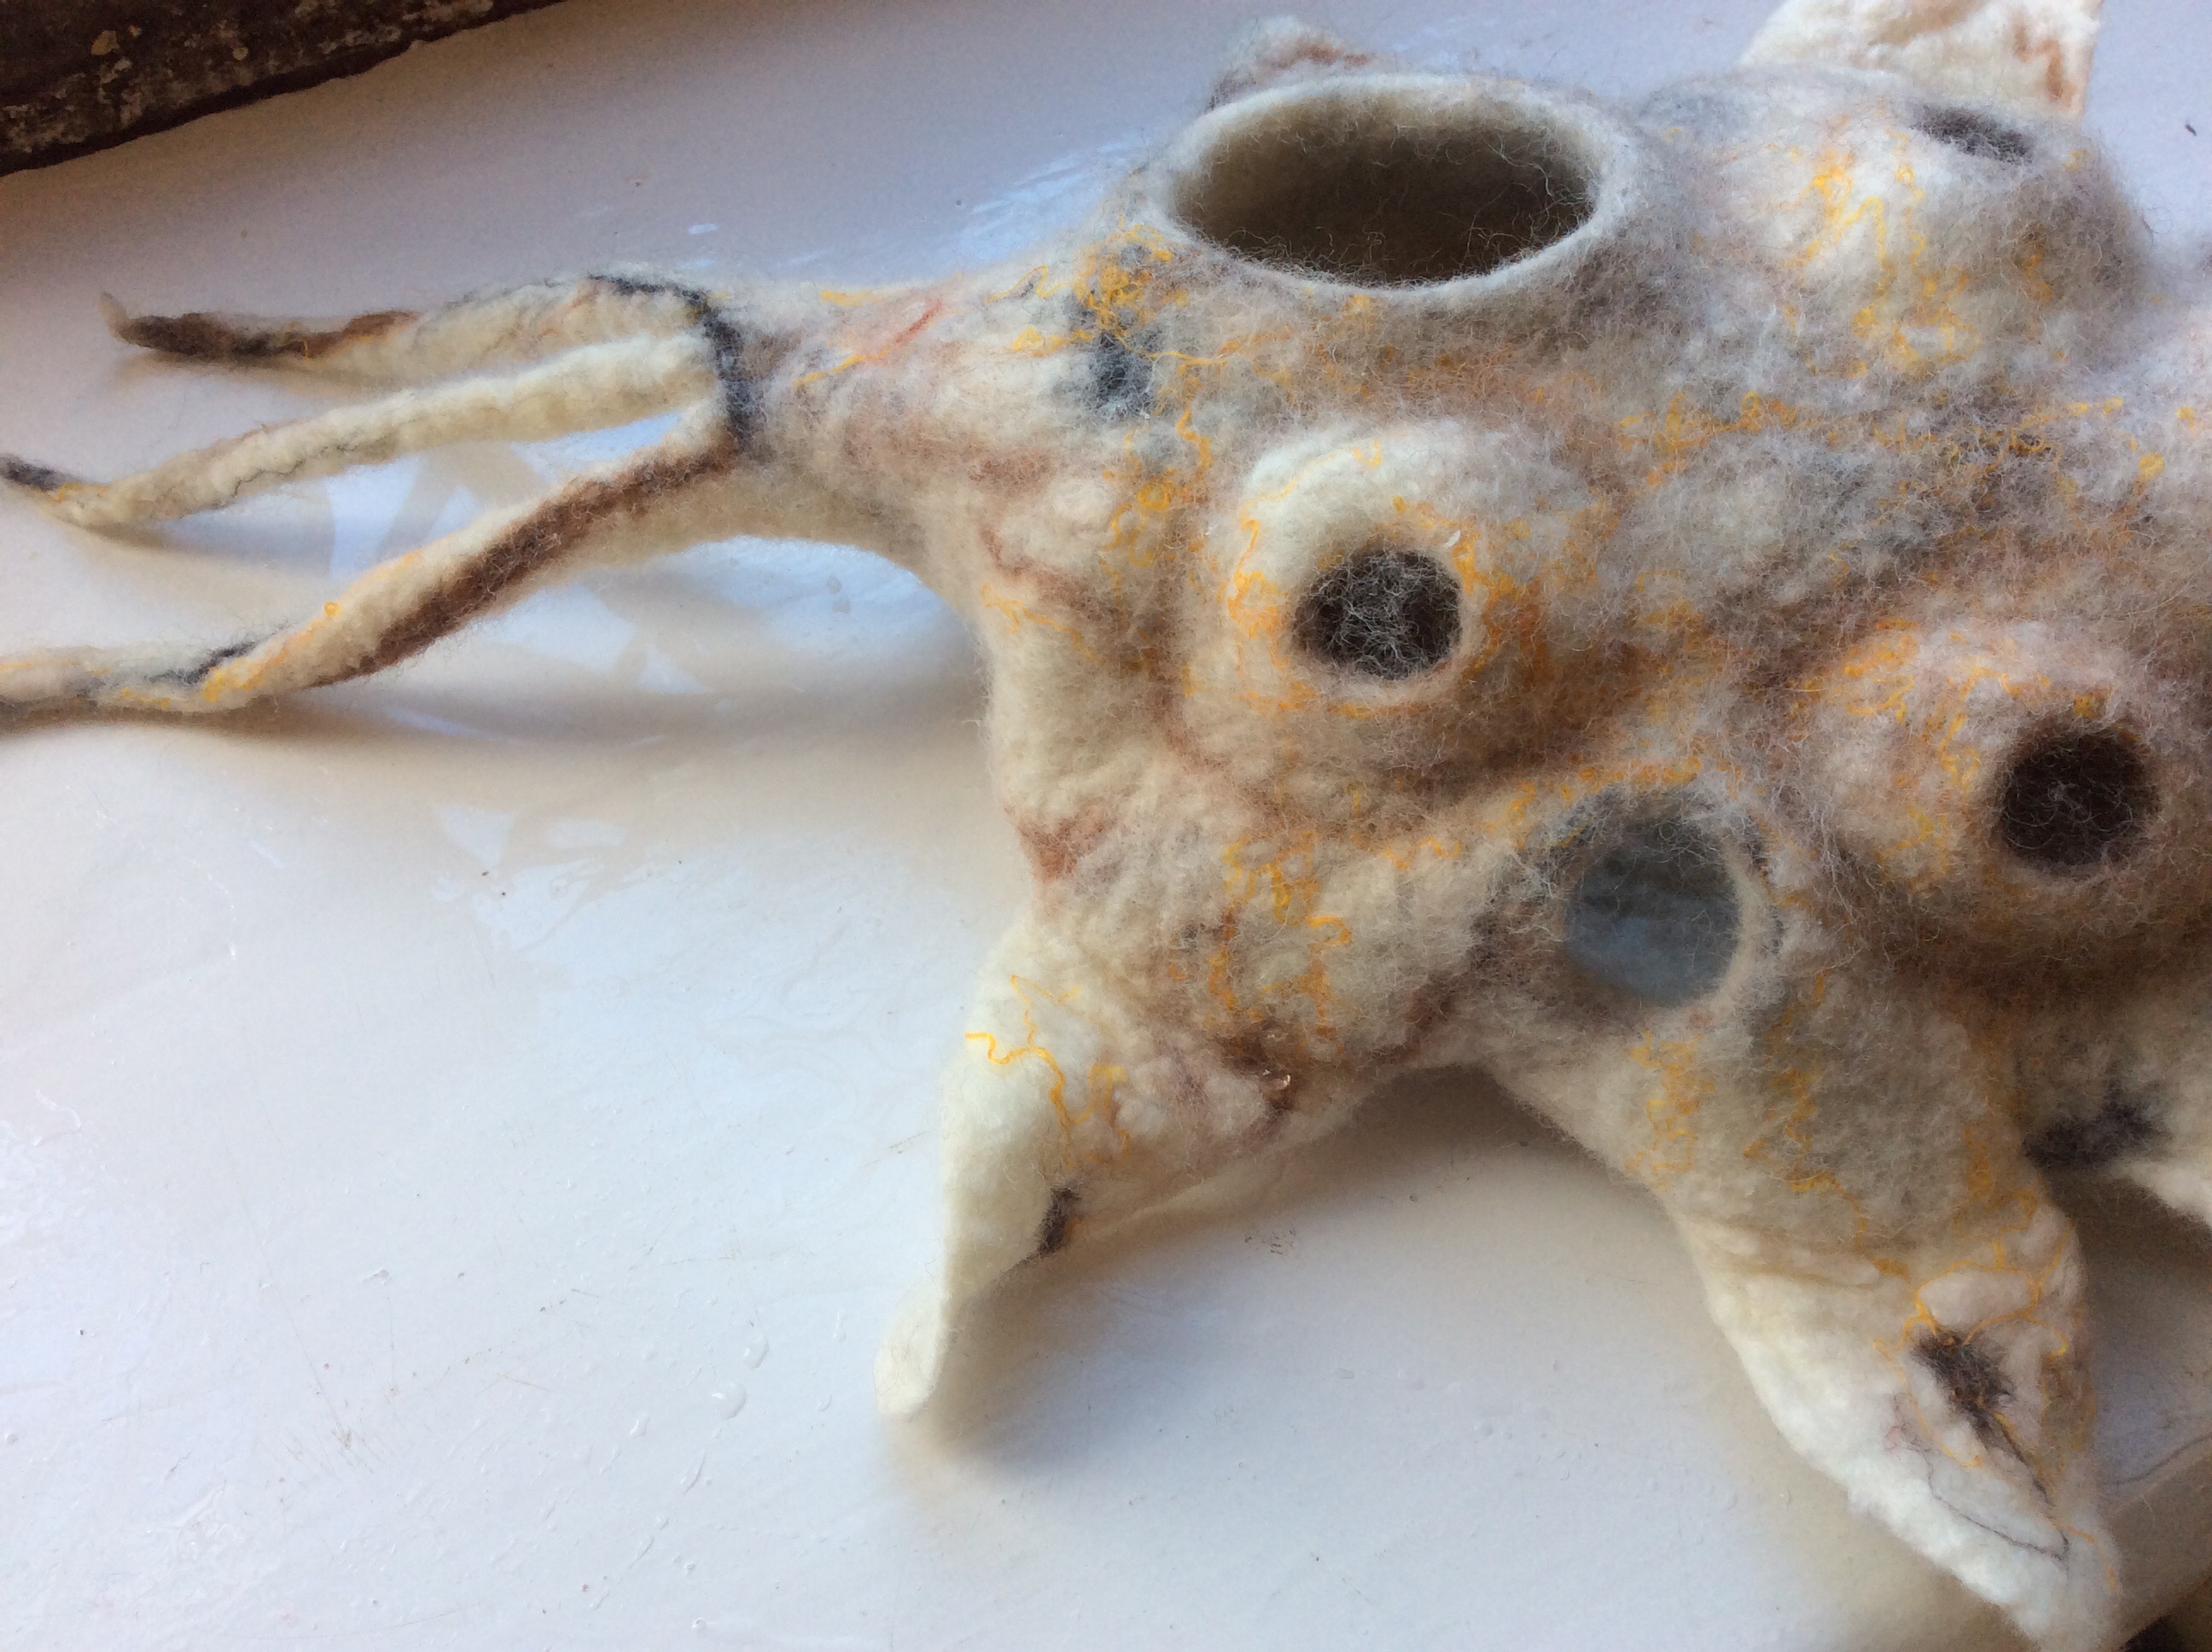
This is my three sided vessel taking shape…..

image

image

image

image

It was full day and a lot of fun but none of us have finished our pieces yet so I will post an update on how things turned out tomorrow.

Wet Felted Jewellery…..

A couple of days ago I discovered a wonderful American felt artist by the name of Lisa Klakulak.  Her work is incredible and you can see her website here.  After seeing her wonderful wet felted jewellery I was inspired to have a go at making something for myself.  My first attempt was a bangle made from grey and yellow Merino wool tops.  I was disappointed with how it turned out, bulky and crude looking, so stripped it apart and started again.


The second time round I free machined the felt using grey and copper coloured metallic thread and replaced the yellow felt ball with a silver metal button.  I used the second strip of grey/lemon felt, again with the metallic stitching and metal button, to make a matching asymmetrical necklace.  This time I’m happy with the result!

Jewellery created from wet felted Merino wool tops

Wet felted Merino jewellery


Merino Purses…..

It’s a wet Bank Holiday in Lincolnshire and to cap it off I am full of cold so doing a bit of felting in between the hot drinks and sniffles!  These Merino purses, made with a resist, are an ideal size for glasses cases and a good way to use up oddments of fibres which I seem to have a lot of.  I’ve embellished them with tiny bits of silk, sari waste and more Merino and finished off with a button closure.

Merino Wool Purses, ideal for use as a glasses case.

Merino Wool Purses, ideal for use as a glasses case.

image

image

Will PVA stiffen felt…..

I’ve just made an experimental piece as I wanted to answer a friend’s question which was “will PVA stiffen felt”?  I created a very quick wet felted bowl using a single layer of grey Norwegian wool which was lightly felted and then soaked in a 50/50 solution of PVA and water.  It was placed over an upturned glass bowl until it dried out.  It isn’t rock hard but certainly stiff enough to give it some body.  I can’t say that I particularly like it as a finished piece, so it will probably get washed out and recycled, but the PVA did its job so my friend got their answer and I’ve learnt something for future use.

Wet felted Norwegian wool bowl


Wet Felted Octopus…..

The wet felted octopus is finished and there’s just enough of the afternoon left to get outside with the dog and enjoy the weather.

The body and tentacles are joined and work started on the eyes


The body had been felted so hard I broke 5 needles working on him this afternoon!

Five broken needles later…….


All washed up……..if only we lived at the coast!

Which way to the sea?


Wet felting with a book resist….

A few weeks back I read Ruth’s review on the Felting and Fibre Studio about the fascinating wet felted items that members had created using a “book resist”.  I’d never heard this term before but when I read the Book Resist Tutorial by Teri it all made sense and I realised how a lot of the 3D items I had seen previously in exhibitions and on-line had been made.  Wet felting with a book resist opens up new possibilities allowing you to create seamless complex shapes in one piece.
I was particularly interested in the amazing octopod.  I am planning to make an explorers outfit for the Asylum Steam Punk Festival in August and a felted octopus could be one of my accessories…..maybe draped over a shoulder or clinging to the skirt!

Unfortunately I got so carried away with the felting I forgot to photograph the resist before covering it.  It had to be cut to remove it but this shows you roughly how it looked.  It was made from 4 sheets of A4 acetate, cut into 8 sections and sewn together in the centre as a “book”.

resist made from A4 acetate sheets

Each section was covered in turn with three layers of varying shades of yellow Merino and gently rubbed.

covering the resist with Merino

prior to removing the resist

resisit removed and rolling complete

After removing the resist the octopod was rolled, rubbed and thrown around to finish the felting process.  The tentacles are now done but I will add a wet felted body later in the week to take him from octopod to octopus.

the finished octopod waitng for a body

Wet Felting Using Resists……

I’ve just completed two pieces of work in response to the first quarter challenge from the Felt and Fibre Studio.  The challenge was to make a felted piece using resists in a way you wouldn’t normally use them.  If you check out the F&F site here you will see some amazing work which has been made with “book” resists and my first reaction was to have a go at one of those.  It then occurred to me that maybe I should go back to basics first and have a play at making craters and holes before getting too adventurous!

This was the first one I did, a flat wall hanging with machine and hand embroidered surface design.  The craters are filled with red satin fabric and hand embroidered knots.

Red spot resist piece

image

The second piece is a pod, very similar to the one I made with Jenny Pepper at the advanced pod workshop up in Hutton Buscle.

image

image

I am on a mission now to try to create an octopus using the book resist technique……….

Avanced Pod Workshop…..

Today I joined 8 other felting enthusiasts at the Village Hall in Hutton Buscle near Scarborough for Jenny Peppers “Avanced Pods” workshop.  I love Jenny’s classes, she’s a great tutor and explains/demonstrates every step very clearly as we work through our creations.

Two examples of Jenny's work displayed with the shells which were her inspiration.

Two examples of Jenny’s work displayed with the shells which were her inspiration.

We all started out with the same size/shape resist and selected our colours from the huge stash of Merino wool on offer.  We began by making a sheet of prefect using three different colours and this would be used to make “craters” in our pods.  Working with our prefelts and resists we started with our inner layer and worked outwards, layering our wool tops before adding the spikes and tails.

The resist is wrapped in white Merino and the spikes attached at either end.

My resist is wrapped in white Merino and the spikes attached at either end.

My top craters and embellishments are added

The top craters and embellishments are added to my piece.

The next stage was to place our outer craters where we wanted them and add silks, wools, snippets of prefelt, etc as embellishment before felting our spikes.

After lots of rubbing the dreaded rolling begins……and Jenny sees to it that her students don’t skint on the rolling!

Rolling, rolling and more rolling.....

Rolling, rolling and more rolling…..

image

Once again the company was great and day past very quickly with Jenny on hand to encourage, inform and see to it that we all manage to complete our work on time.

Two of the ladies had to leave early and unfortunately I didn’t get pictures of their finished work but here are the other seven.

image

image

Detail of my finished pod.

image

image

image

image

image