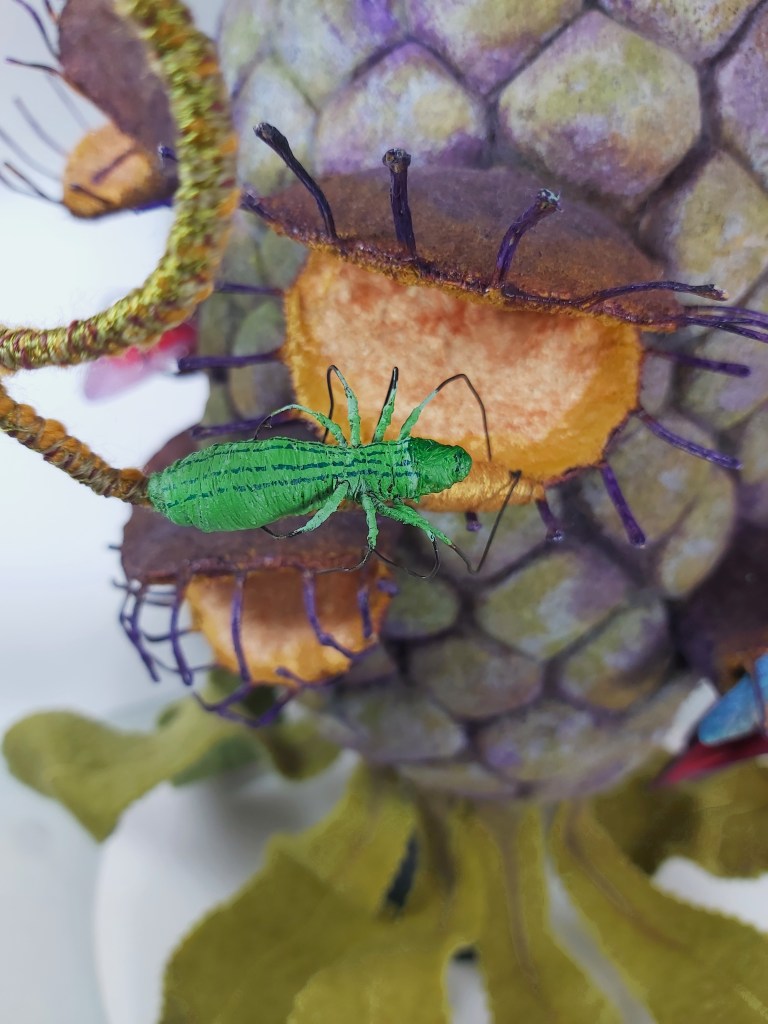
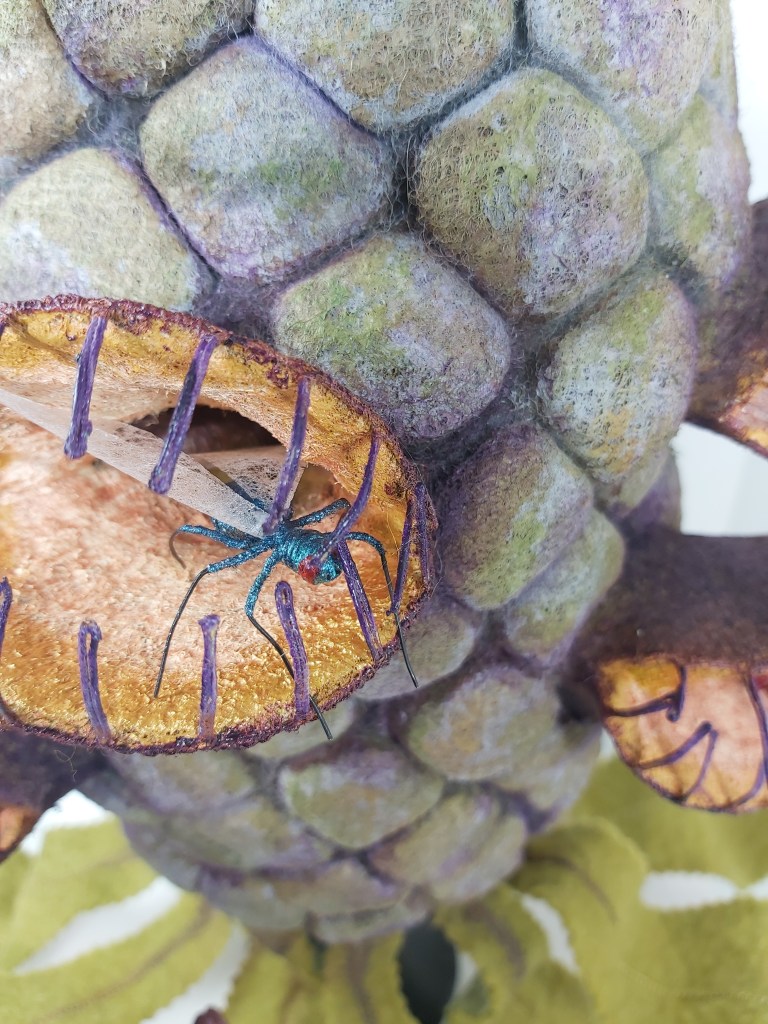
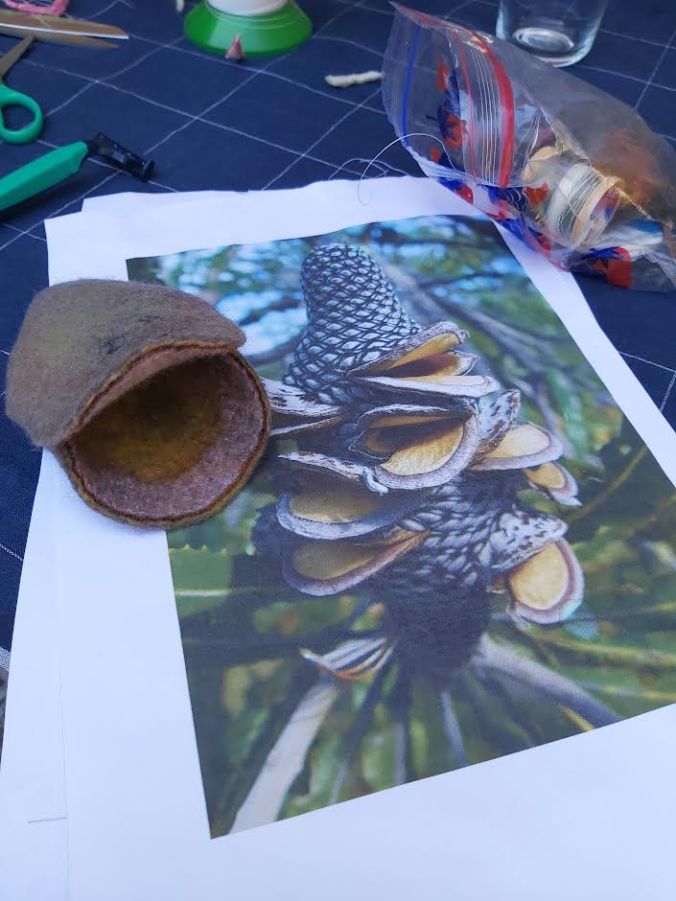
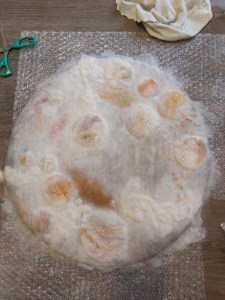
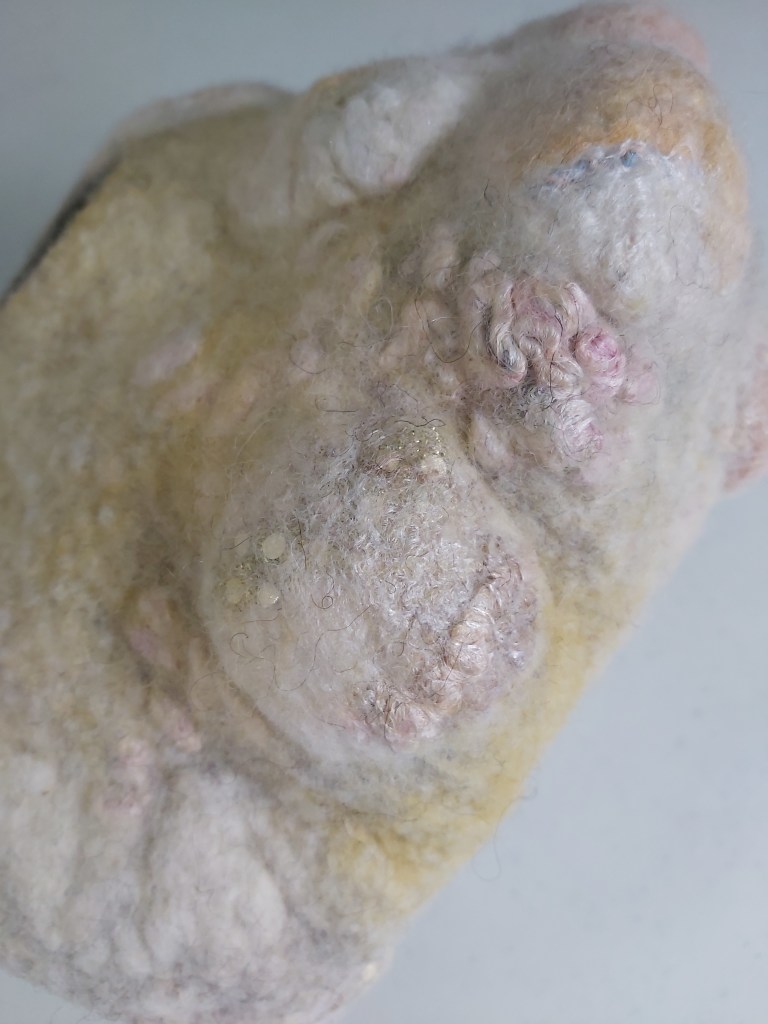
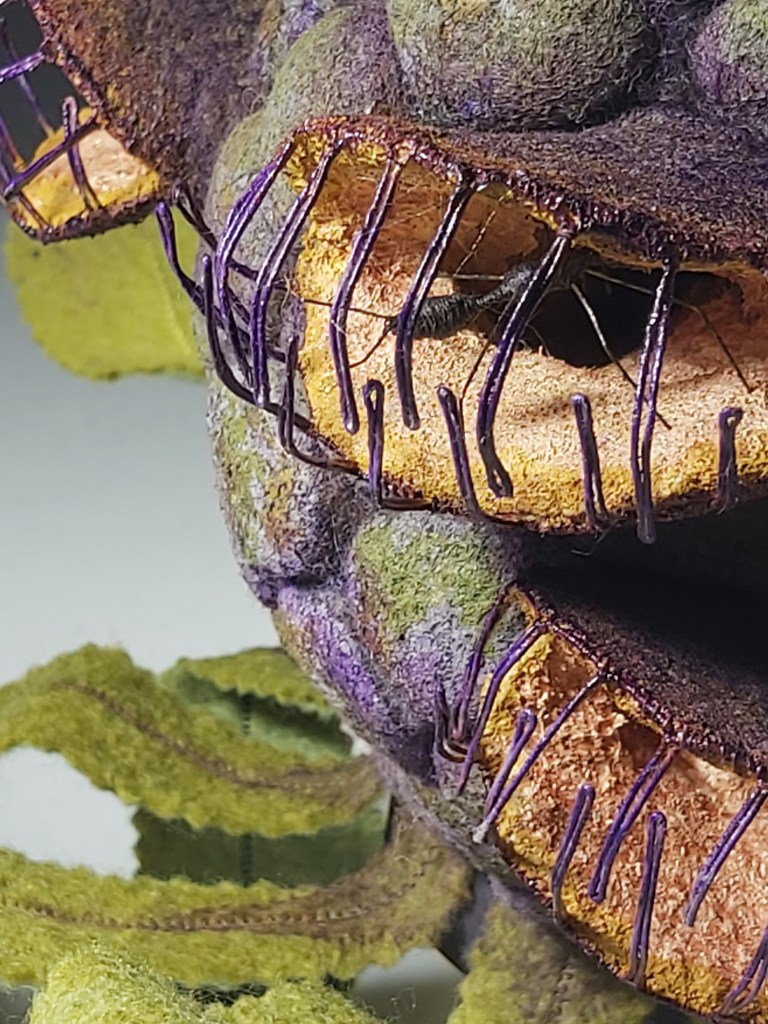
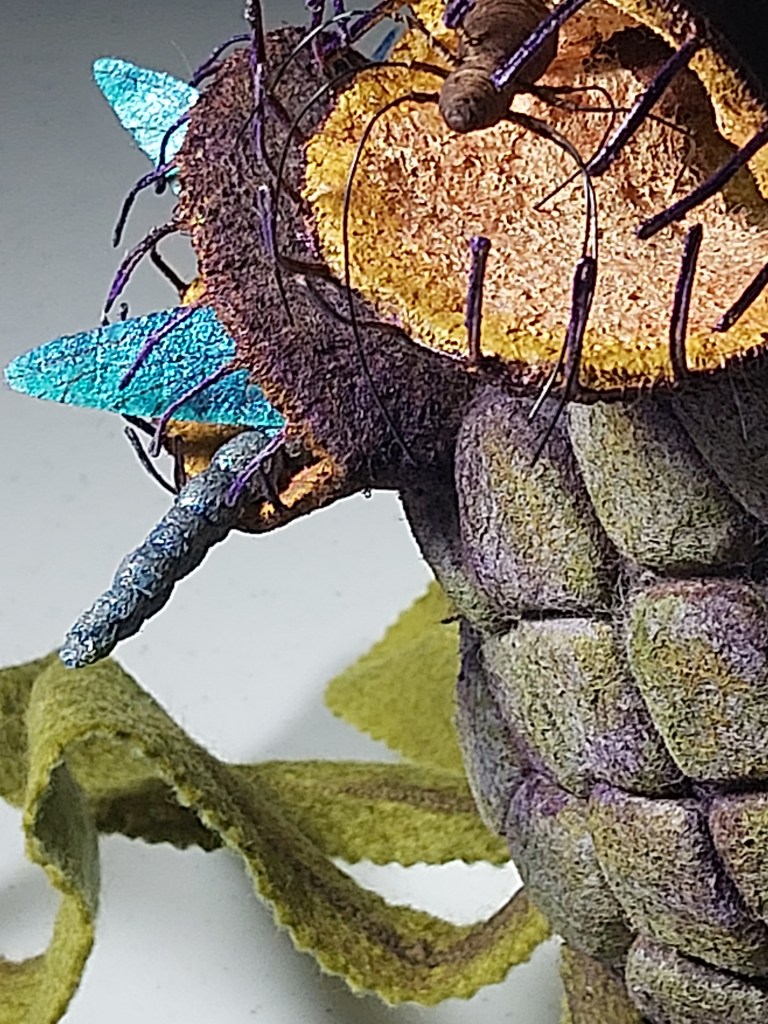
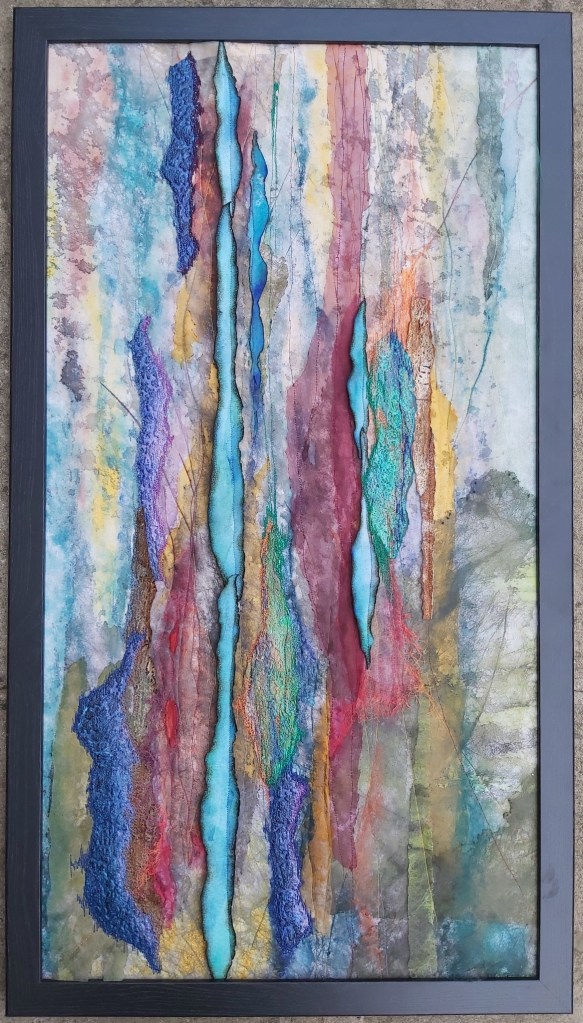
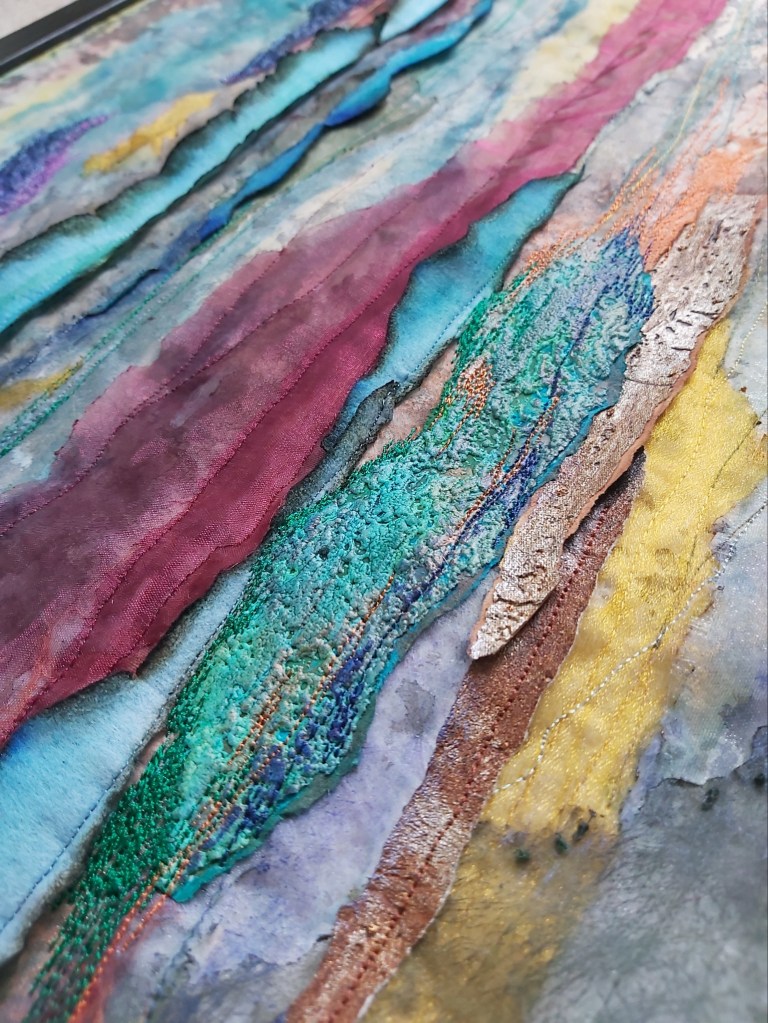
In my last post I mentioned the Iris that I’ve been working on for the Lincolnshire Textile Group exhibition Bountiful Botanicals which will be held in August 2026 in Lincoln Cathedral. Having made numerous leaves, seed pods and flowers in the past using Tyvek I knew this fabric from DuPont would be perfect for the flower project. I think most readers will know of Tyvek fabric but if you don’t it’s made of 100% high density polyethylene (HDPE) fibres. These are randomly laid and compressed through a unique flash-spinning process to form a strong, non woven material that has the properties of paper, film, and fabric. It can be painted, stitched and heat distressed to create wonderful textures and exciting structures.
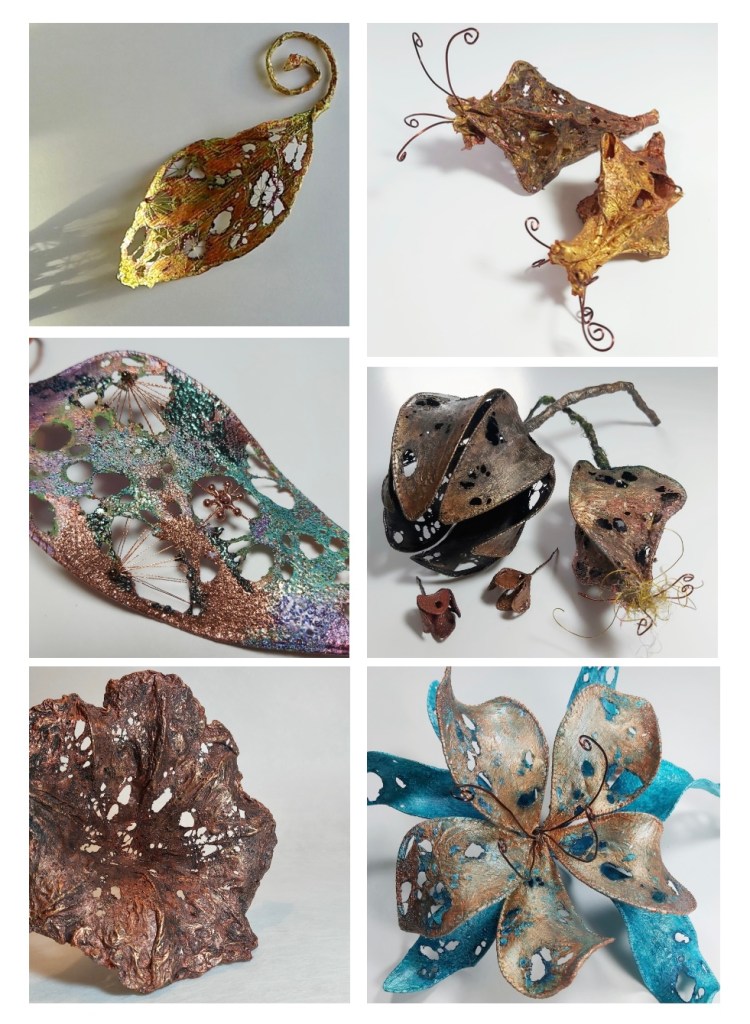
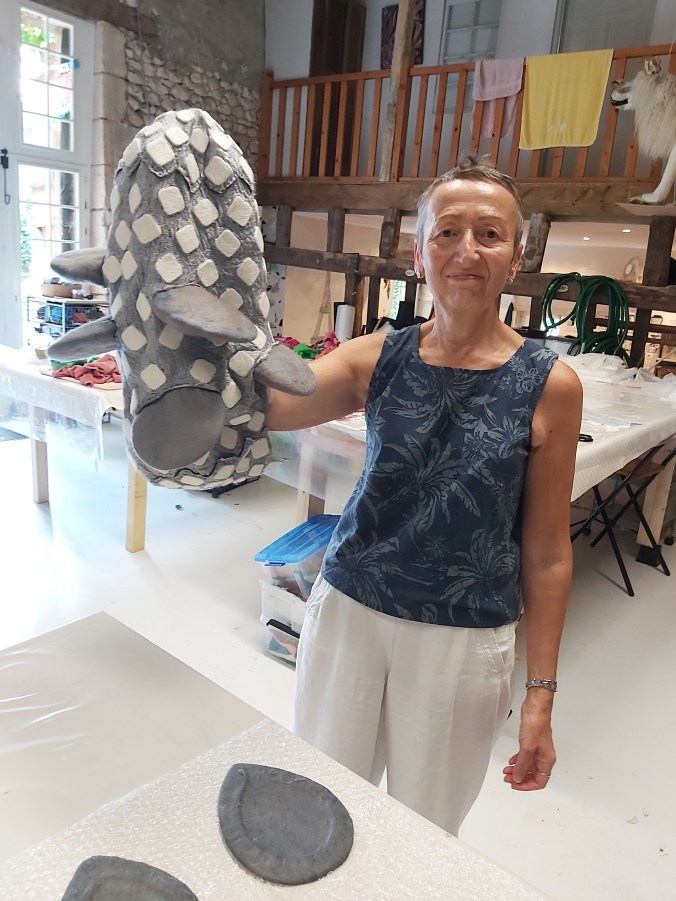
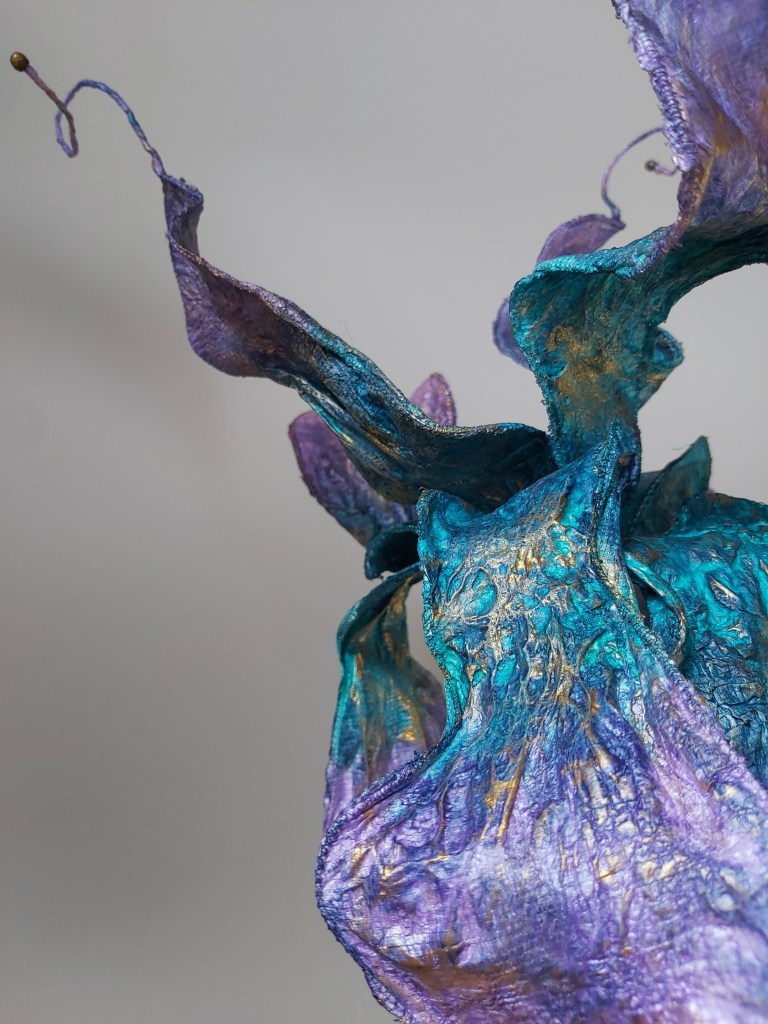
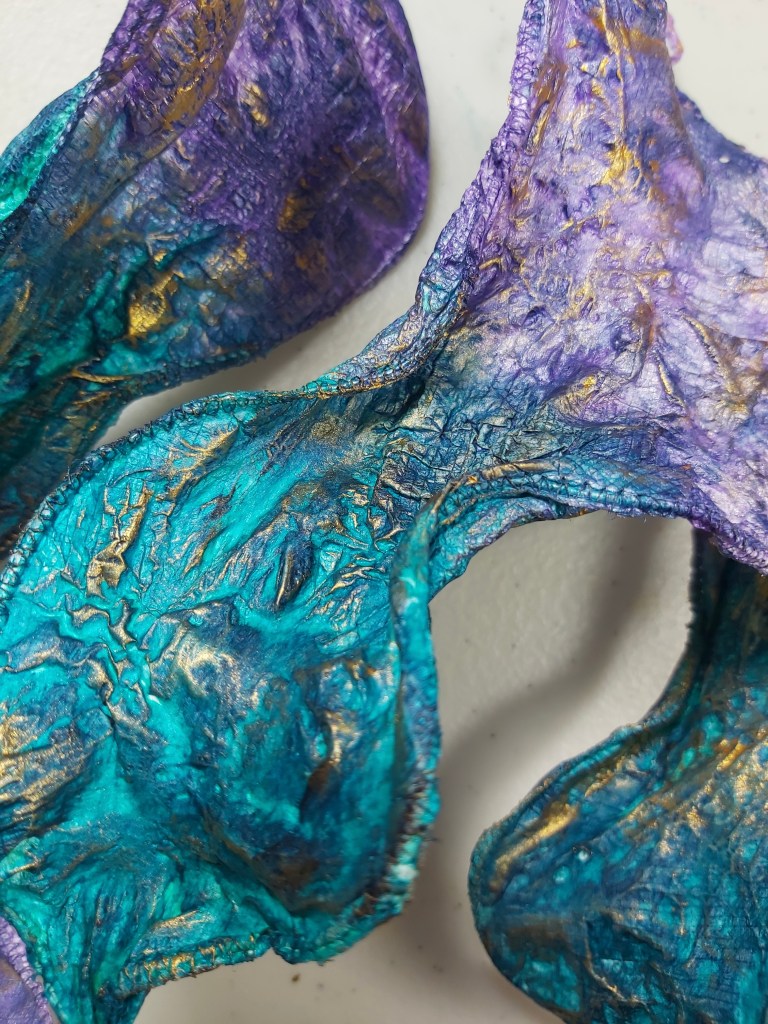
The idea was to create a single, tall slim flower with four leaves. I began by creating the individual petals, four larger ones to hand down and four slightly smaller ones to stand upright. I decided to make this a stylised Iris and added a twirly flourish at the end of each petal, finished off with a gold painted wooden bead.
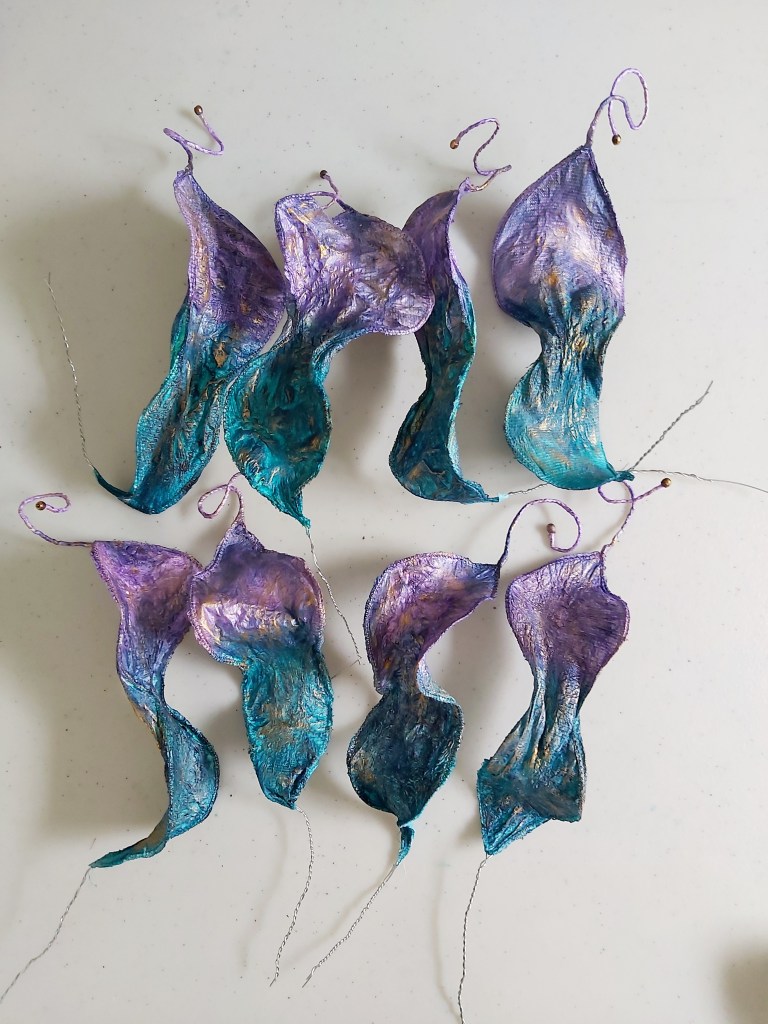
Apart from the B&Q wire for the armatures all the other materials used in this project have been recycled or repurposed including the recycled Tyvek which I now buy in preference to the new, non recycled version. It isn’t as substantial as the original but perfectly good enough for creating petals, leaves, etc. and I love the effects I can get when it’s distressed and painted with metallic acrylics. Although it isn’t yet widely recycled there are specialist centres that are doing this which is good to know.
The stem of the flower is a repurposed garden cane and for the base I found the perfect shaped glass vase in my local charity shop. Originally I was going to felt a “bulb” as a base but I’m glad I went with the vase as it not only provides the stability needed for the display but it also gave me the ideal form around which I could wrap the string, plus it emphasise the verticality of the flower making it appear even taller. I was intending to dye the string but after offering up a few different coloured papers to audition the colours I came to the conclusion that it works better left natural as it gives more focus to the flower itself.

The photo of my flower in situ shows where the choice of colour came from. It stands 112cm tall and the flower head is approx 26cm wide.

If you use Tyvek fabric in your projects and want to try the recycled version it’s available on eBay UK from Spenic-recycling.