Teapot Pincushions…..

Theres nothing on TV so I’m busy making items for the Cranwell Group sales table which will be happening at our exhibition in July.  I found the pattern for these little teapot pincushions in a book entitled “Omiyage” by Kumiko Sudo.  They are quick and easy to create using fabric scraps and polystyrene balls and they make a fun gift for anyone who is keen on sewing.

Multicoloured teapot pincushions

Teapot pincushions.

Front cover of the book "Omiyage" by Kumike Sudo

Omiyage is crammed with wonderful ideas and patterns to make your own Japanese style gifts.


Morsbags update…..

I mentioned the other week that Lincsinstitches has registered with the Morsbags website to make recycled fabric shopping bags.  Our local Age UK charity shop kindly donated a huge stack of fabric for us to use and Molly and I took this along to the February meeting at Sitting Ducks in Branston Booths.  Several of the ladies joined in making bags while others chose to take fabric home and will be handing their bags in at the March meeting.  So far we have 18 bags made and lots of fabric left over to make more.  If anyone is interested in ditching the plastic carrier bag and making their own Morsbag the labels and a very simple pattern are available on their website at www.morsbags.com


Bedroom makeover…..

I’ve been on the lookout for months for a decent weight fabric, in a bold design, which I could use to make a bed throw with matching curtains and a headboard for our spare room.  Nothing leapt out at me so the project got put on the back burner.  Then, just before Christmas, we got a call from family in France saying they were coming over.  That was wonderful news and just the kick up the backside I needed to get the room sorted.  On my next trip to Dunelme Mill I spotted their lined Romolo ready made curtains and knew I had my fabric!  I worked out that a 90″ x 90″ pair would make a double size bedspread, pillow shams and a pair of curtains.  

I still couldn’t find the right fabric to make a headboard so ended up buying a heavy weight cream cotton with lots of texture and dyed it in the washing machine with Dylon “pewter grey”.   Mark cut the board out of 10mm wood.   I padded it with three layers of thick wadding before the grey fabric was stretched over, stapled in place and buttoned.  I’m really pleased with the result and it looks far more substantial than the headboards on sale in the shop where we bought the bed!

The next job is to rub down and paint the second hand furniture bought to replace the old cane bedside units…….maybe a job for next weekend.

Sociable guerrilla bagging…..


It is generally acknowledged that plastic bags are harmful to the environment but so many of us still rely on them when we are out shopping.  Well I’ve just discovered a fantastic initiative to flood the world with free, recycled, reusable and highly sustainable tote bags as an alternative to the plastic bag and I am definitely “in”.  To discover more about the effects of plastic bags on the environment and all about the “sociable gorilla bagging” that is  Morsbags take a look at their website a at http://www.morsbags.com

The site is packed with information on how to make your own (very quick and easy) Morsbag and encourages folk to get together and socialise while sewing.  You are asked to purchase the official Morsbag labels for any bags you make using their pattern but these are supplied at cost for only 5p per roll and 60p postage in the UK so it’s a no brainer!   There are “pods” of Morsbaggers all over the world from the UK to the US, from Canada to Chili and by the end of this evening there will be one in Horncastle!

My finished Summer Garden…..


This is my finished “Summer Garden” piece which, you can see here, was started back in September.   The challenge was to create a 20″ x 15″ quilt using pieces of fabric no larger than 3″ in any direction.  To be true to the challenge I made a background consisting of forty eight small squares machined together and layered this with small scraps of fabric and stitch as demonstrated in the Wendy Dolan book Layer, Paint and Stitch.

Playing Catch-up…..

Once again I am back to playing catch up with projects and posts.  I’ve been feeling pretty down and lethargic over recent months, for reasons I won’t go into on here, but the year is fast coming to a close and it’s time to give myself a good shake up and get back to normal.

So the first project to feature is one I did as a result of being invited down to London to stay with my niece and her husband at the end of November.  They have recently moved house and I got a request to make a pair of Roman blinds for their new study…….what better excuse could there be for a week in London? Sophie chose a lightweight dress fabric for the blinds, which give me a little concern as I wasn’t sure how well they would hang.  It wasn’t the easiest fabric to work with but once they had been lined I needn’t have worried as they turned out fine and thankfully they are both delighted with them.

Roman blinds

The second project was this years “ugly” fabric challenge with Sitting Ducks.  Each year, just before Christmas, one of our members supplies us all with an A4 size piece of fabric (which we probably would never have chosen to use ourselves) and we have to make something with it.  After a couple of weeks of wondering what to do with my green and orange crocodiles, and knowing that I wanted to completely disguise the pattern, I finally hit on an idea and Griselda was born.  She stands 17″ tall, has a wire frame with a needle felted body and fabric wrapped legs & arms.  I added three colours of netting as “wings” to make her into an Autumnal fairy.  I had intended to make her face from fabric but realised, the night before we were due to hand in our pieces, that if I was going to get her finished in time I needed a quicker solution for her face, hence the air dry clay.


Although no-one said anything out loud, once we had all placed our work on the table it dawned on me that mine was the odd one out as Sitting Ducks is actually a “quilting” group.  Hey, ho………I had fun making her anyway!

My New Workroom Blinds…..

The second of today’s “catch-ups” is my new Roman Blinds.  I loved the Jakarta fabric from Dunelm with its botanical theme which I used for Bobs hallway earlier this year and knew I wanted to use it again…….my two workroom windows seemed the obvious place.

The fabric has given the room a very cheerful feel and the off cuts came in useful to make a bright tote bag for carrying my stash and equipment to workshops.

My New Hip Bag…..

I’ve had a lot of distractions lately, hence not keeping up with my on-line journal, so I thought a rainy Sunday is a good time to do a bit of catching up.

One of my recent projects has been this hip bag.  Has any other bag got so many different names?  According to Wikipedia, and depending on where you are from, you might know it as a fanny pack, belt pack, belly bag, buffalo pouch, hip sack, phanny pack, waist bag, waistpack, butt pack (US), waist wallet (Canada), hip pack (UK), belt bag (Philippines), bum bag (UK, Ireland, South America, Australia, New Zealand) or moon bag (South Africa).

  
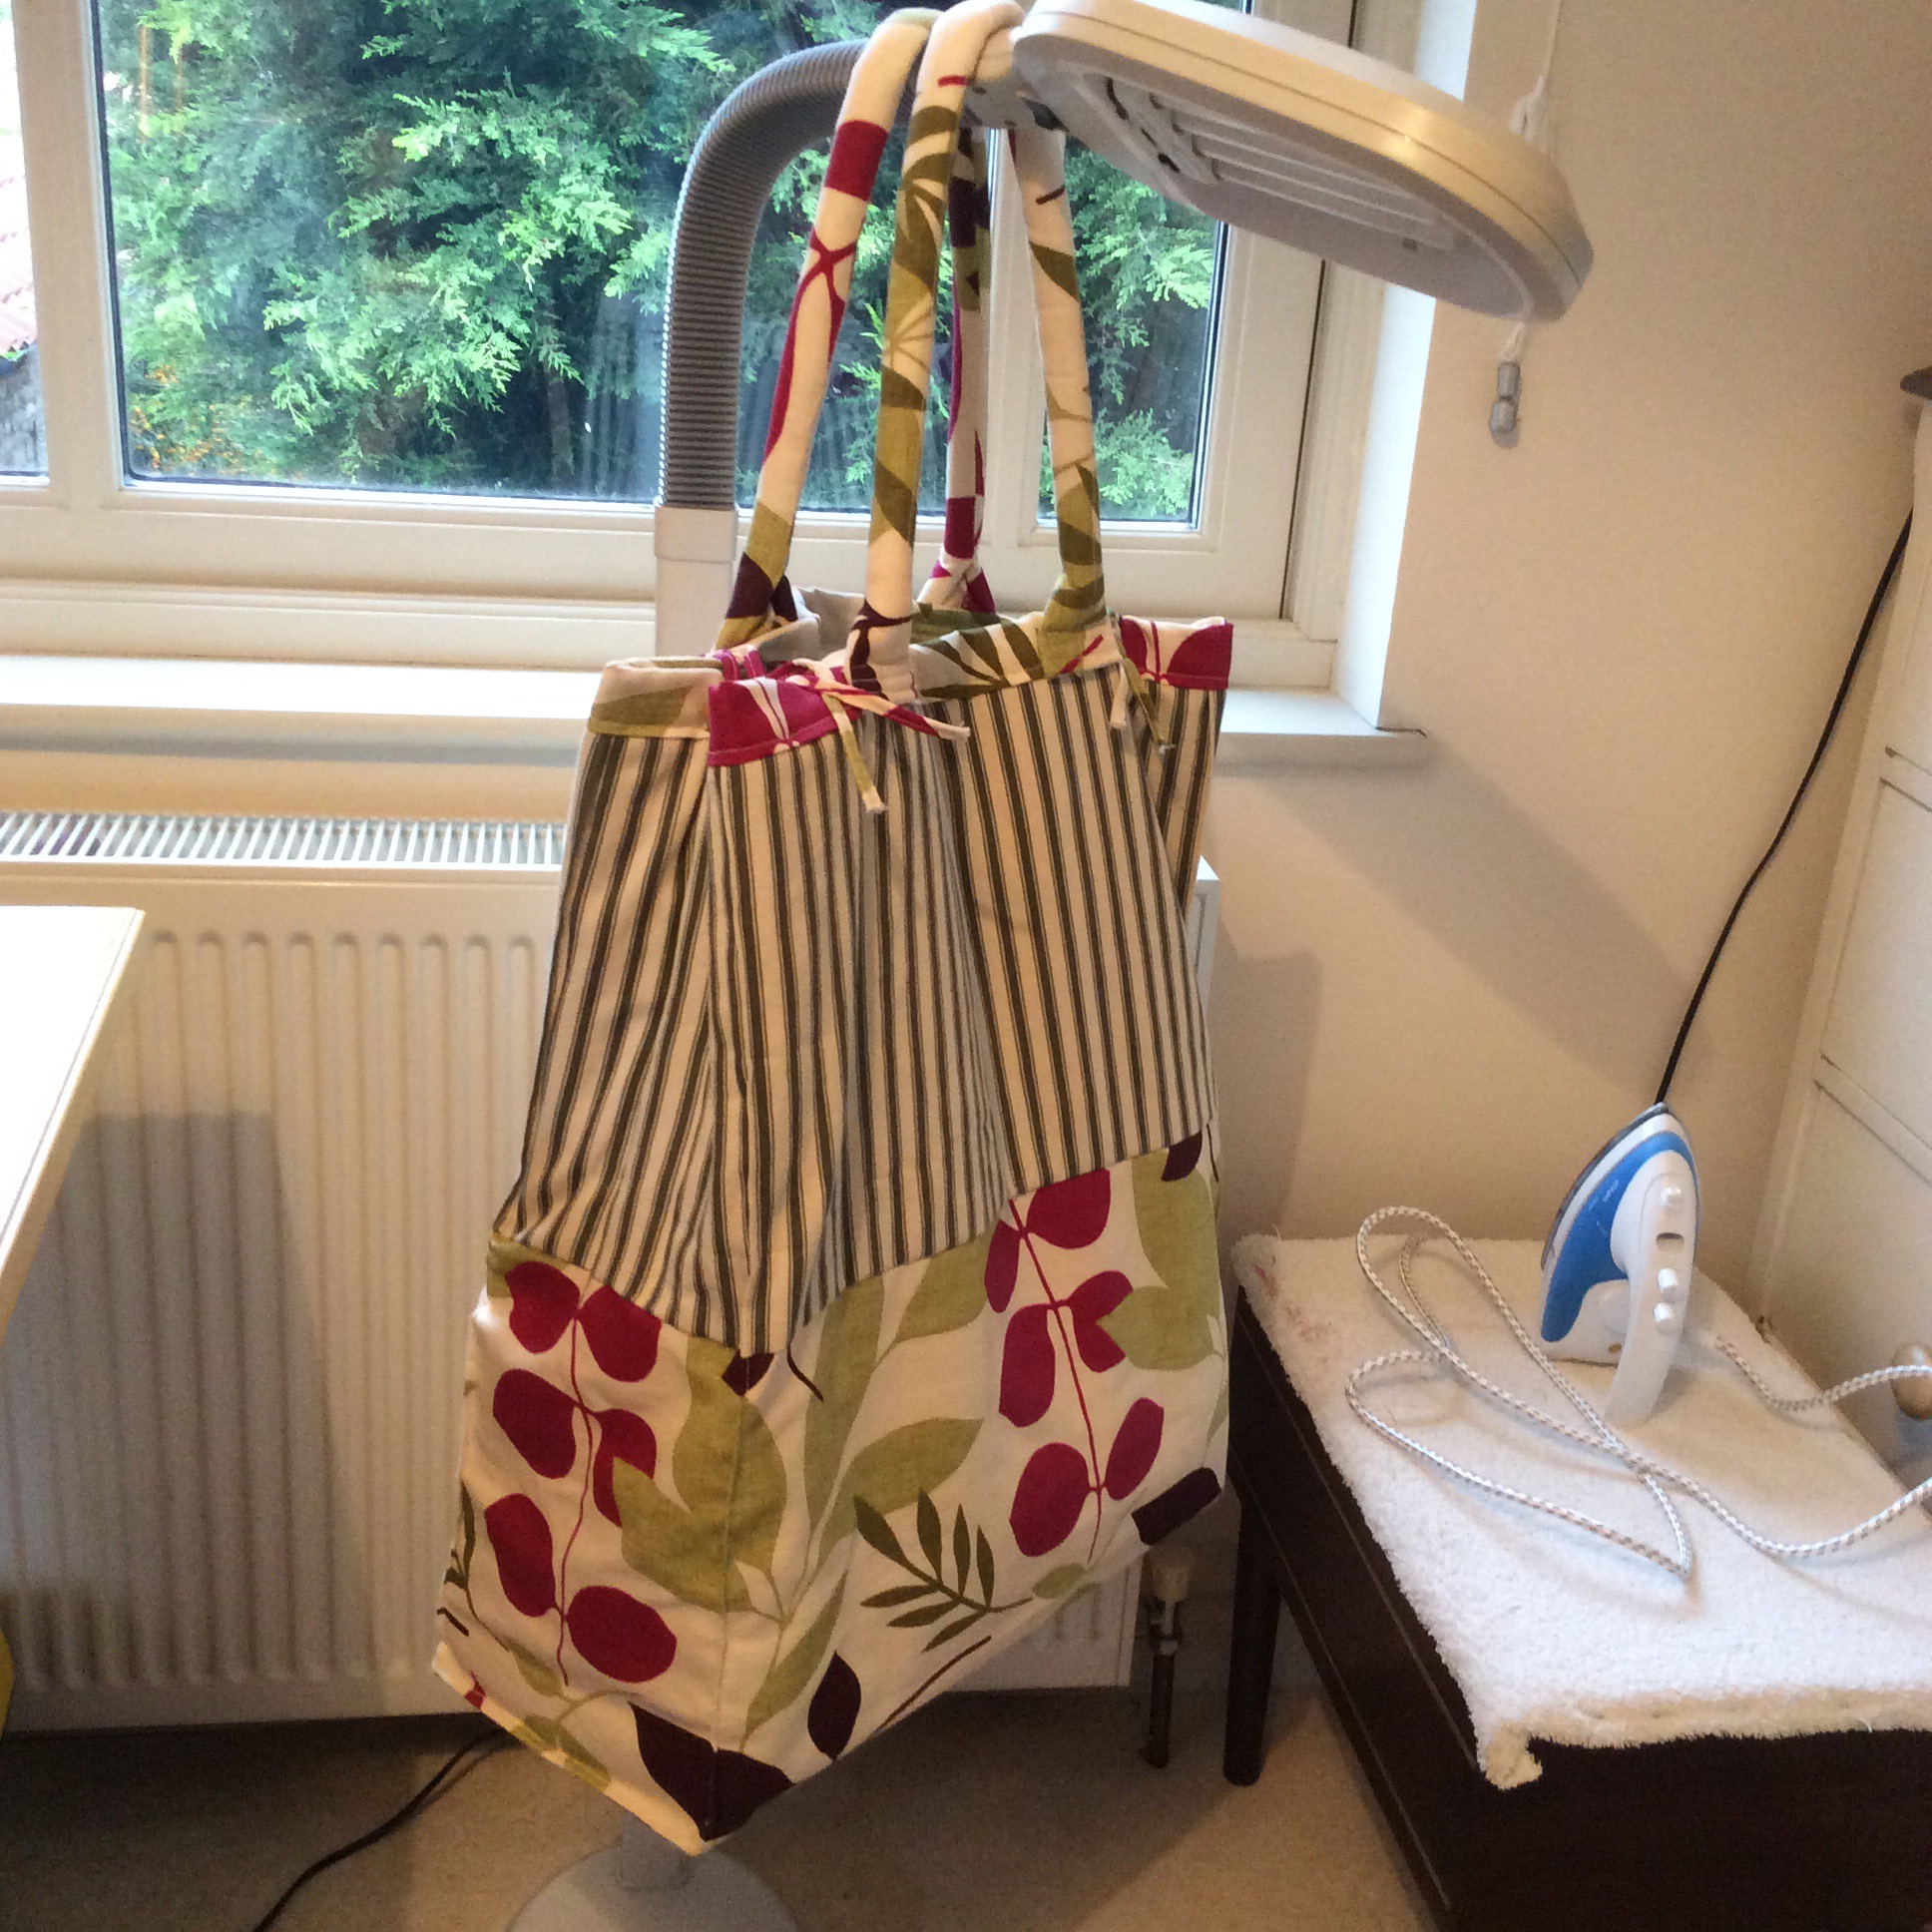
After a bit of research I got the impression that these are an item you either love or hate!  Personally I have always been a fan of them as they are the most practical way of carrying my phone, keys, purse, etc when riding my motorbike, pushbike or walking the dog.  I’ve got several leather “bought” bags but having seen some patterned fabric bags on Pinterest I decided to have a go at making one myself.

  
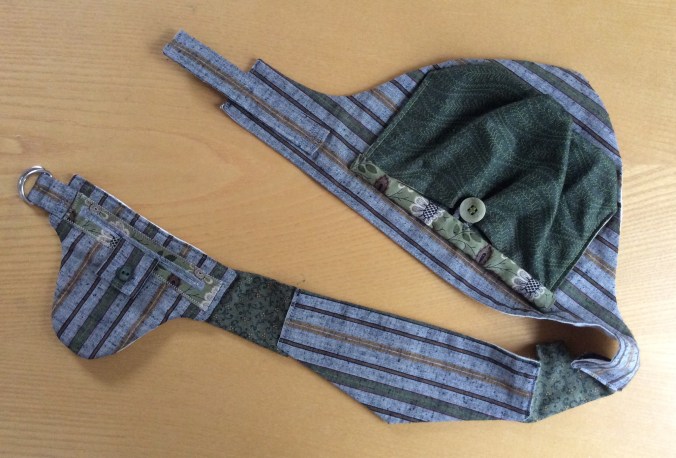
I began by cutting three basic shapes, one for a large pocket, one for a small pocket and a piece for the centre back.  I just loved this striped Japanese tsumugi cotton fabric that I found at a show earlier this year.  It’s quite light weight so I lined it with a heavy weight cotton curtain fabric to give the pockets strength.

 Once these pieces were made up they were all together joined using two short strips of green floral fabric. I considered making eyelets and using a buckle but in the end decided that “D” rings would be quicker, easier and just as efficient for fastening.  

    As I am always putting things down and loosing sight of them my next hip bag might be more of a utility belt with pockets for scissors, tape measure, cottons, etc to keep everything accessible while I’m crafting.


Create a quilt with fabric scraps…..

At the beginning of the Summer members of the Cranwell Group were all asked to submit ideas for future quilt challenges. Although not exactly in sync with the current season, the theme to be drawn out the hat for our latest challenge was “Summer Garden” and for this quilt we were asked to create a quilt with fabric scraps no larger than 3″.

I recently discovered Wendy Dolan’s book Layer, Paint and Stitch and particularly liked the heavily textured project that features on the front cover. I decided to use a similar method to create my Summer Garden quilt.

Layer Paint and Stitch by Wendy Dolan

Layer Paint and Stitch by Wendy Dolan

I sketched out a rough design for the foreground on tracing paper before making a start on the base layer.

image

image

The base layer consists of forty eight 3″ squares of cotton fabric which I pinned to a thin vilene ground and roughly machined in place.

image

Next I added small pieces of different natural fabrics and some flower heads cut from lace and free machined these in place.

image

Create a quilt with fabric scraps

The scraps of fabric that make up the background of the quilt.

More texture was built up by adding flower stems, using a thick thread such as crochet cotton in the bobbin and sewing from the reverse side of the fabric.  I found this a particularly useful tip as in the past if I have needed thick stitching I’ve either hand sewn or couched……this method is so much quicker and easier!

I began colouring the fabric with blue acrylic paint but wasn’t happy with the result so changed to procion dye for the grass and gave the sky a once over with the green to dull it down.  When it had dried I began building up the foreground using sheers for the flower heads and wool for the stems.

I’ve done a lot more work to it since this last photo so will post an update within a couple of days once it’s completely finished.


Three Tall Trees Update…..

Three Tall Trees

Three Tall Trees 30″ x 40″

My Three Tall Trees quilt is finally finished……I think.  I haven’t put as much detail into this 30″ x 40″ quilt as I did the smaller 30cm x 40cm version, however there is the possibility that at some point before this is handed in for the David Hockney Challenge I just might add to it.

30cm x 40cm version

30cm x 40cm version