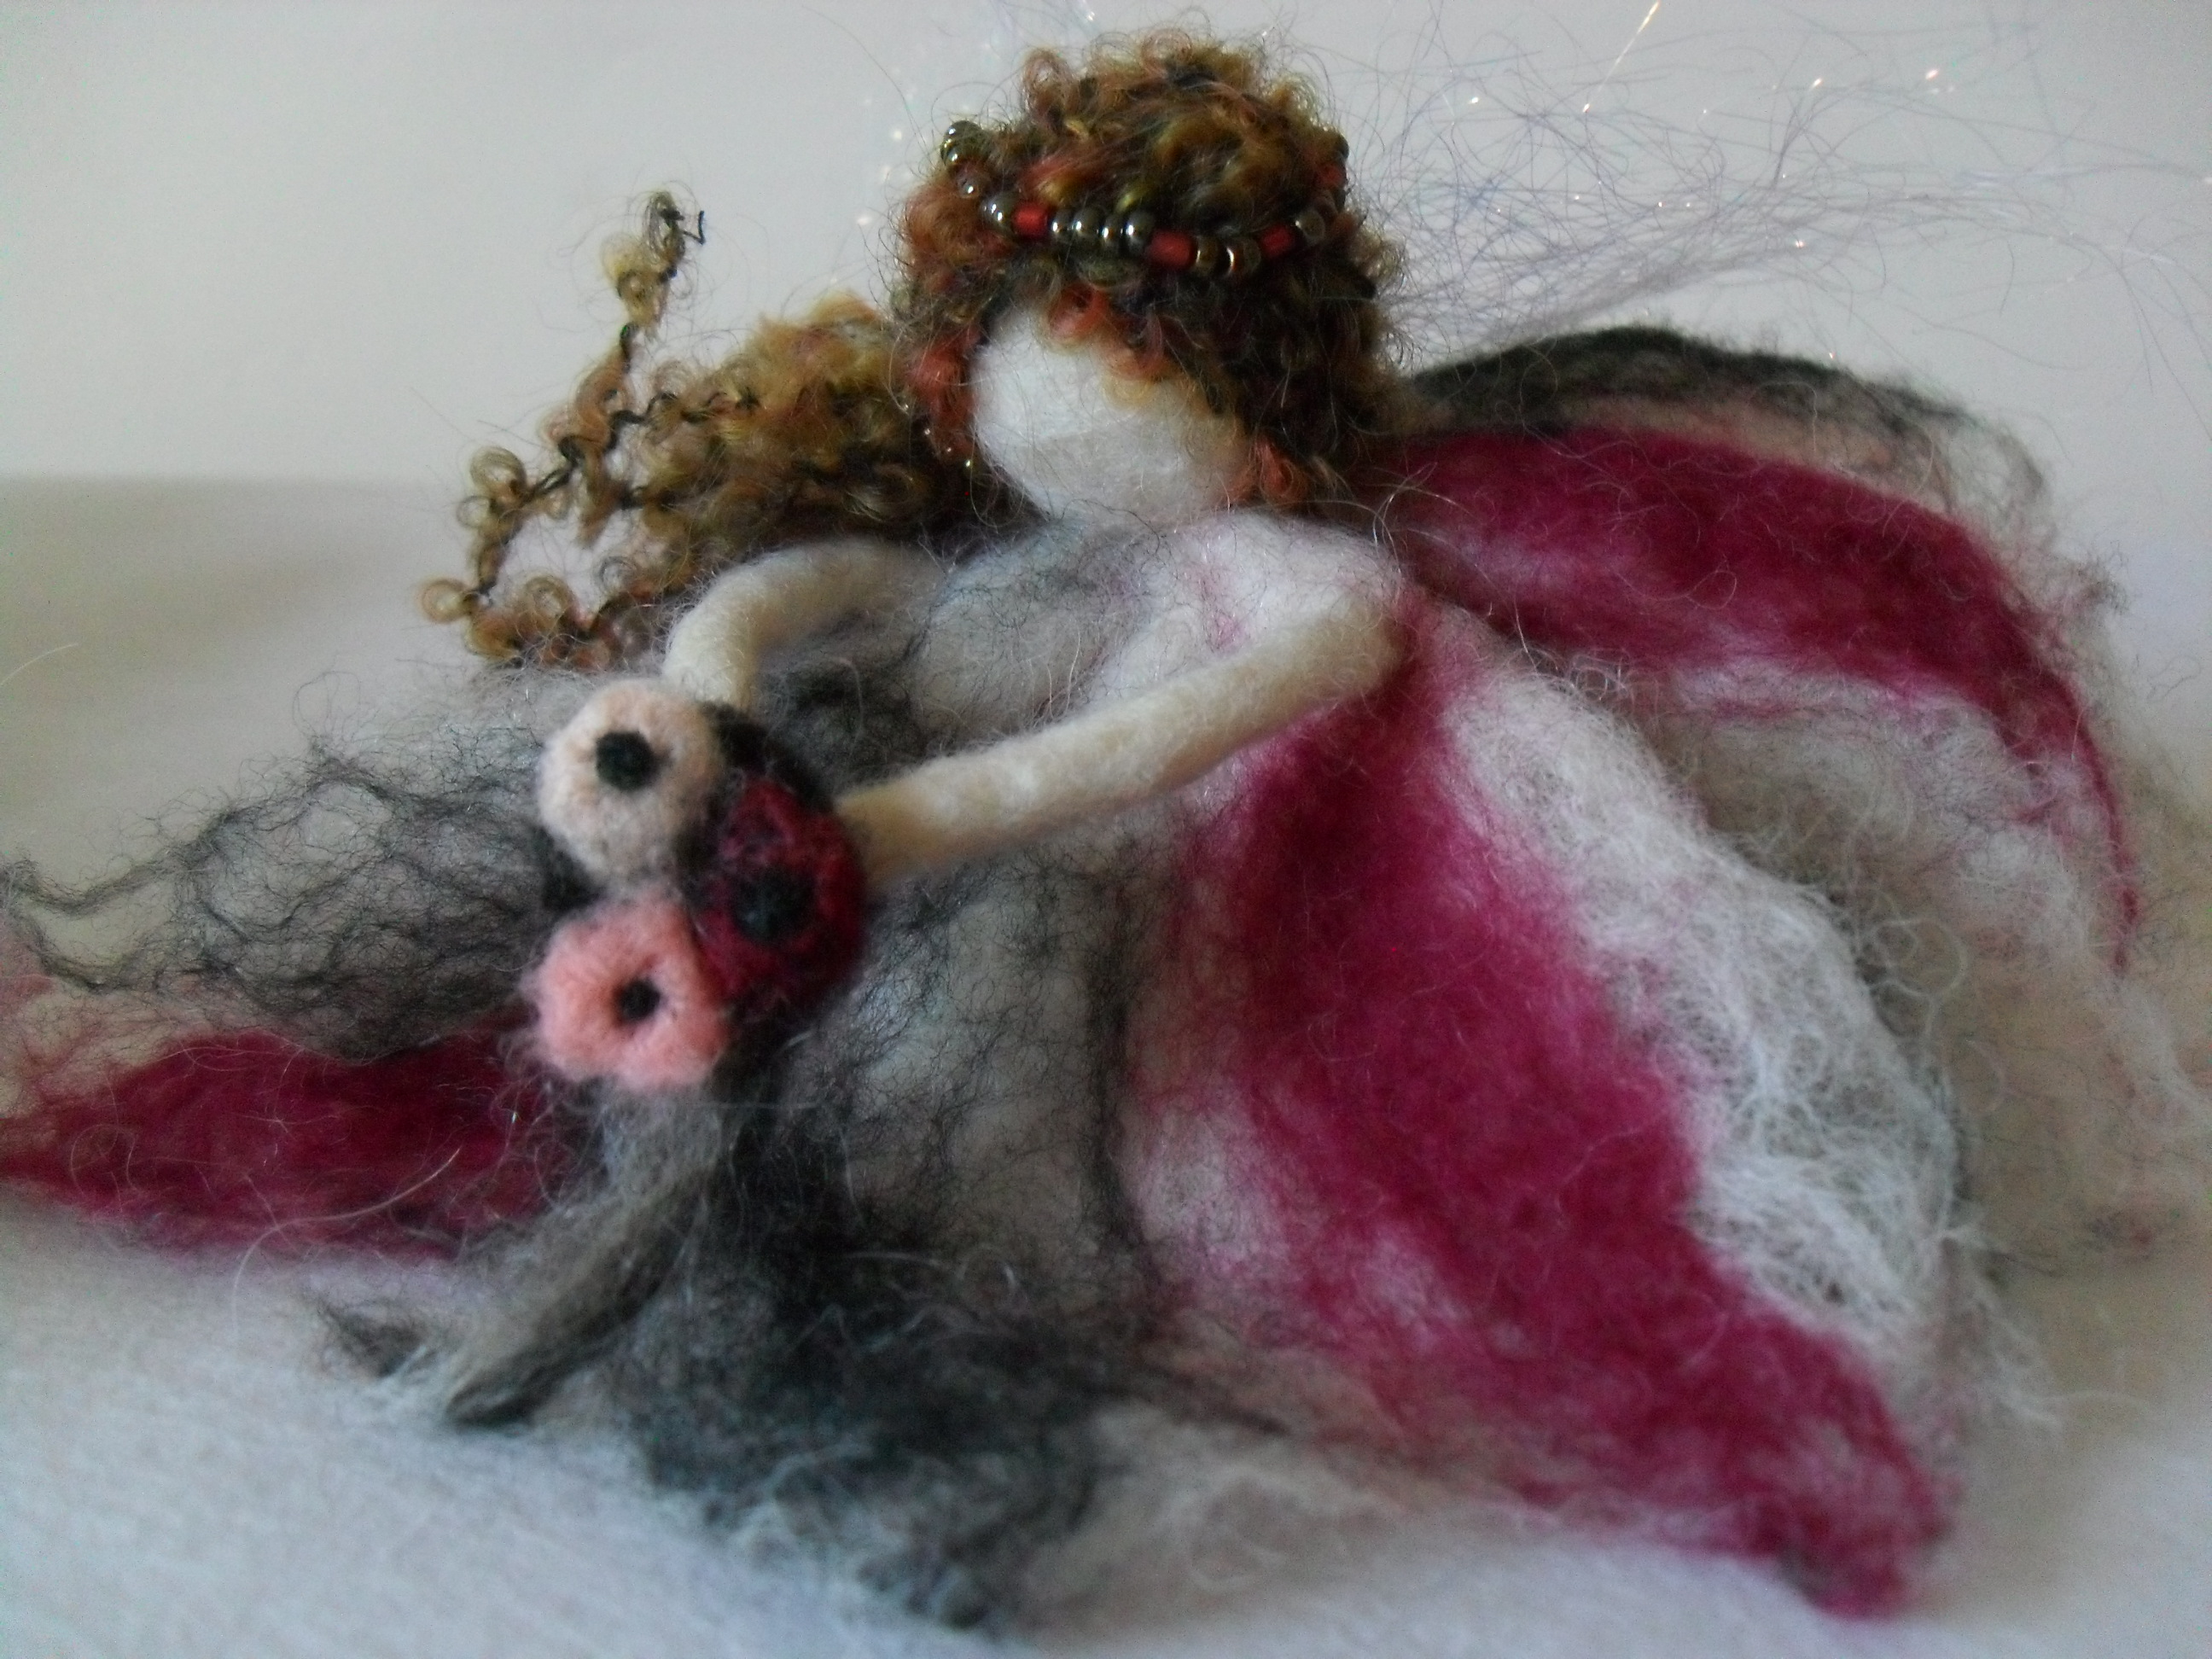
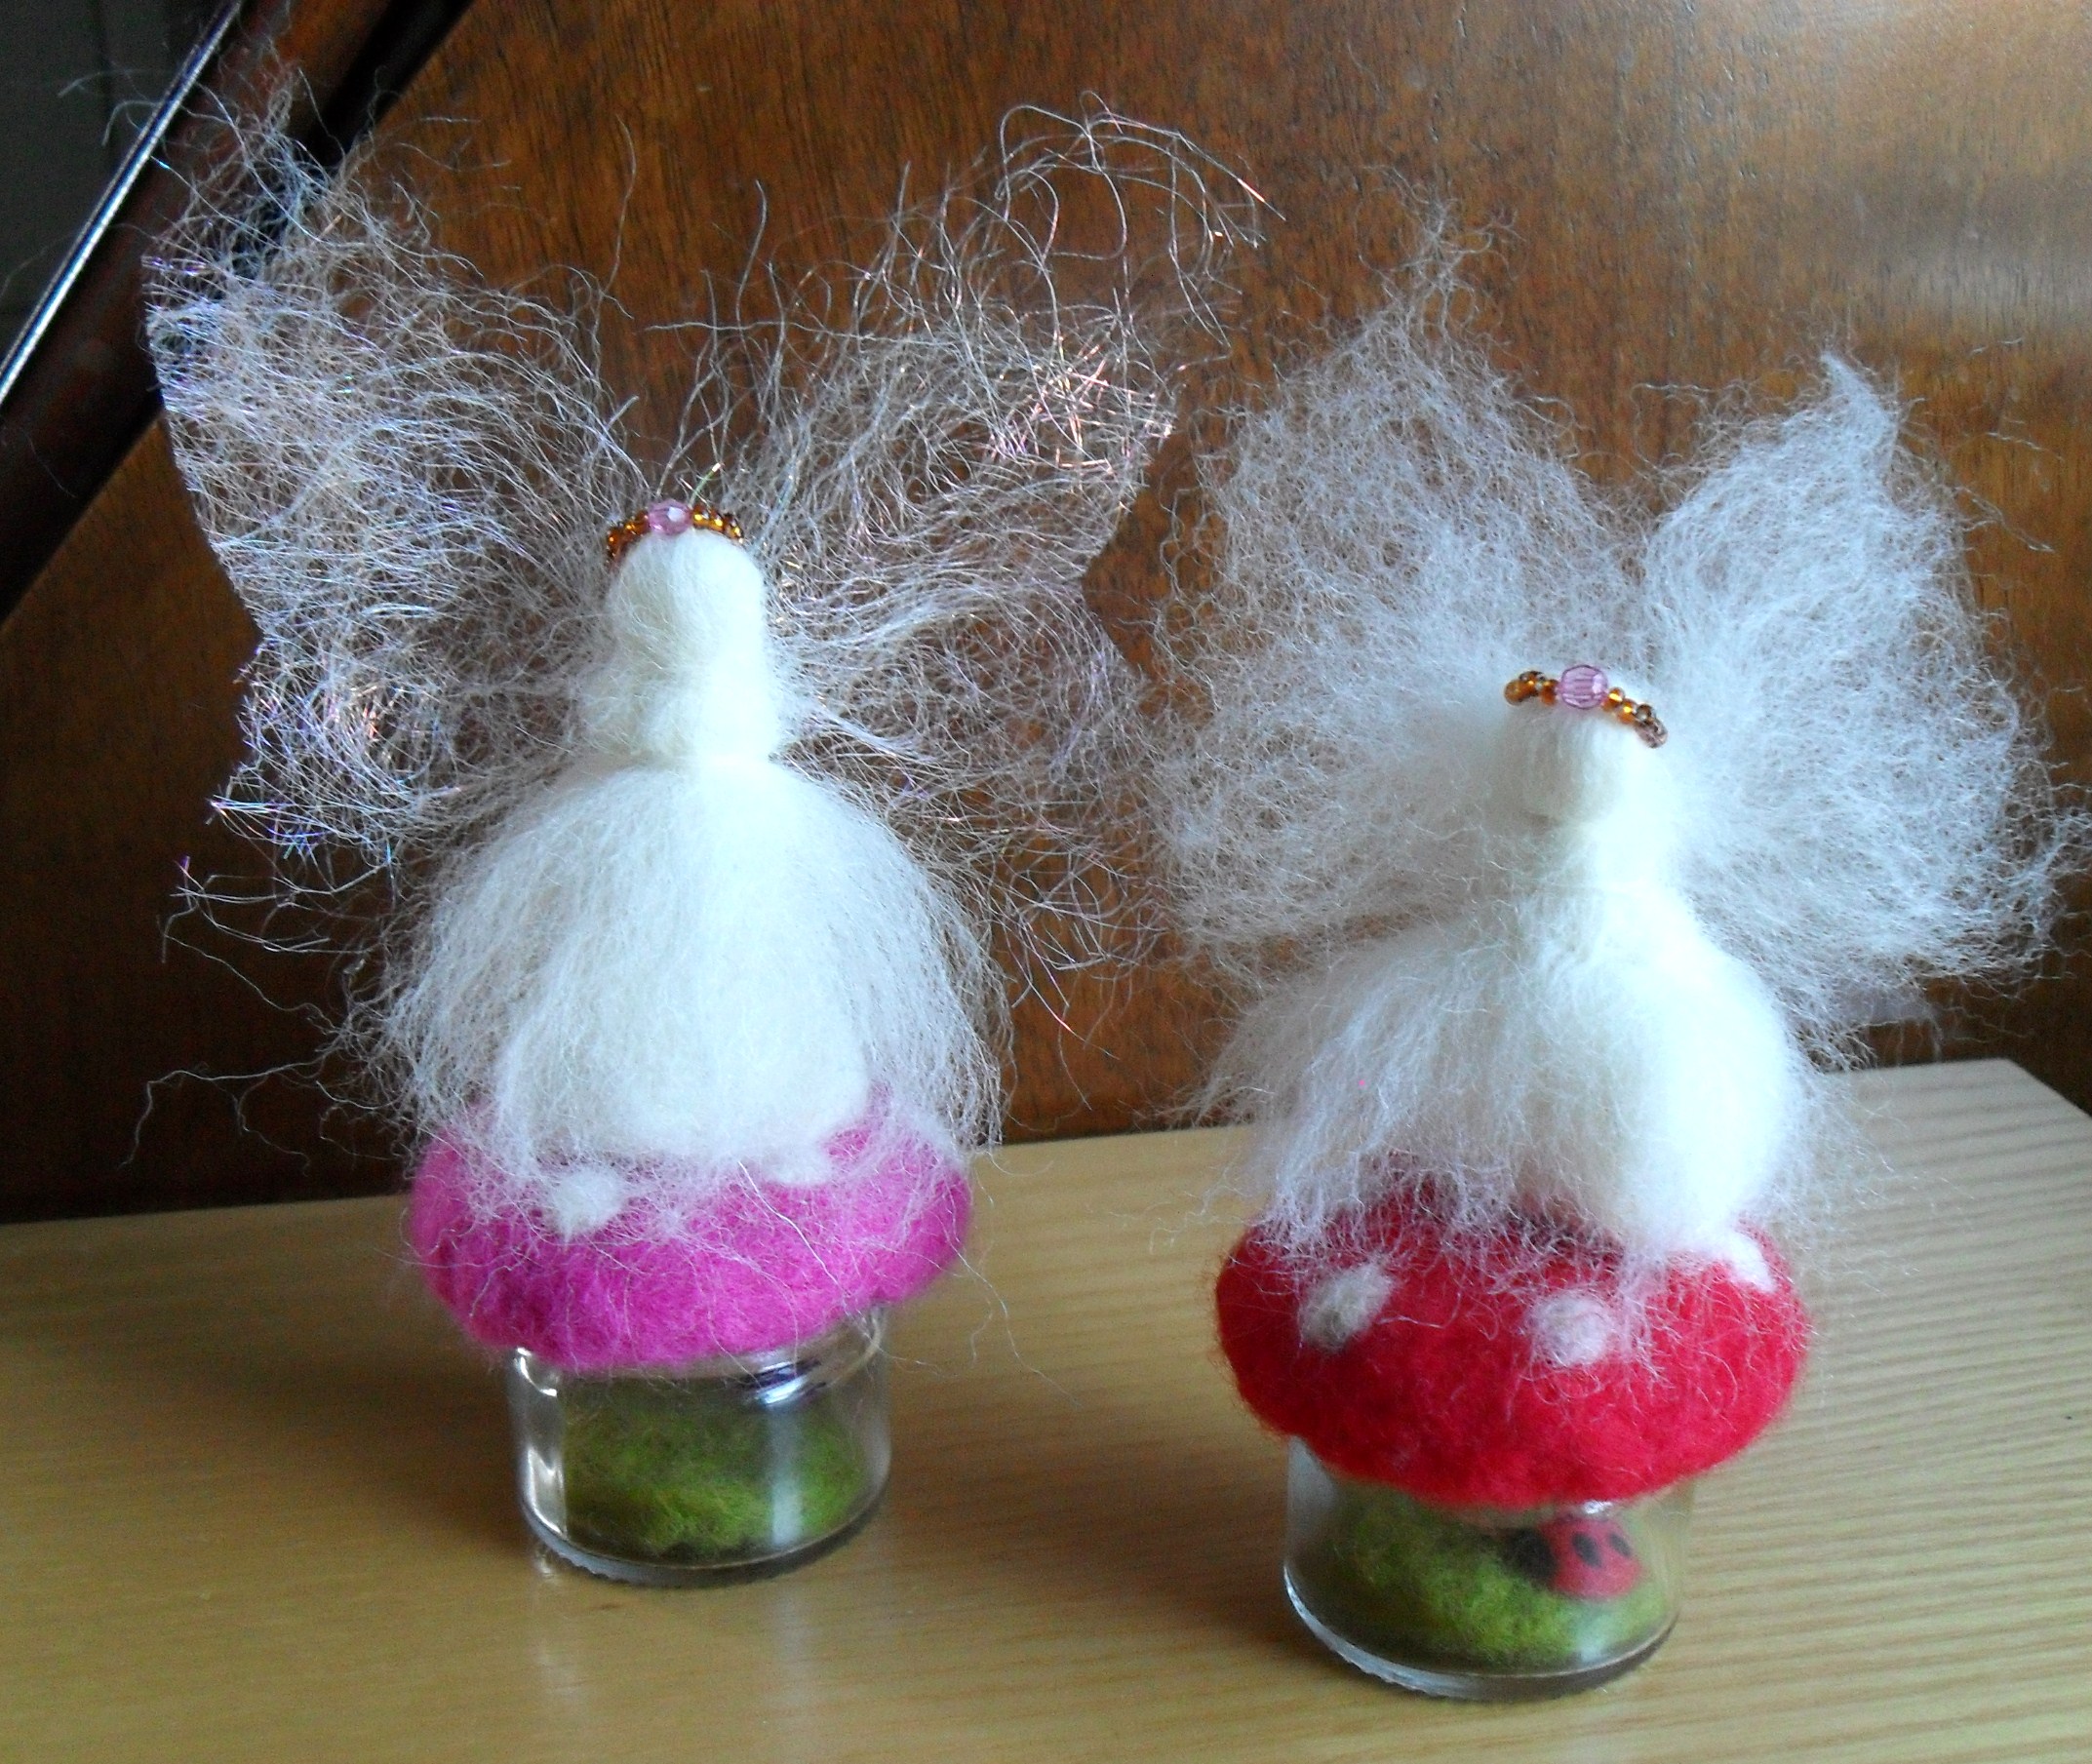
The Tooth Fairy Jar…

Tooth Fairy Jars

Tooth Fairy Jars

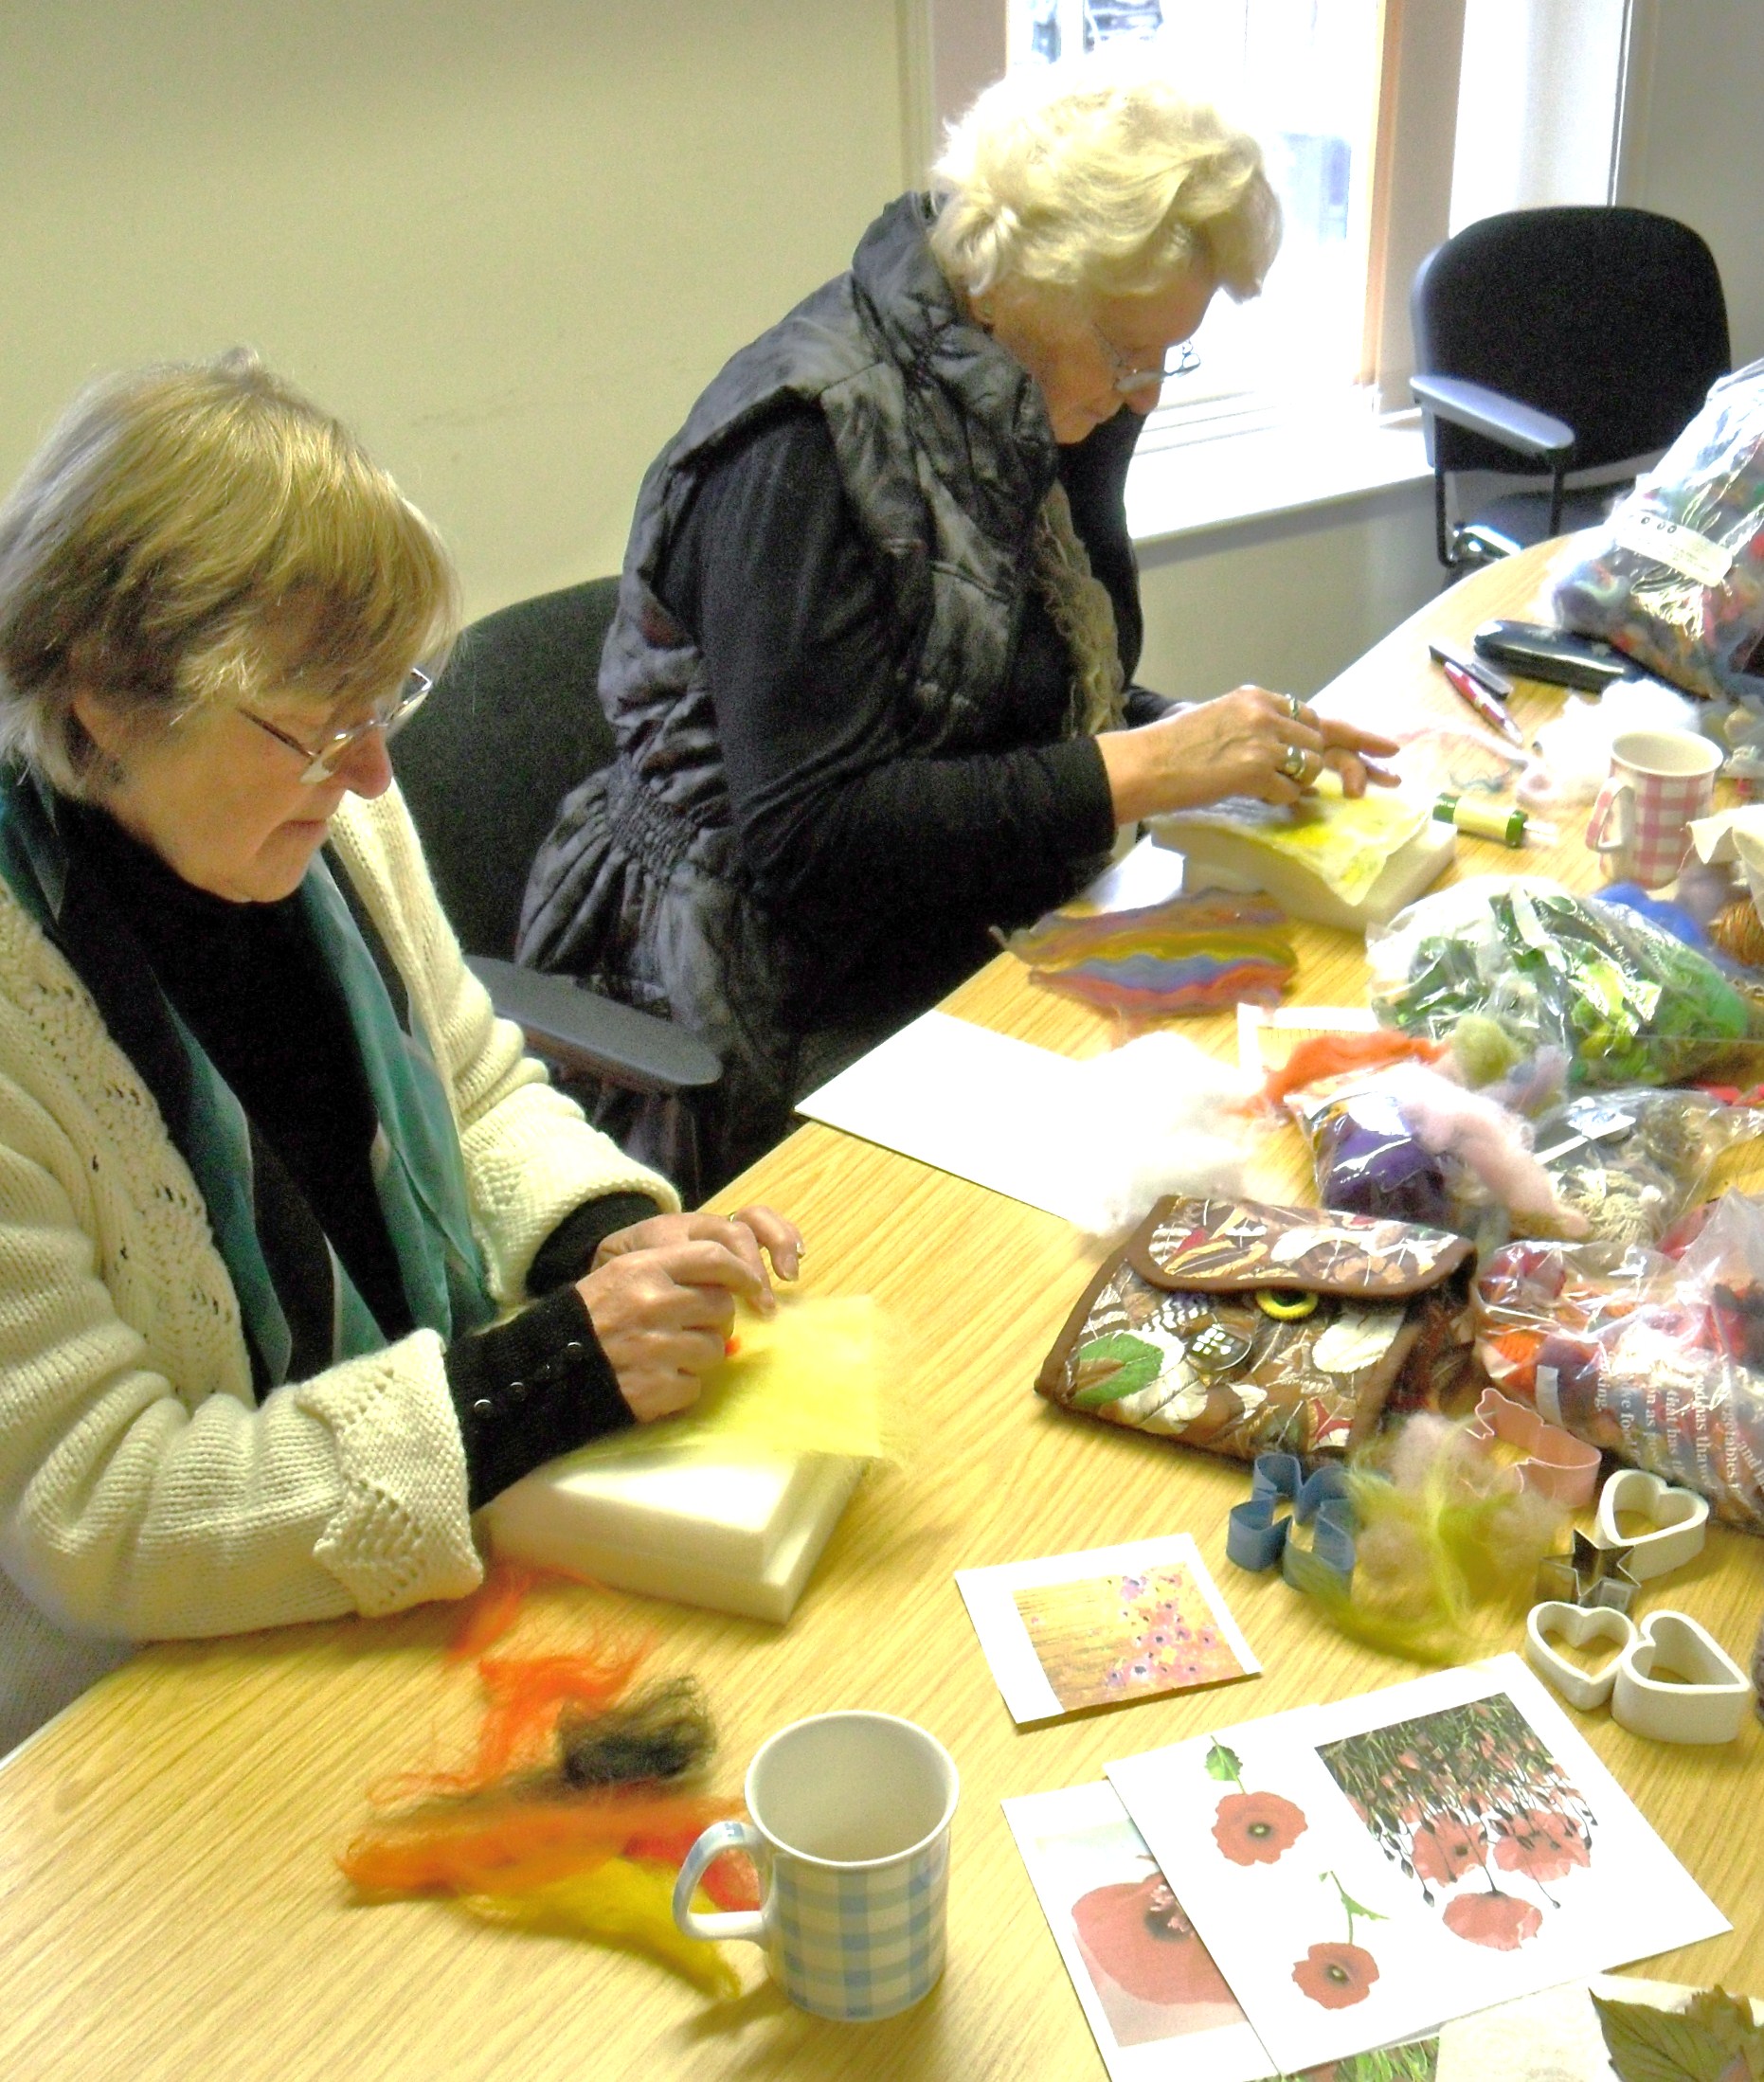
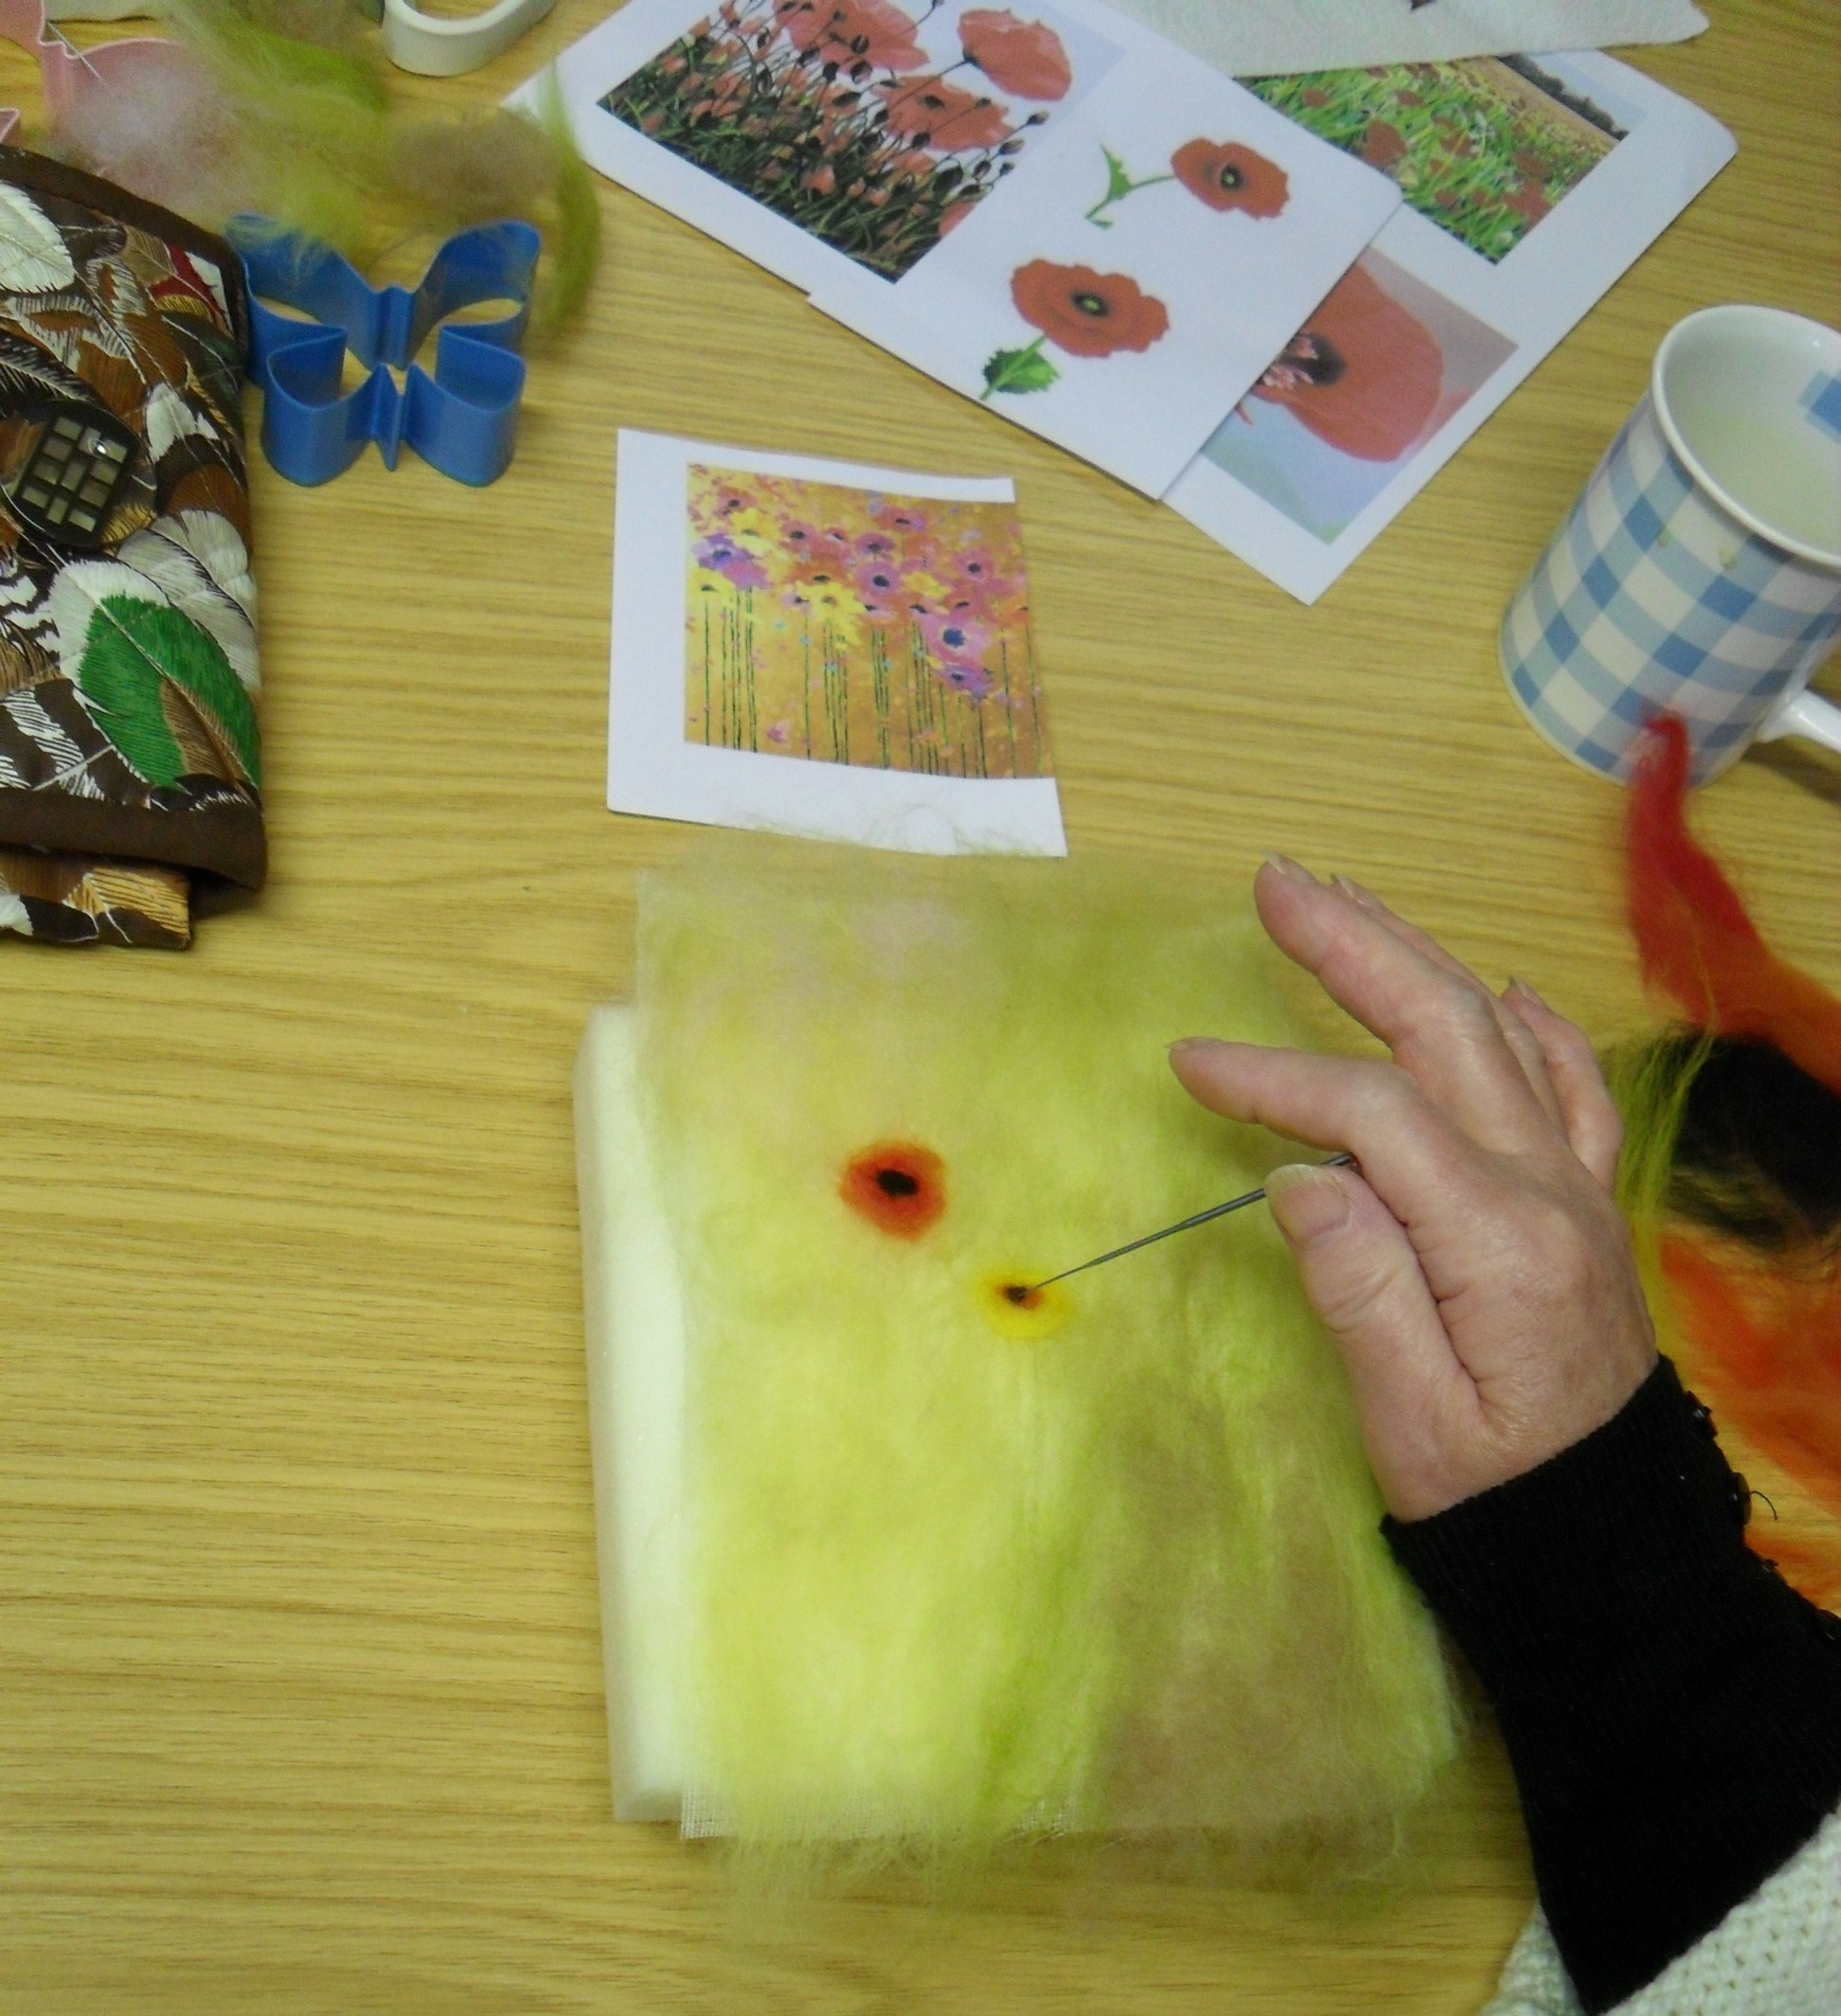
O.K…I know… they are taking over my life…. I am in danger of becoming ‘Fairy’ obsessed but quite honestly I don’t care, I am in my element!  My latest idea is the needle felted Tooth Fairy Jar and I would love to have your feedback on this one.  It combines the fairy and the toadstool and results in a unique (as far as I am aware) gift that the Joseph Banks Centre are keen to put in their shop.  Fortunately Kate, one of the ladies who helps run the shop, is also a fairy fan so we are currently planning a ‘fairy grotto’ area to spread a bit of magic to the shoppers in Horncastle!  Obviously these will not be marketed as toys, and the jar would need to sit on a bedside cabinet rather than being placed under the childs pillow, but I have several friends who are ‘Fairy’ fans so am hoping this is a goer!  The plan is to make several toadstools in various different colours of Merino wool, each one will have a tiny ladybird inside which will be made in the same colourway as the toadstool top.  I have used two different methods for the wings, one is Angelina Fibres, the other is simply Merino top, I like both but the Angelina is nice as it gives that bit of fairy sparkle so this will be the preffered material.

Kate suggested the jars would also make cute little trinket boxes, they are small but could hold a favourite ring, earings, etc.

Tooth Fairy Jars can also be used as tiny trinket boxes.

Tooth Fairy Jars can also be used as tiny trinket boxes.

Pink version of the Tooth Fairy Jar.

Pink version of the Tooth Fairy Jar.

Away with the Fairies….

Away with the Fairies...

Away with the Fairies…

It seems ages since my last post but its been a busy time craft-wise so now I’ve made the time to sit still I have plenty to ramble about!

I attended another of Eve Marshall’s fabulous felting workshops just before Christmas and this one, following on from the Elf on a Toadstool with Robyn, was perfectly timed to feed on my reawakened childhood love of all things magical/mystical.  The basic process for making the body of the wet felted Fairy was very similar to that of making a flower i.e. laying the tufts of fibres overlapping in a ‘starburst’ formation.   One thing to remember before commencing the felting is that the centre of the ‘flower’ will become the Fairies head and therefore the fibre laid here should be your chosen ‘flesh’ colour.

Laying the fibres for the 'Spring time' fairy

Laying the fibres for the ‘Spring time’ fairy

The head is simply a felted ball, but getting the size right was a bit hit and miss to begin with!  The ball is positioned in the centre on the wrong side of the skirt.  The skirt is then pulled tight over the ball and tied in place with thread.  I have discovered that the best thing to use for this is dental floss as its very strong and can be pulled tight without fear of breaking.  At the same time I attached a second length of floss through the top of the head which can be used, if required,  to suspend the Fairy.  The figures are not given a face, these are left blank in the Waldorf tradition.

The head is formed and thread attached for suspending.

The head is formed and thread attached for suspending.

Wet felted fairy.

My first attempt at a wet felted Fairy.

Although I was pleased with my first attempt, she now looks pretty crude compared with the ones I made over Christmas!   The black hair on this first Fairy was made from wool top and attached by needle felting….I prefer the hair on the more recent examples which I made using a textured knitting wool and decorated with a headband of tiny beads.

Each Flower Fairy is decorated with a beaded headband and carries a posy.

Each Flower Fairy is decorated with a beaded headband and carries a posy.

Springtime Fairy

Springtime Fairy

The delicate, translucent wings are formed using ‘Blaze’ heat bondable Angelina Fibres – I hadn’t heard of these of these before but I can see them being useful for all sorts of future projects!  To make the wings the Angelina Fibres are simply laid between two sheets of paper and ironed using a medium heat setting for a couple of seconds.

Gothic Flower Fairy

Gothic Flower Fairy

When I made the ‘Gothic’ Fairy I couldn’t find a suitable wool for her hair so I simply used a permanent marker on the orange wool and the result looked fab!  This one is my favourite so far…she worked out smaller than the others and looks so cute….which is your favourite?


Brooches now on sale….

It’s been brooches, brooches and more brooches over the past week or so!  Originally I began making these for myself but, after getting such a lot of interest, I now find myself making them to order.  This week I am particularly excited as Joanne from Graces Boutique in Horncastle has offered to display some of them for sale in her shop.  

Joanne recently moved Graces a couple of doors down the road into larger premises and this has allowed her to create a fabulous stylish setting for her beautiful clothing – if you are looking for something different to the run of the mill High Street styles this is a great place to visit. 

Stylish Autumn/Winter Coats on display in Graces Boutique.

Stylish Autumn/Winter Coats on display in Graces Boutique.

Fabulous Autumn/Winter clothes and accessories on sale in Graces Boutique.

Fabulous Autumn/Winter clothes and accessories on sale in Graces Boutique.

Graces Boutique on North Street in Horncastle.

Graces Boutique on North Street in Horncastle.


3D Needle Felting

Last Saturday I attended a 3D needle felting workshop in Heighington run by Robyn Smith of Feltybits.  Robyn began by showing us various peices of her fabulous 3D work and she explained the different techniques of producing the shapes.  We were then asked to chose what we would like to work on and Robyn supplied us with the Merino wool and all the help and advice we needed.  One of the peices we were shown was a tiny toadstool which immediately took me right back to my childhood and the many hours I spent drawing toadstools and elves!  The workshop lasted four hours and it took me all that time to do the basic toadstool and elves body but I loved every minute of it.  Sunday afternoon I was in my element – adding the details including the tiny flowers and the ladybird and putting features and clothes onto the elf.  I was so pleased with the result….I am now even more hooked on felting, if that’s possible.!!

3D Toadstool and Elf created using Merino wool.

3D Toadstool and Elf created using Merino wool.

toadstool-and-elf-2

toadstool-and-elf-3


Autumn Leaf – 3D Picture

This beautiful 3D picture was one of several produced by Sheila during our needle felting workshops.  Sheila worked with Merino wool and other mixed fibres, on a white felt background, to create a stunning autumnal scene.  The picture focuses on the fallen leaf which was felted separately and added loosely in order to create a 3D element to the artwork.  Felt is a fantastic medium for creating pictures – you don’t have to have the ability to paint but once you have mastered the basic techniques of felting you can produce fabulous artwork using the wool as your paint substitute.  Adding other mediums such as organza or tulle fabrics, metallic threads, beads, etc. can also provide interest and added depth to your work.  Keep watching for more great examples of felting produced in our workshops.

Needle felted autum leaf - 3D picture.

Needle felted autum leaf – 3D picture.

Needle Felting at Joseph Banks

The second of the Felting Workshops, held at the Joseph Banks Centre in Horncastle, saw the ladies creating fabulous needle felted pictures with the intention of applying them to greetings cards.  All equipment and materials were provided as well as lots of images and examples for inspiration.

Needle Felting at Joseph Banks

“Hair of the dog” 3D modelling…

Sometimes we find inspiration when we are really not looking for it….  On Monday I watched in amusement as a friend of mine sheared “Lady”, a little terrier, giving her coat a close-cut number “2”.  I couldnt help thinking of the Specsavers advert and that poor sheepdog!    Thinking of sheep led me to wonder if I could use the curly dog hair, that was now covering the floor, for felting….and if so, wouldnt it be cool to make a needle felt 3D model of the dog and cover it with its own hair?   A quick look on youtube to get some tips on how to form the body and I discovered DIY Puppy Plushie….a couple of hours later we have “Lady” in miniature.   Rather than waste my Merino I used polyester wadding for the core but have since been advised by a very helpful lady at Adelaide Walker that Cheviot wool makes a good base.  The Cheviot’s on order so I am now looking for inspiration for my next project.

Needle felted miniature dog

Needle felted miniature dog

Needle felting using dog hair.

Needle felting using dog hair.

November Needle Felting Workshops

Joseph Banks A4 jpeg

My love of needle felting is fast growing into an obsession!  So much so that I decided I had to share my interest with others and found myself, last Saturday, launching the first of the  November Needle Felting Workshops which are being held in The Joseph Banks Centre on Bridge Street in Horncastle.  We had a packed house with a lovely bunch of ladies, some had tried needle felting in the past while others were completely new to it.  Various techniques were shown and discussed and everyone was given the option of selecting their preferred method of working.  All equipment and materials were supplied, including fabulous Merino wool and by the end of the two hours everyone agreed they had had a good time and each of them had produced a beautiful, unique felted brooch to take home.  One of the ladies contacted me the day after to say she had been wearing her brooch while out shopping and had received lots of admiring comments – not bad for a first attempt!

I will be holding the next session on Saturday 9th November from 10am – 12noon.  All ages/abilities welcome but please note that numbers are limited so please refer to the poster for contact details as booking is essential.