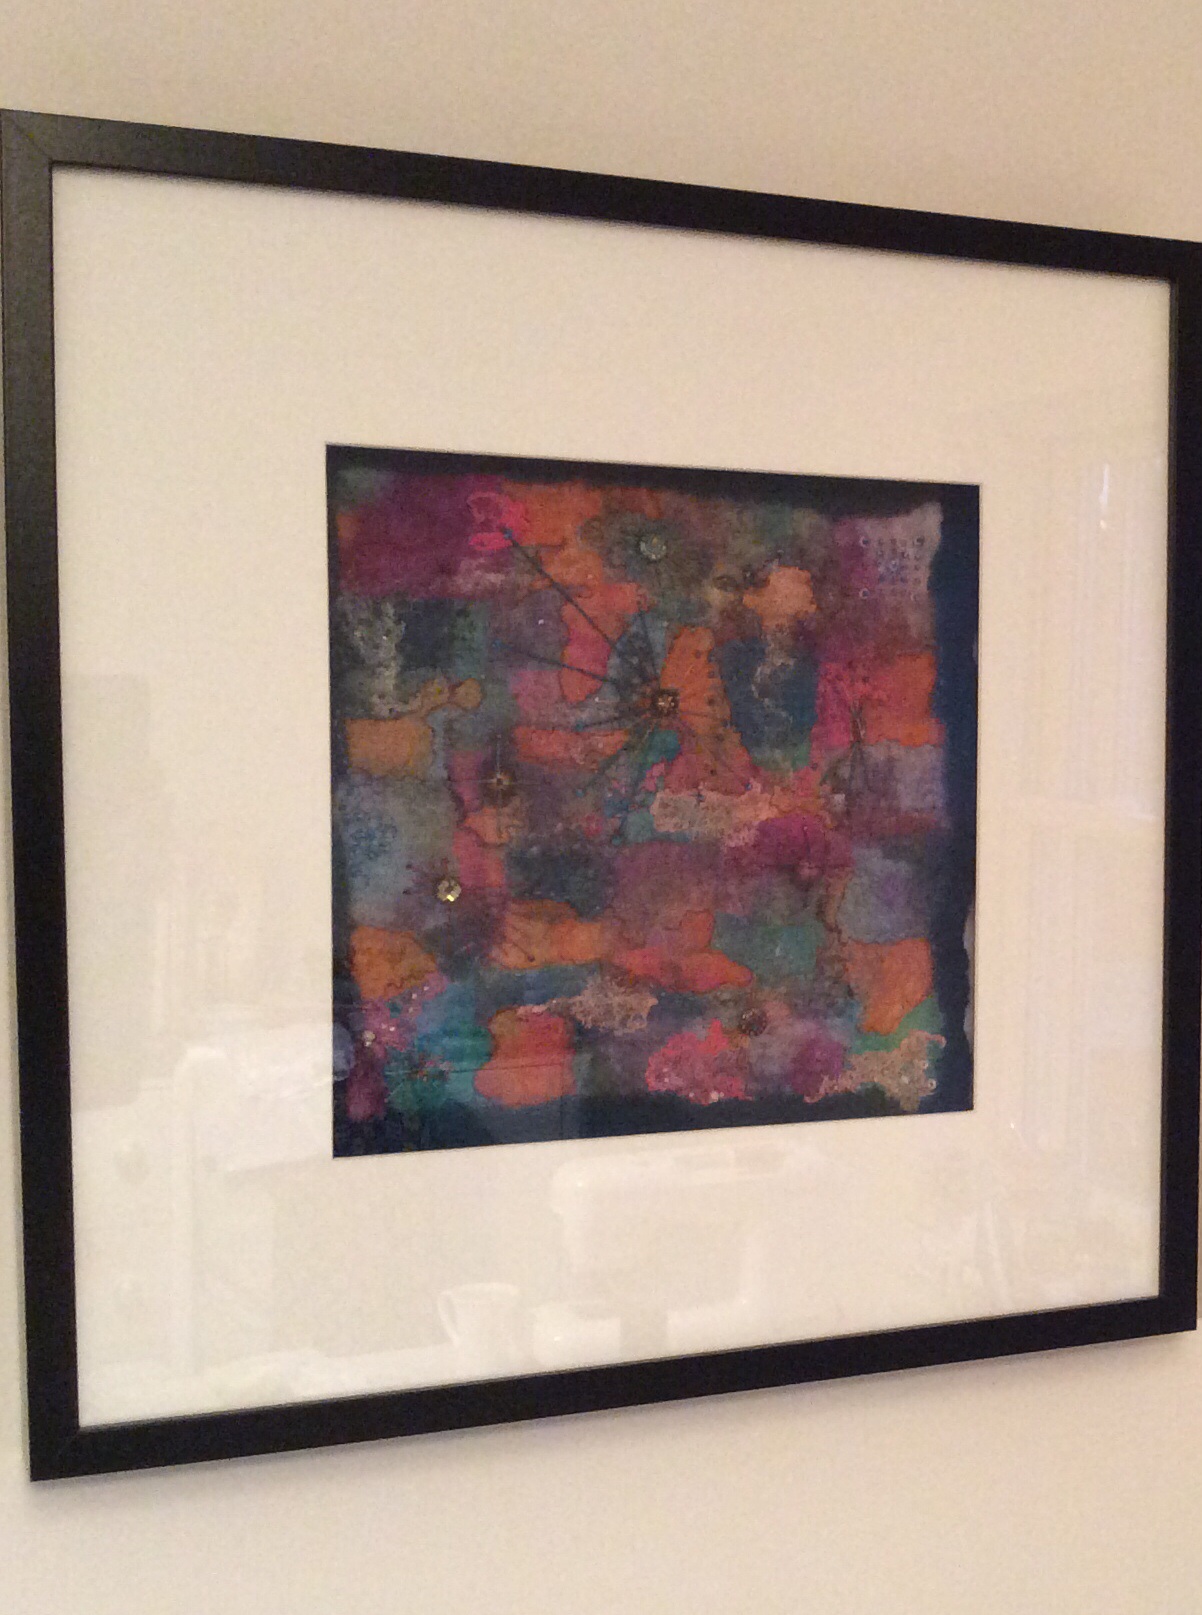
Away with the Fairies…
It seems ages since my last post but its been a busy time craft-wise so now I’ve made the time to sit still I have plenty to ramble about!
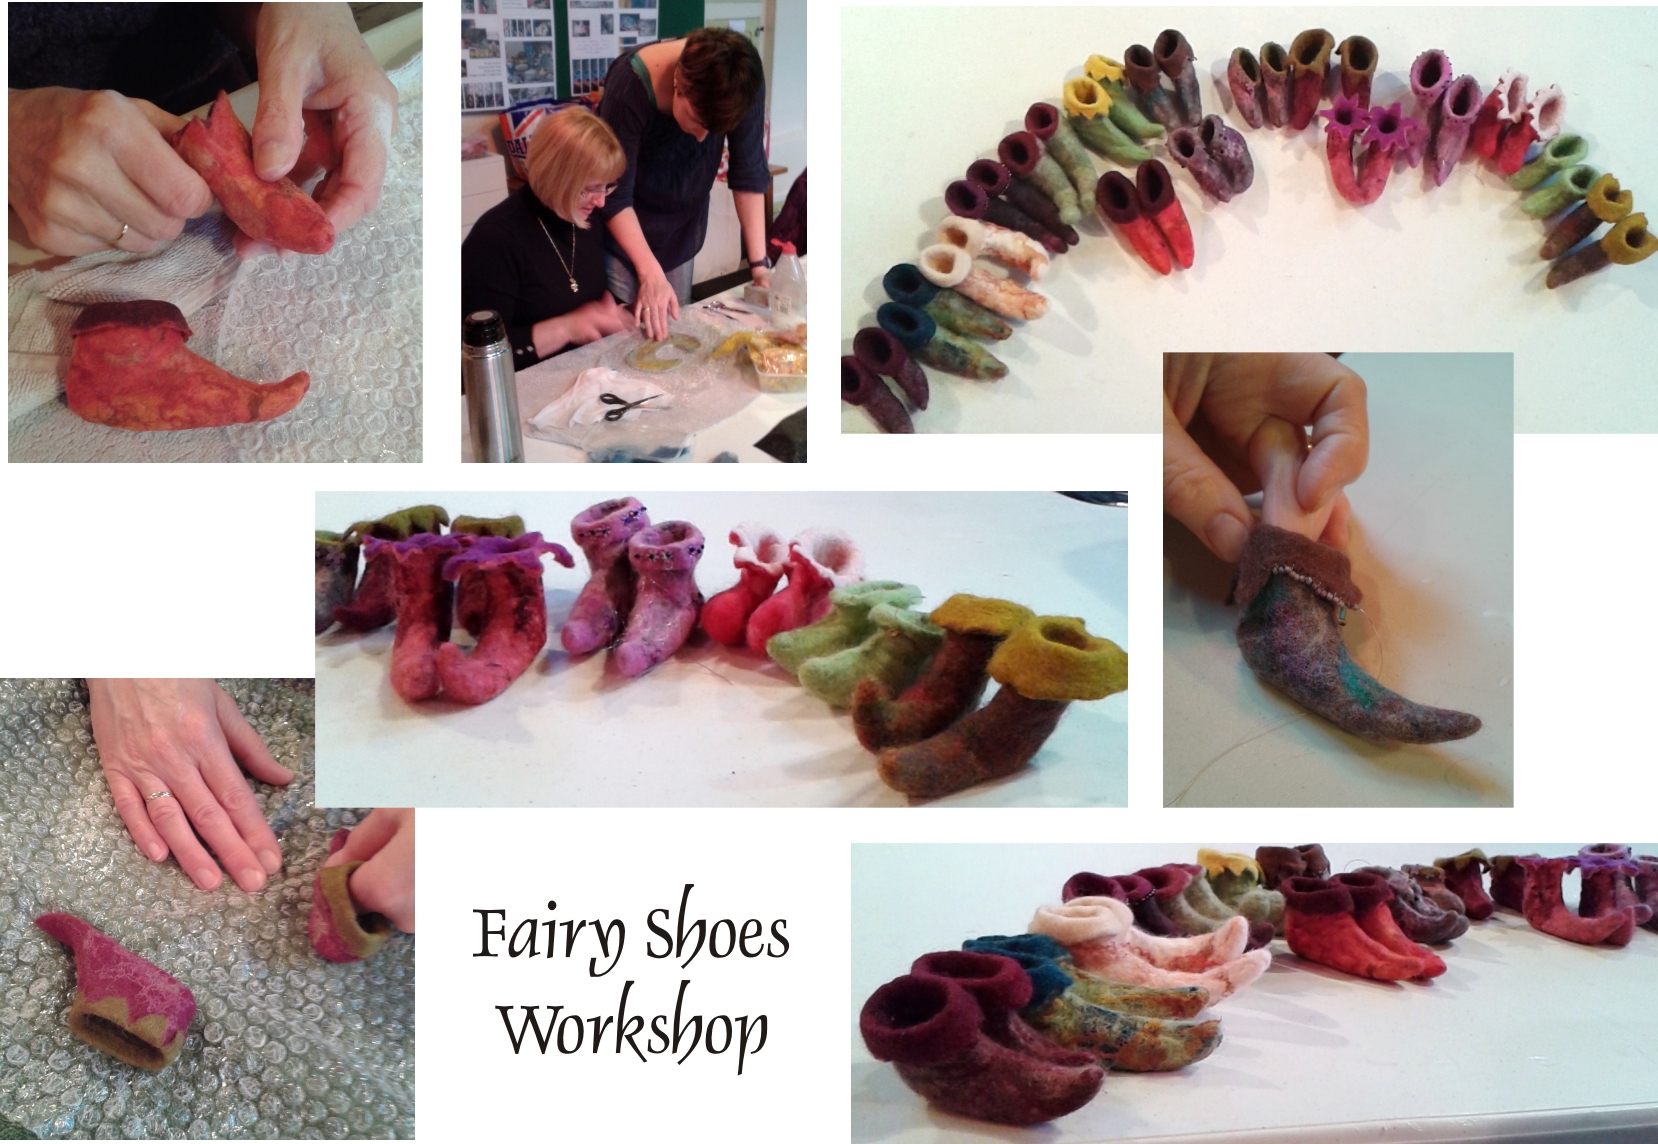
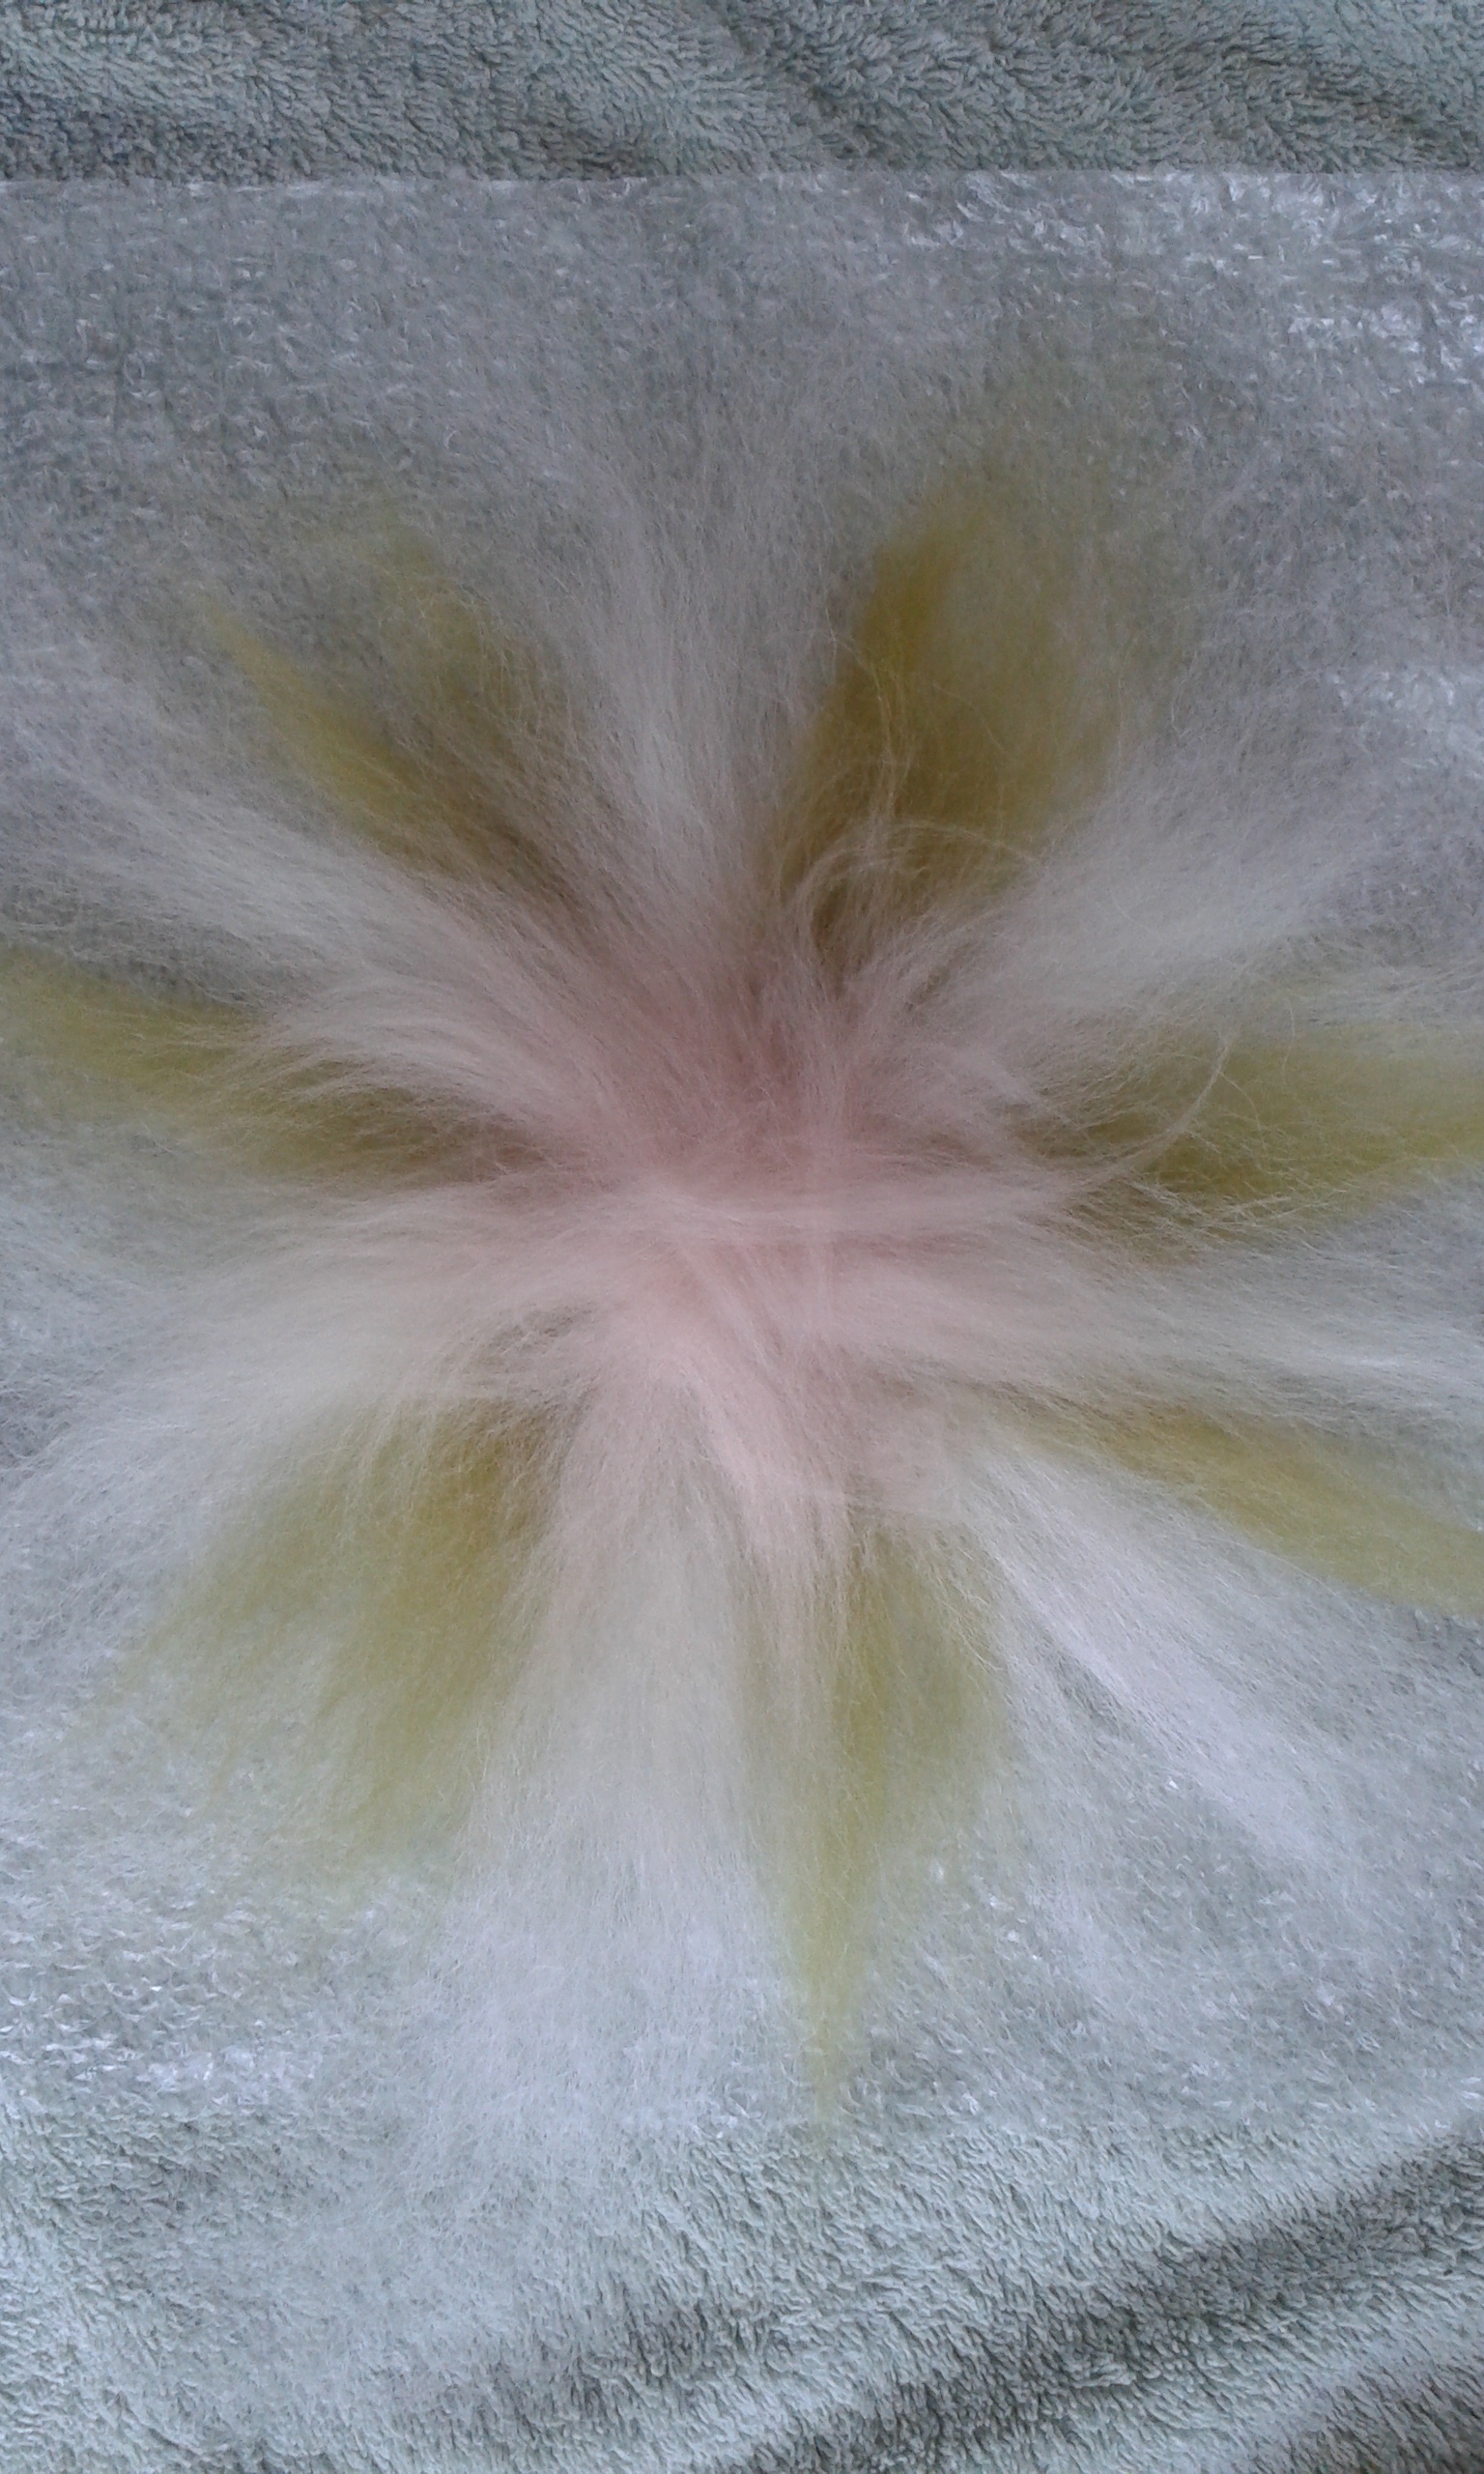
I attended another of Eve Marshall’s fabulous felting workshops just before Christmas and this one, following on from the Elf on a Toadstool with Robyn, was perfectly timed to feed on my reawakened childhood love of all things magical/mystical. The basic process for making the body of the wet felted Fairy was very similar to that of making a flower i.e. laying the tufts of fibres overlapping in a ‘starburst’ formation. One thing to remember before commencing the felting is that the centre of the ‘flower’ will become the Fairies head and therefore the fibre laid here should be your chosen ‘flesh’ colour.

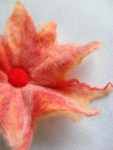
Laying the fibres for the ‘Spring time’ fairy
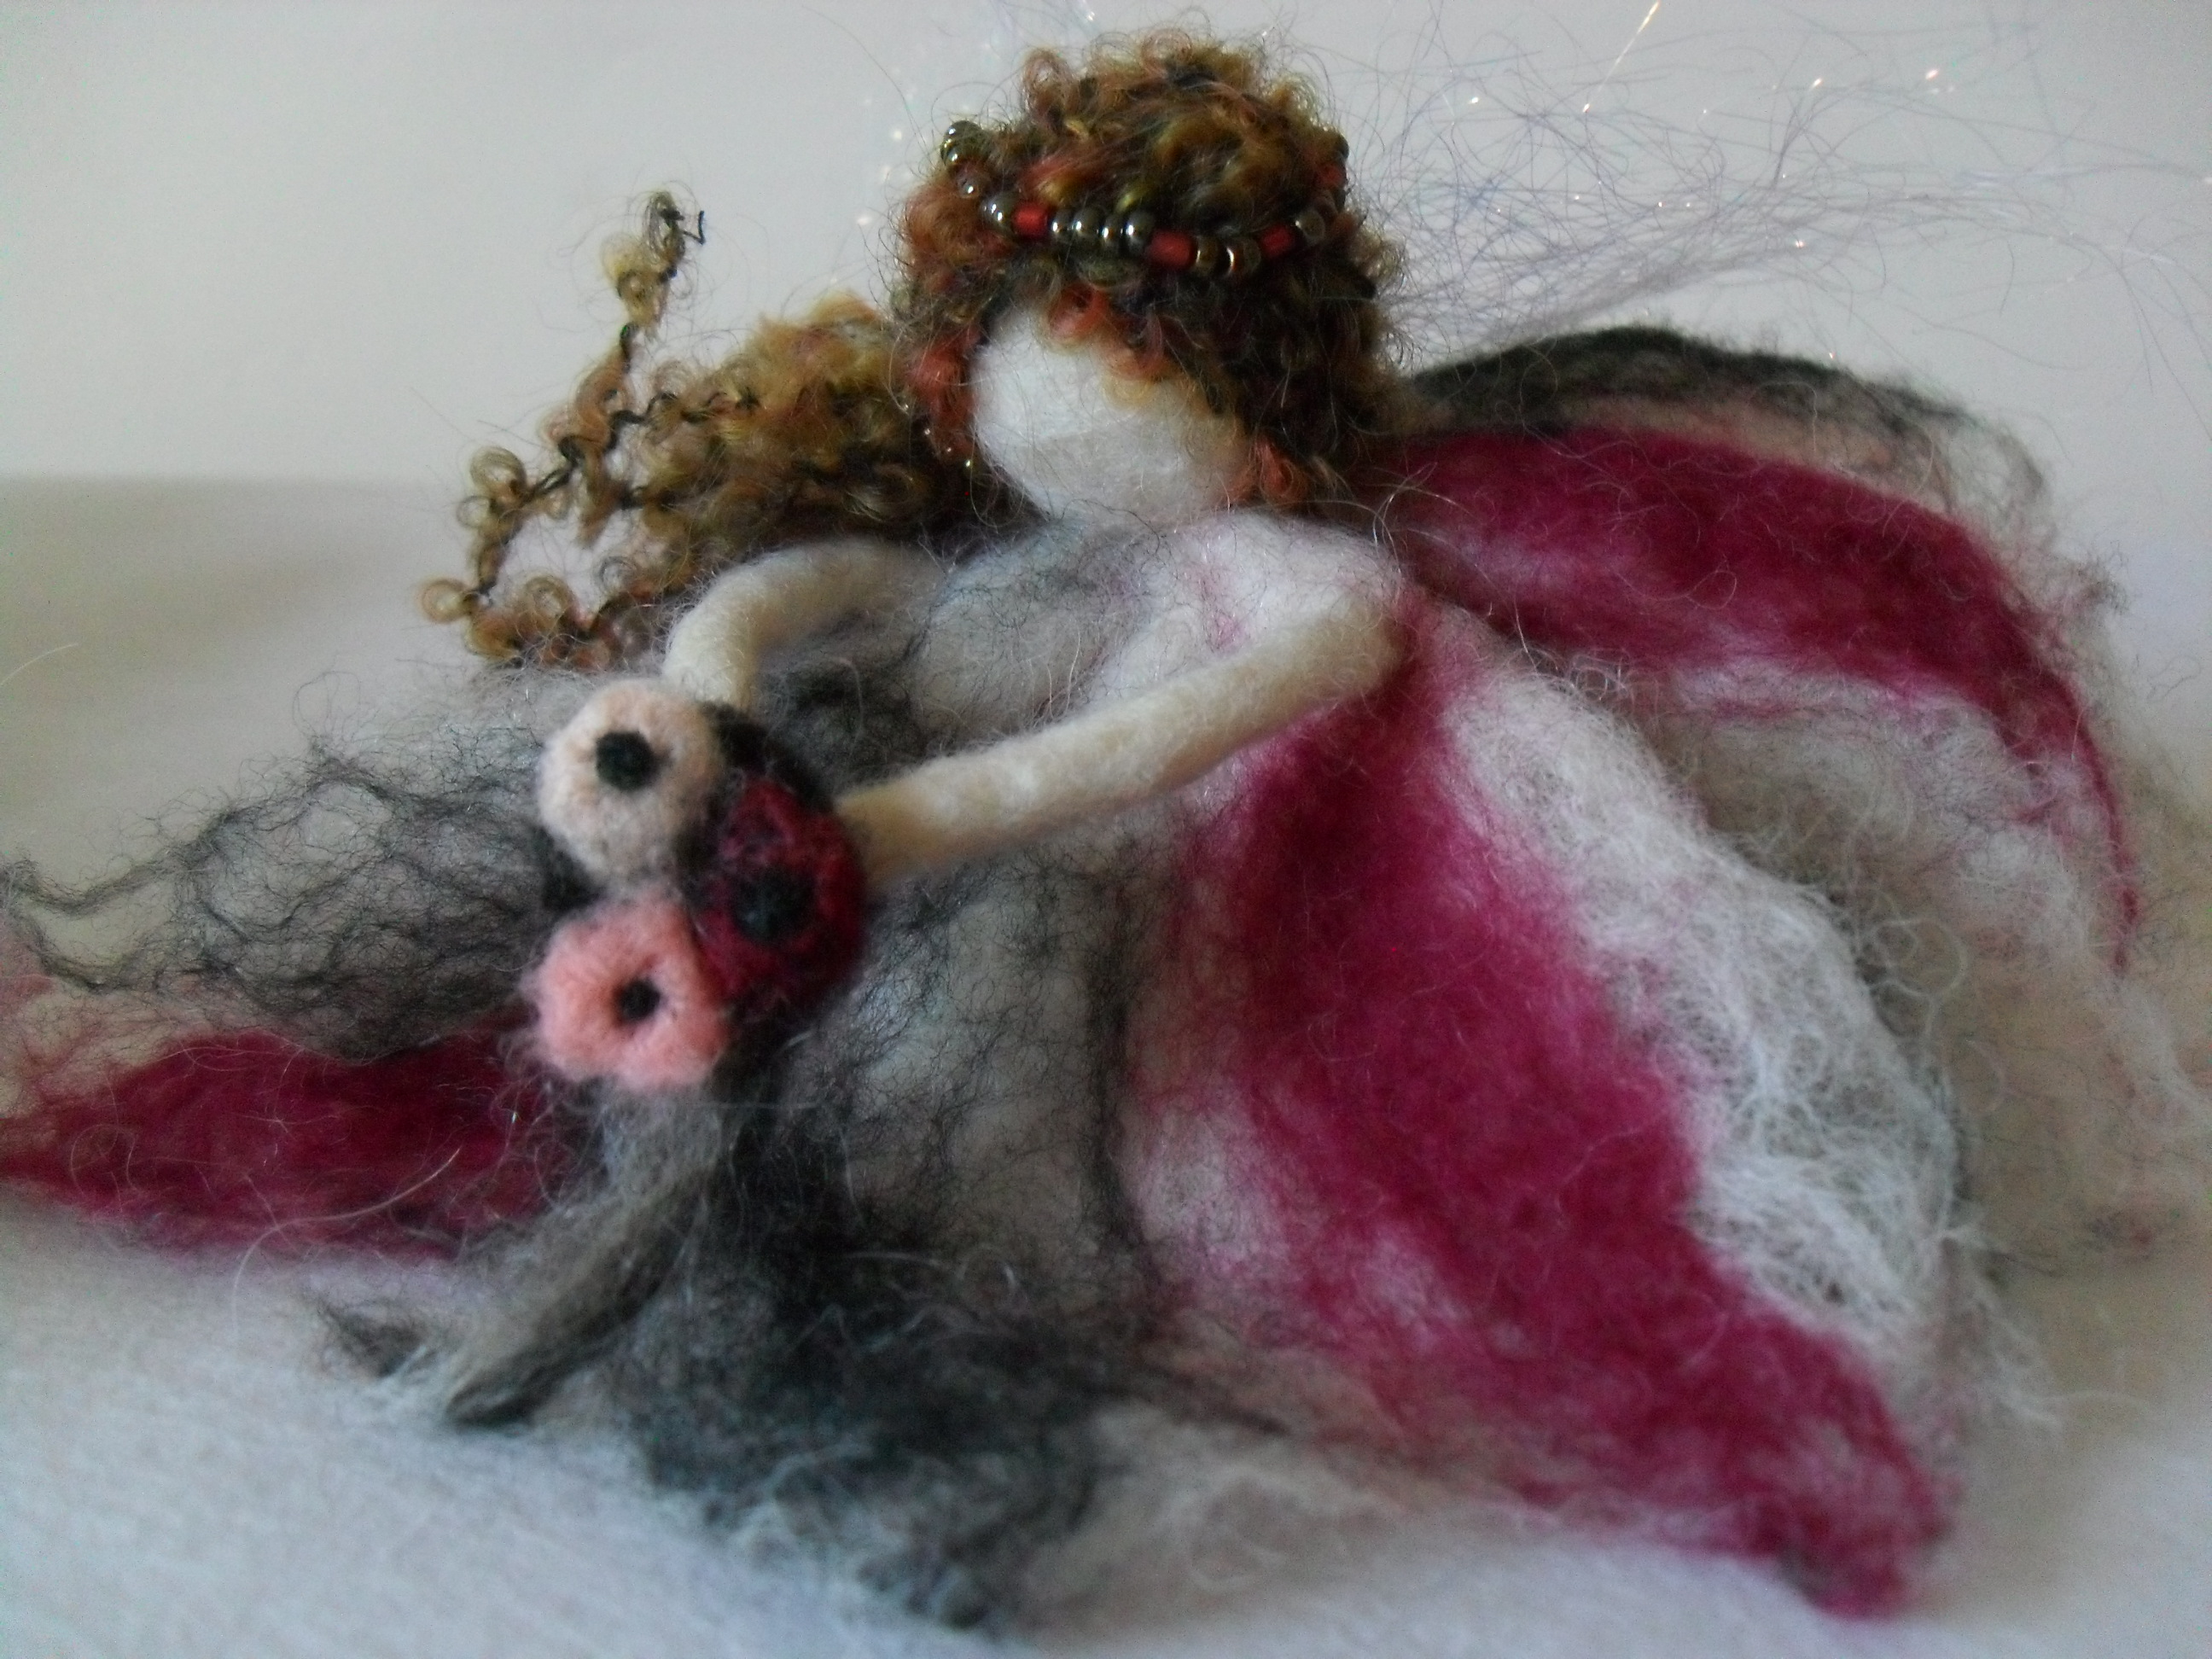
The head is simply a felted ball, but getting the size right was a bit hit and miss to begin with! The ball is positioned in the centre on the wrong side of the skirt. The skirt is then pulled tight over the ball and tied in place with thread. I have discovered that the best thing to use for this is dental floss as its very strong and can be pulled tight without fear of breaking. At the same time I attached a second length of floss through the top of the head which can be used, if required, to suspend the Fairy. The figures are not given a face, these are left blank in the Waldorf tradition.

The head is formed and thread attached for suspending.

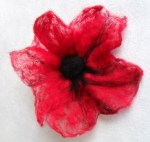
My first attempt at a wet felted Fairy.
Although I was pleased with my first attempt, she now looks pretty crude compared with the ones I made over Christmas! The black hair on this first Fairy was made from wool top and attached by needle felting….I prefer the hair on the more recent examples which I made using a textured knitting wool and decorated with a headband of tiny beads.

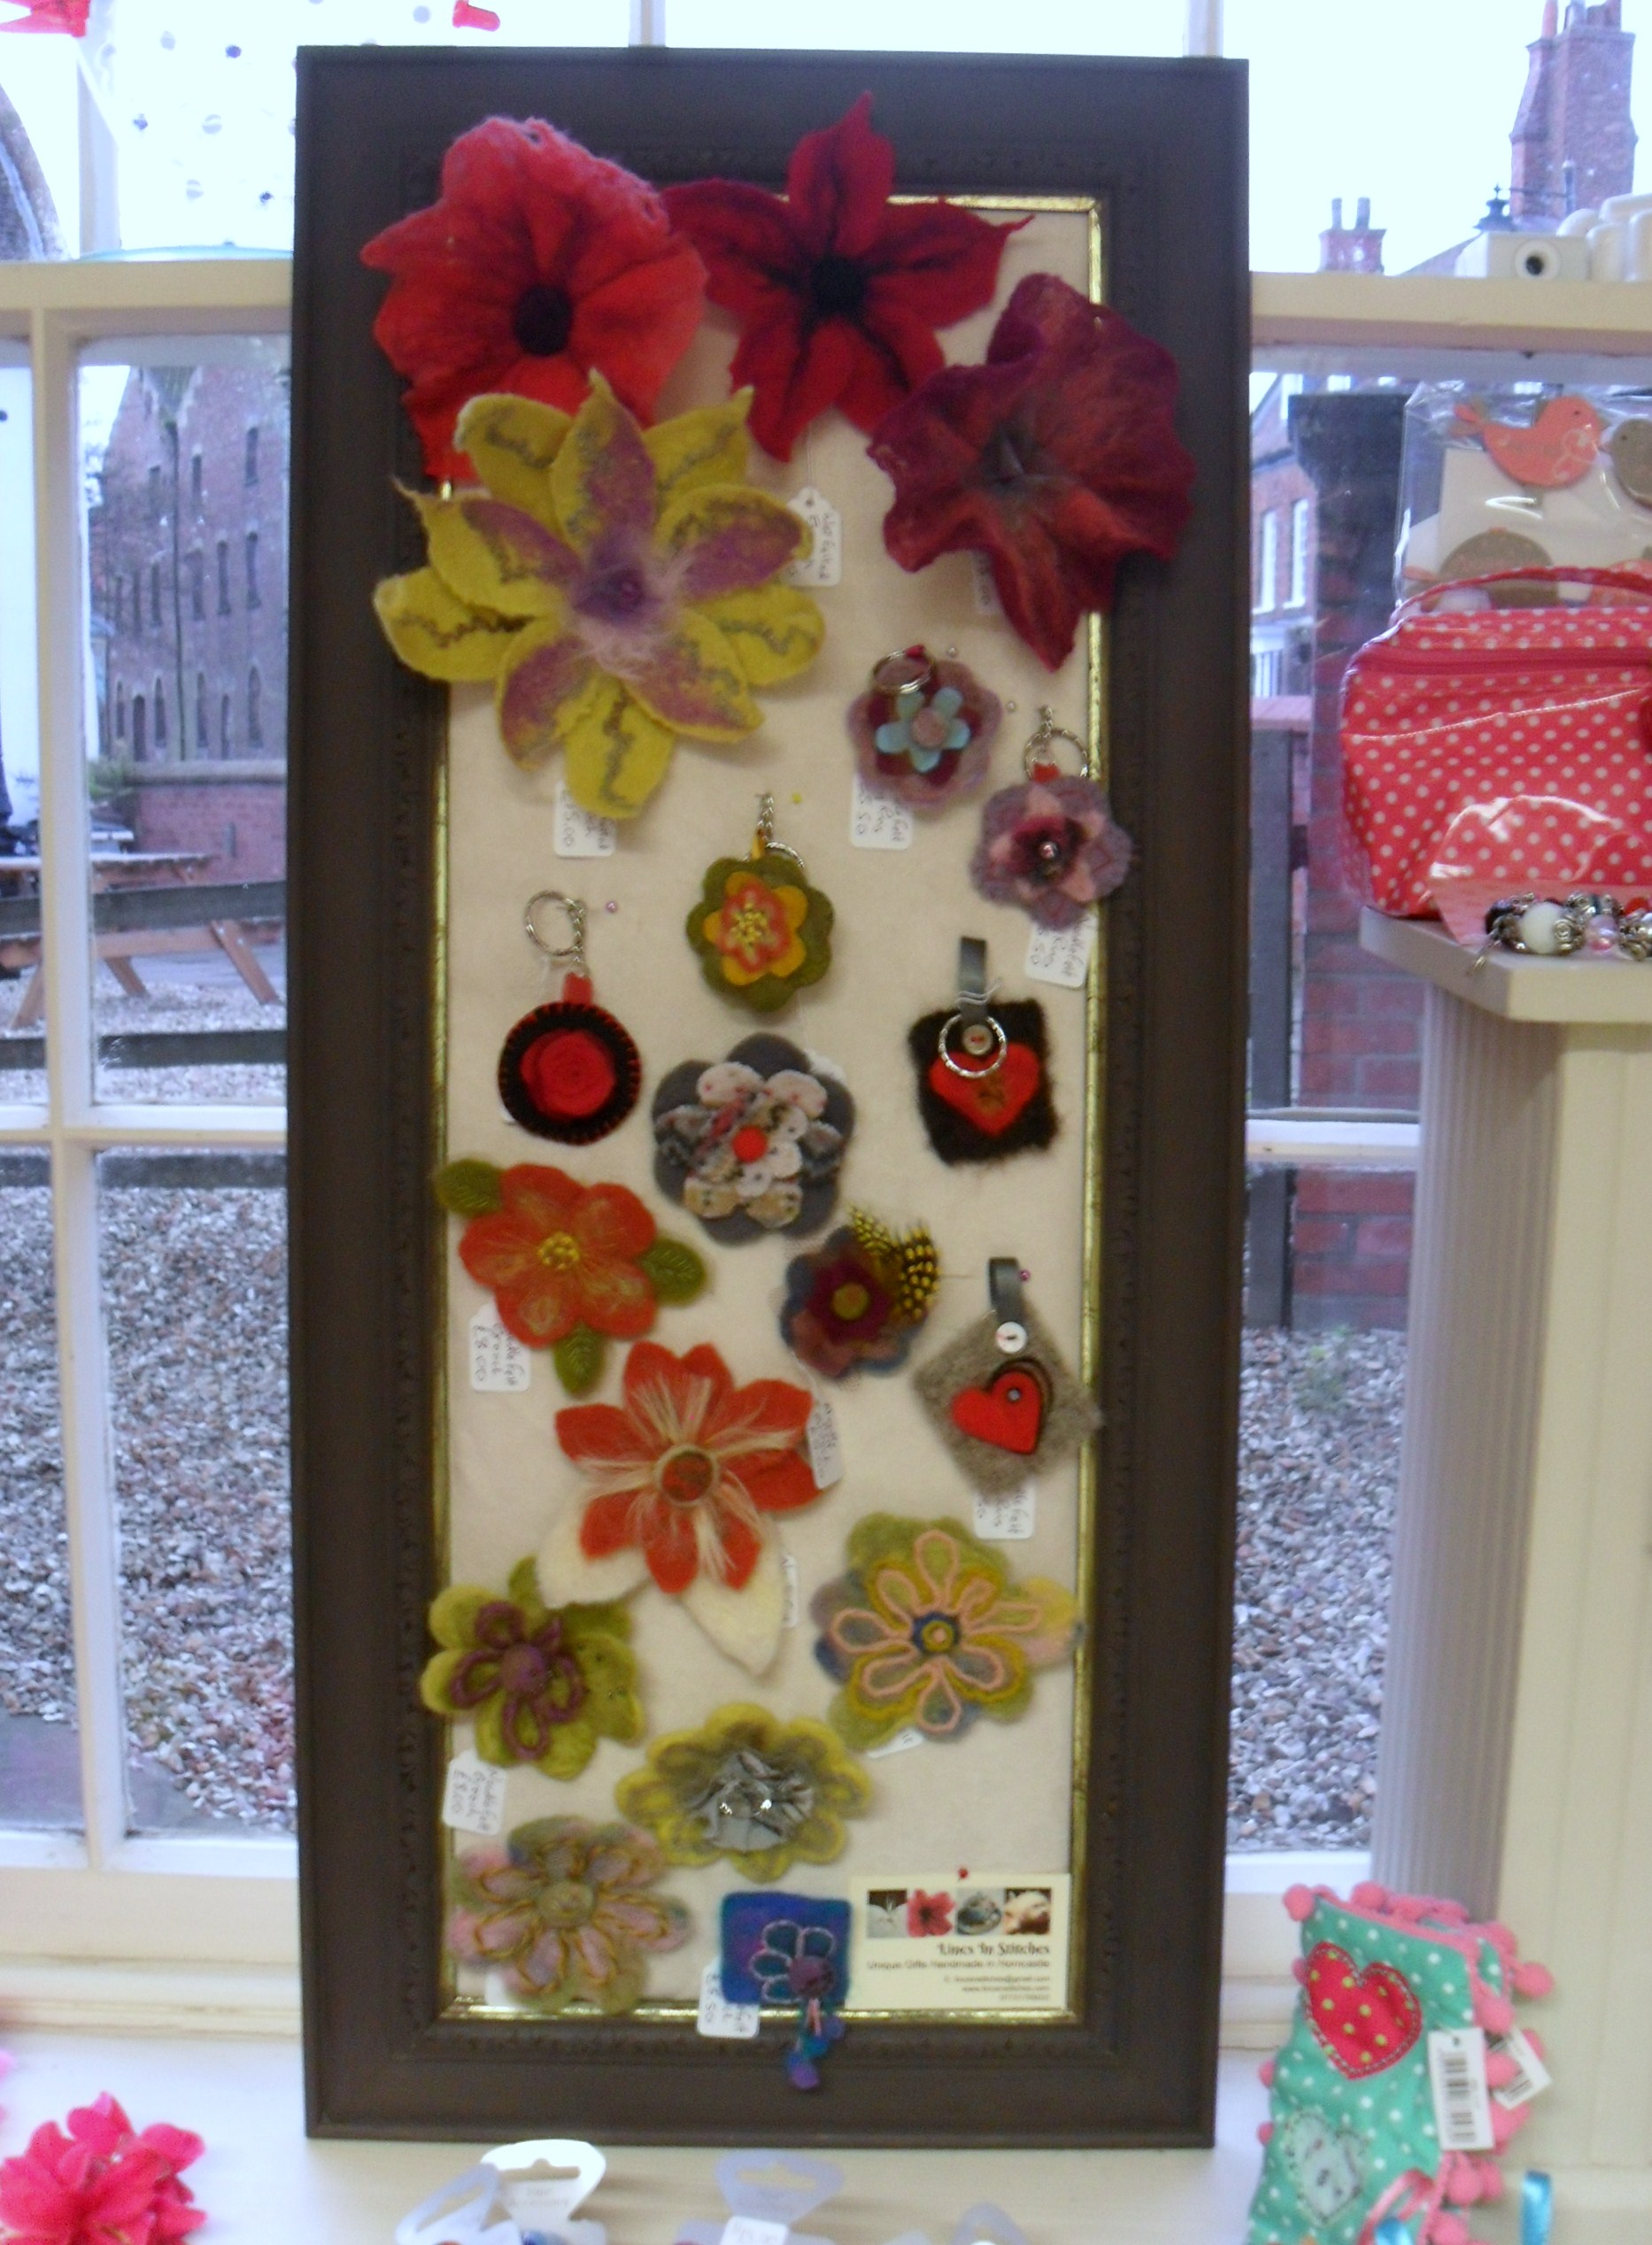
Each Flower Fairy is decorated with a beaded headband and carries a posy.

Springtime Fairy
The delicate, translucent wings are formed using ‘Blaze’ heat bondable Angelina Fibres – I hadn’t heard of these of these before but I can see them being useful for all sorts of future projects! To make the wings the Angelina Fibres are simply laid between two sheets of paper and ironed using a medium heat setting for a couple of seconds.

Gothic Flower Fairy
When I made the ‘Gothic’ Fairy I couldn’t find a suitable wool for her hair so I simply used a permanent marker on the orange wool and the result looked fab! This one is my favourite so far…she worked out smaller than the others and looks so cute….which is your favourite?