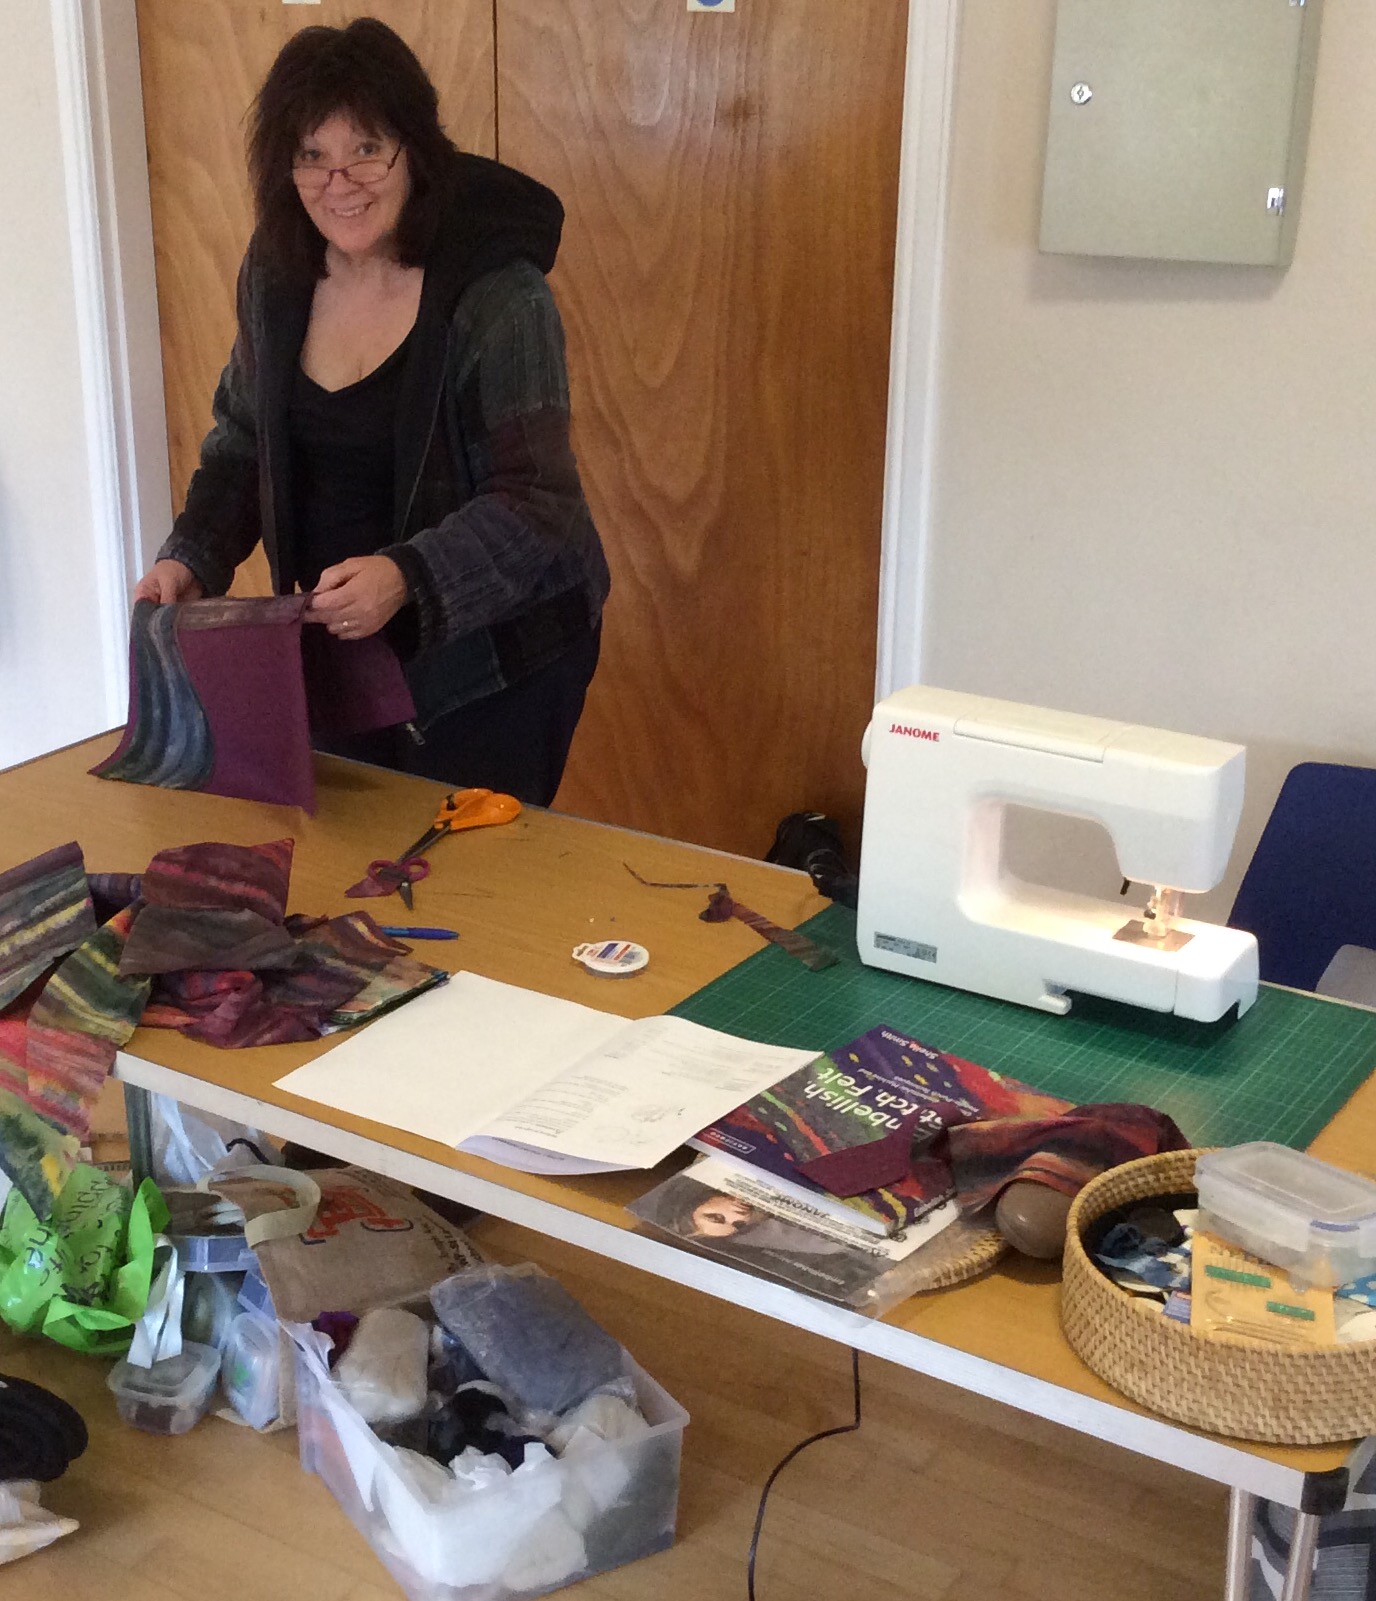
Last week I rode down to South Wales to attend a two day Marjolein Dallinga Workshop with the ladies from Region 12 of the IFA, organised by Mandy Nash. Originally from the Netherlands Marjolein, an internationally renowned Feltmaker, now lives in Canada and I couldn’t believe my luck when I discovered that, not only was she in the UK but that there was a spare place on one of her workshops!
The workshop was held at The Model House Craft & Design Centre in Llantrisant. positioned at the top of the hill, close to the castle ruins. The Model House has a gallery and gift shop on the ground floor and then several more floors consisting of more sales areas and craft studios where you can watch the resident artists, including Mandy, at work.
Marjolein’s workshop was different to any other I’ve attended. The first difference was that she didn’t bring along any of her work as she didn’t want us to be influenced by it. The second difference was that normally you would know at the outset that you are making a bowl or a waistcoat or a picture, etc……we knew nothing! What we were told was that we should allow ourselves the freedom of making something just for the enjoyment of “play”. The aim was to allow our creativity to come to the fore and experiment with colours and shapes, with no preconceived idea of what the end product should, or would, eventually look like.

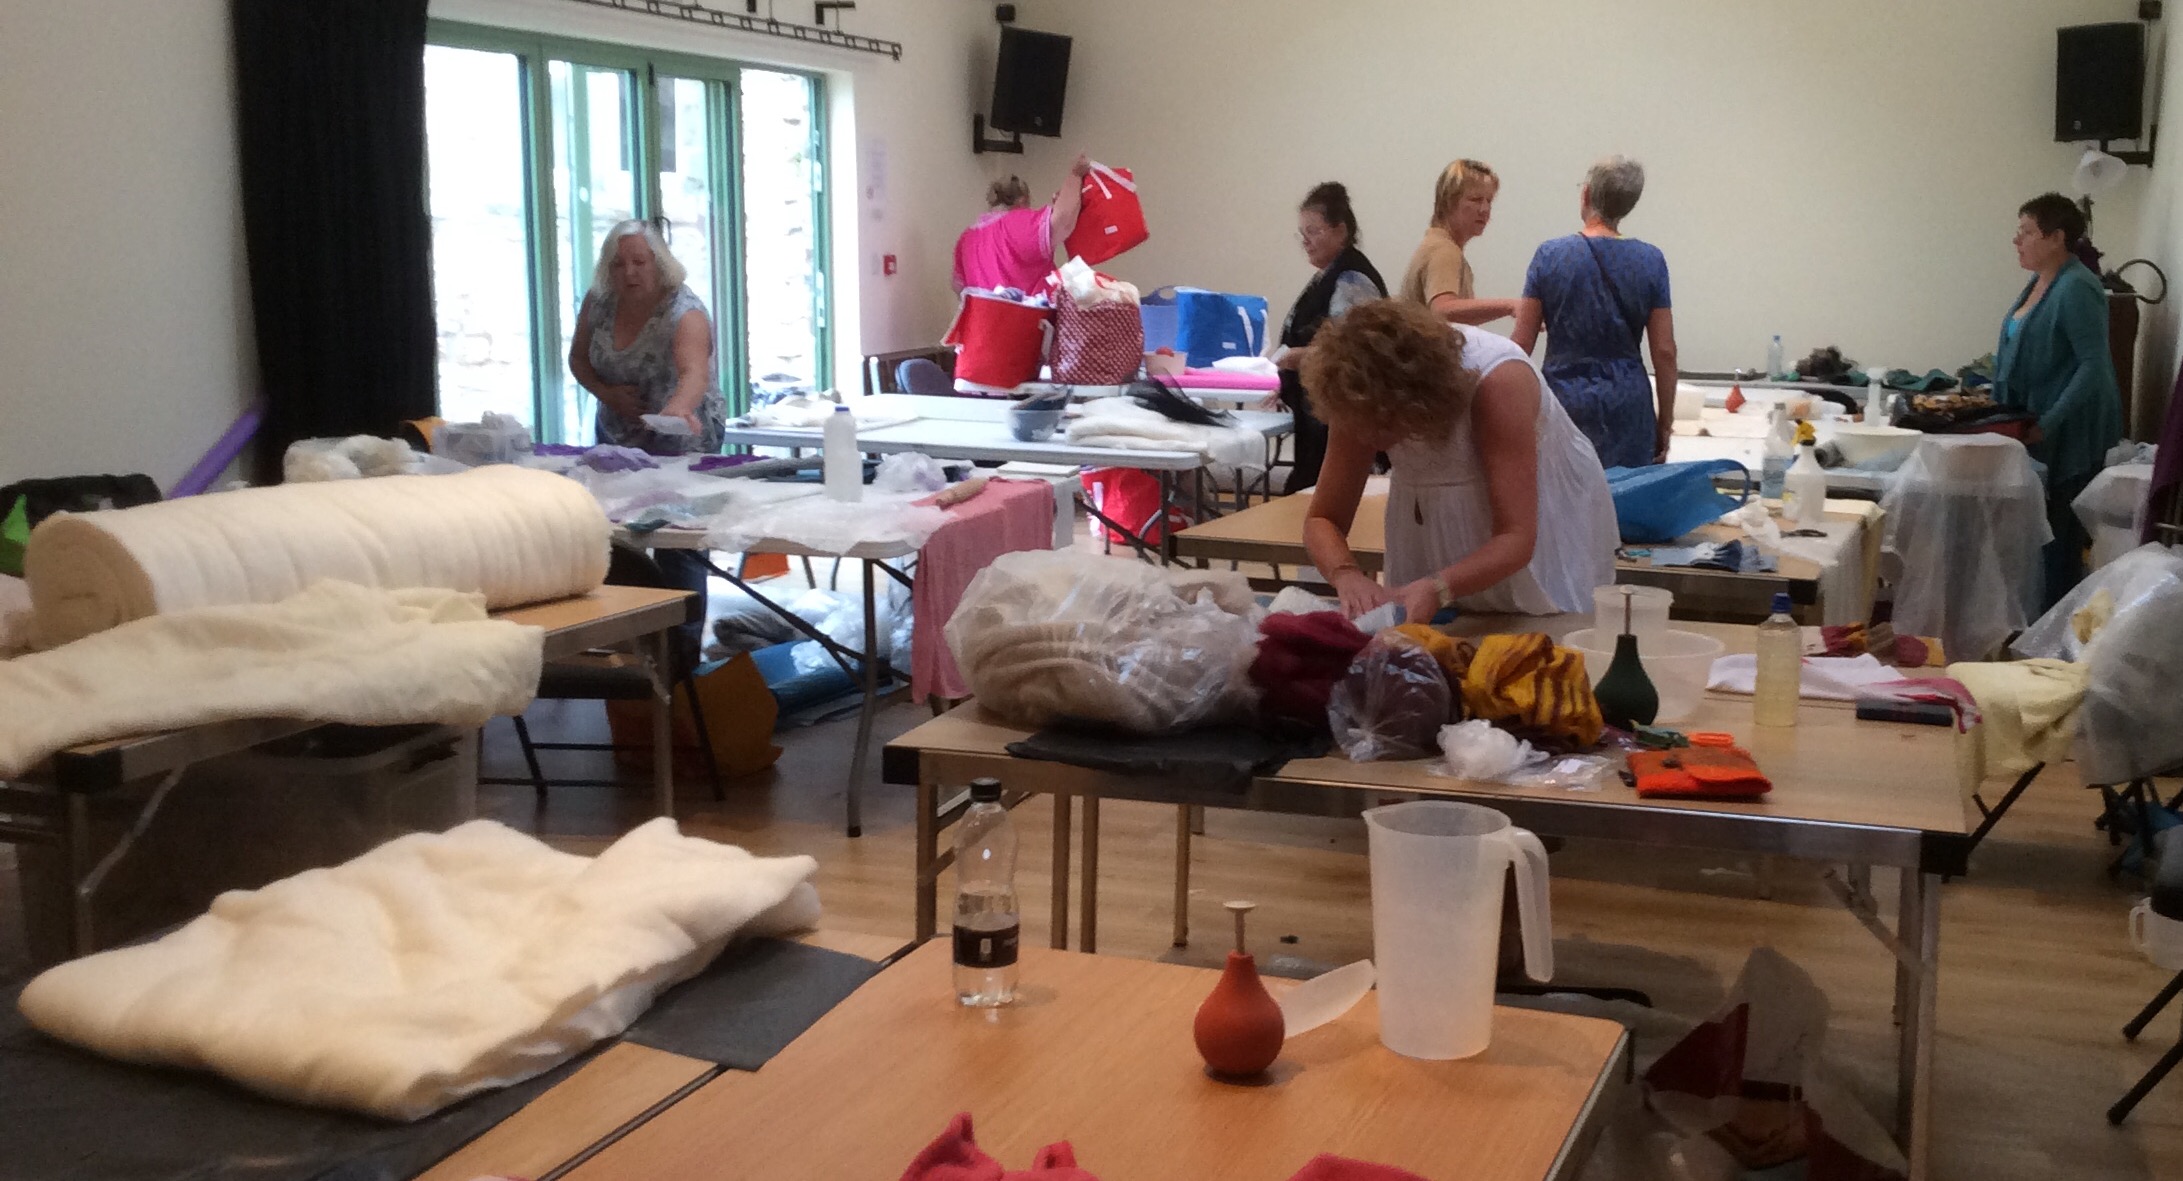
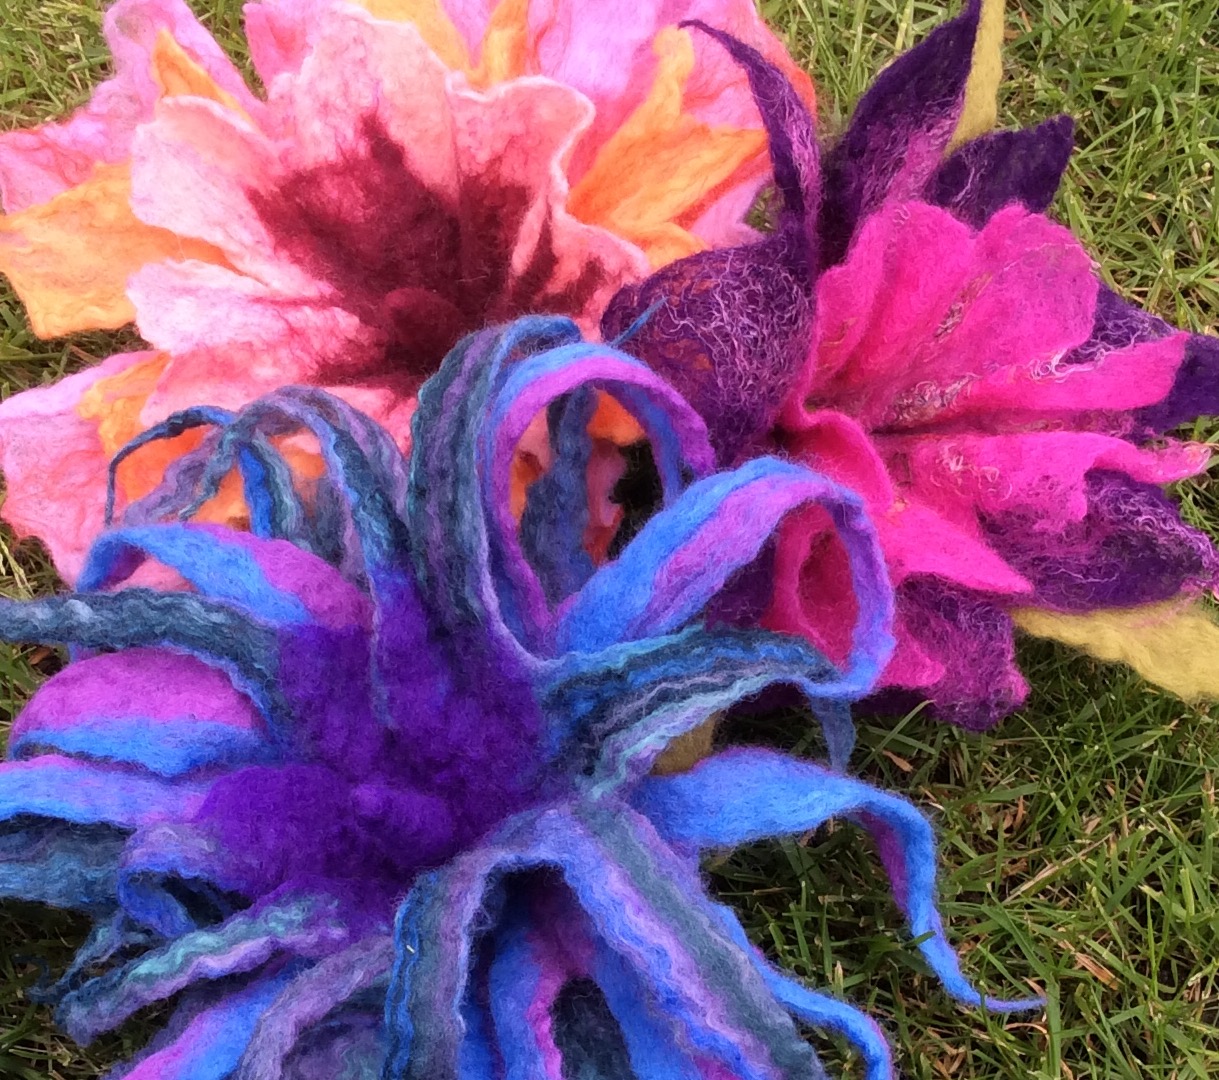
We were asked to use different colour combinations at different stages of our work, some which we particularly liked, some we didn’t like, some warm, some cold. The idea was to get us to use colours we wouldn’t normally work with and to experience the changes in those colours, and in our perception of them, as they blend and merge together.

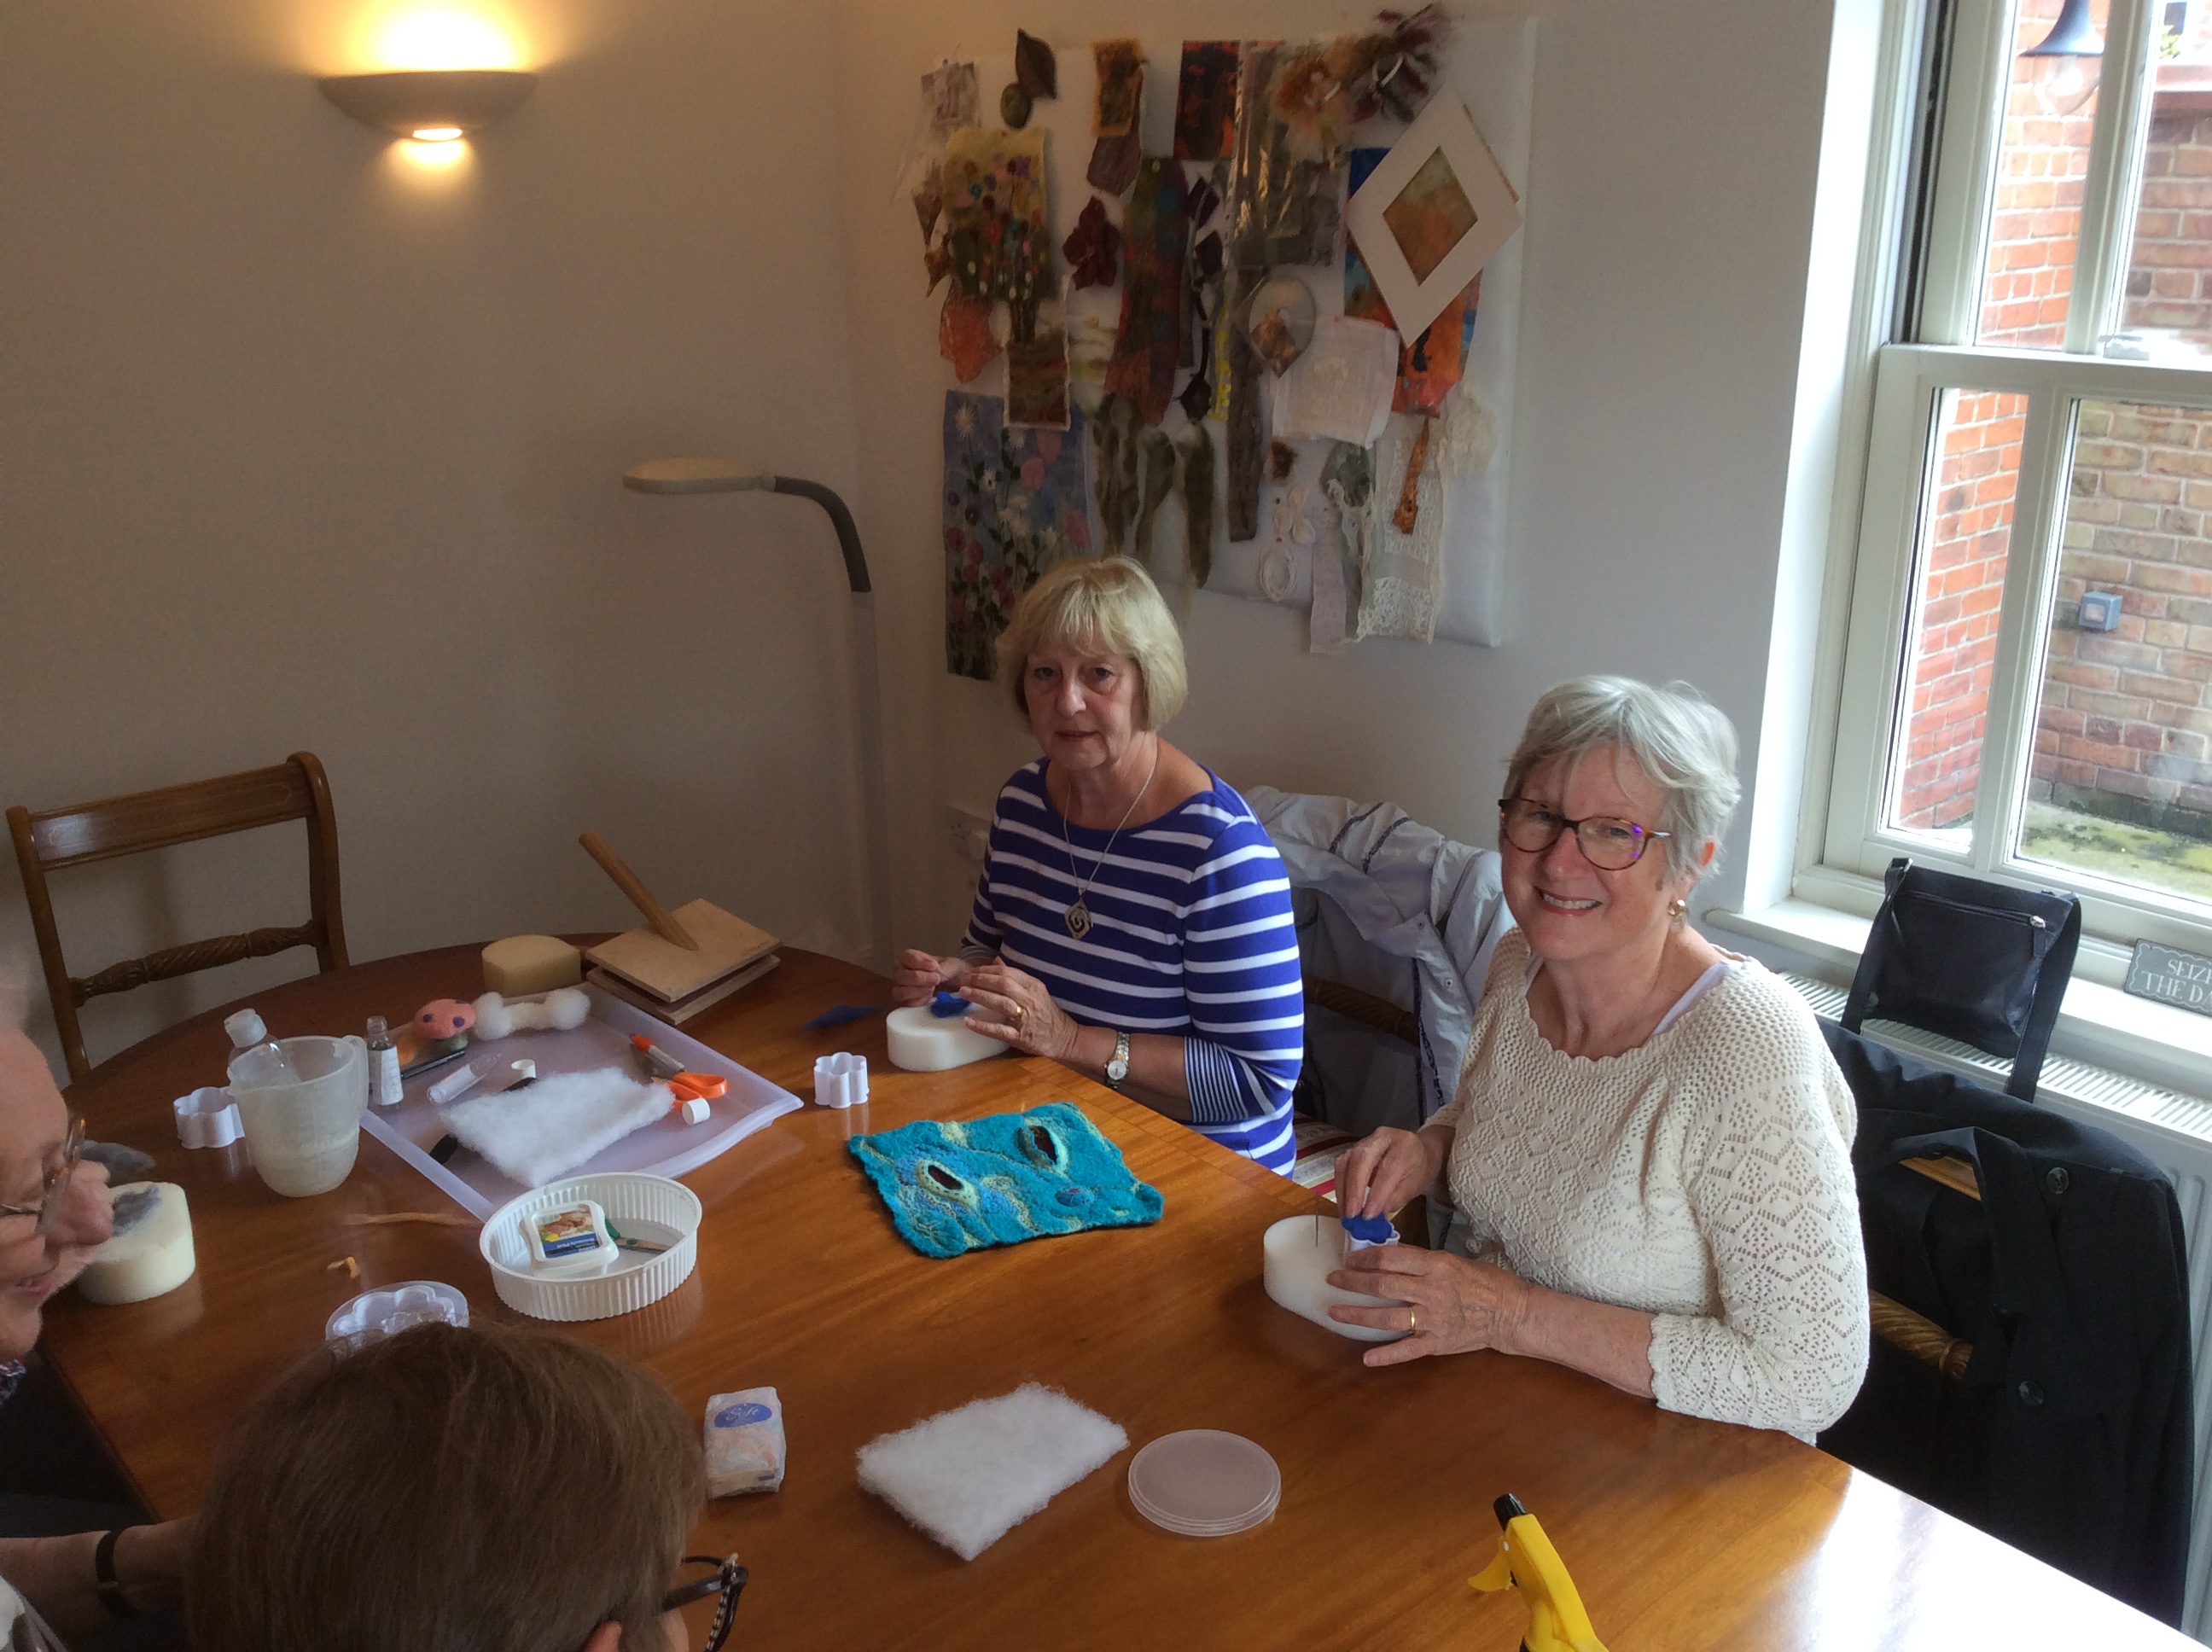
Mandy working on her two experimental pieces
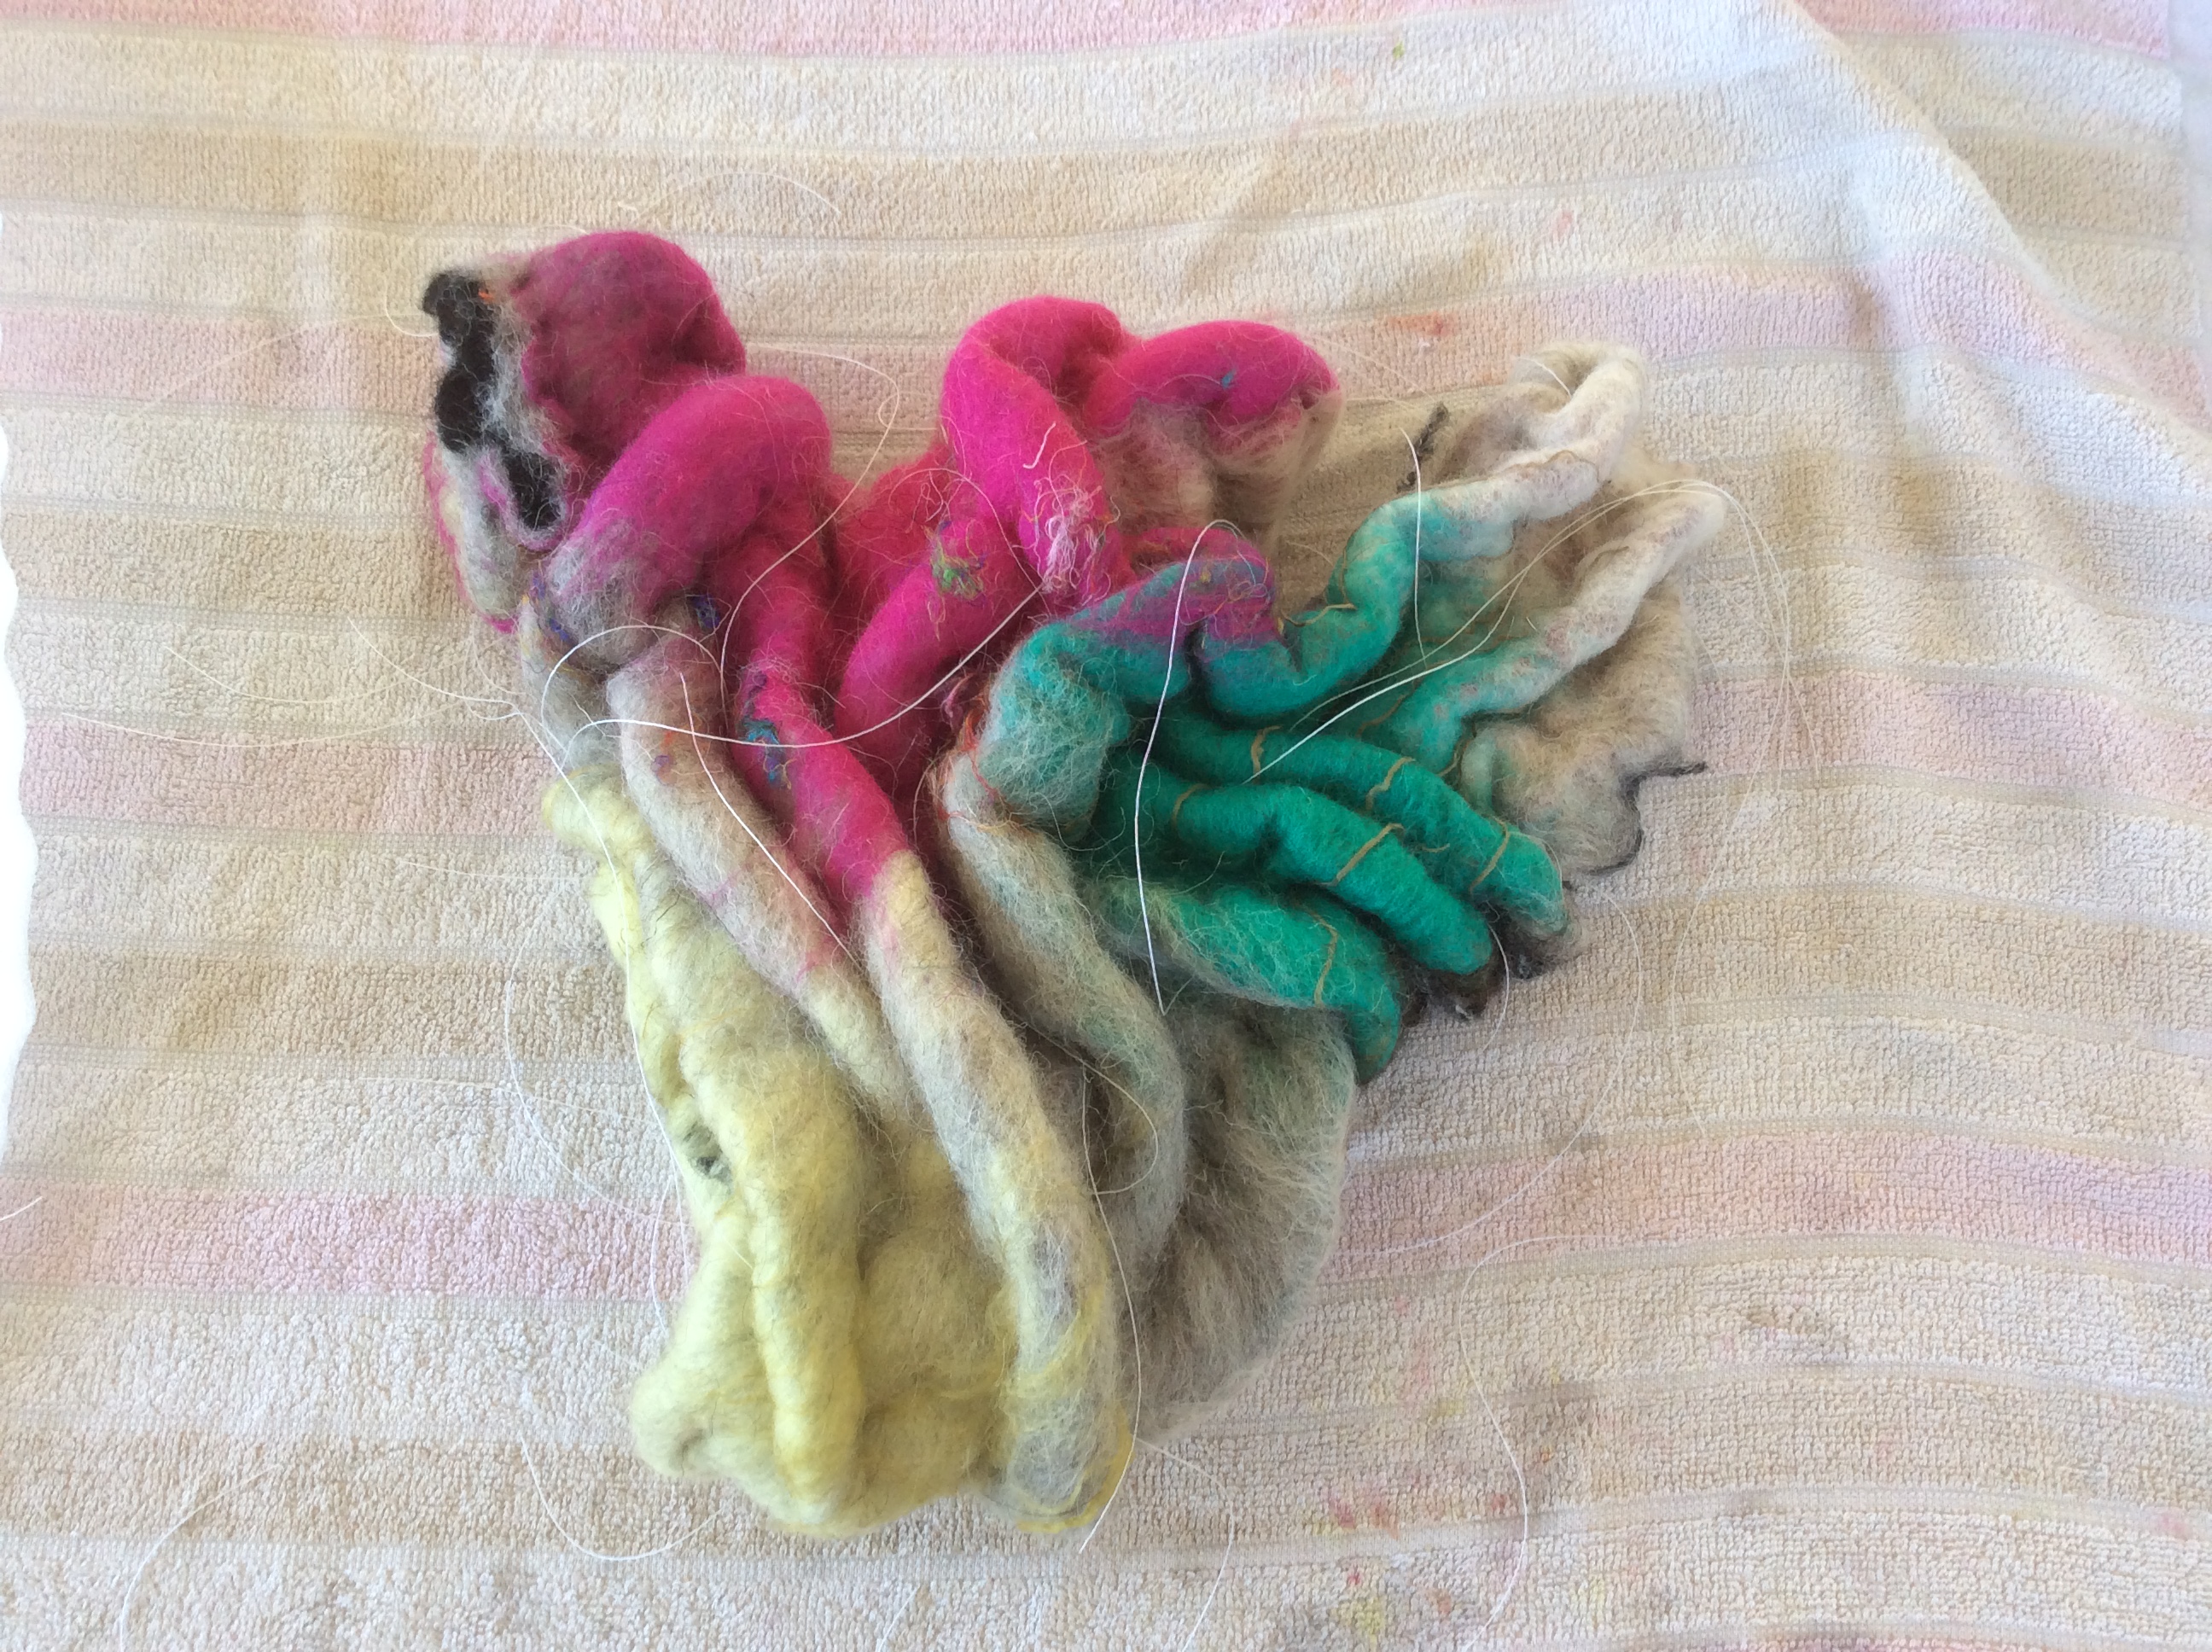
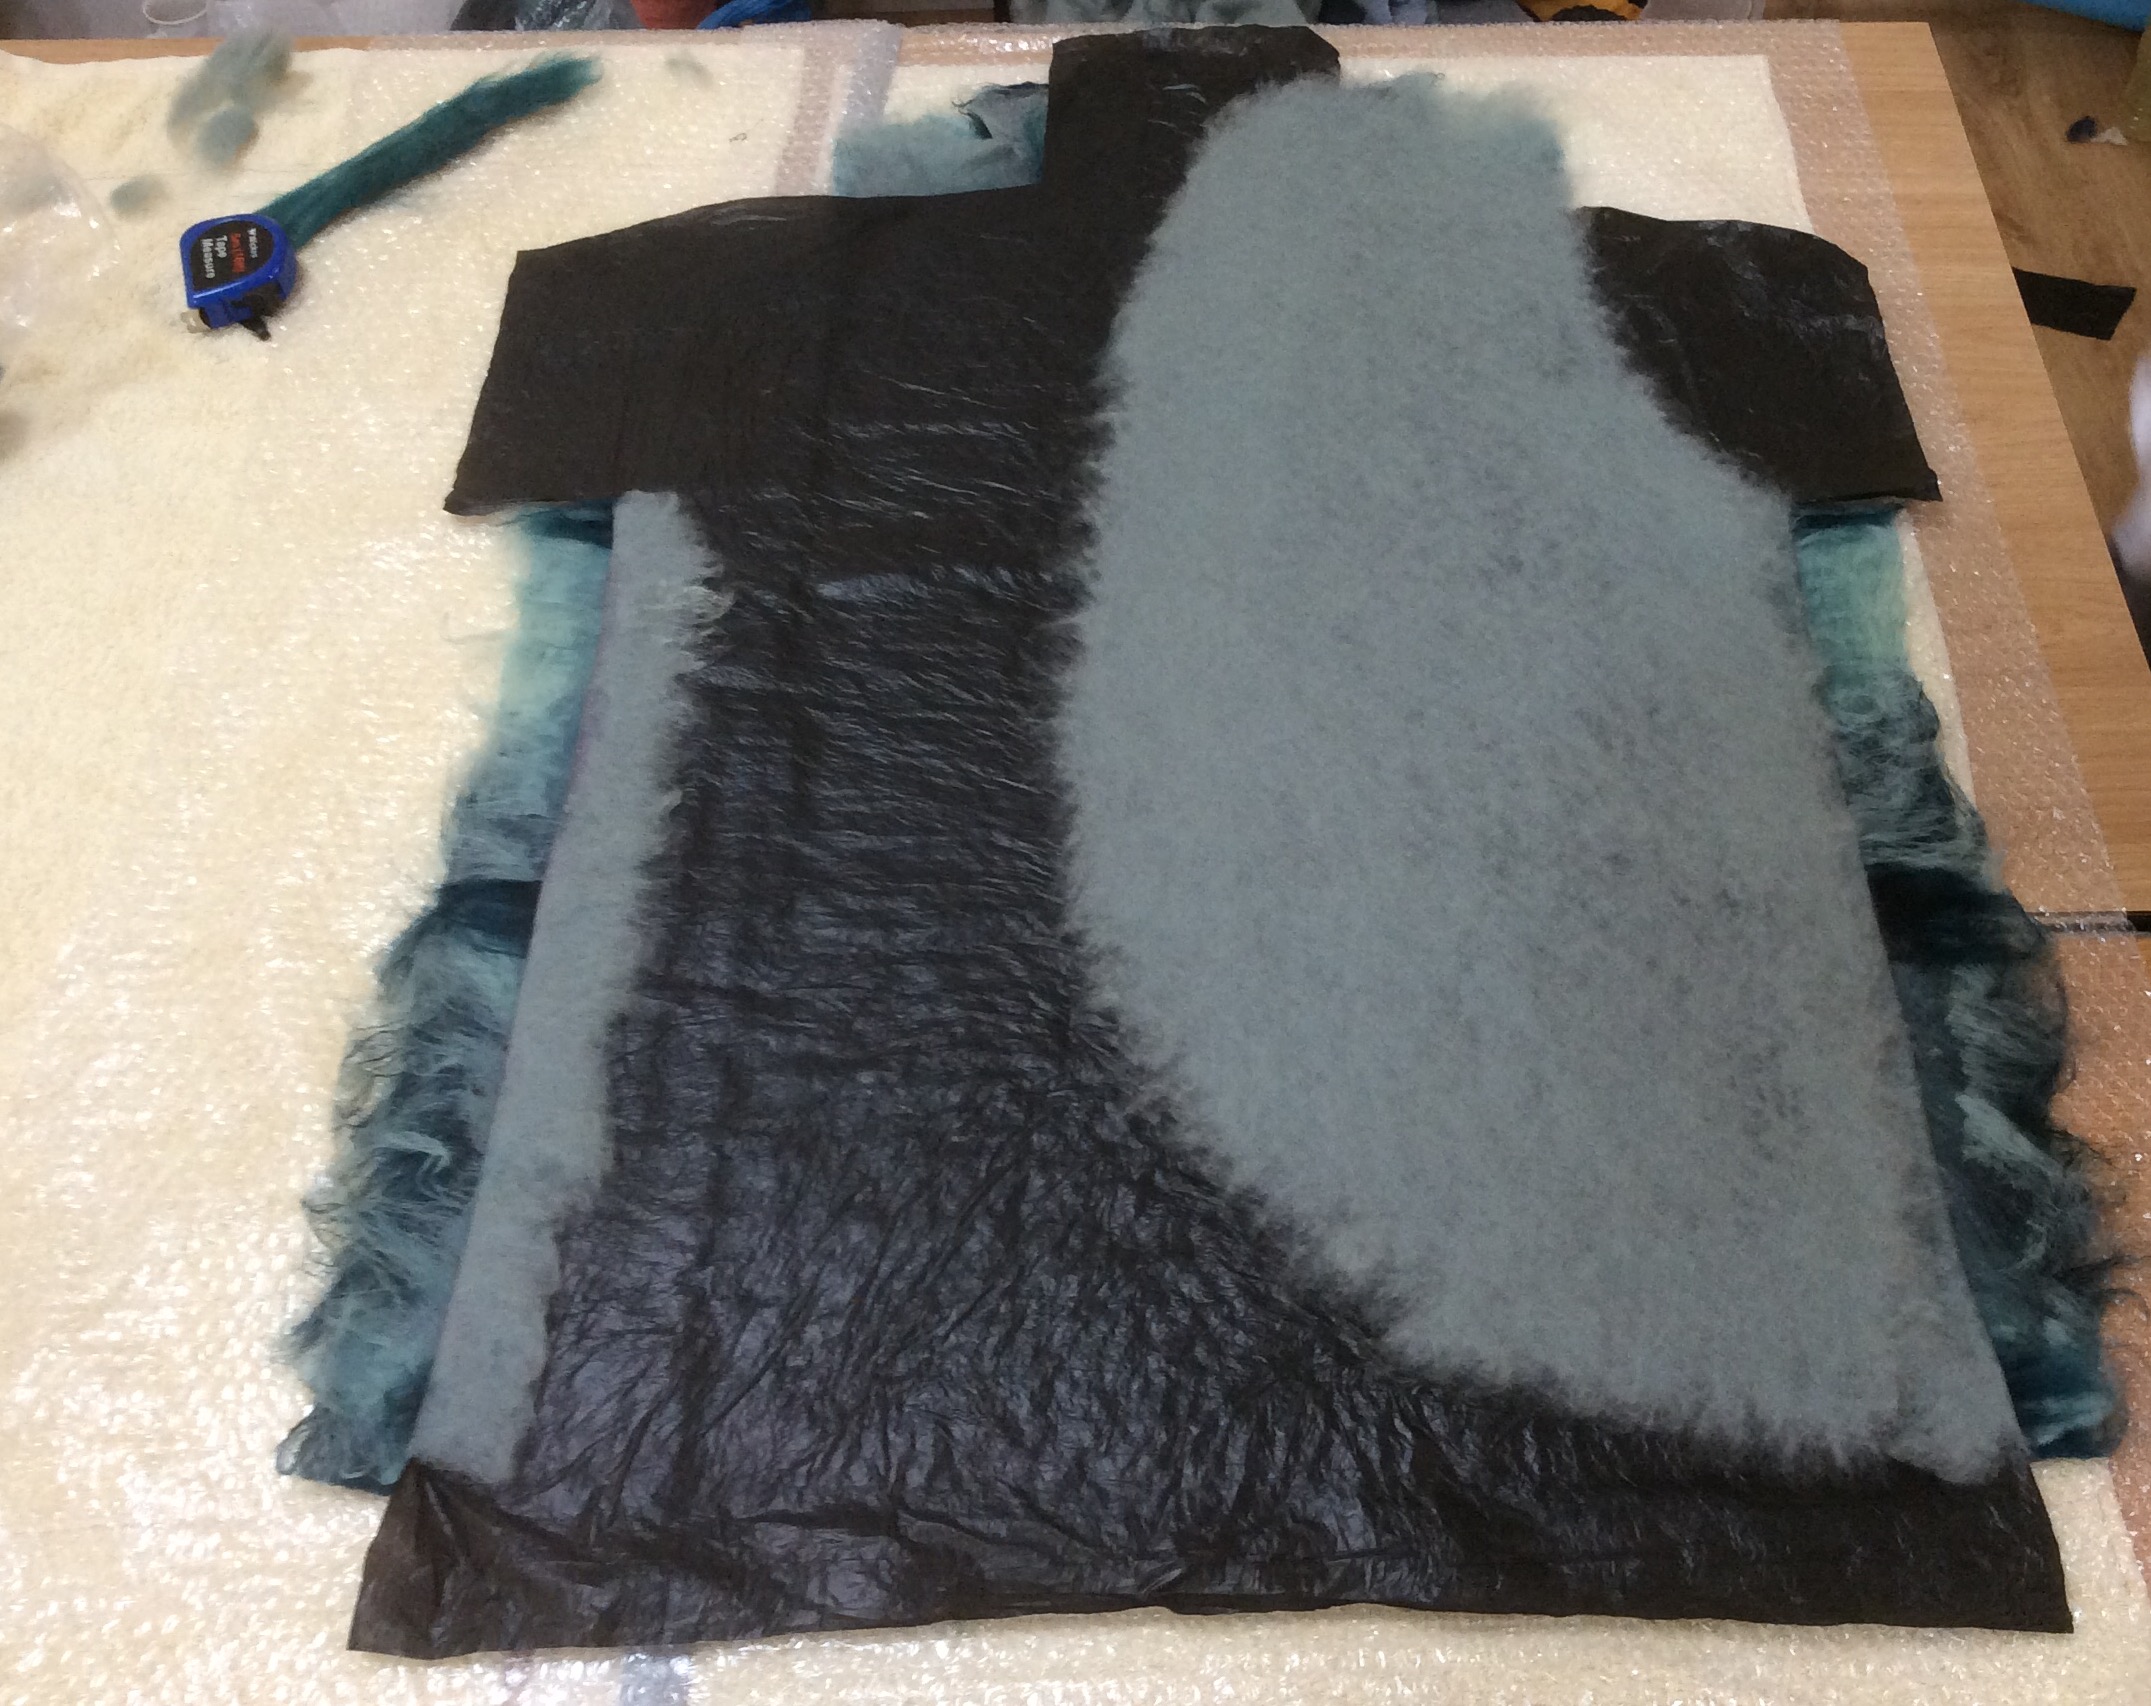
Our second piece represented our “outer energy”…..

My “outer energy” piece with resist removed

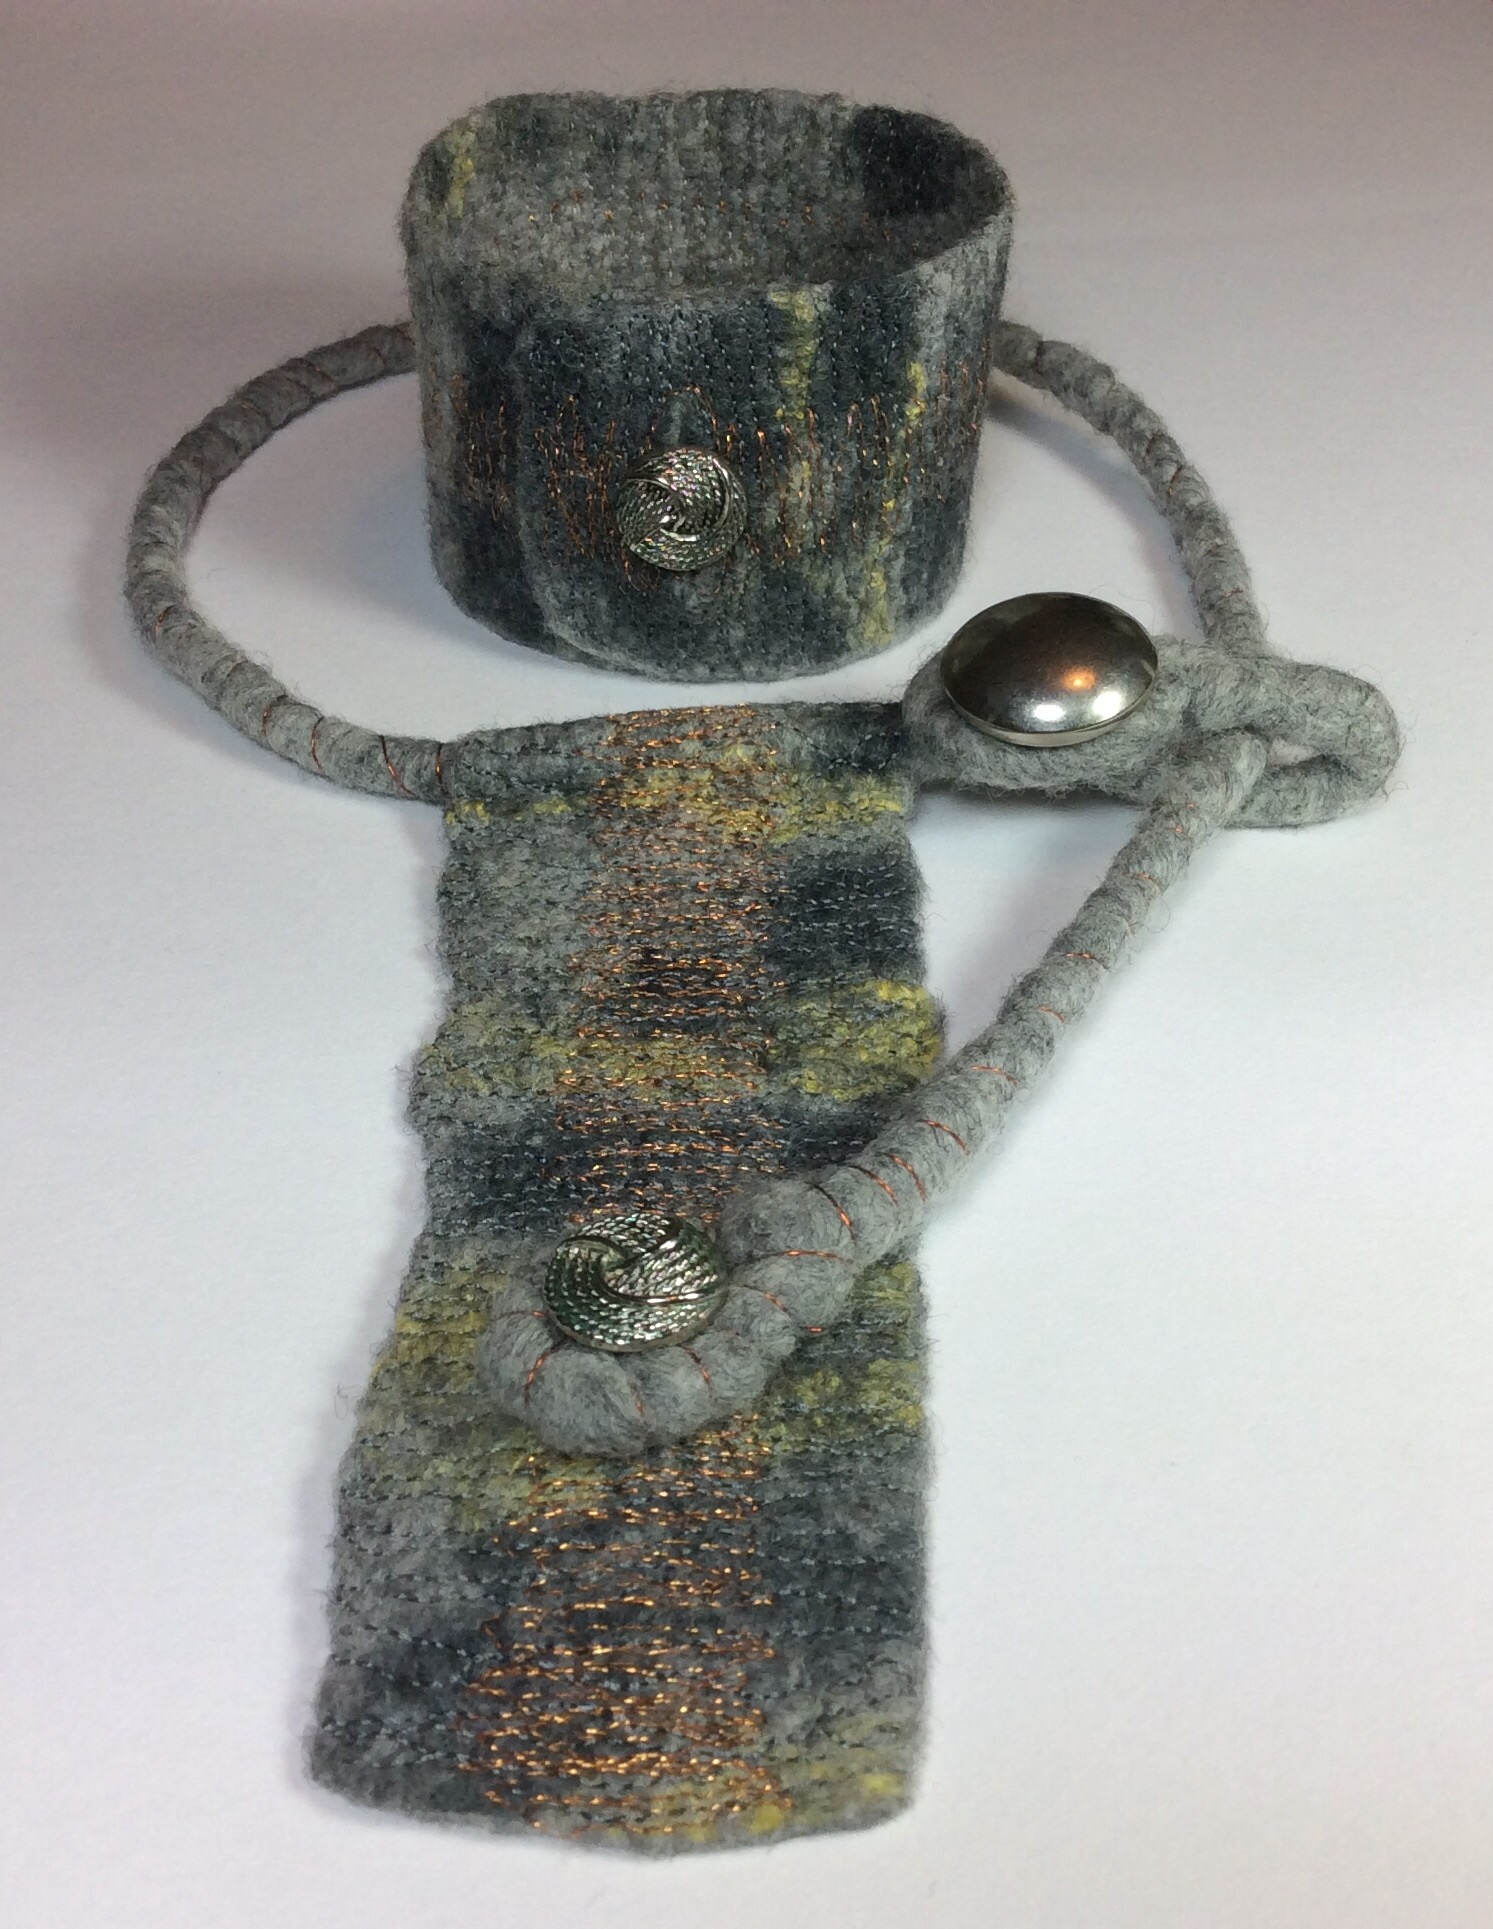
Pleats are sewn into the prefelt before completing the felting & fulling.

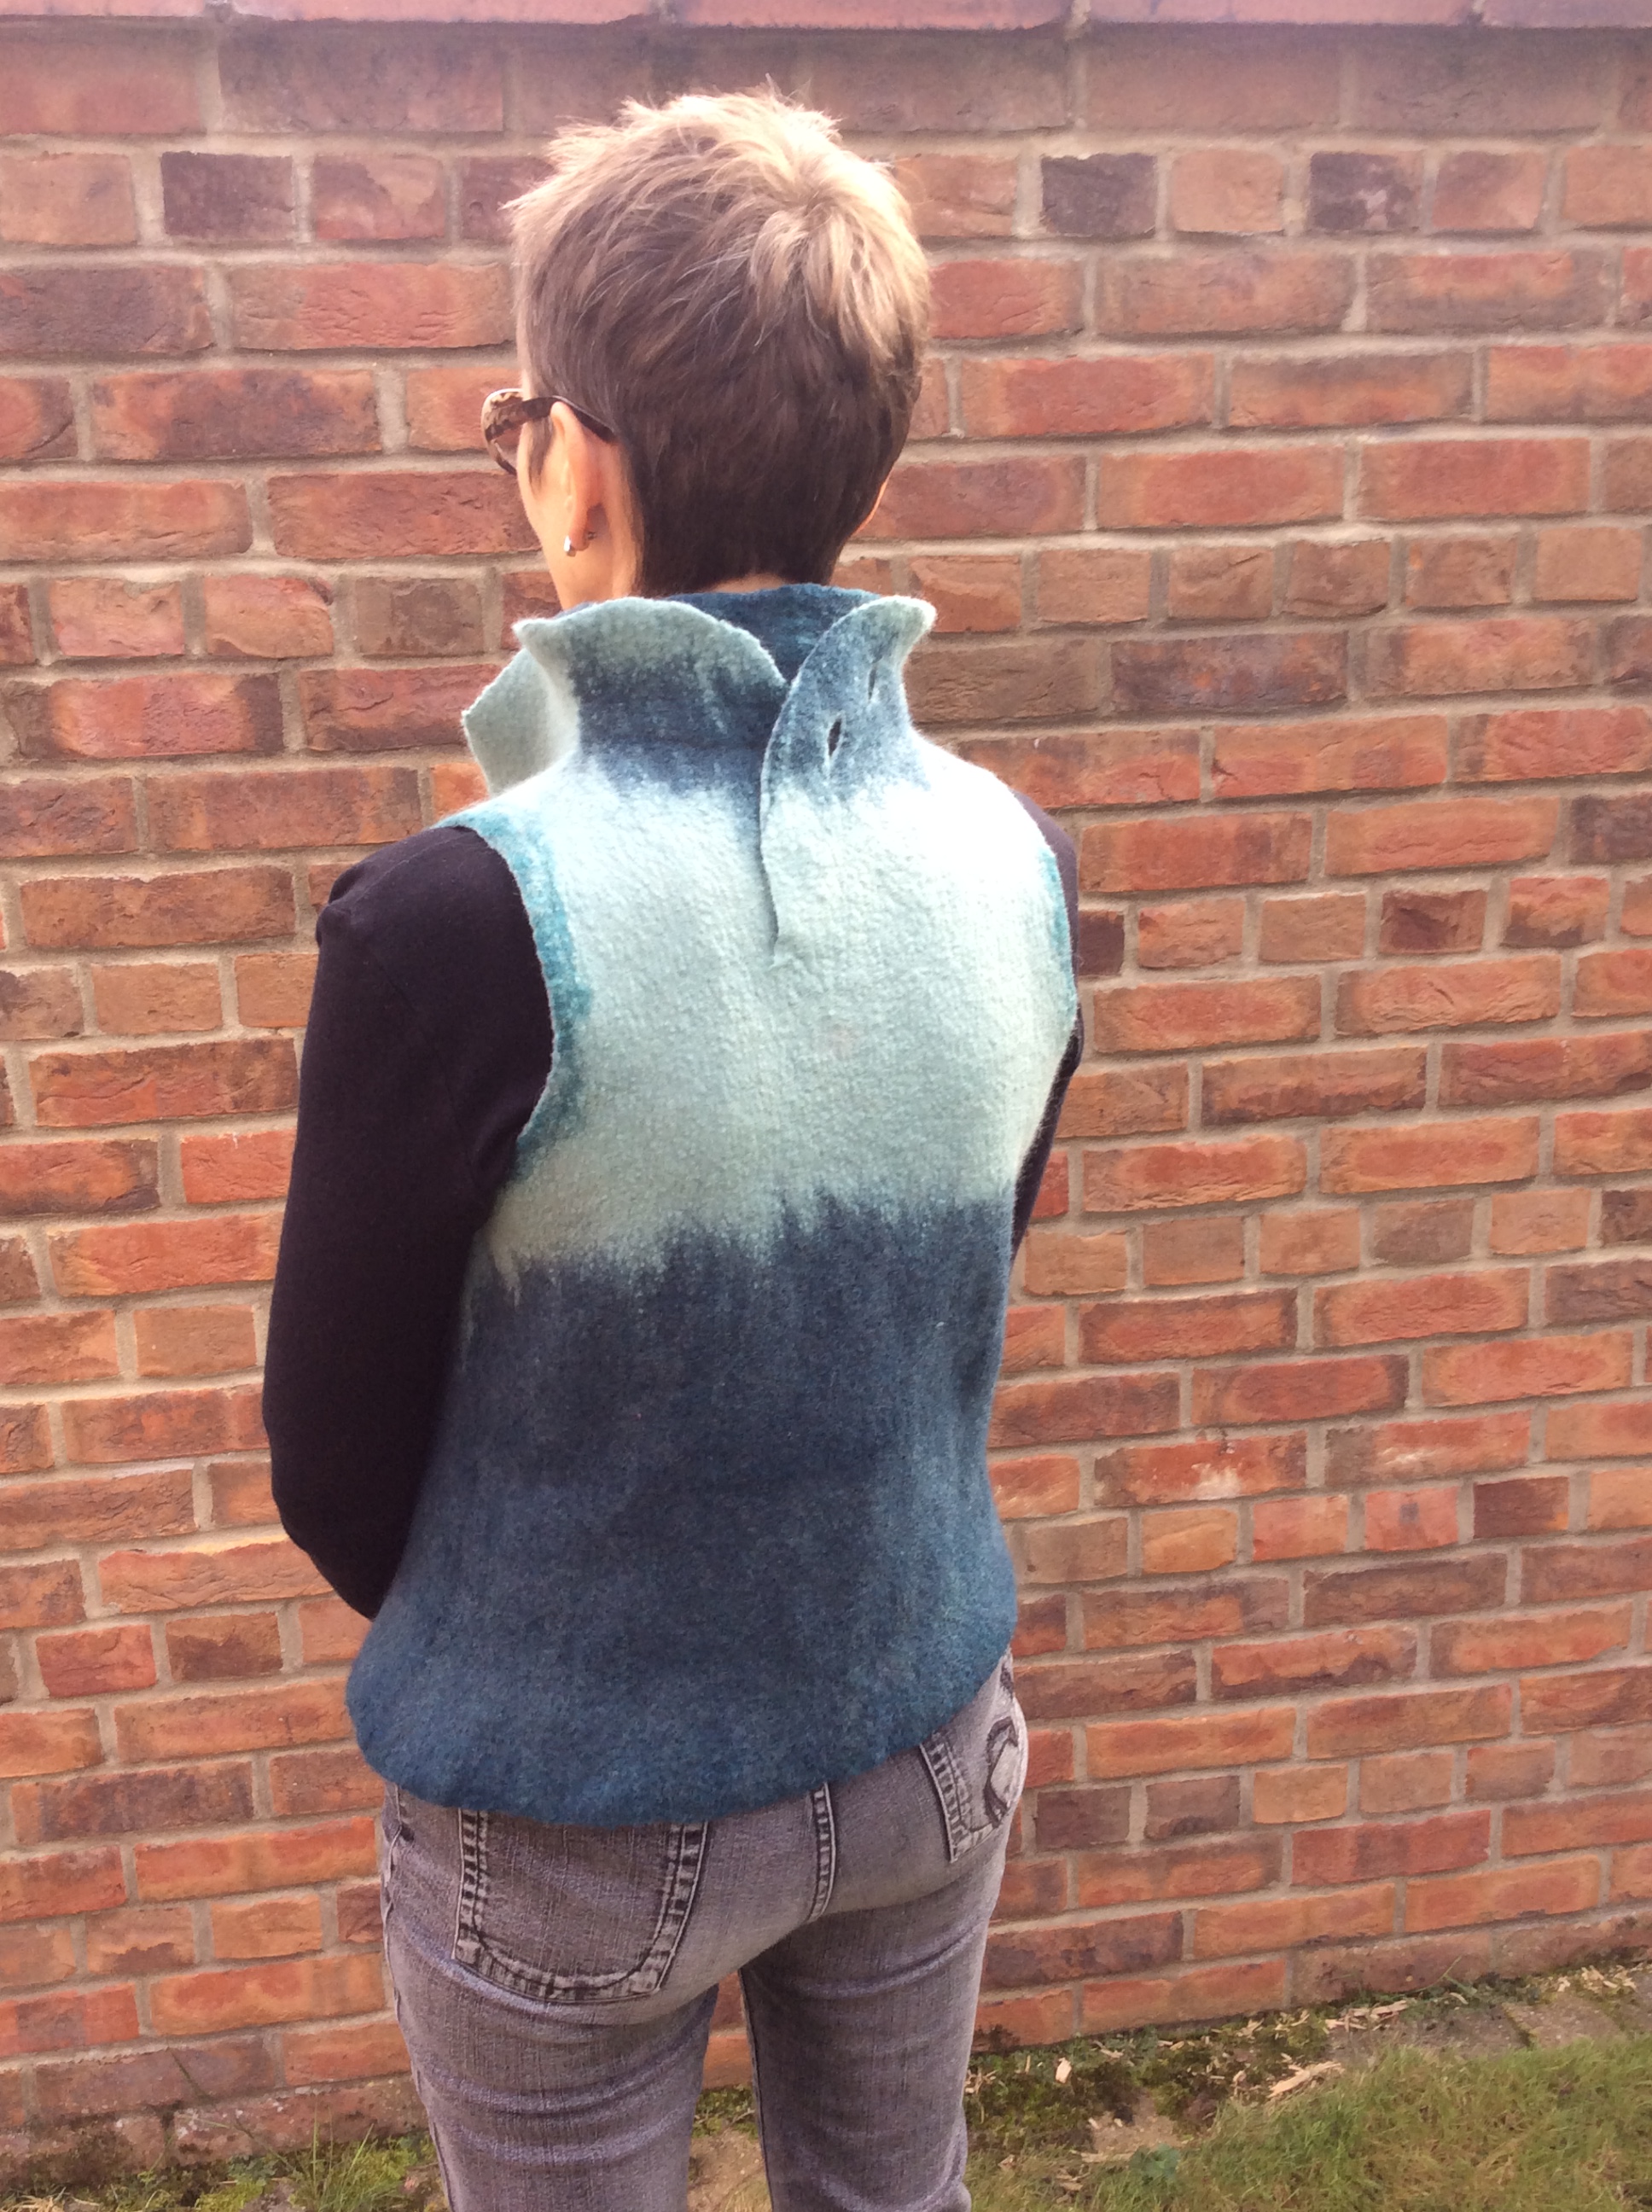
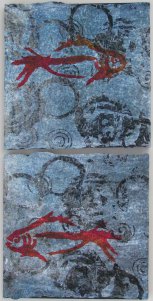
My finished “Outer Energy” sculpture, it makes me think of a fossilised ballet shoe!

…..and the other side.

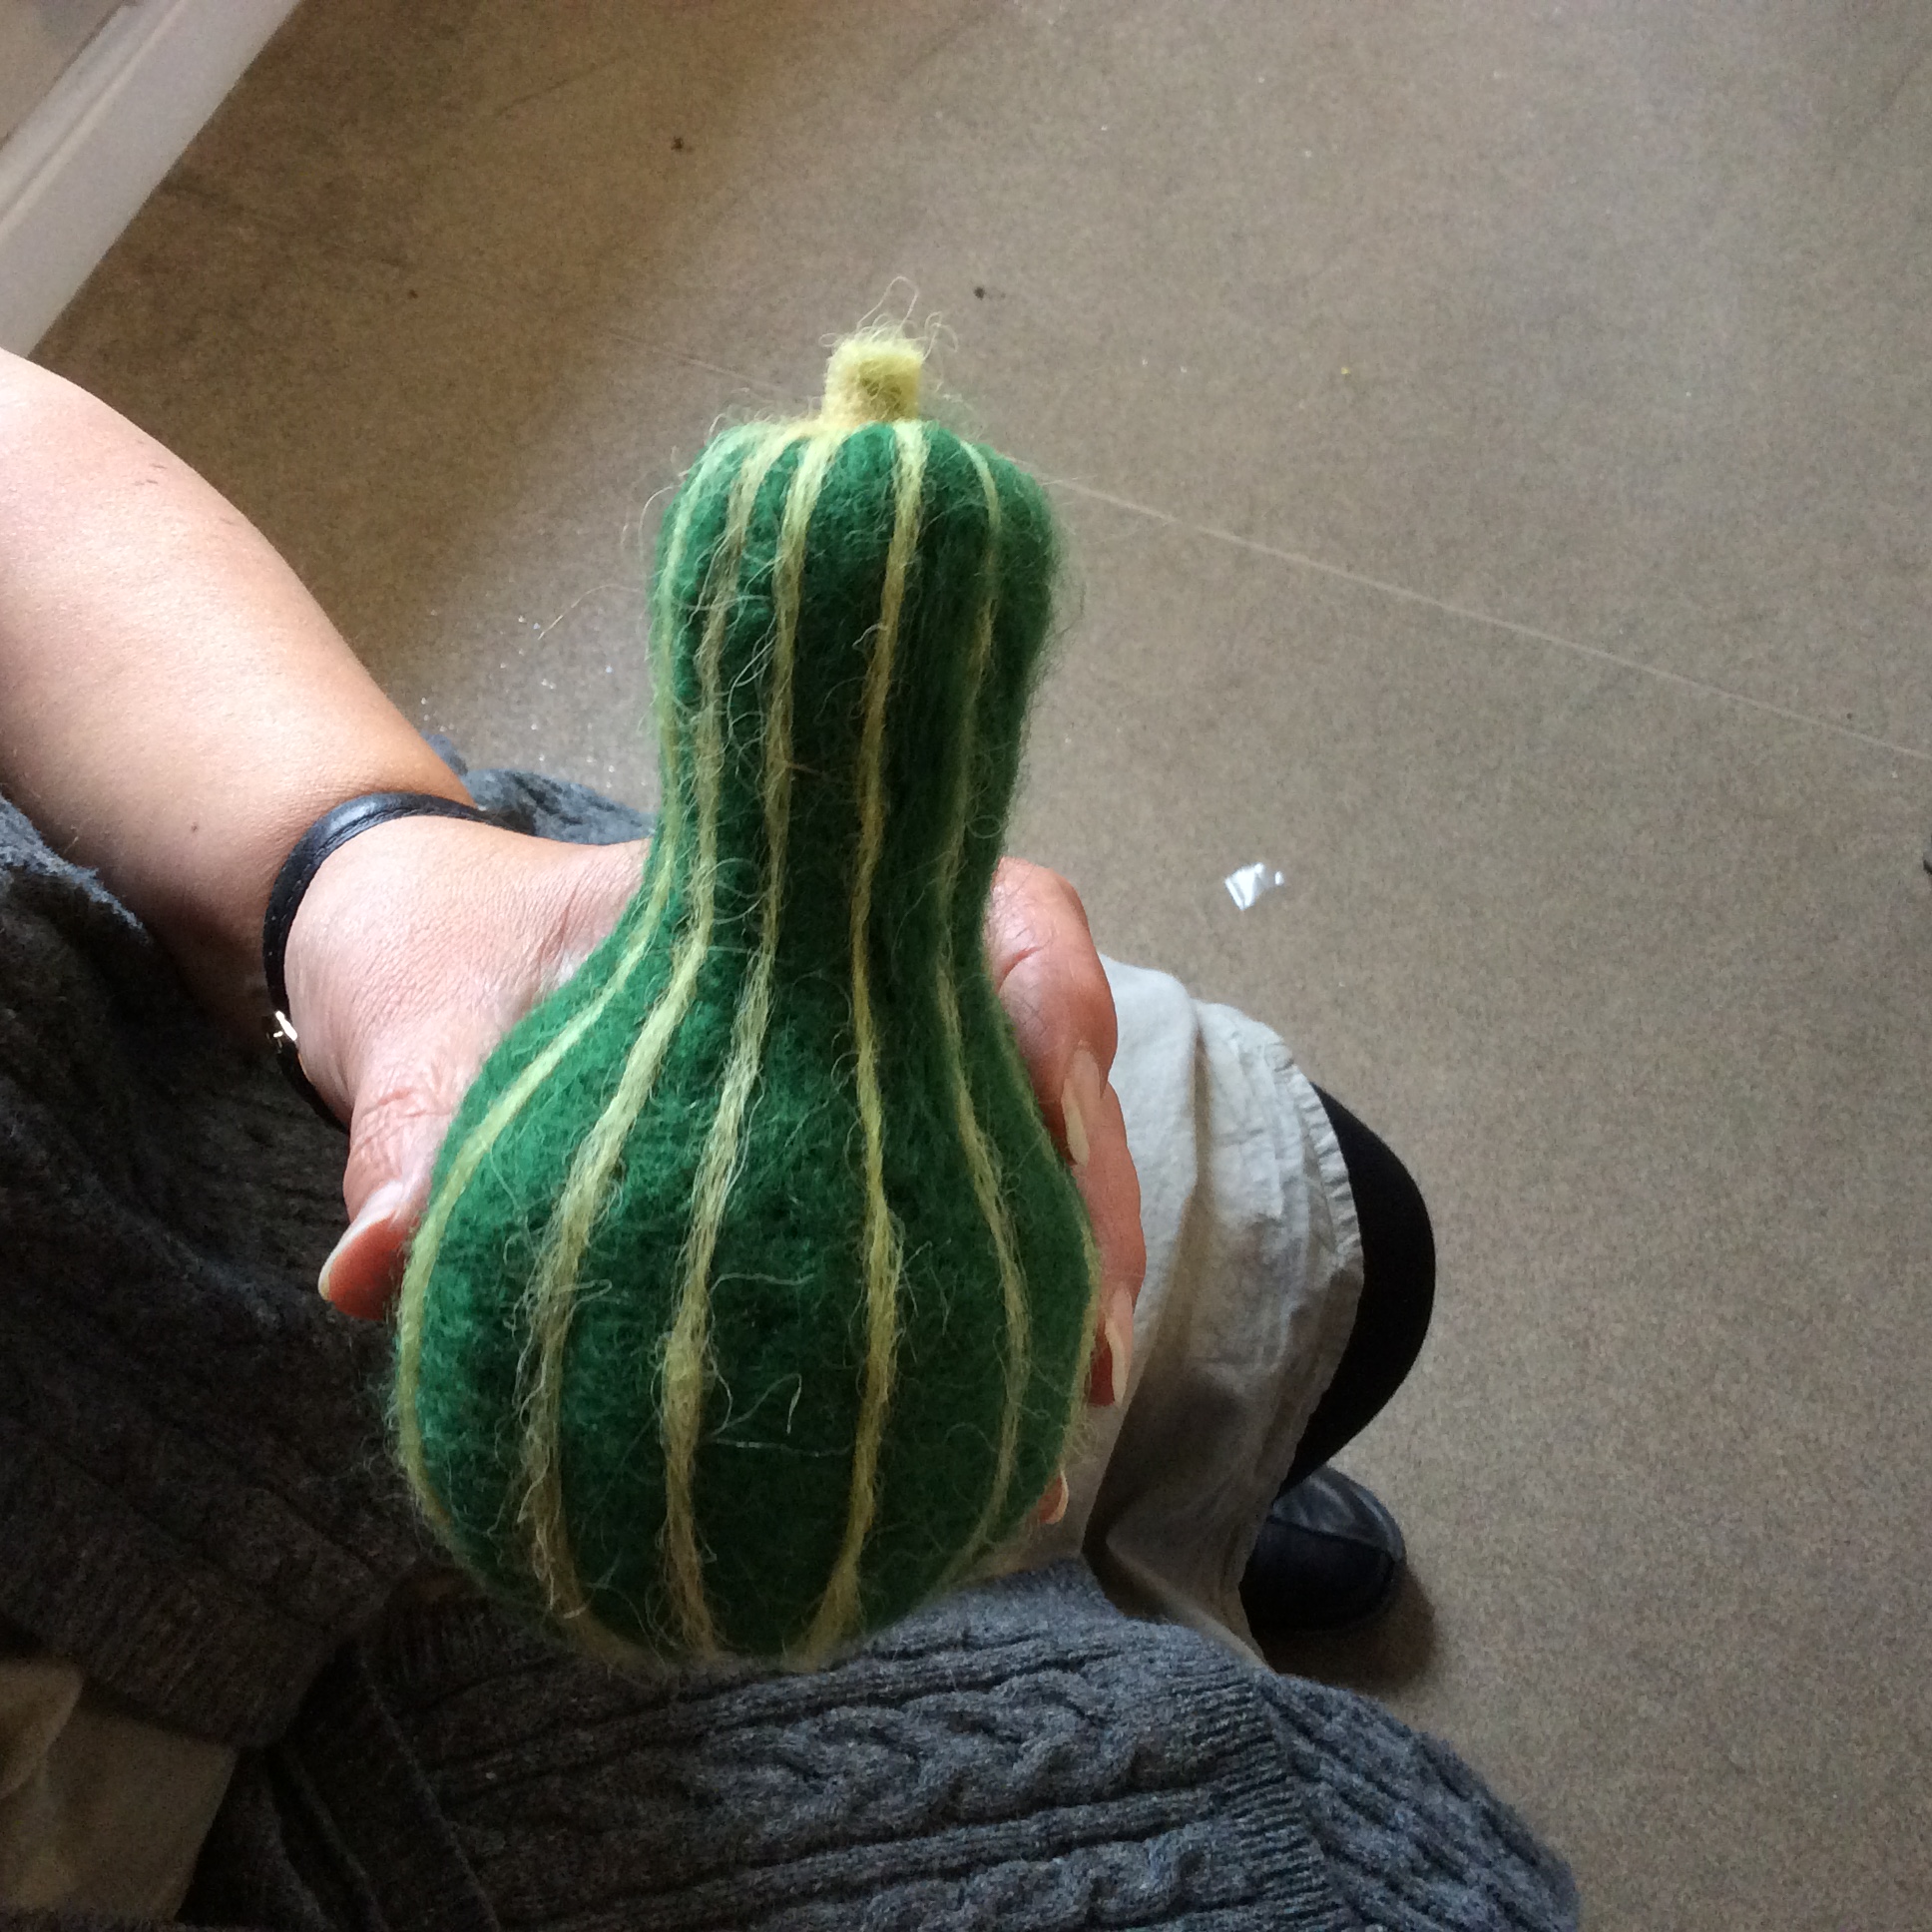
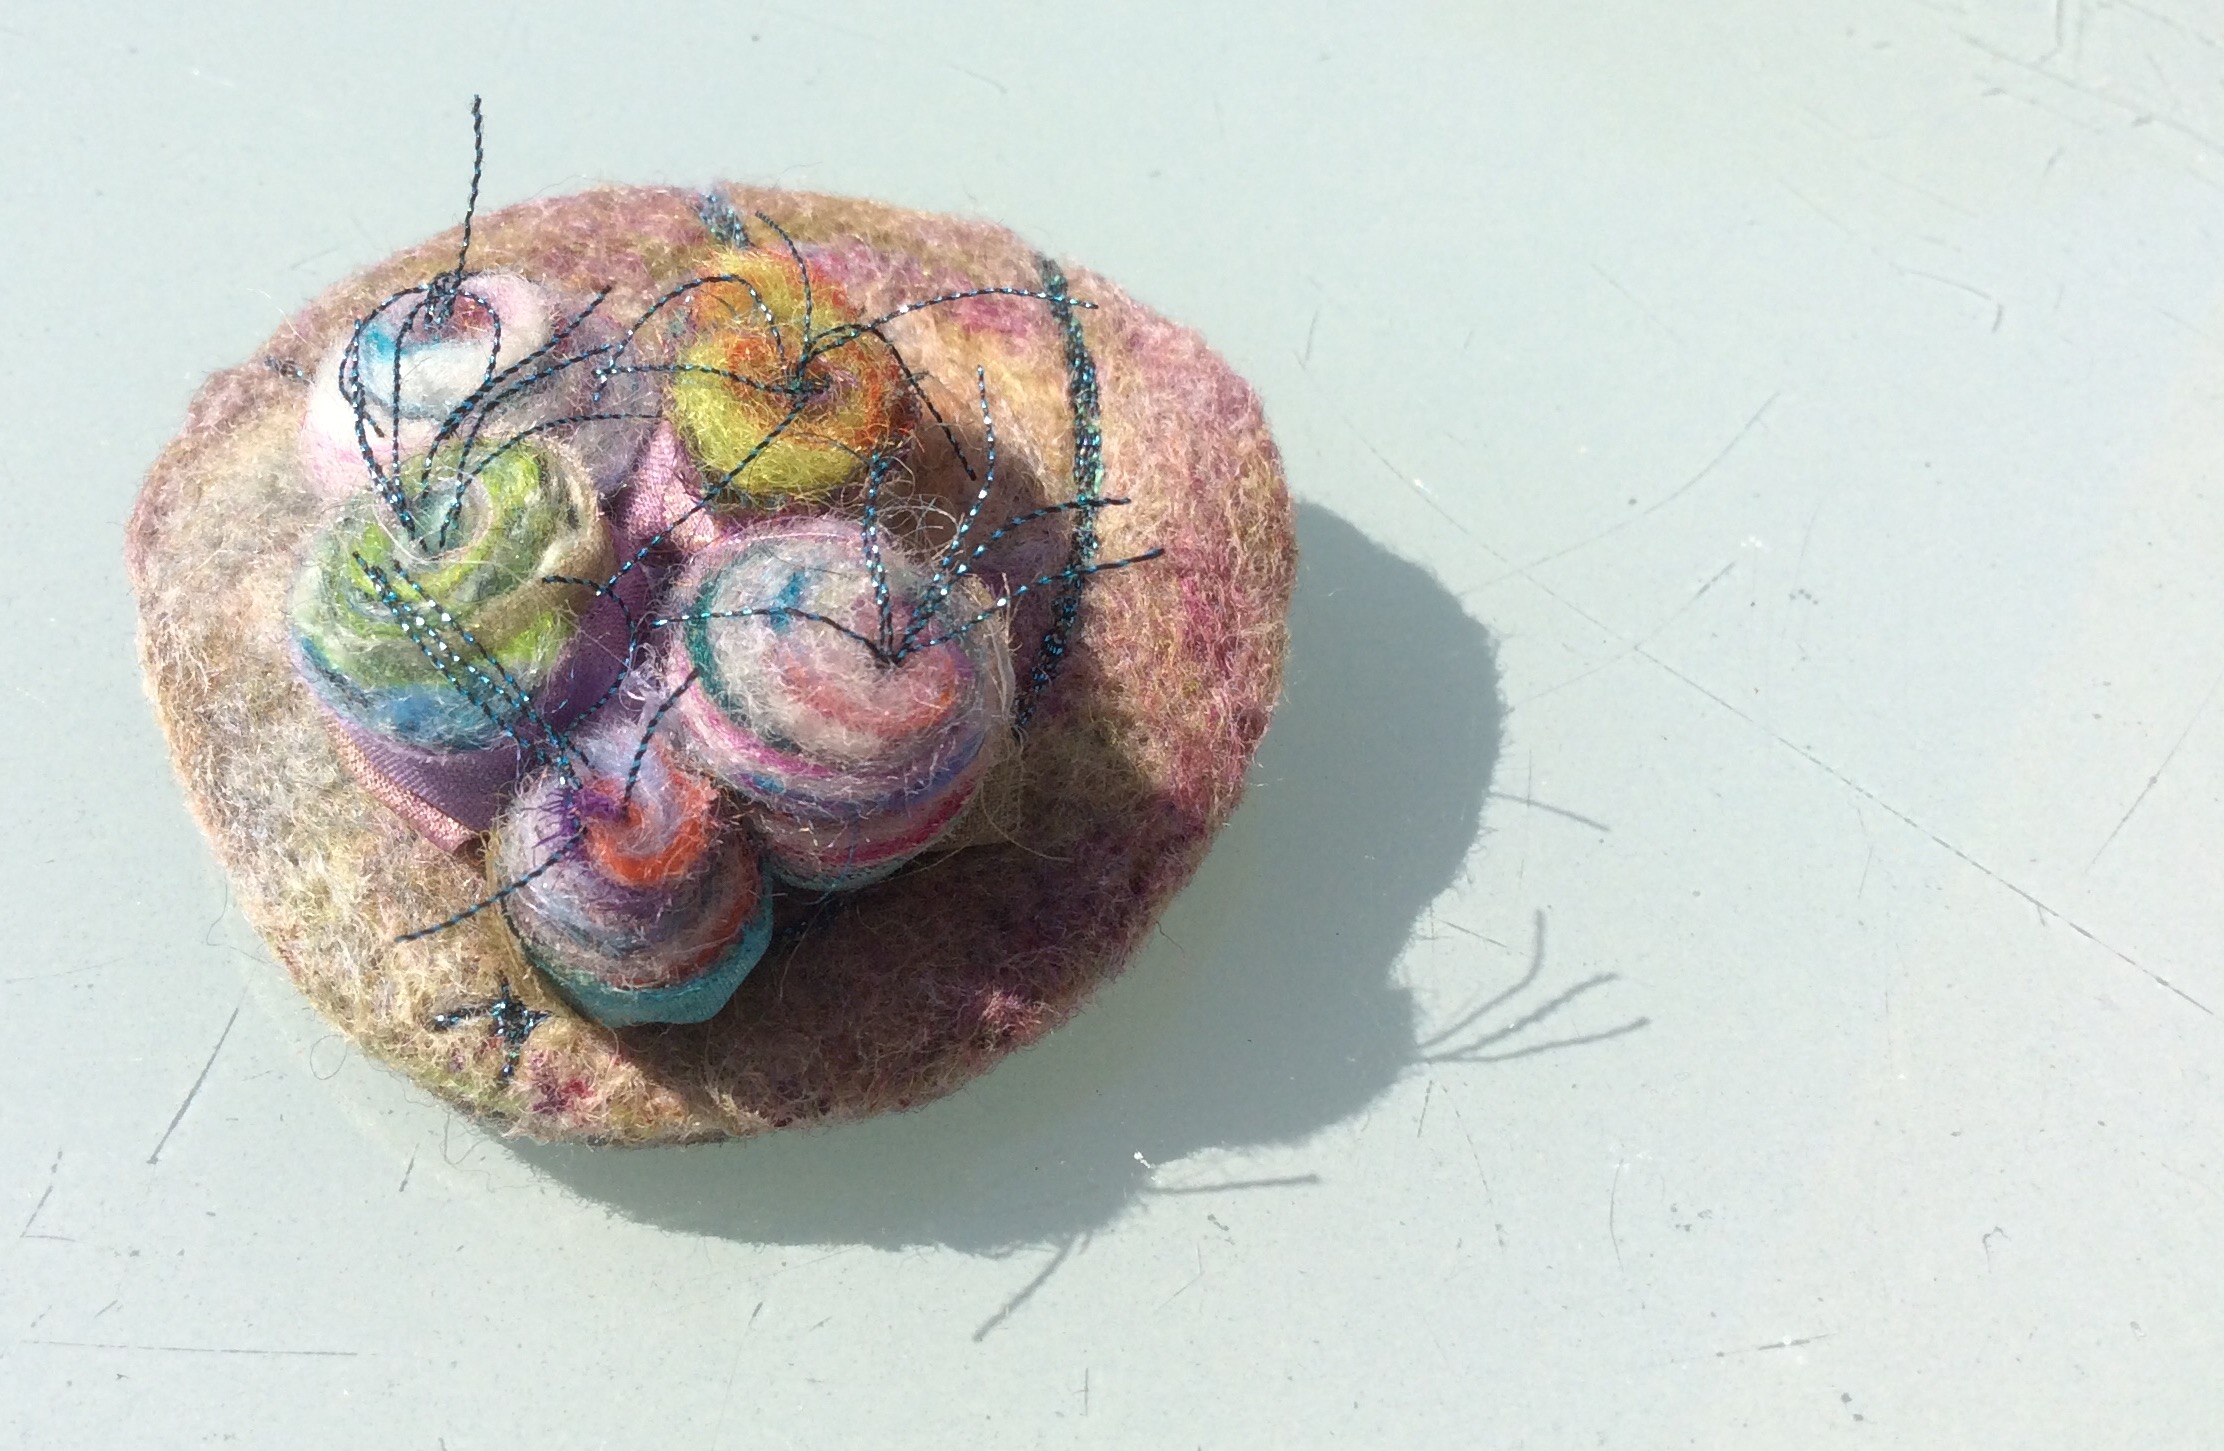
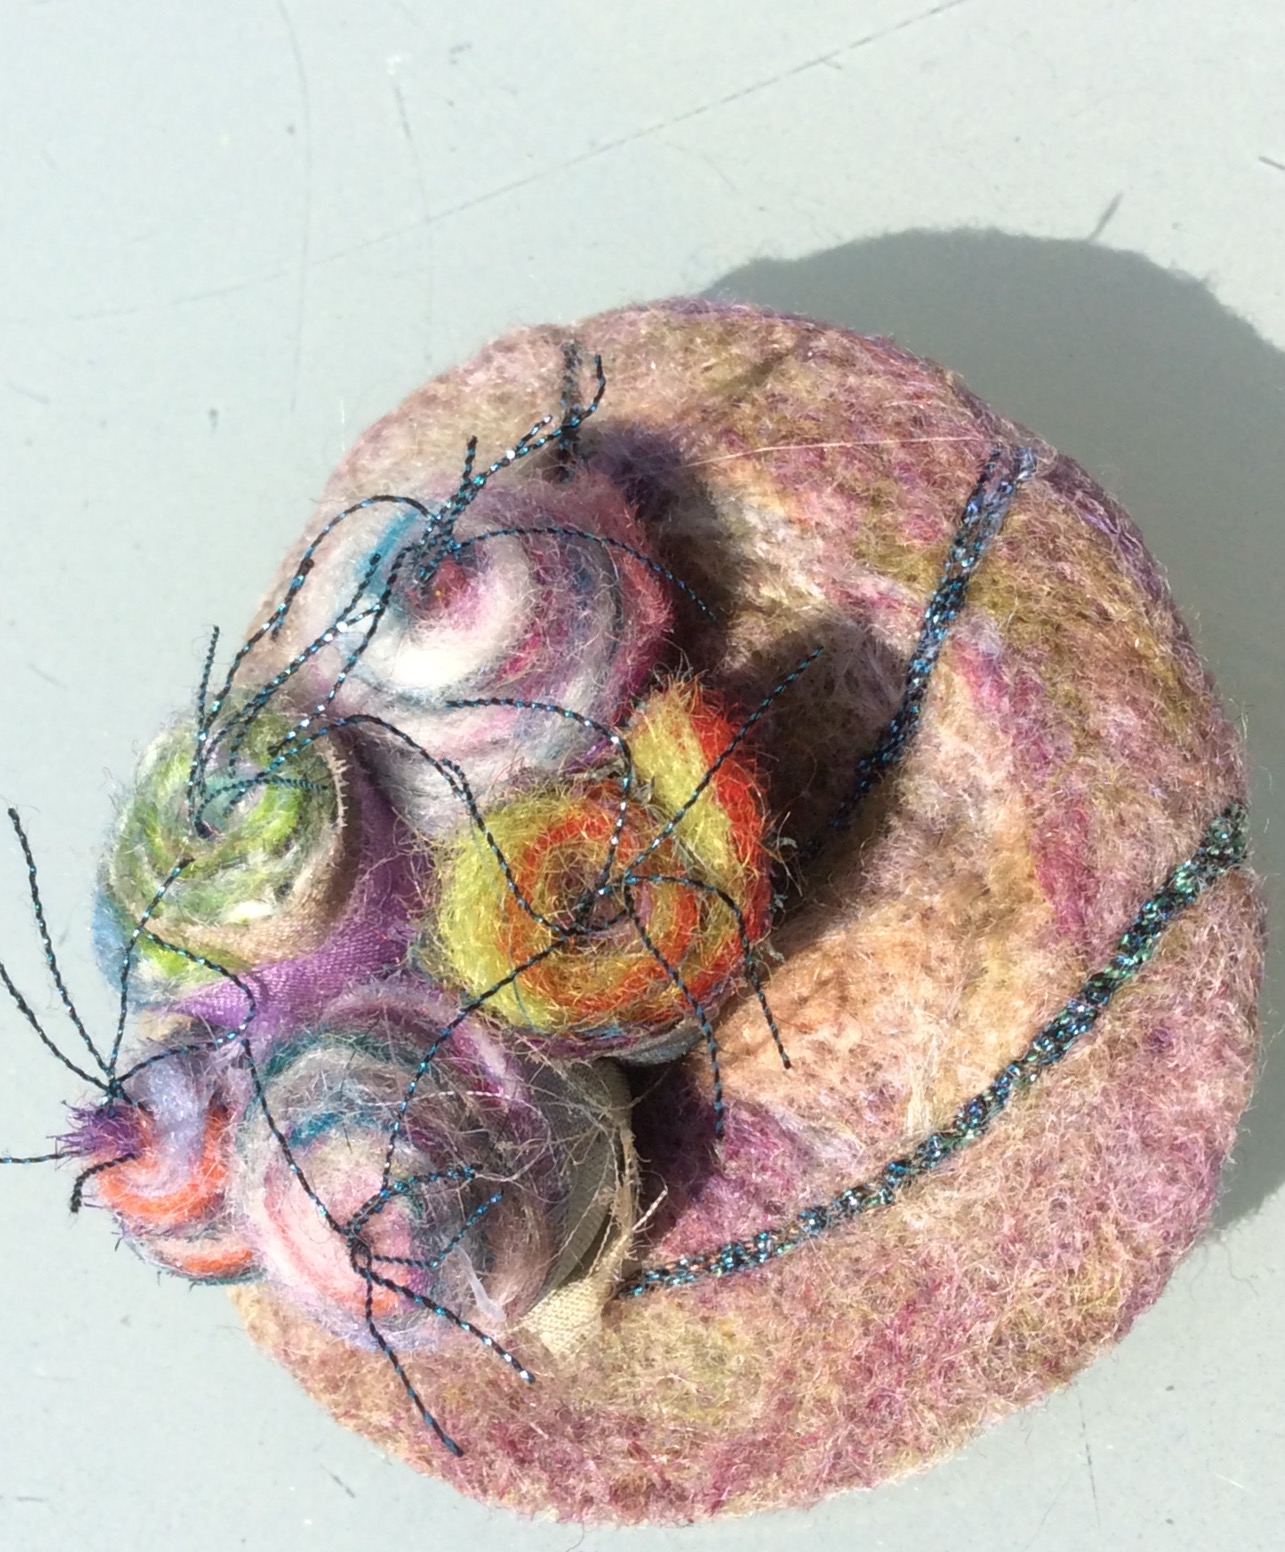
My finished “Inner Energy” sculpture
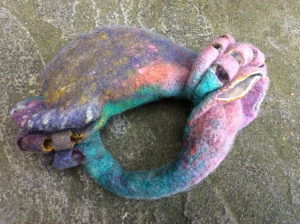
…..and the other side.
My two finished pieces are completely different, both having been pleated, fulled and cut away. Once again I learnt such a lot, met some lovely people and came away inspired! It was a privilege to spend time with Marjolein. Not only is she incredibly talented but she has a very calm and warm personality and you really couldn’t wish to meet a nicer person, Here’s hoping she comes back to the UK very soon!