Last Friday I spent a wonderful day at Artvango learning the basics of how to Eco Dye with Jenny Leslie. Before the session we were sent a list of certain leaves which we were asked to bring with us as they are known to produce particularly good results with this type of technique. That in itself was a learning curve for me. Prior to this I had no idea what a Walnut tree looked like, and wouldn’t have known that there were so many in close proximity to our house. I had never heard of “Dogwood”, although I did recognise the plant when it was pointed out to me by a member of staff in the garden of The Lincolnshire Wildlfe Trust. Other leaves Jenny suggested included apple, blackberry and eucalyptus.
It was baking hot here last Thursday and by the time I had finished foraging some of the leaves were already beginning to wilt. I did wonder if they would be shrivelled beyond recognition by the time I got to use them as I was travelling down by motorbike and staying overnight at a B&B before the class. I needn’t have worried as it turns out the leaves don’t need to be freshly picked, in fact dried, pressed leaves also work well for Eco Printing.
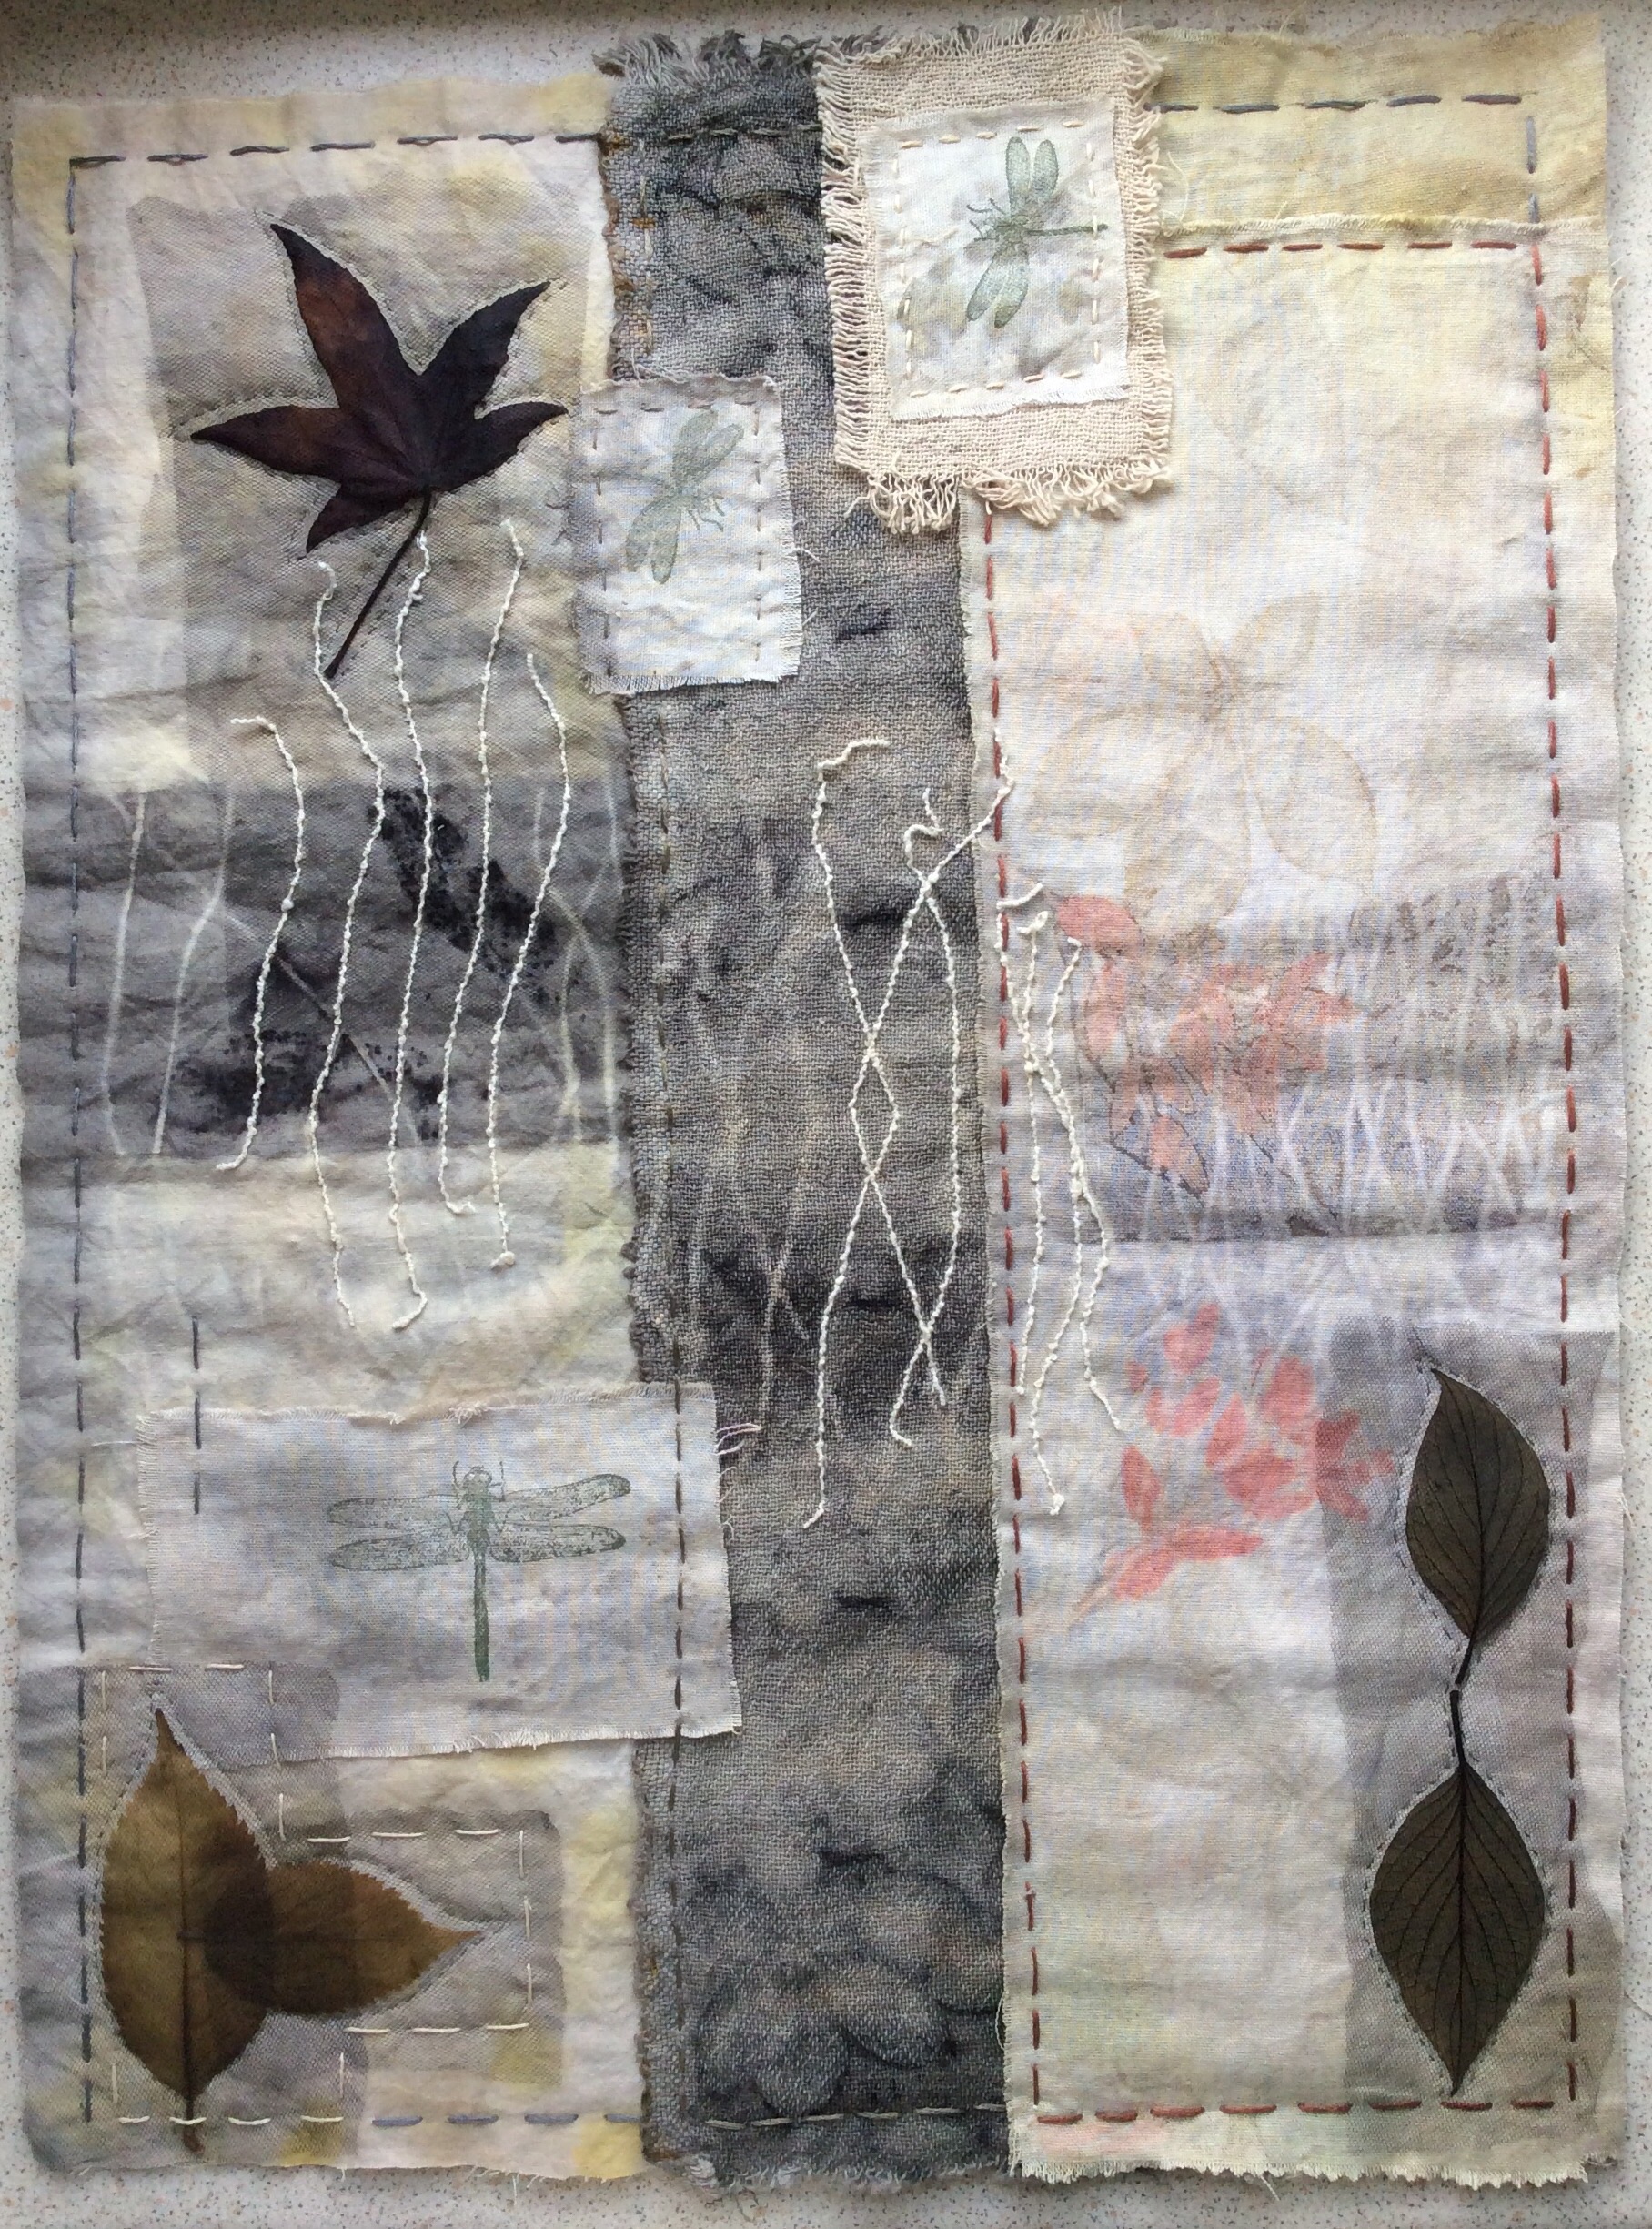
Jenny, who has a background in gardening, began by showing us some of her wonderful work and explained how she got into Eco Dying. Obviously there were references to India Flint, the pioneer of Eco Dyeing, and Jenny brought along her copy of India’s book “Eco Colour” for us to look at.

A selection of Jenny’s work
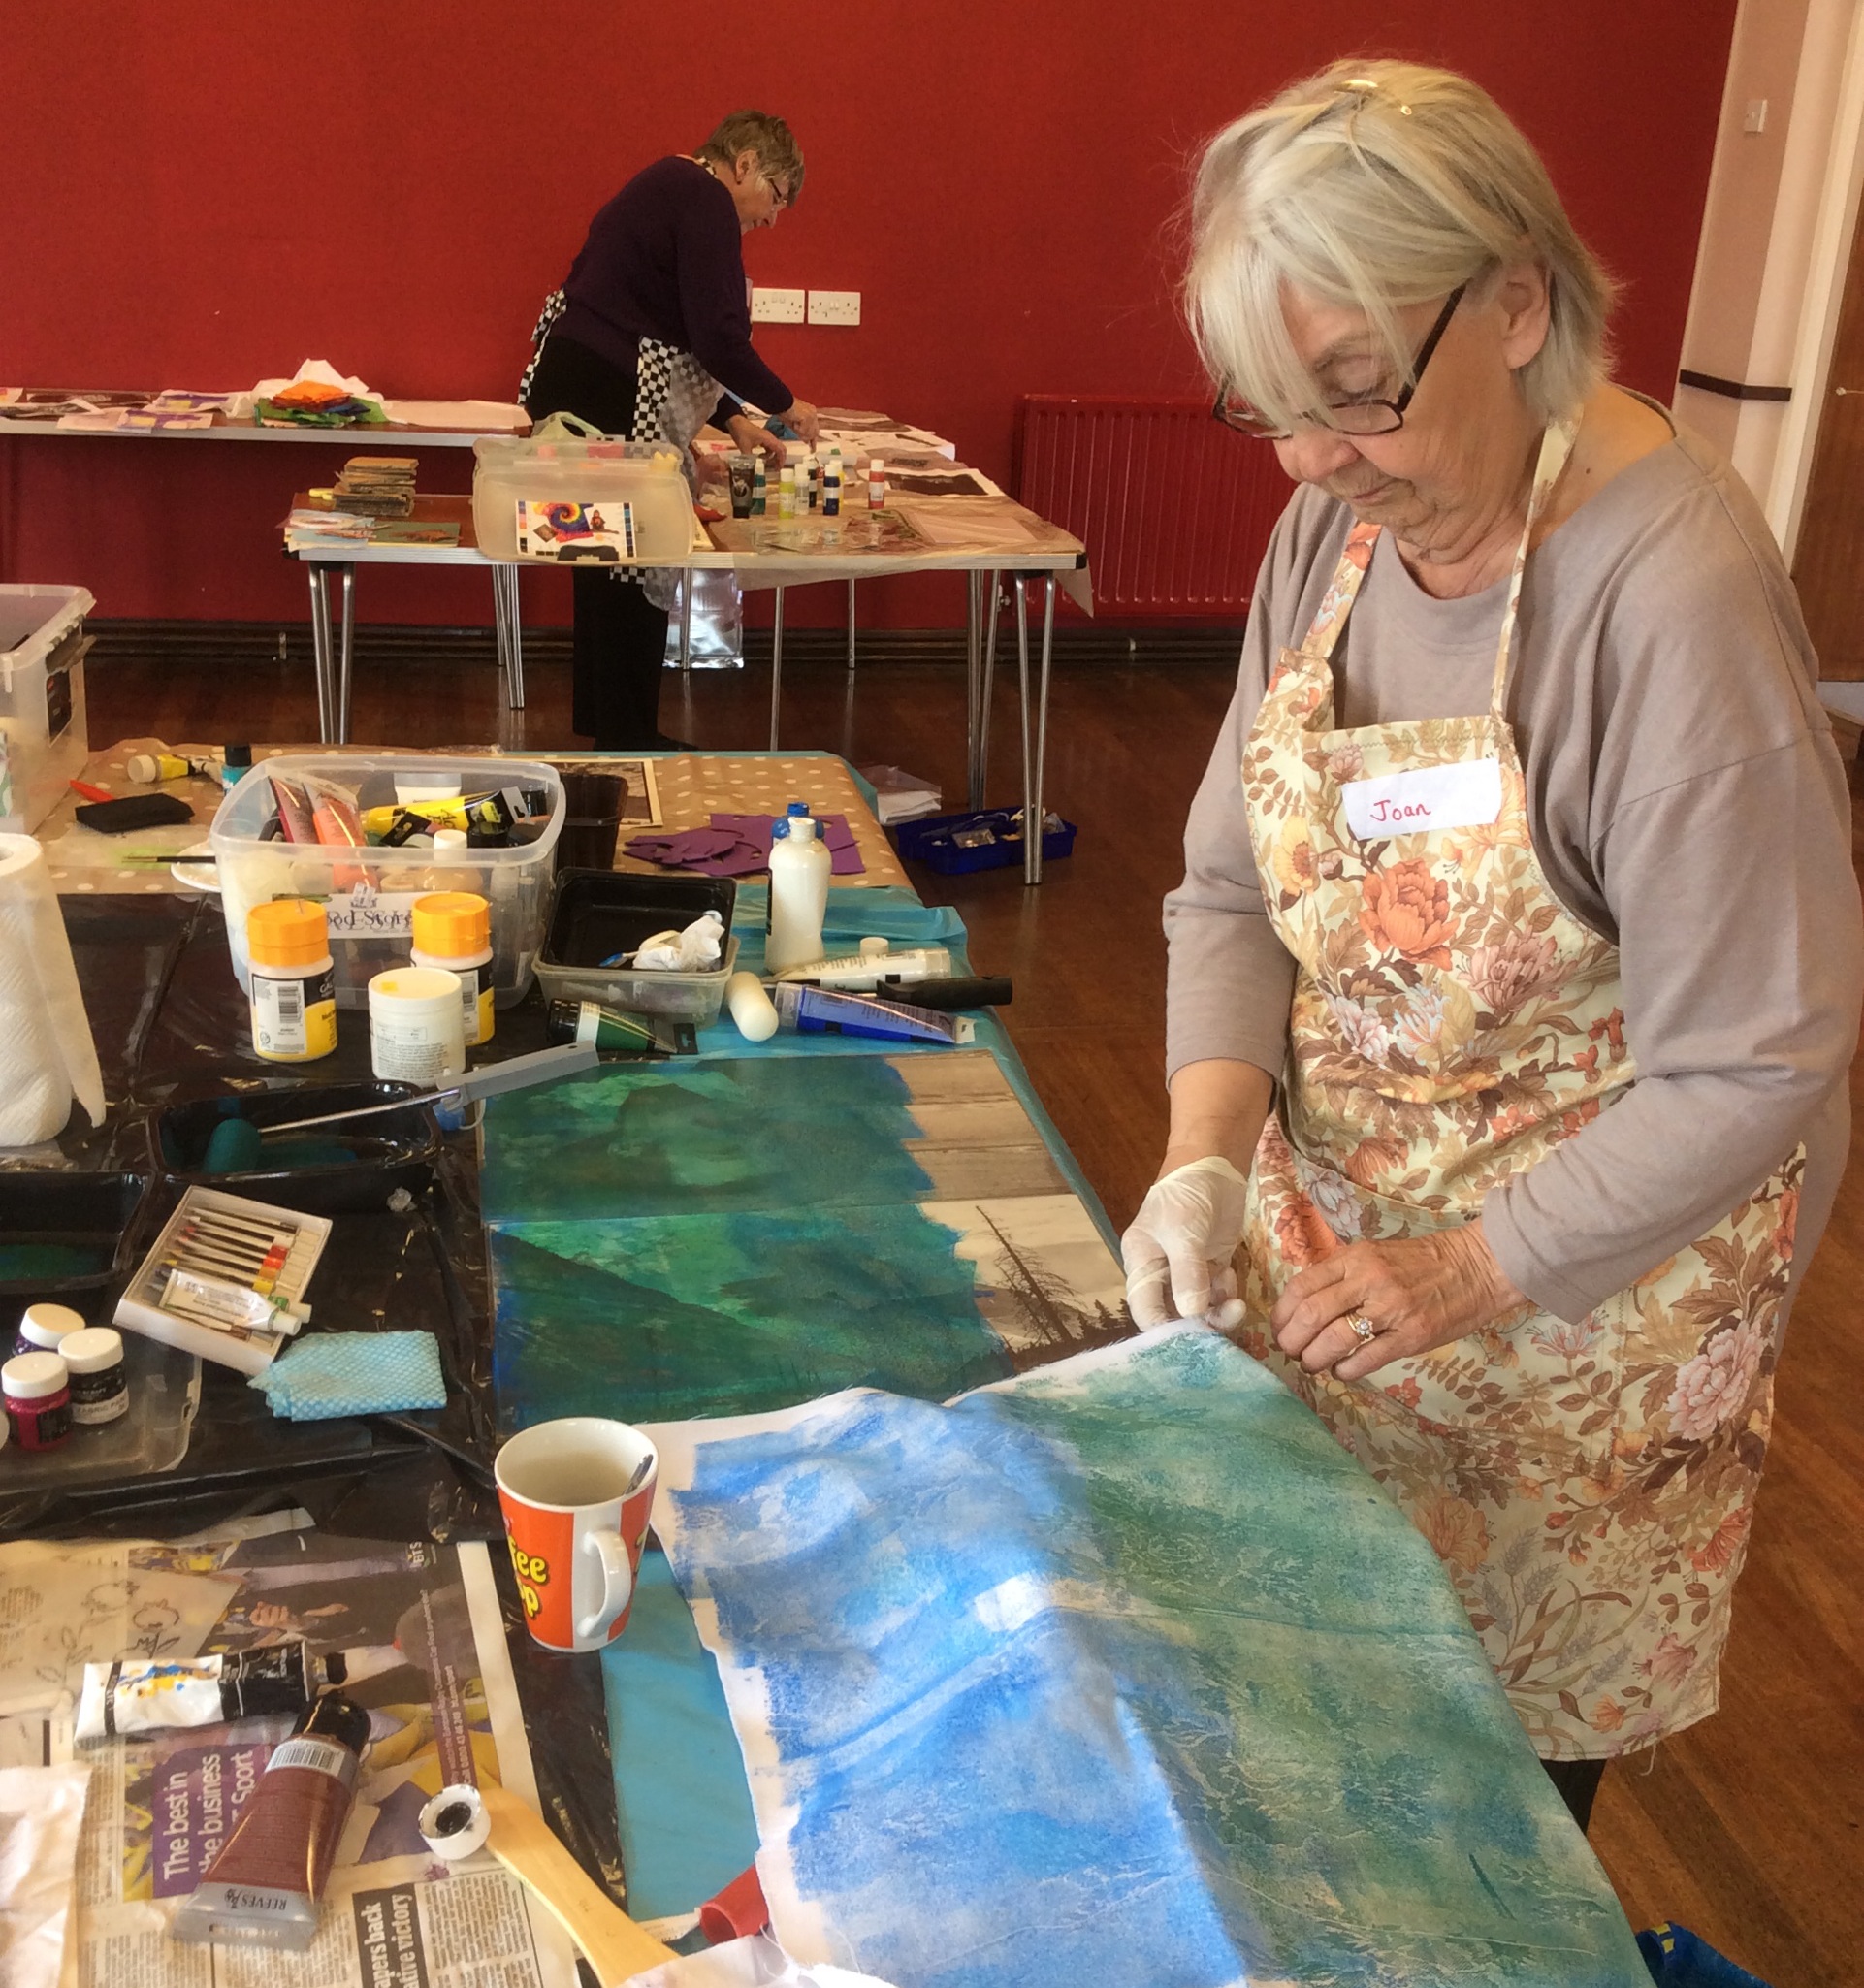
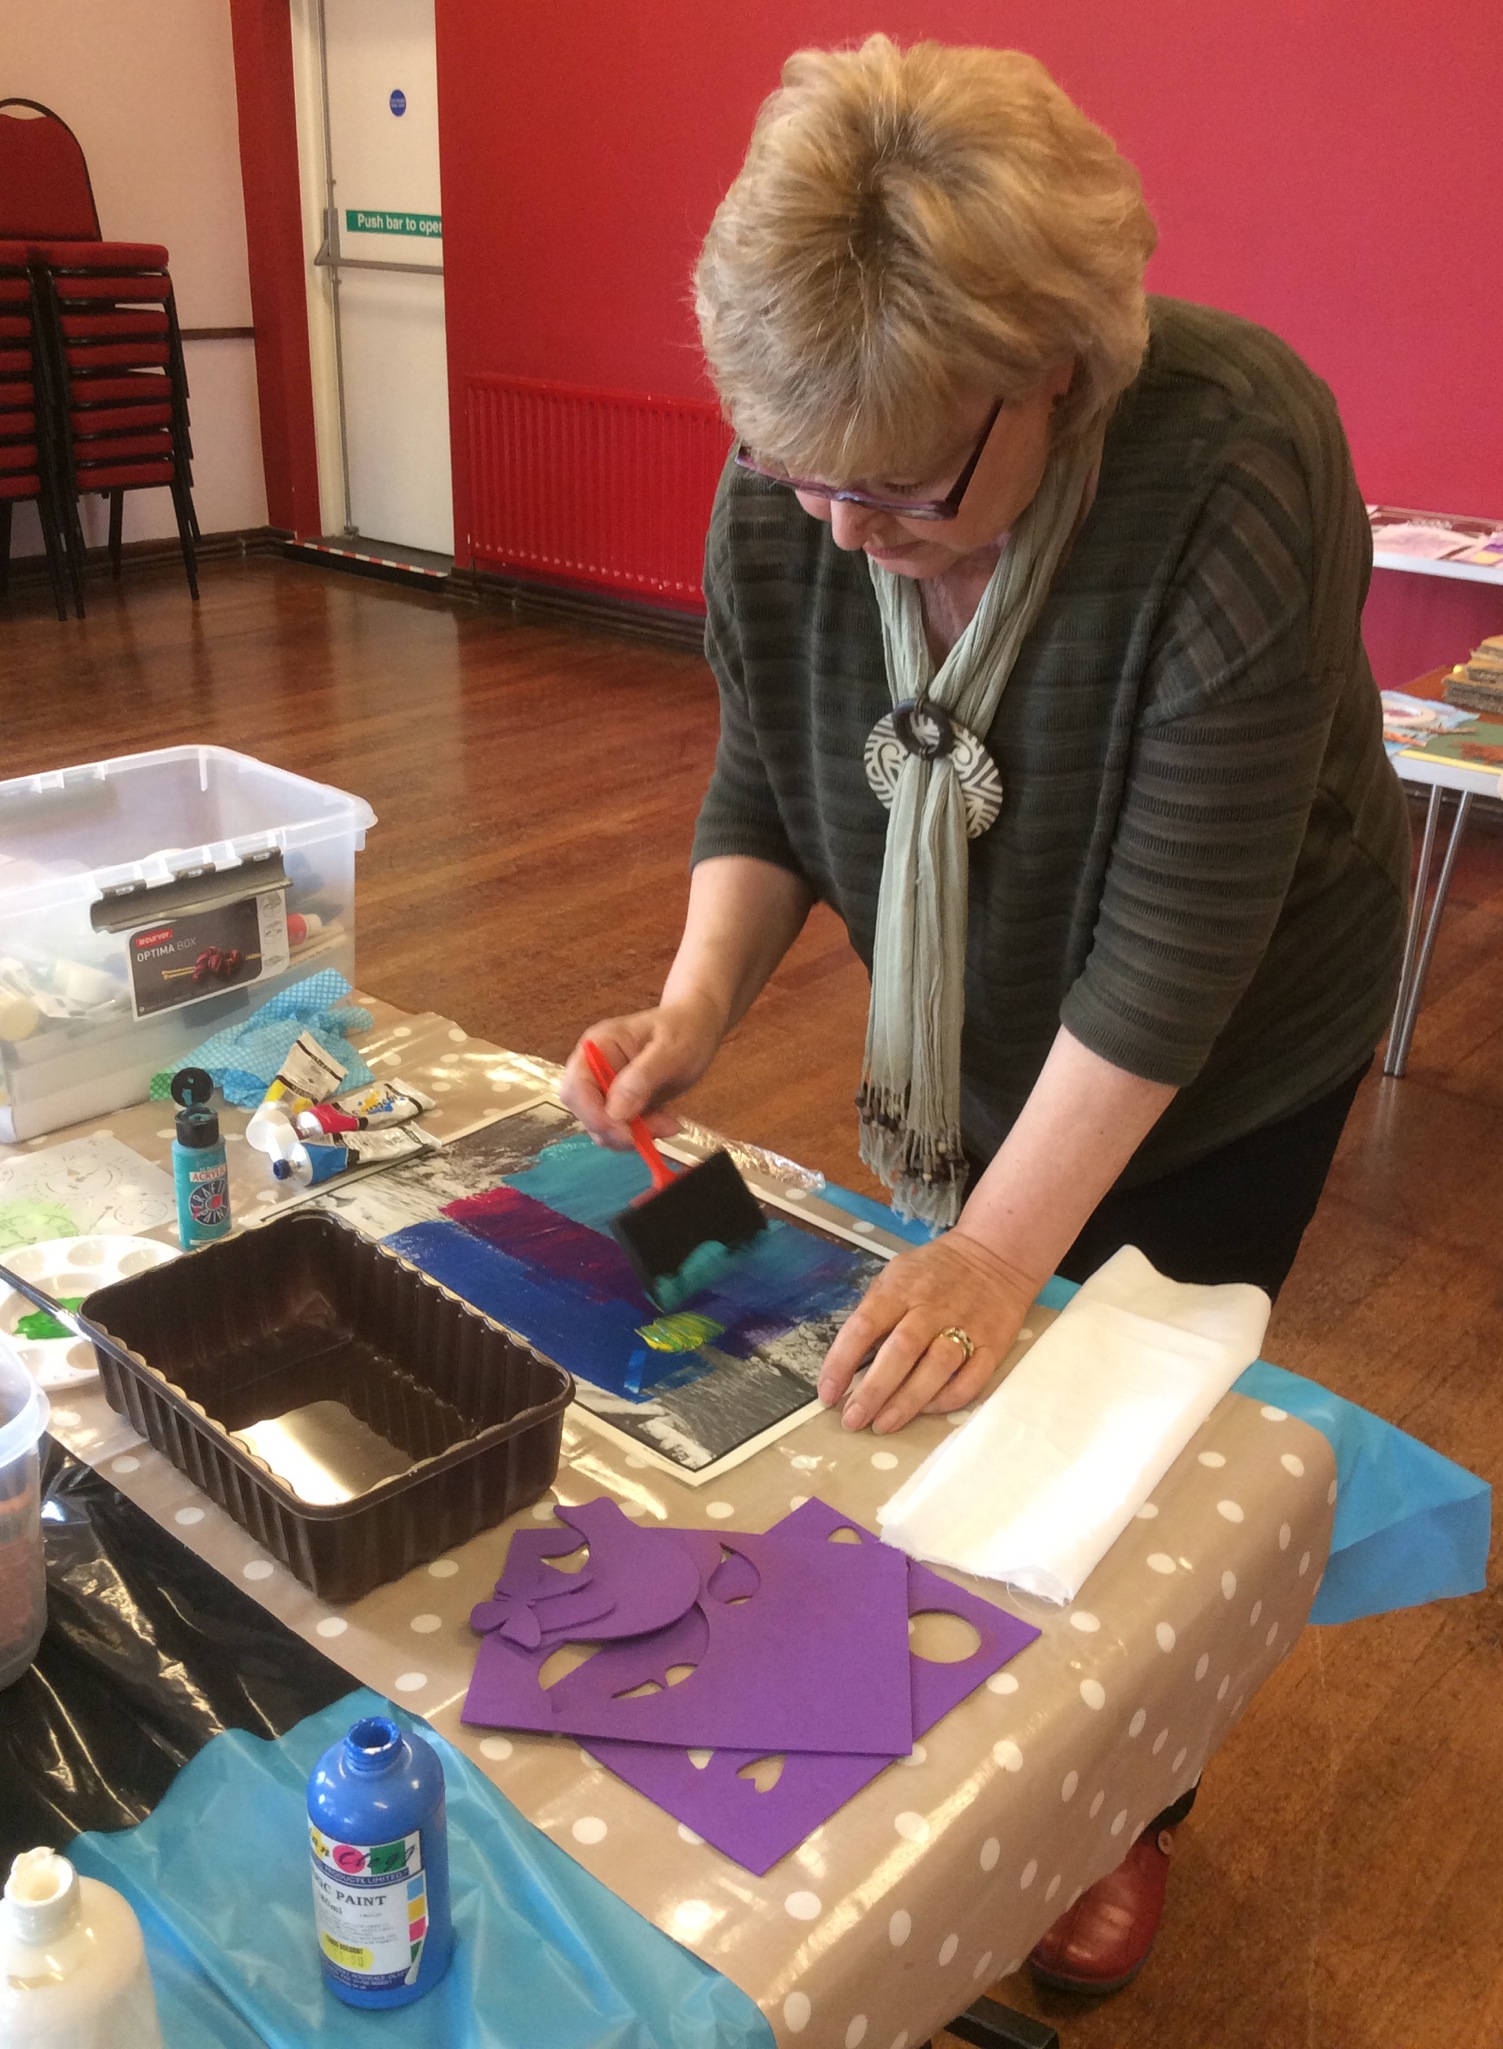
There were twelve students in the class and I think I can speak for all when I say what a fabulous day we had. I did a bit of research before travelling down and I have to admit I wasn’t expecting such good results from a first attempt! We were like excited kids, selecting what we were going to use, dipping our leaves into the iron bath or the copper bath, and carefully wrapping our bundles around twigs, copper pipes or rusty old tins. Once they had been tied securely with string they were dropped into the boiling water or placed in the steamer. All the time we were busy Jenny was feeding us information regarding mordants and “baths” and the different ways we could alter the colours we had achieved, even once the bundles had been boiled. My notes are a complete jumble as I only got back from my 550 mile journey last night (I came home via the Isle of Wight!) but I am looking forward to sorting them out and having a play this weekend, once I have been out and collected more greenary.

Jenny explains how we will be using the murky looking liquids
Jenny recommended Soya Milk as a mordant for cotton while our silk fabrics were simply soaked in a 50/50 solution of water and white vinegar. Apparently there are lots of different approaches to Eco Dyeing with some folk recommending mordants while others don’t bother. The final effects can also vary depending on the type of fabric you use, the hardness of your water, humidity, etc, etc. I think the key message I took away was that we need to “experiment” and find what works for us.

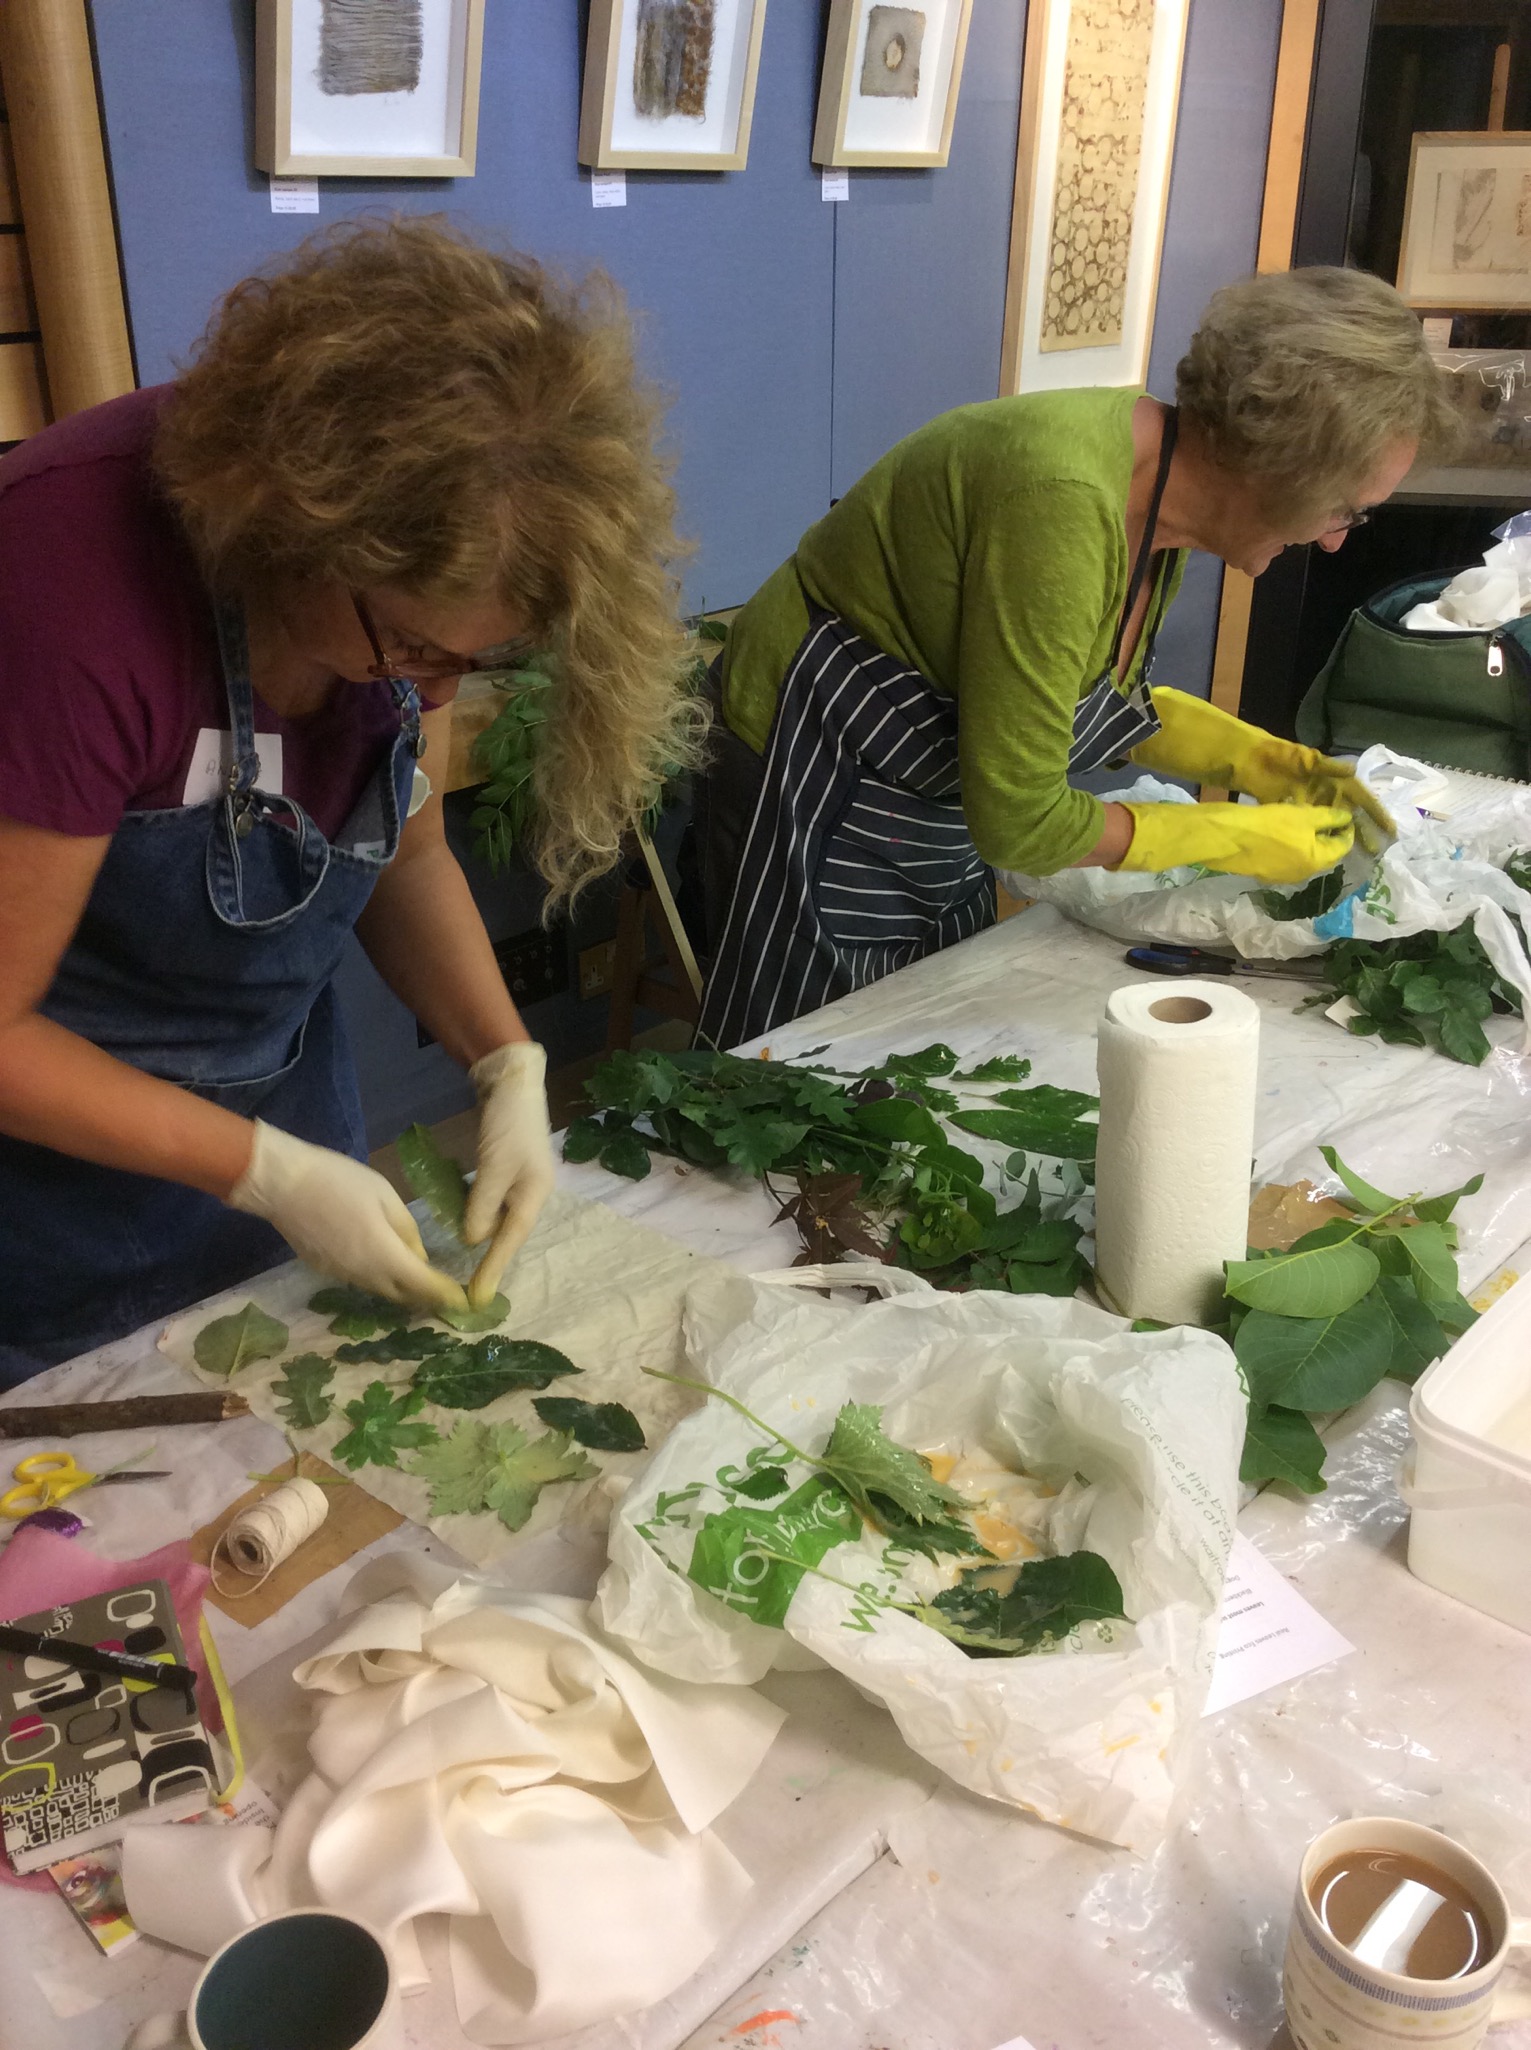
Laying out the leaves

Tying the bundles

Fabric wrapped around rusty tin cans

Another students work revealed

Clive got a colourful result using onion skins
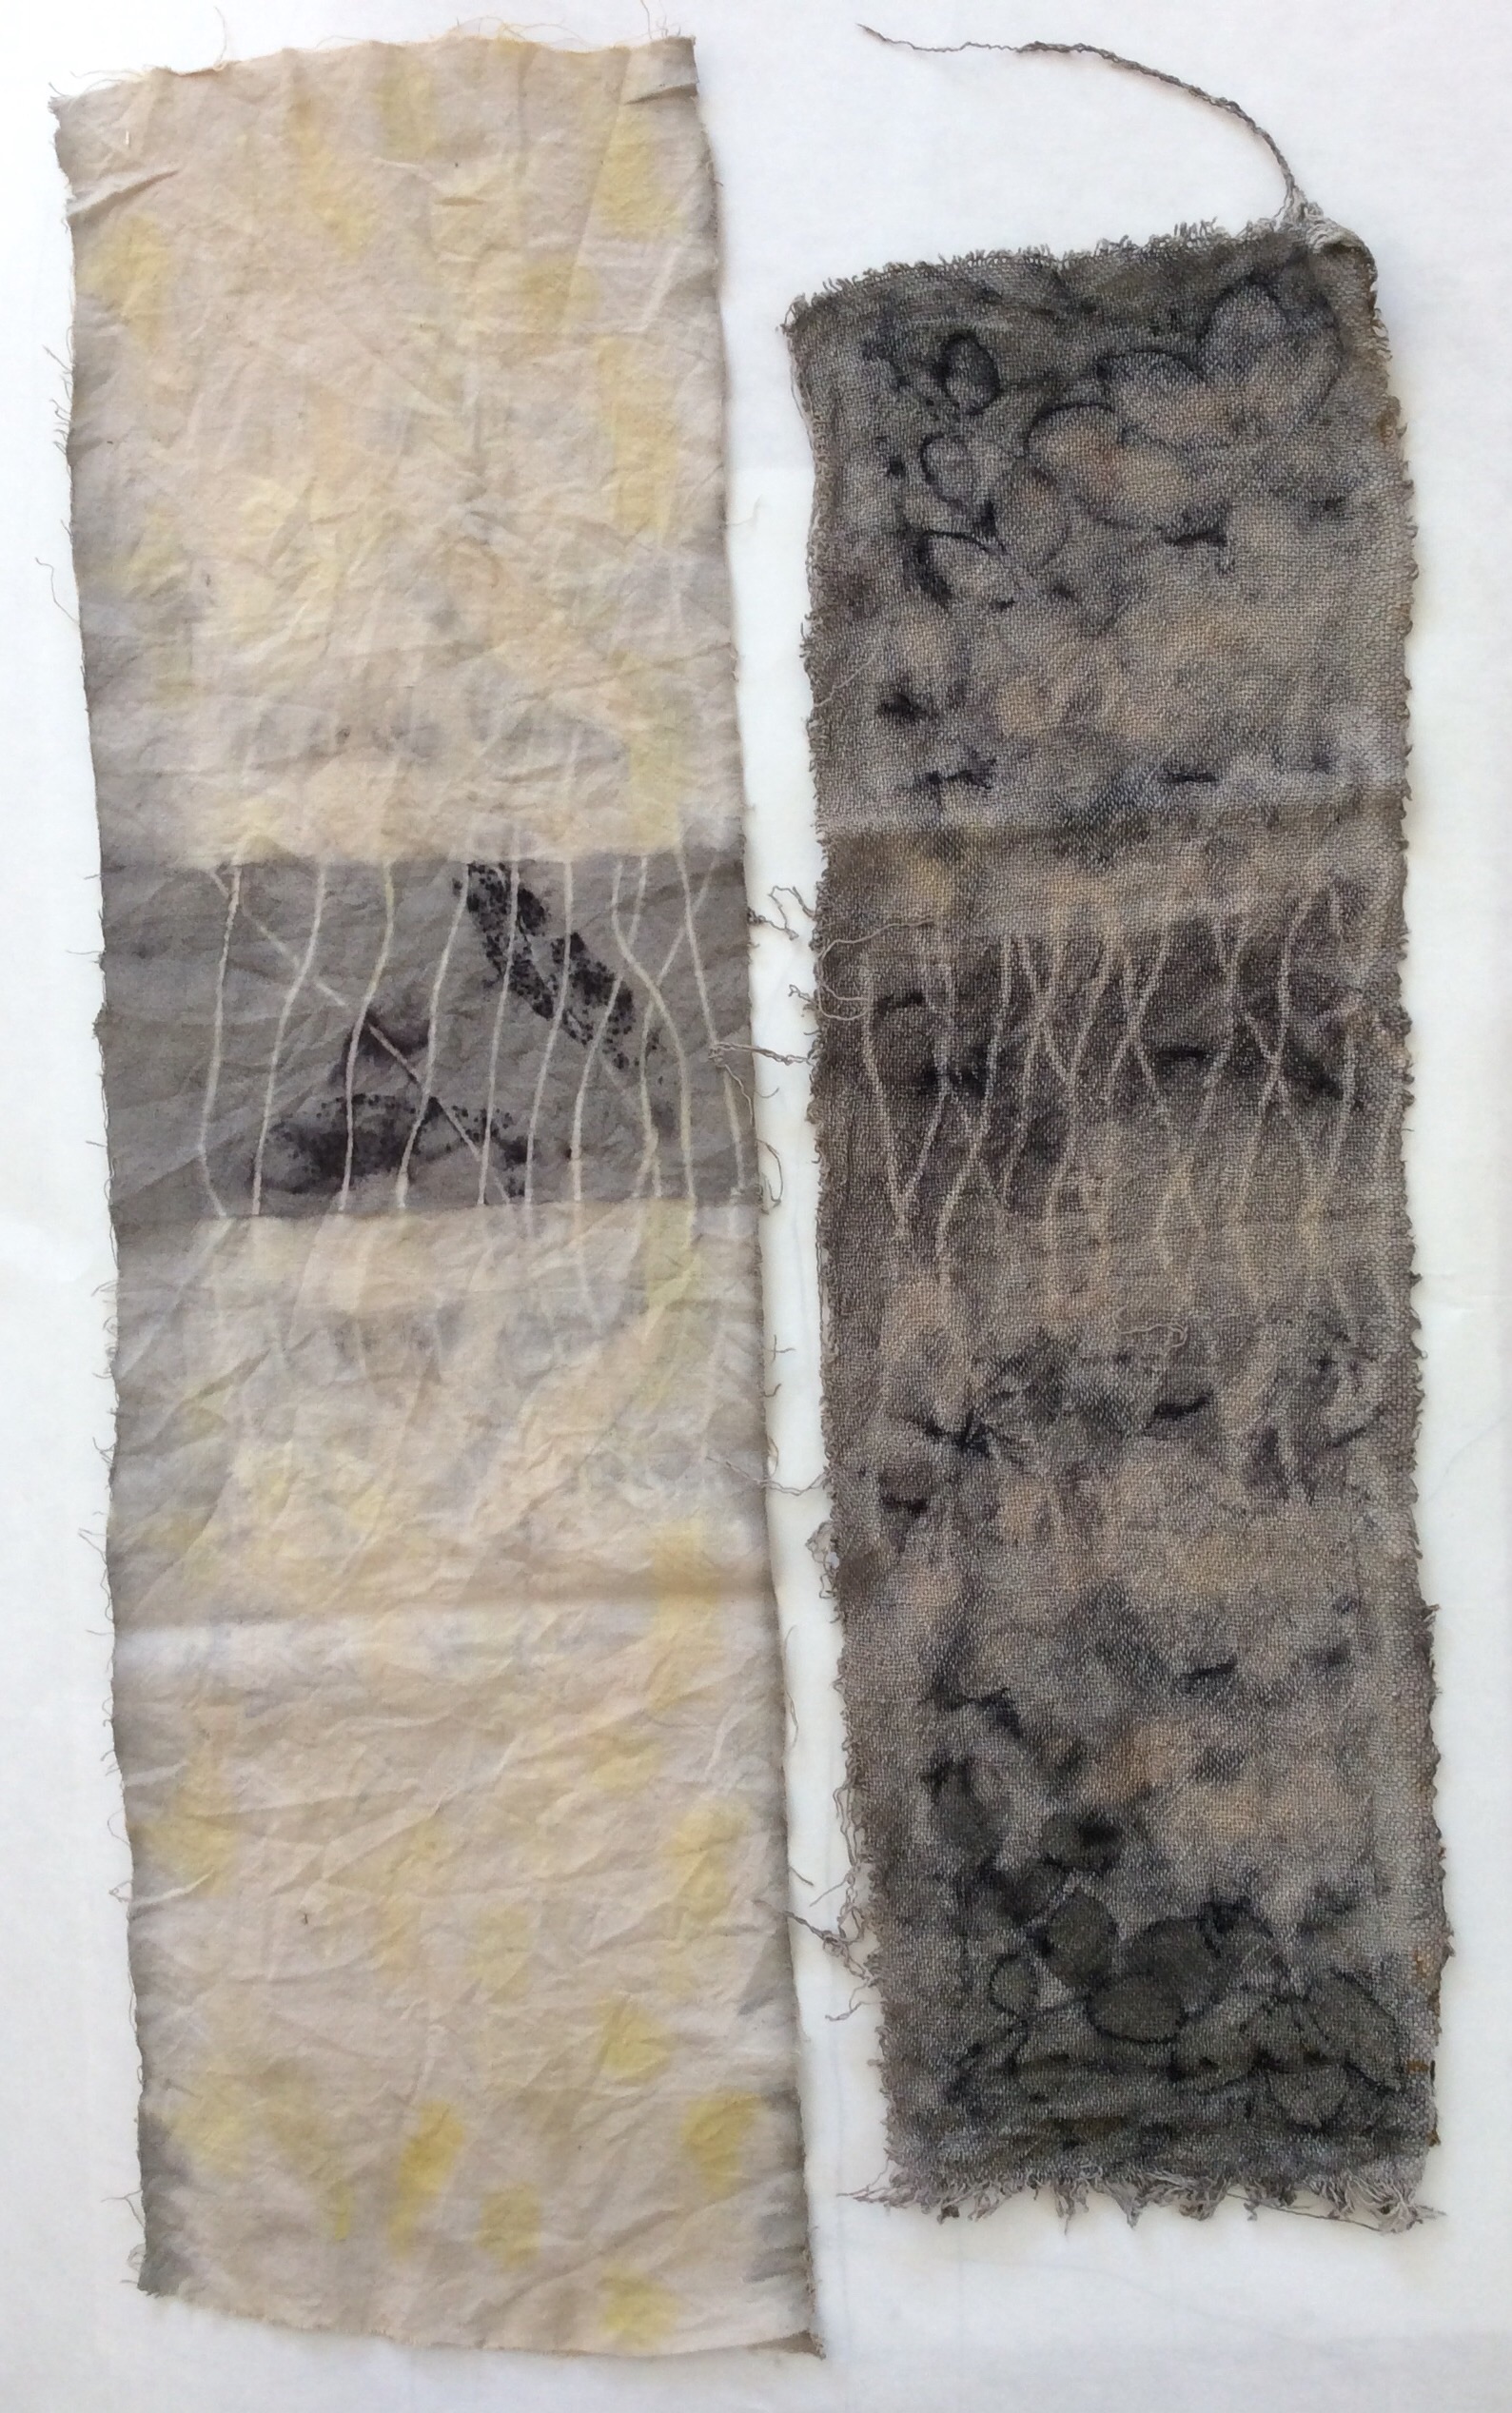
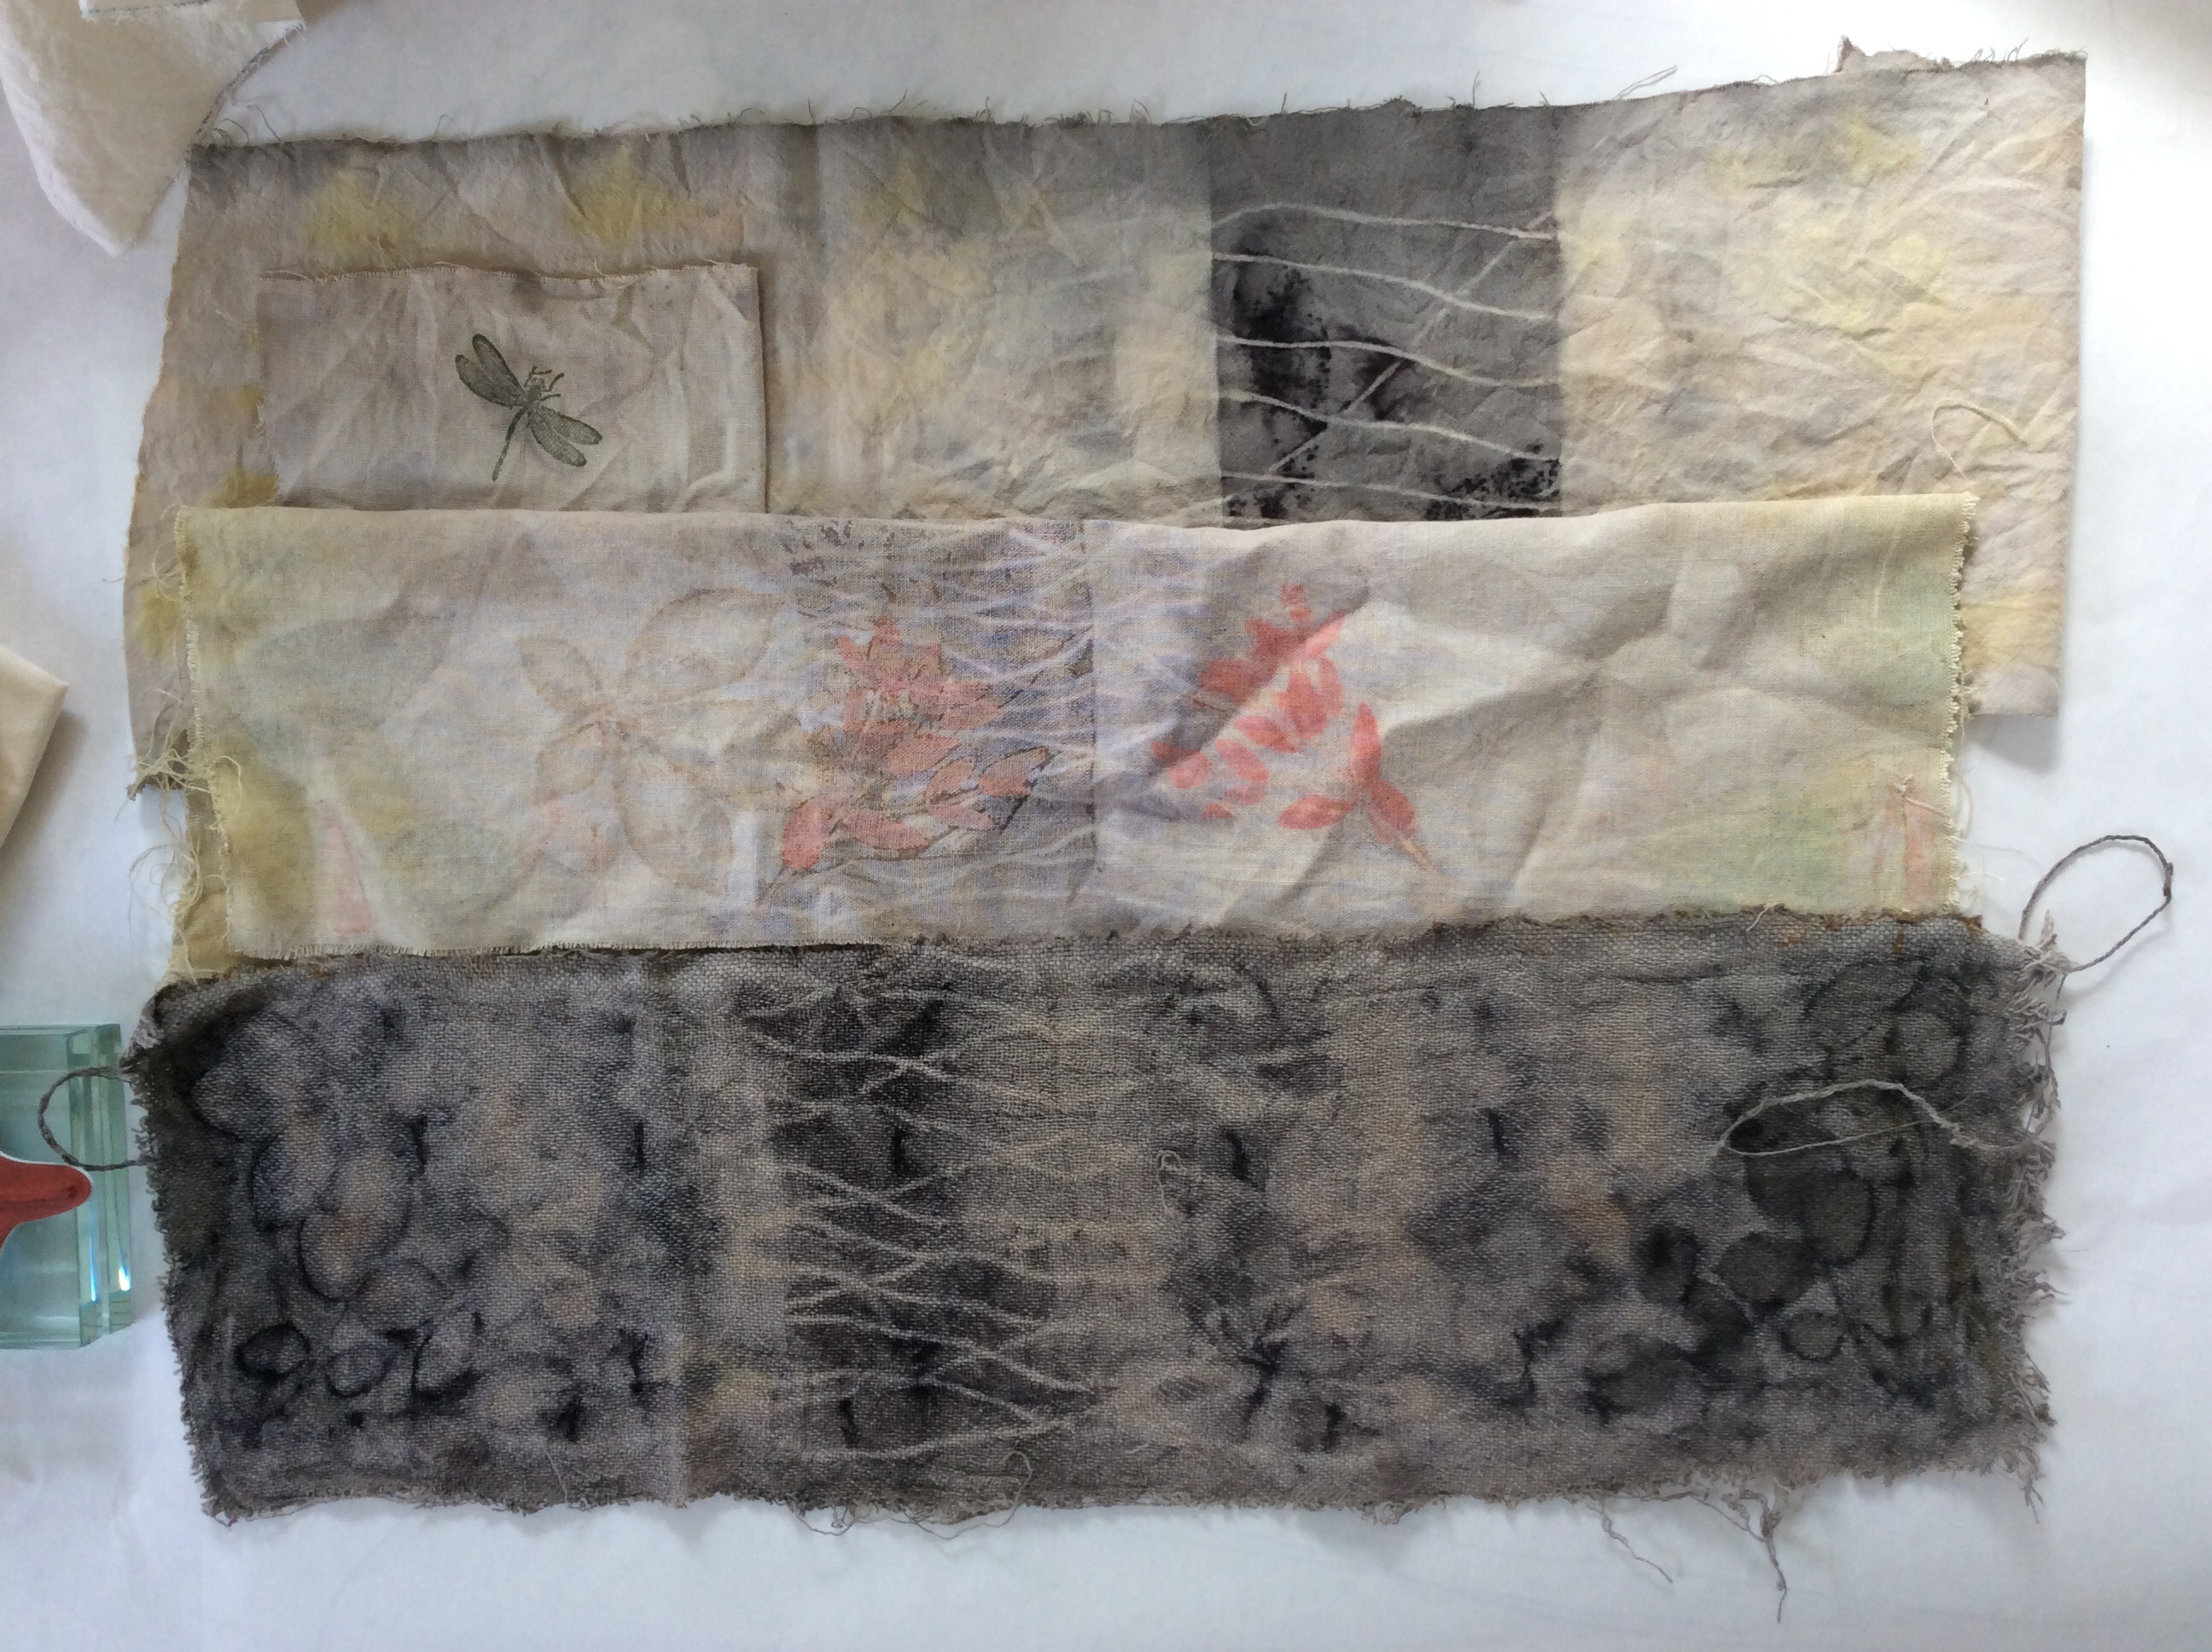
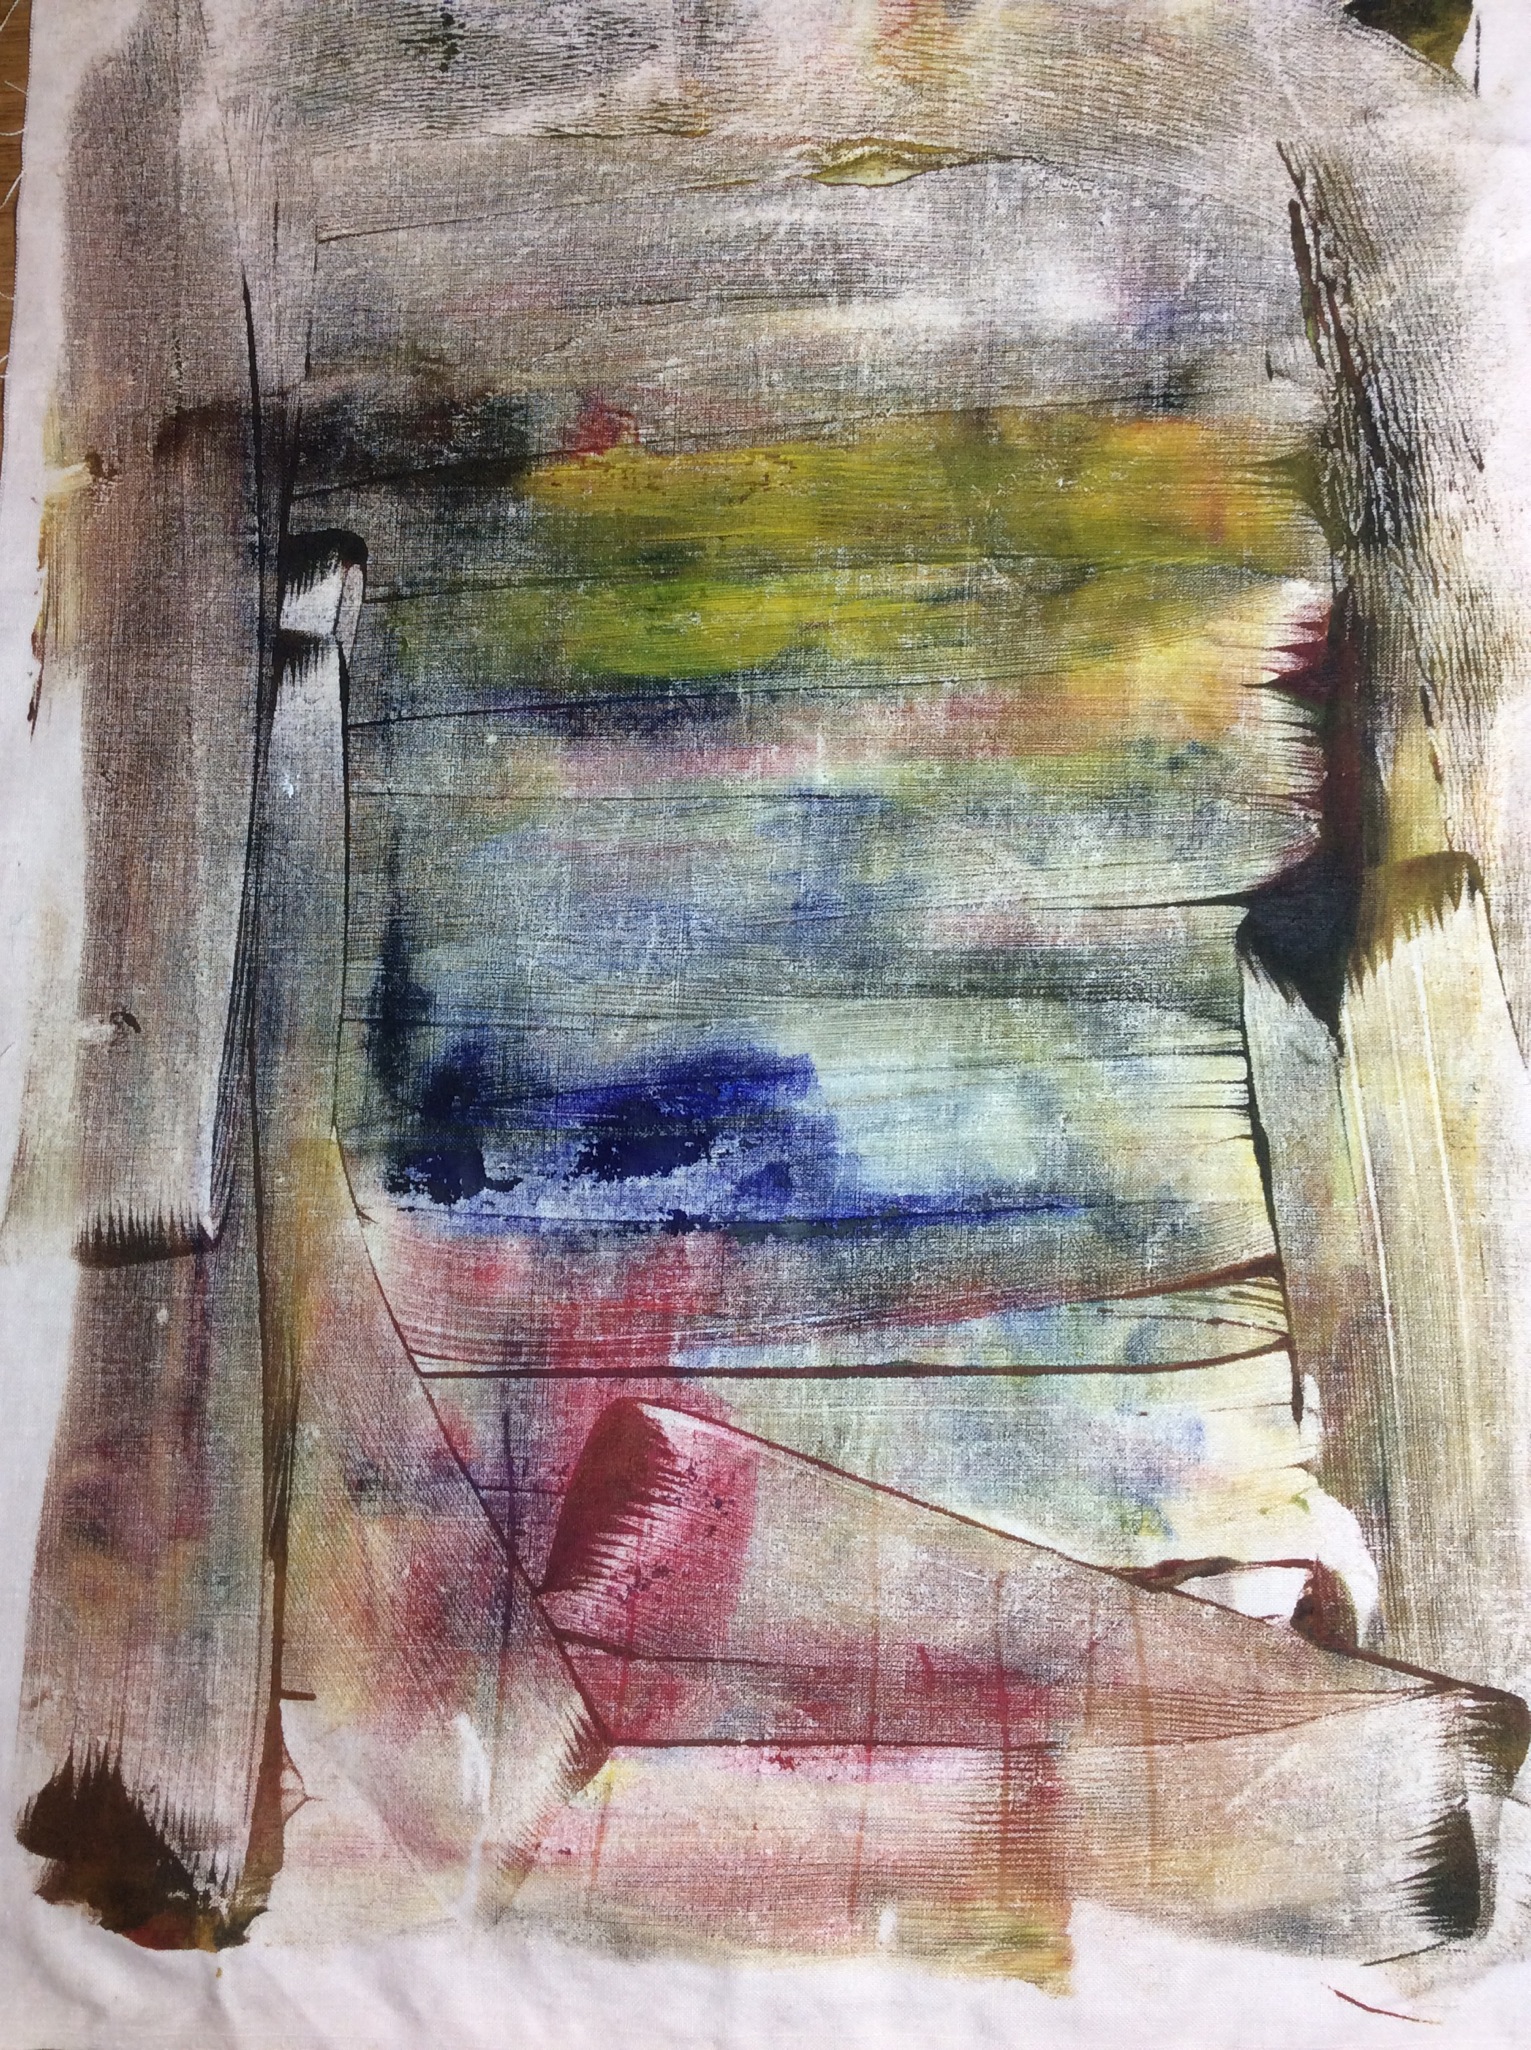
The following photos show how my dyed fabrics turned out.

Linen and viscose
My linen and viscose sample started life as a pair of pale grey trousers. After soaking it in soya milk and wringing it out I layed on a selection of leaves including eucalyptus, walnut, sumac and an unknown vine that grows in my neighbours garden. The fabric was doubled over and wrapped around a short length of copper pipe and boiled for an hour. The result is subtle but I love it!

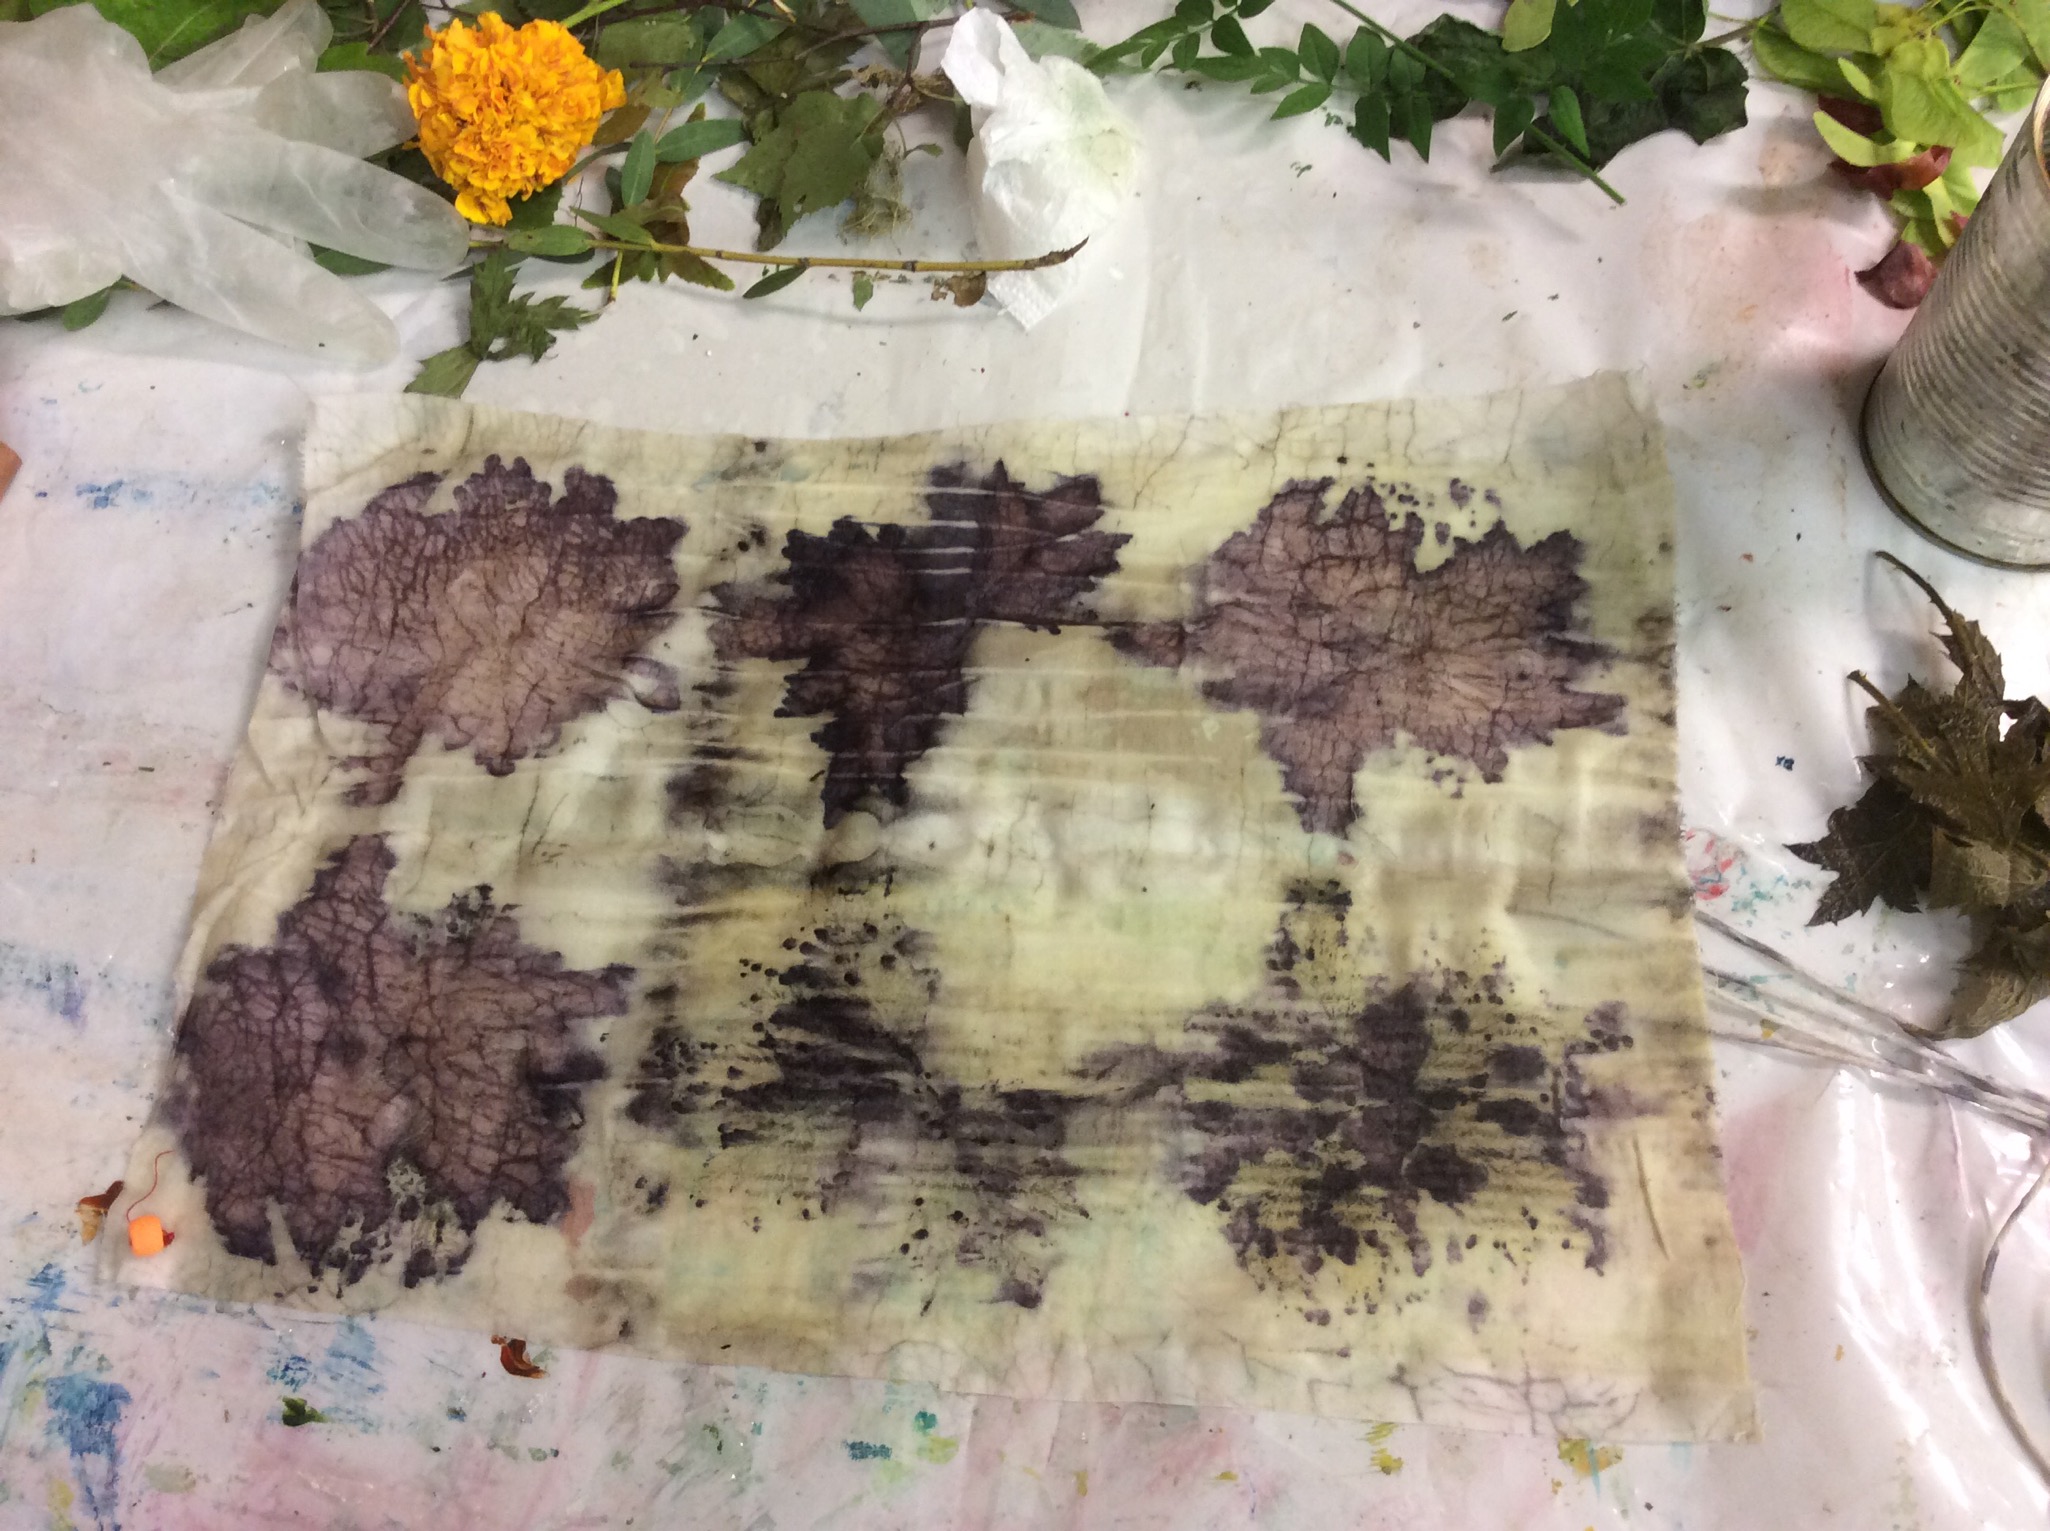
Walnut, sumac,blackberry and unknown wild flower

Eucalyptus, walnut, blackberry and unknown vine
The two silk pieces were soaked for about 30 minutes in vinegar water, leaves laid out, wrapped, tied and boiled for an hour and then iron was added to the water and the fabric remained submerged until the water cooled. Again, I love the results!
I did as Jenny suggested and left my bundles until the next day before I unravelled them. They didn’t look too exciting while they were still wet but once they had dried they looked great! Some of the leaves can be seen while others left an area of colour rather than a distinct shape. I am really happy with results and keen to do more. I bought various fabrics from Artvango including a cotton/silk blend, a spun rayon and cotton Rossglen, all of which I have been told will take colour really well so fingers crossed! It’s not advisable to use your cooking pans for Eco Dyeing so I am nipping out now to see if I can find some old pots and pans in our local junk shop…….