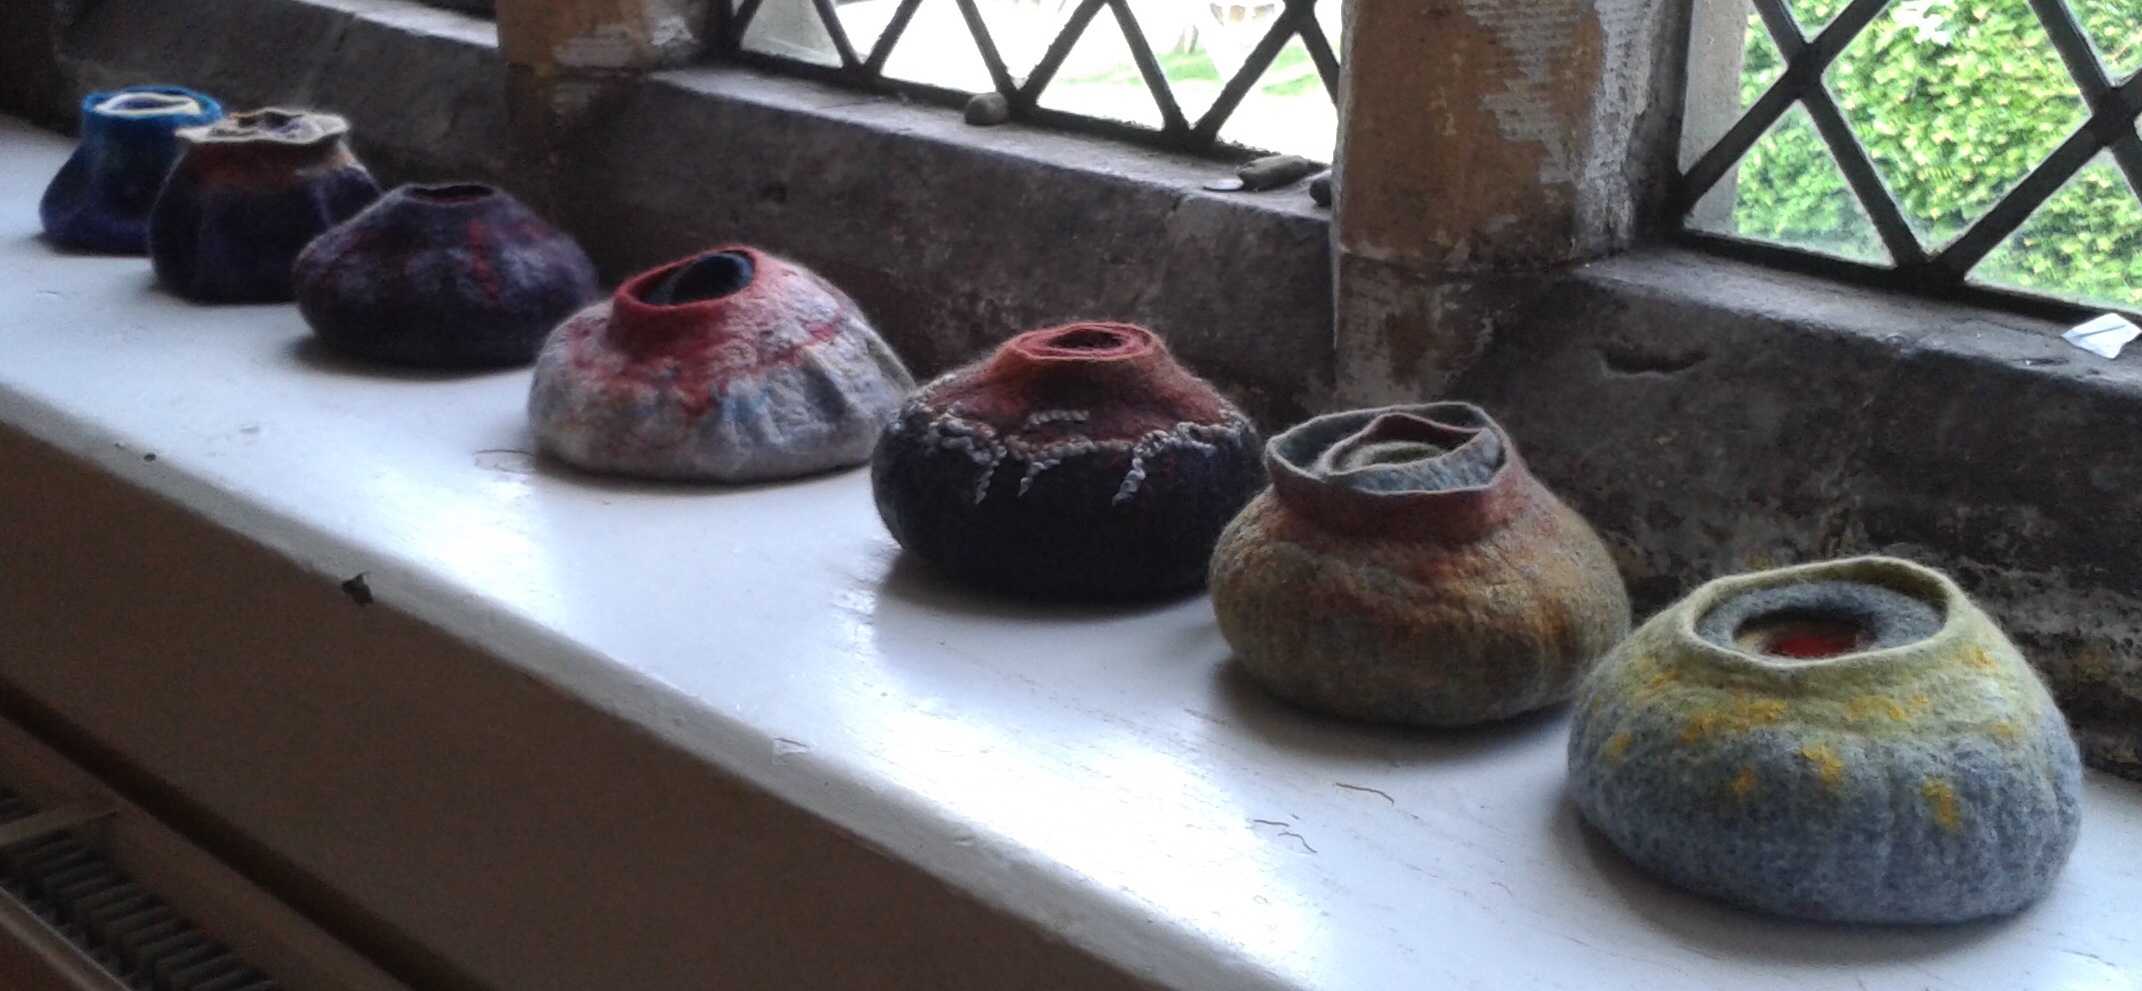
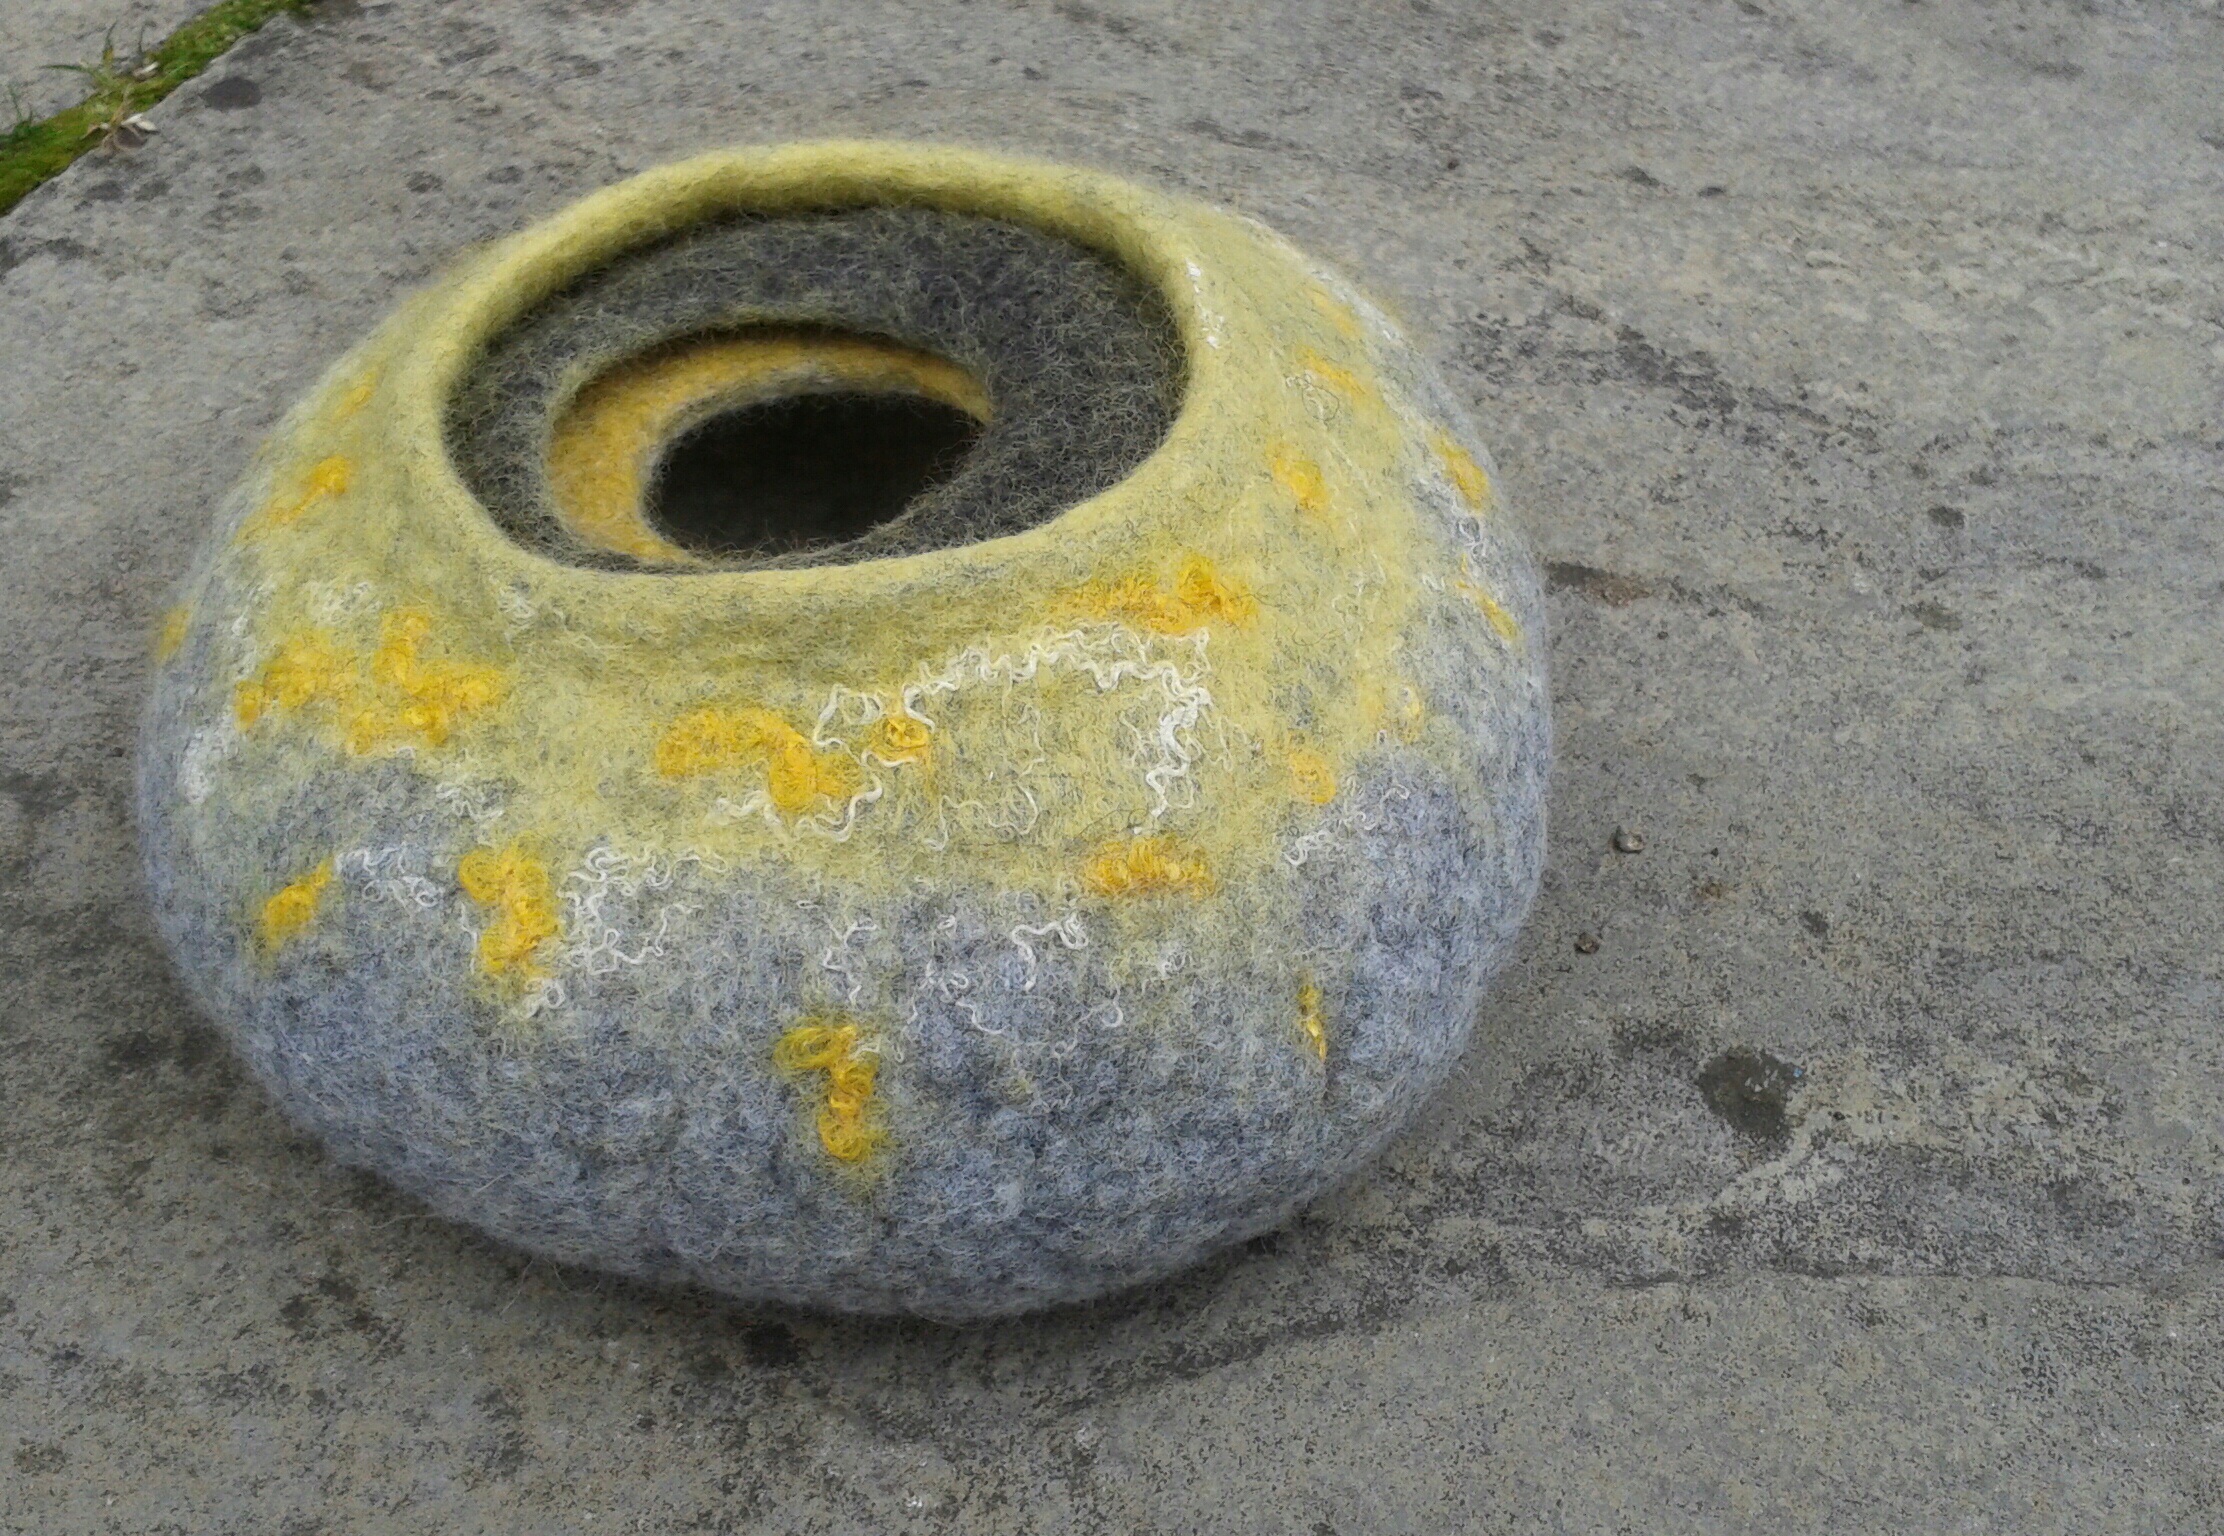
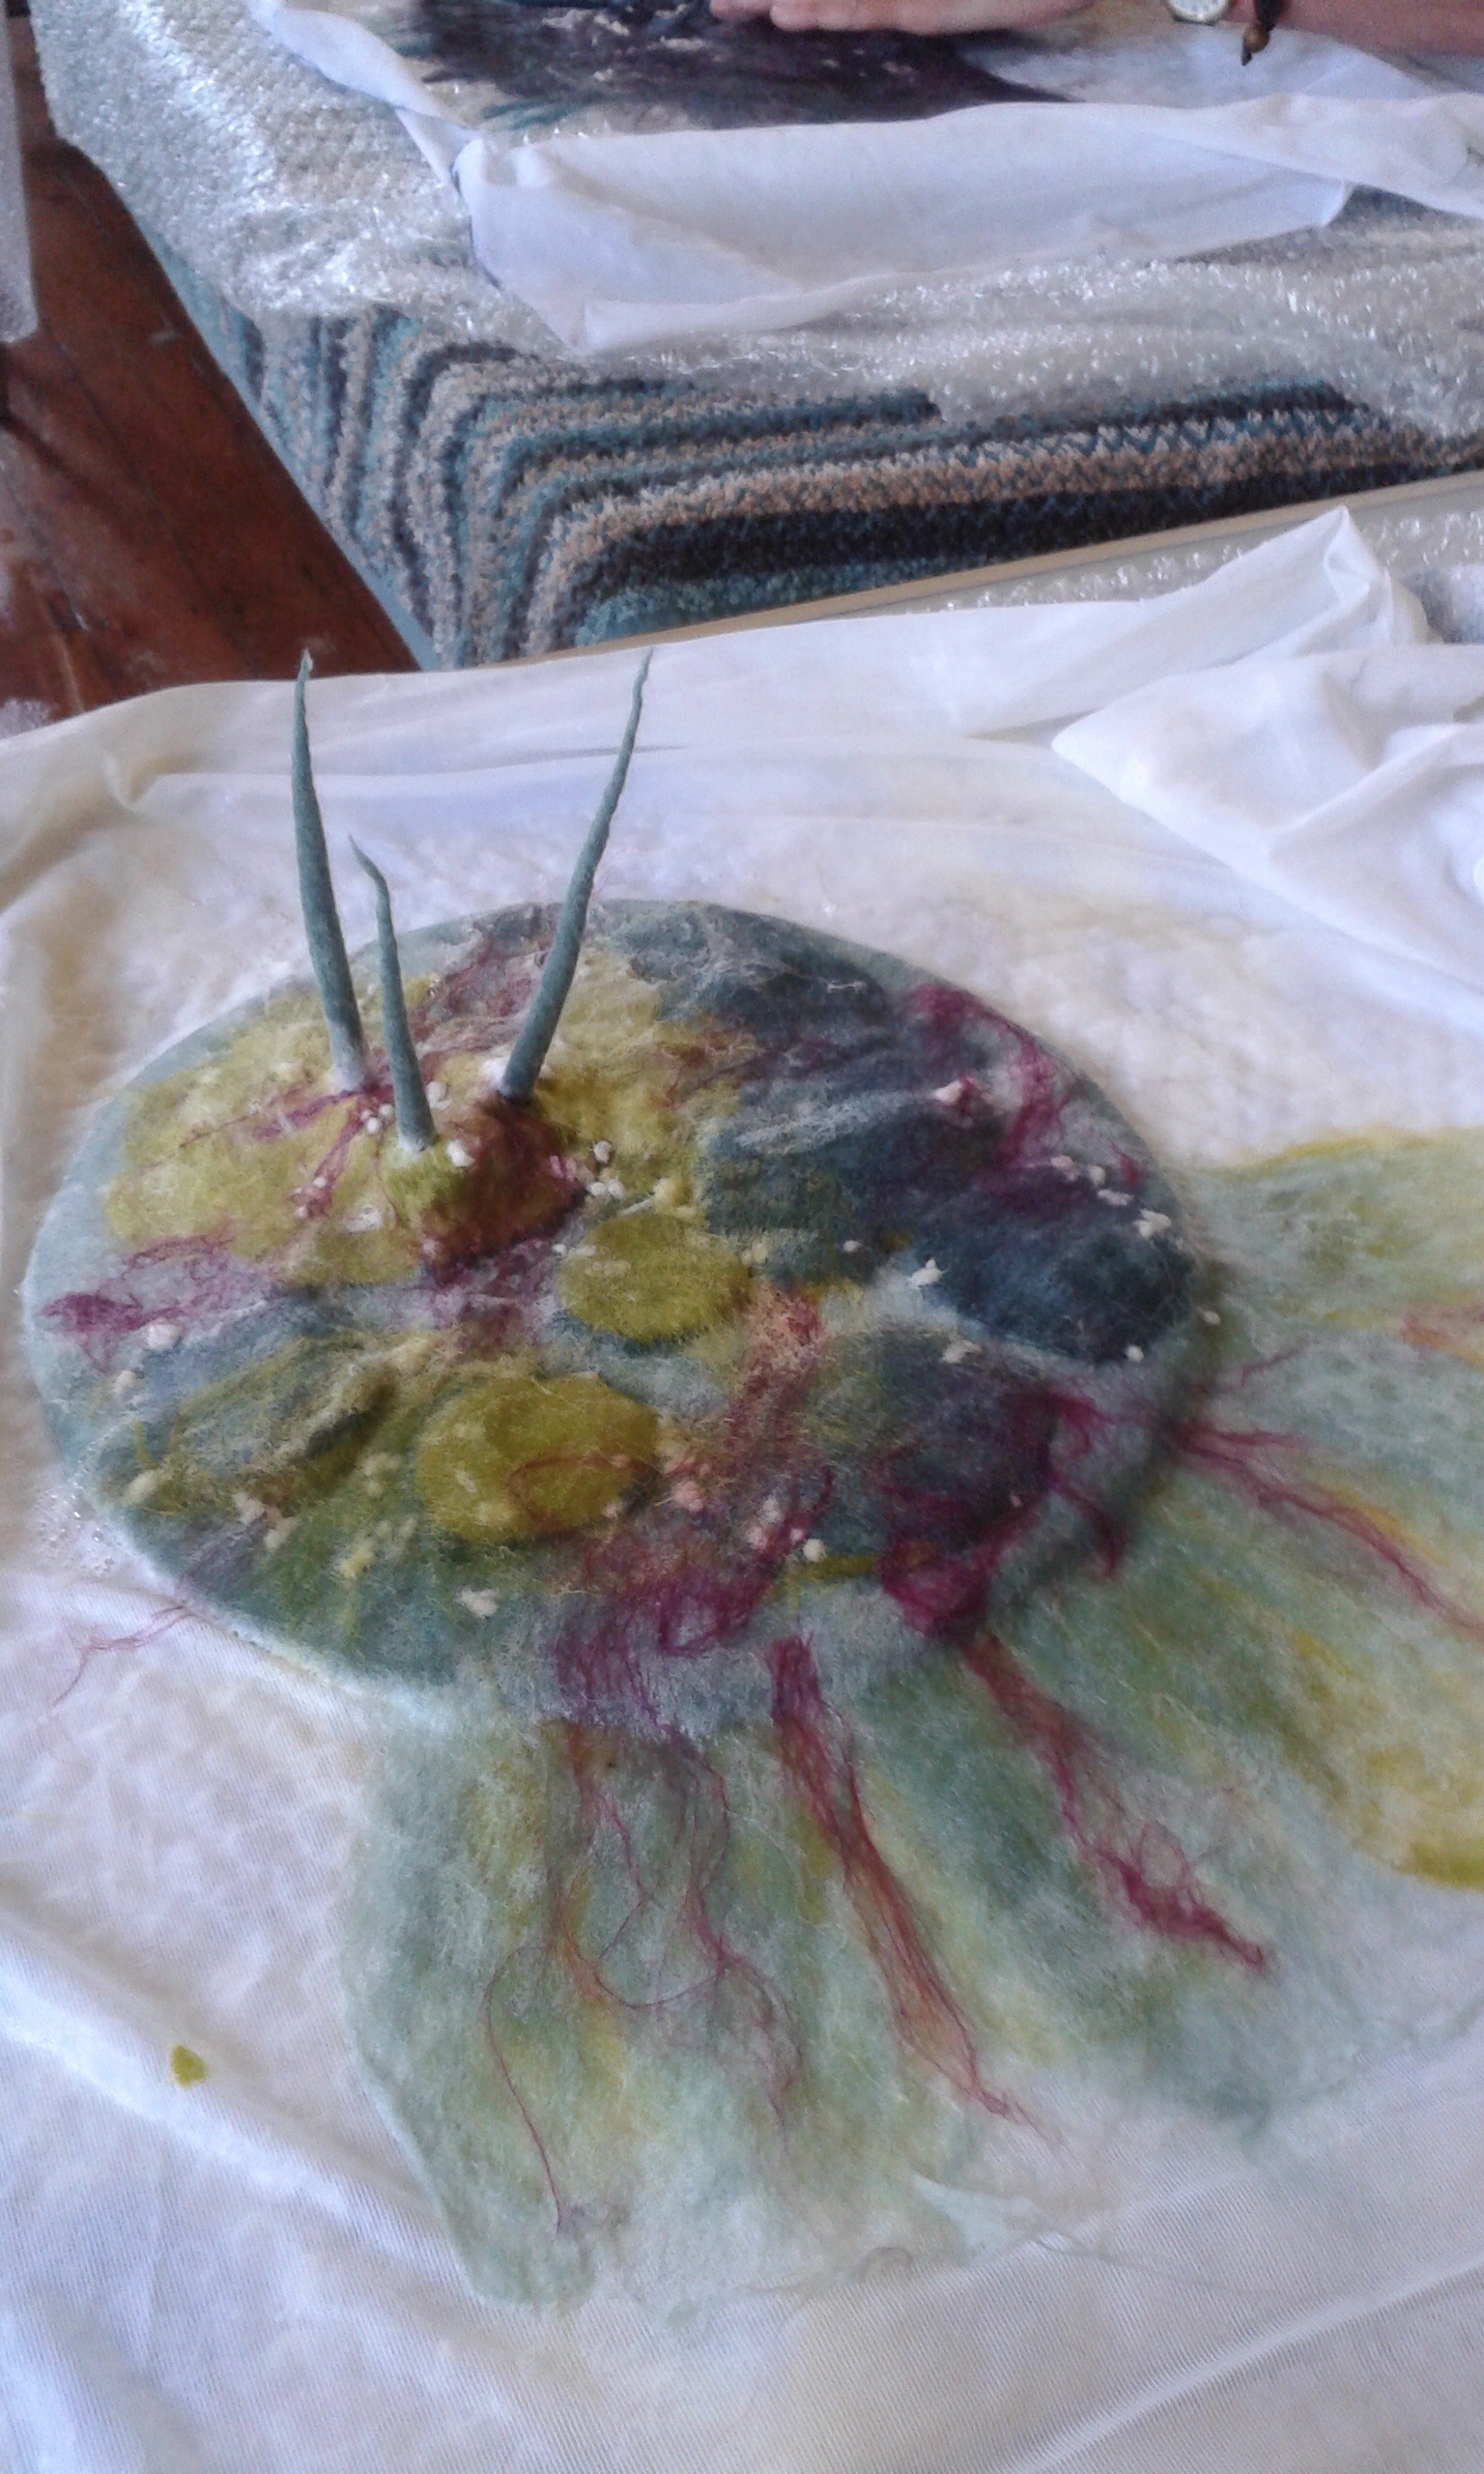
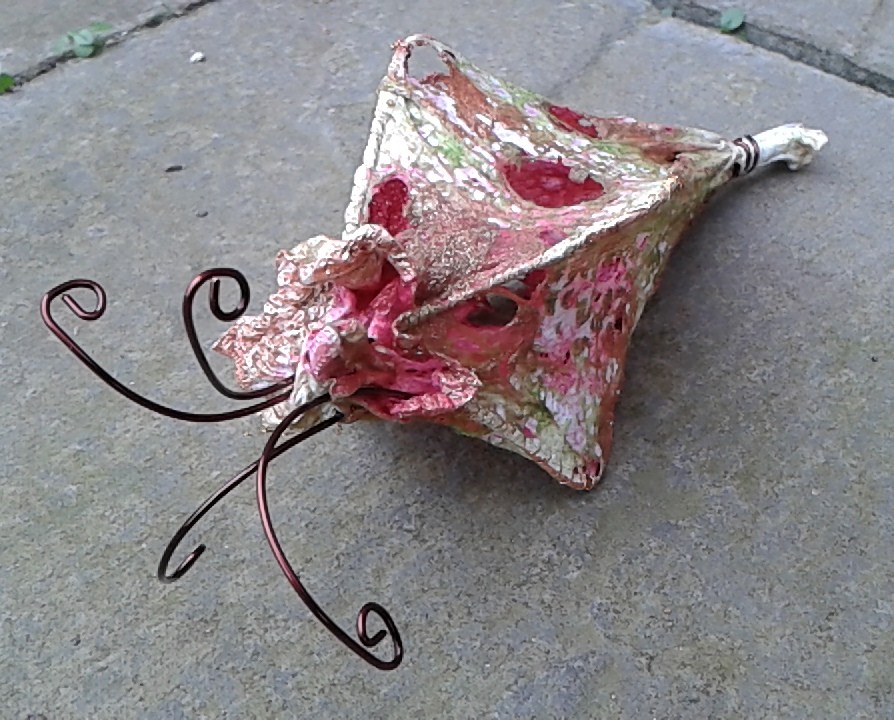
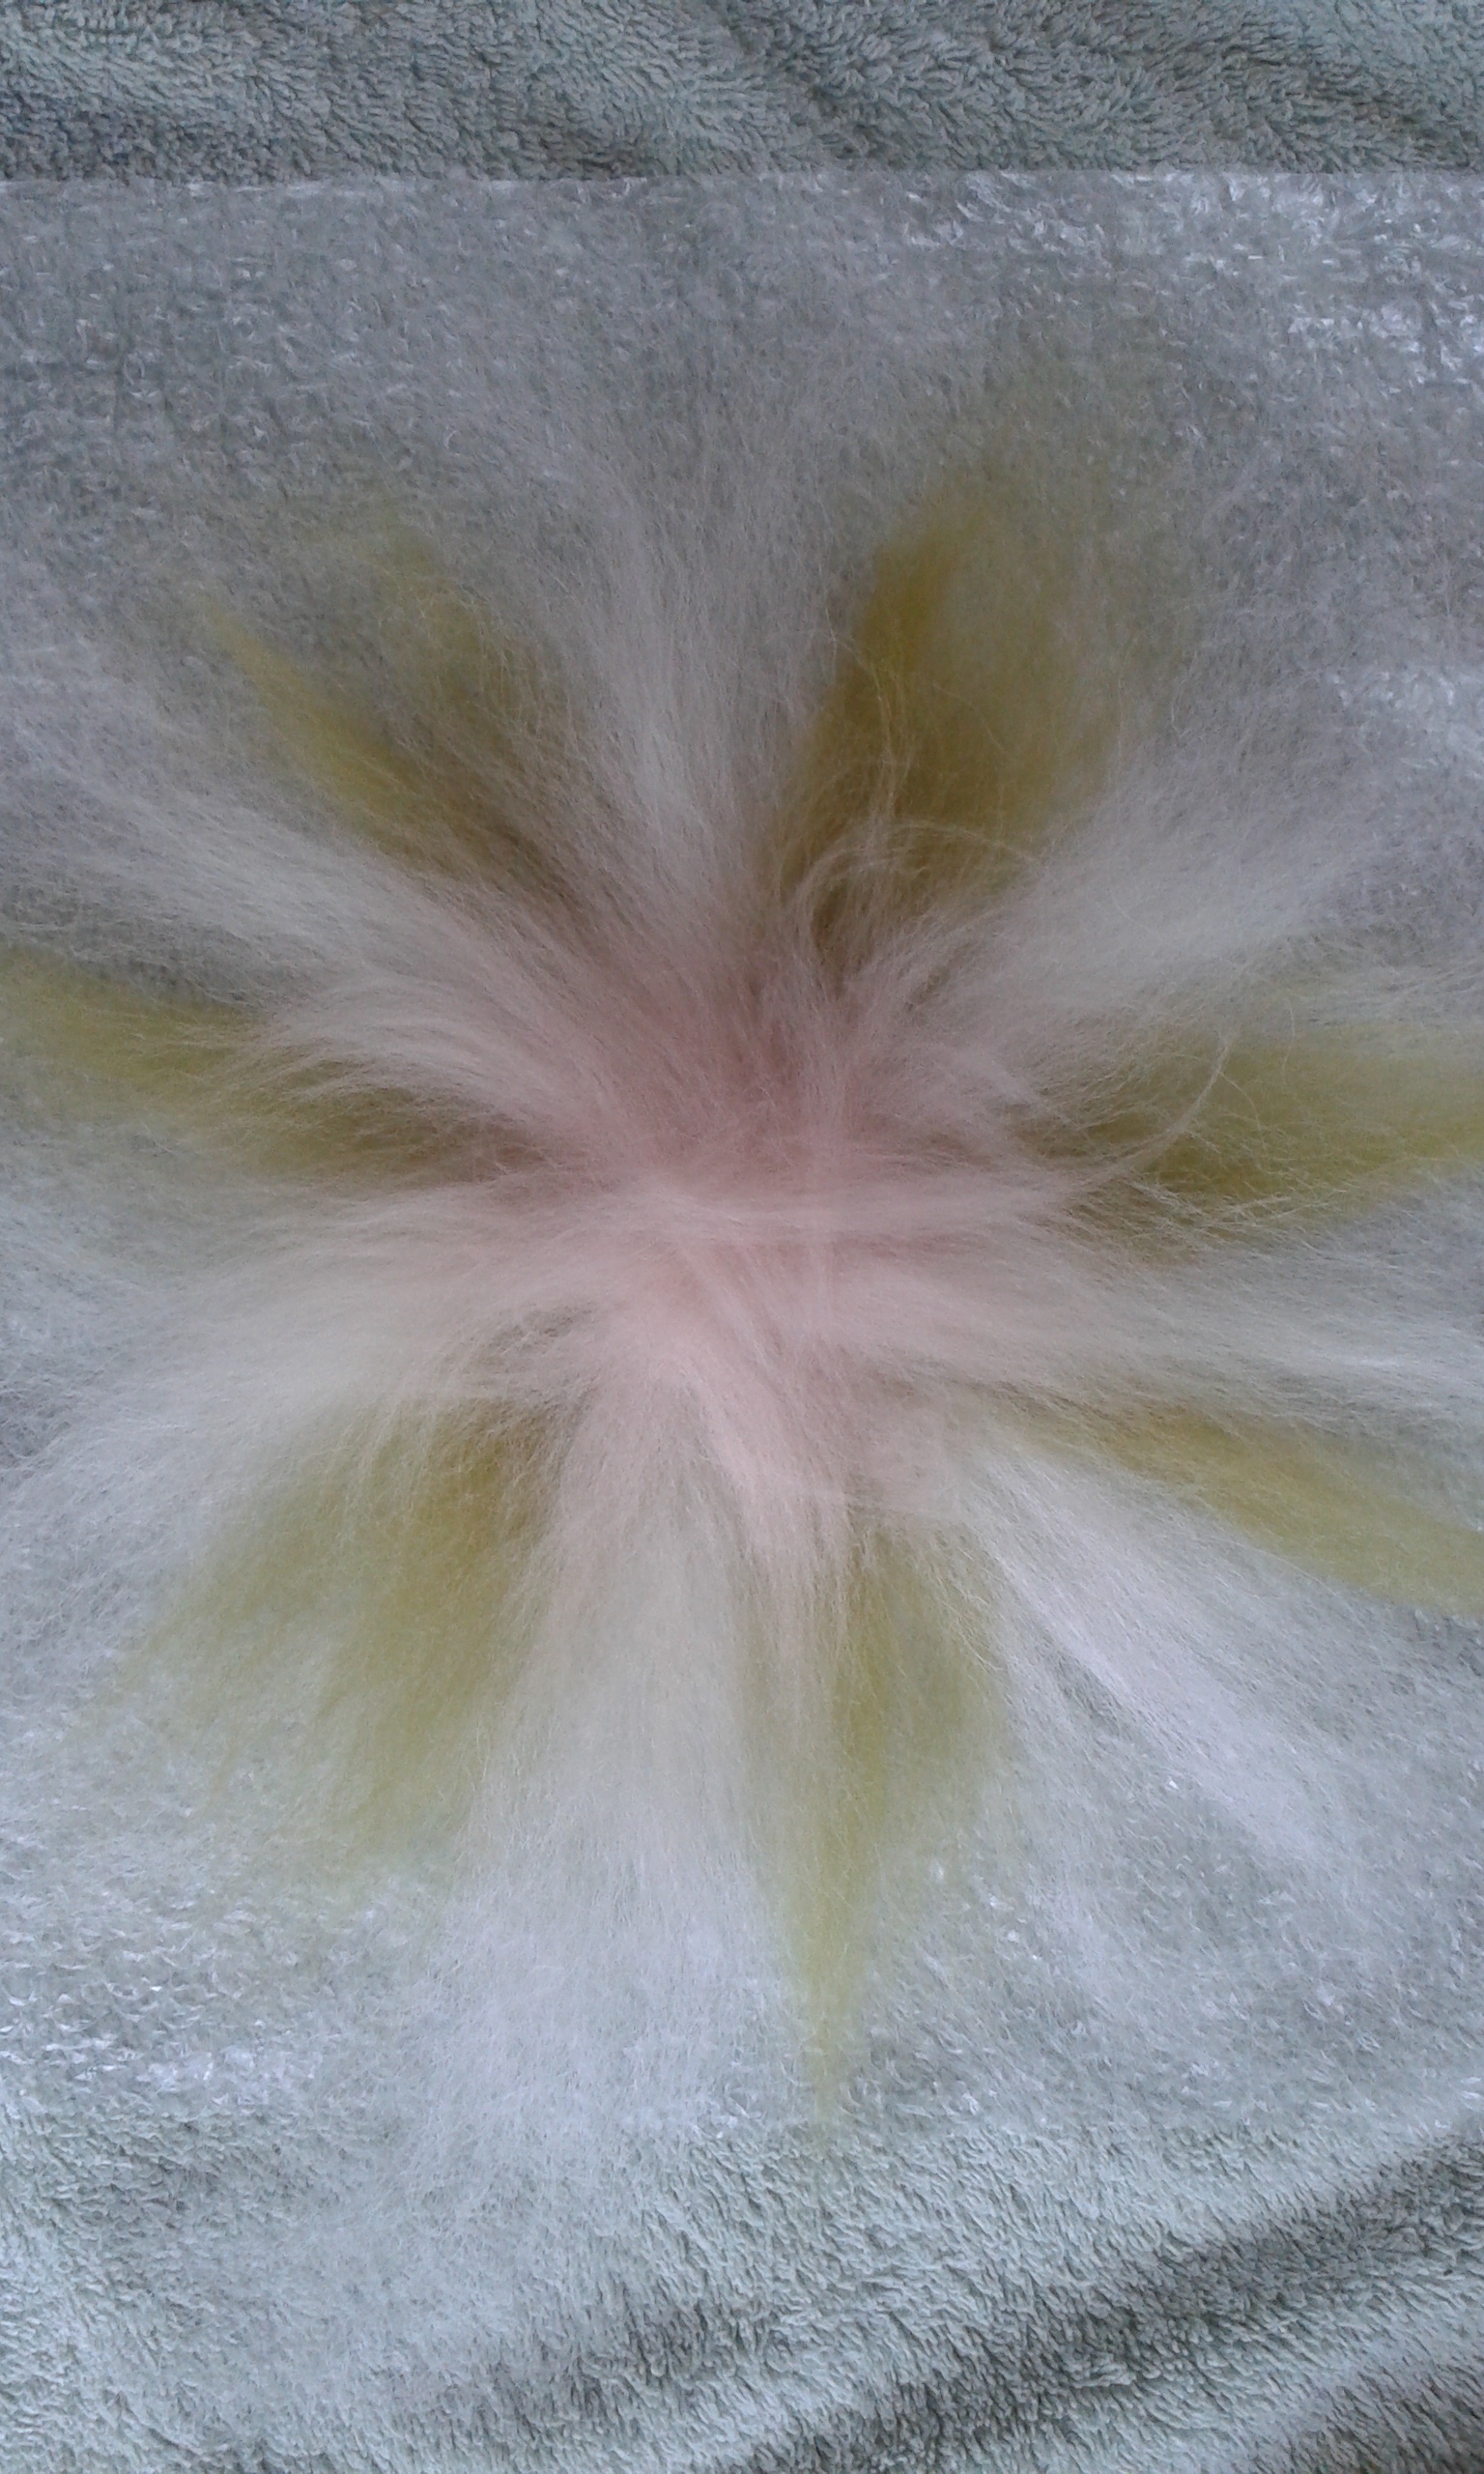
Since finishing my Flower Tower (and wondering what on earth I am going to do with it) I’ve been thinking about making another 3d vessel. If it’s a success it will be destined for the lounge to sit next to a felted bowl I made last year with Jenny Pepper. I love the grey and lemon colour scheme of the bowl and so I began by wet felting some fibres to match it.

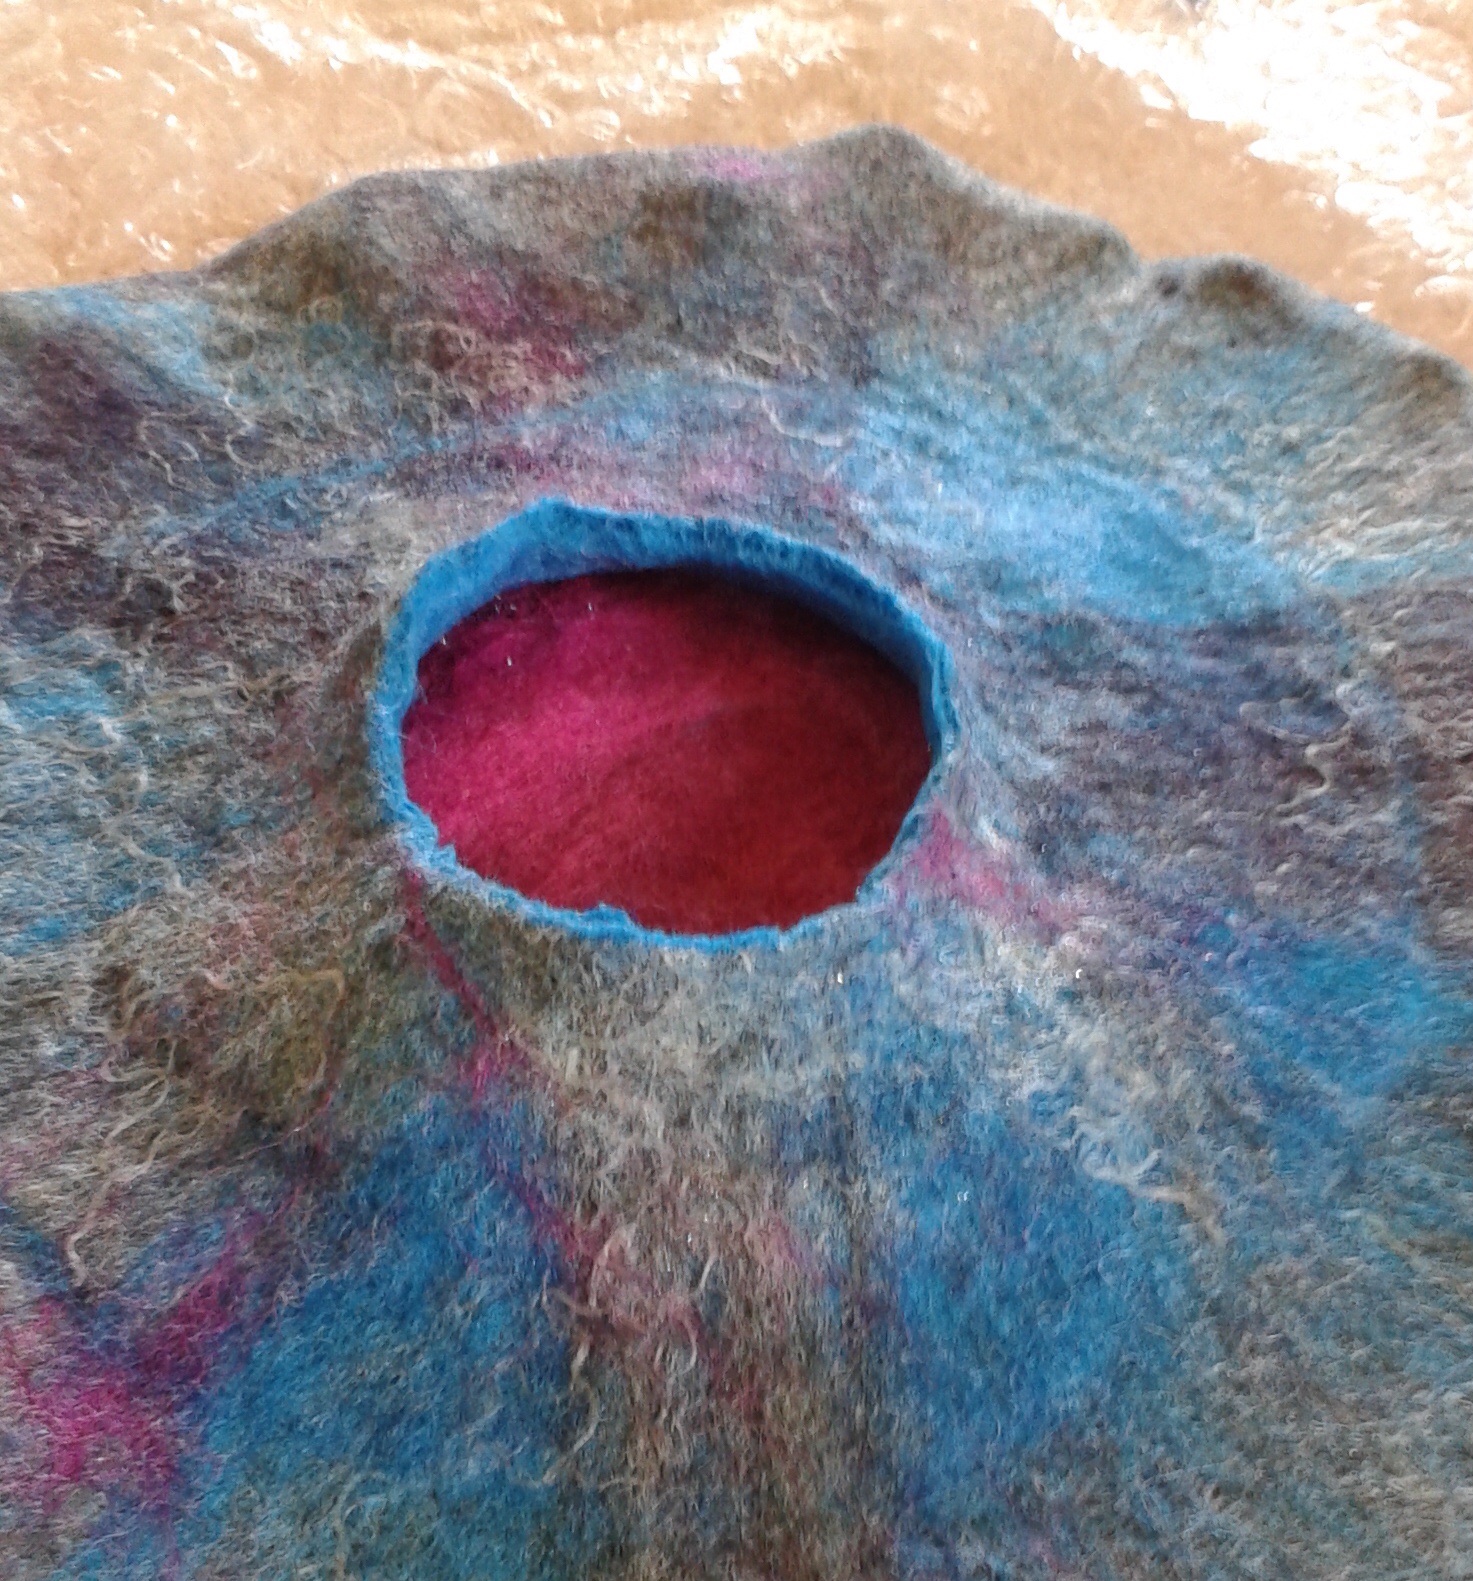
My starting point for the grey/lemon vessel.
I didn’t have a shape in mind but they turned out a bit like grey bacon rashers! I repeated the exercise, this time laying out three lots of very fine fibres and covering each of them with a strip of white organza. If you click on the photo below to enlarge it you will see the organza more clearly.

The painted Lutradur and pieces of felt ready to be sewn.
The next step was to roughly cut 3 pieces of Lutradur and paint it with Inktense Blocks. I say “roughly” because I want the finished effect to look organic and distressed so I’m not working to a precise measurement or shape.

The FM embroidery is work in progress.
I have several threads of dubious quality (I haven’t a clue what some of them are made of) so I spent a bit of time last night blasting them with my heat gun to confirm which are 100% cotton, as opposed to polyester, and which are Rayon, as opposed to Nylon. That job done, it was time to start machining with cream, grey, gold and dark olive. It needs a lot more stitching yet but I will put this piece to one side for now and work on the other two sections.