Avanced Pod Workshop…..

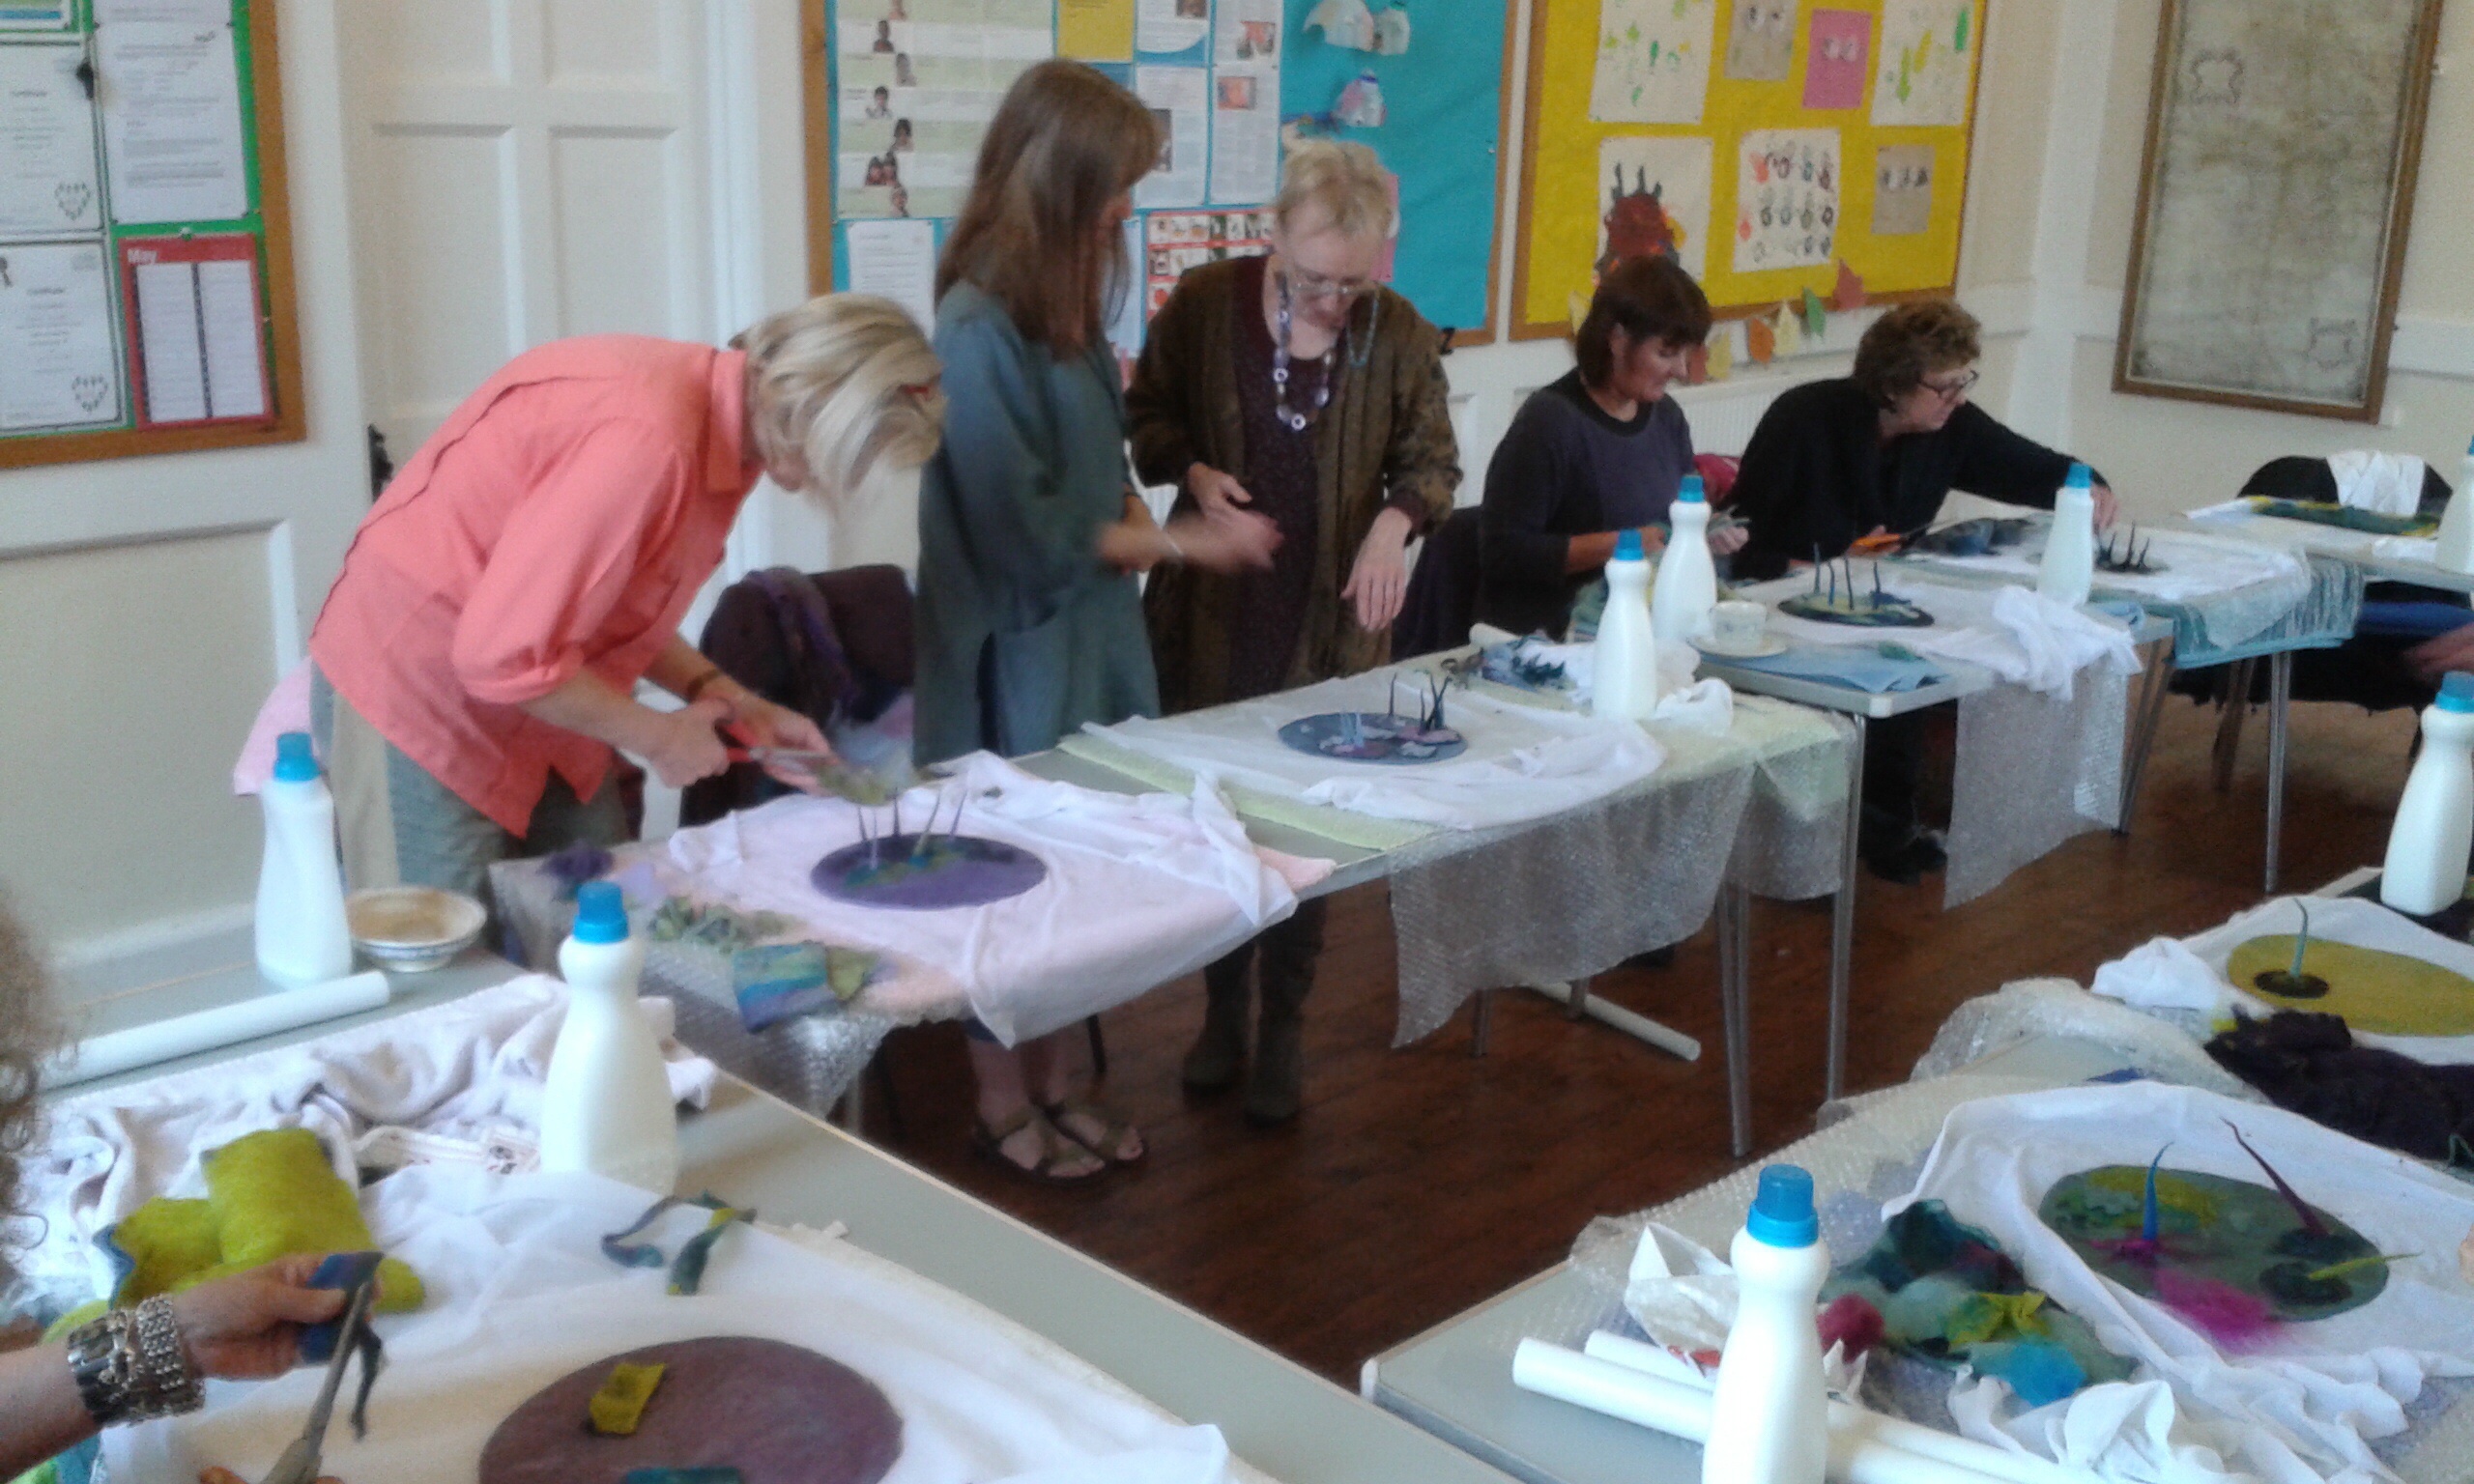
Today I joined 8 other felting enthusiasts at the Village Hall in Hutton Buscle near Scarborough for Jenny Peppers “Avanced Pods” workshop.  I love Jenny’s classes, she’s a great tutor and explains/demonstrates every step very clearly as we work through our creations.

Two examples of Jenny's work displayed with the shells which were her inspiration.

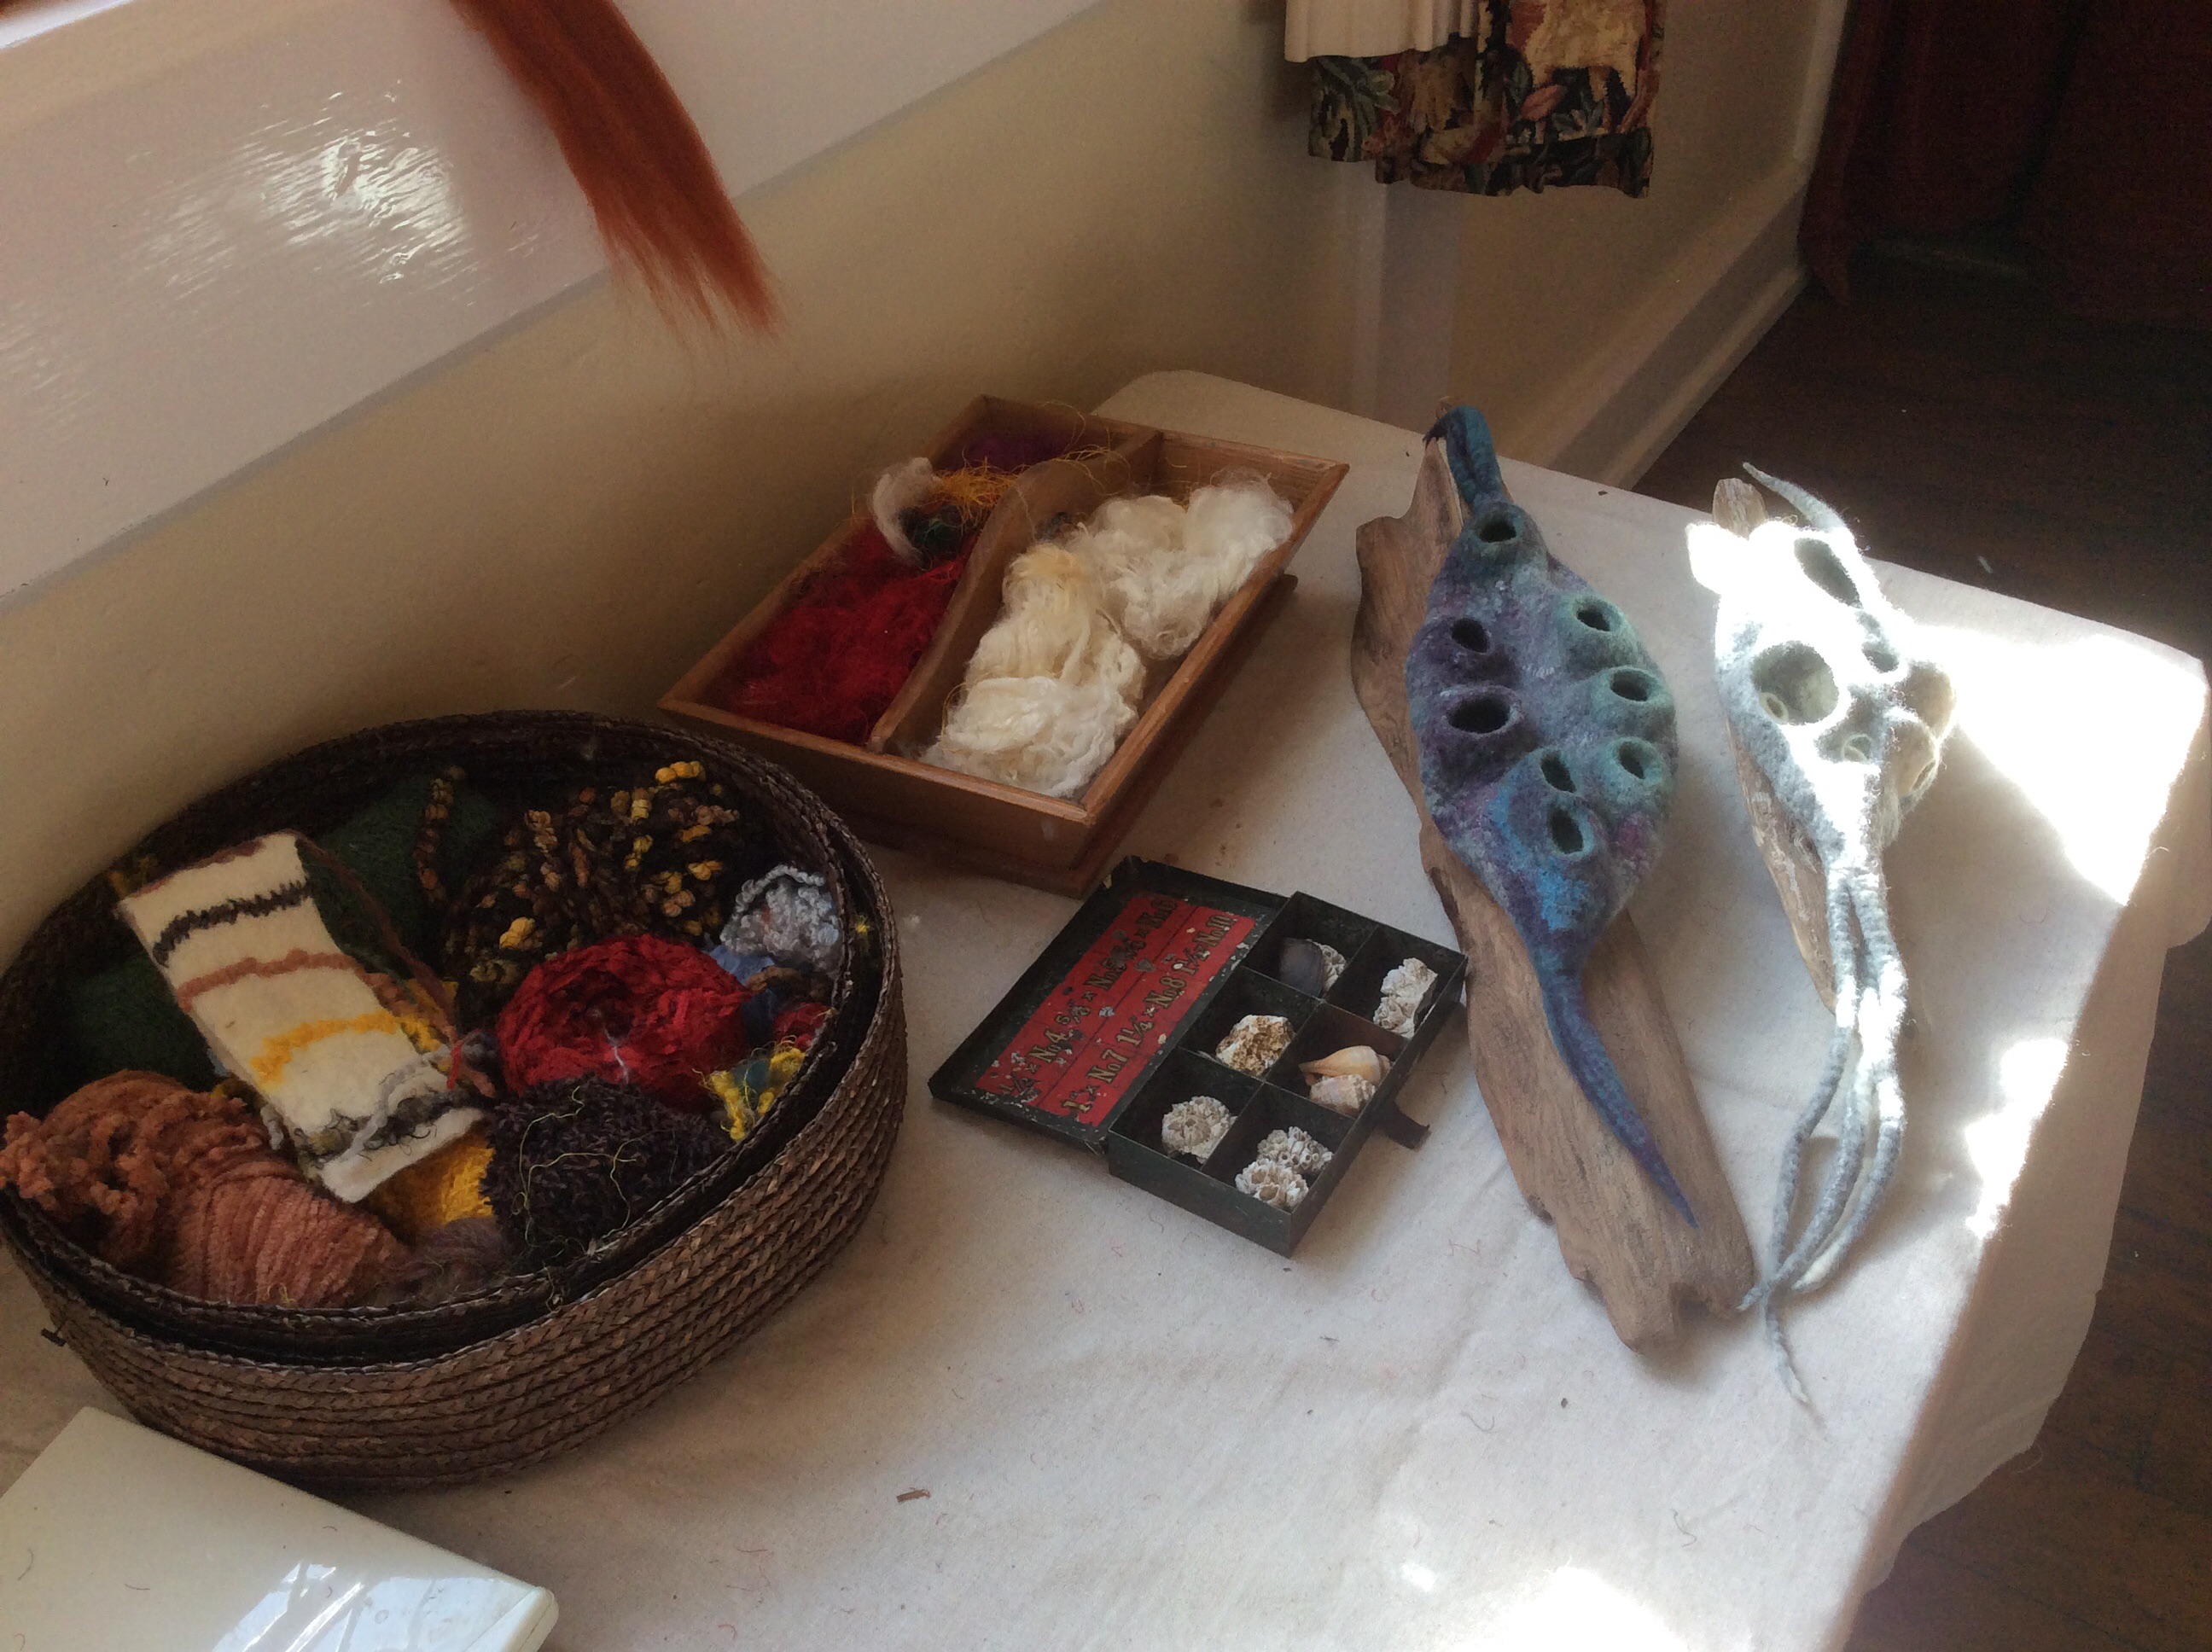
Two examples of Jenny’s work displayed with the shells which were her inspiration.

We all started out with the same size/shape resist and selected our colours from the huge stash of Merino wool on offer.  We began by making a sheet of prefect using three different colours and this would be used to make “craters” in our pods.  Working with our prefelts and resists we started with our inner layer and worked outwards, layering our wool tops before adding the spikes and tails.

The resist is wrapped in white Merino and the spikes attached at either end.

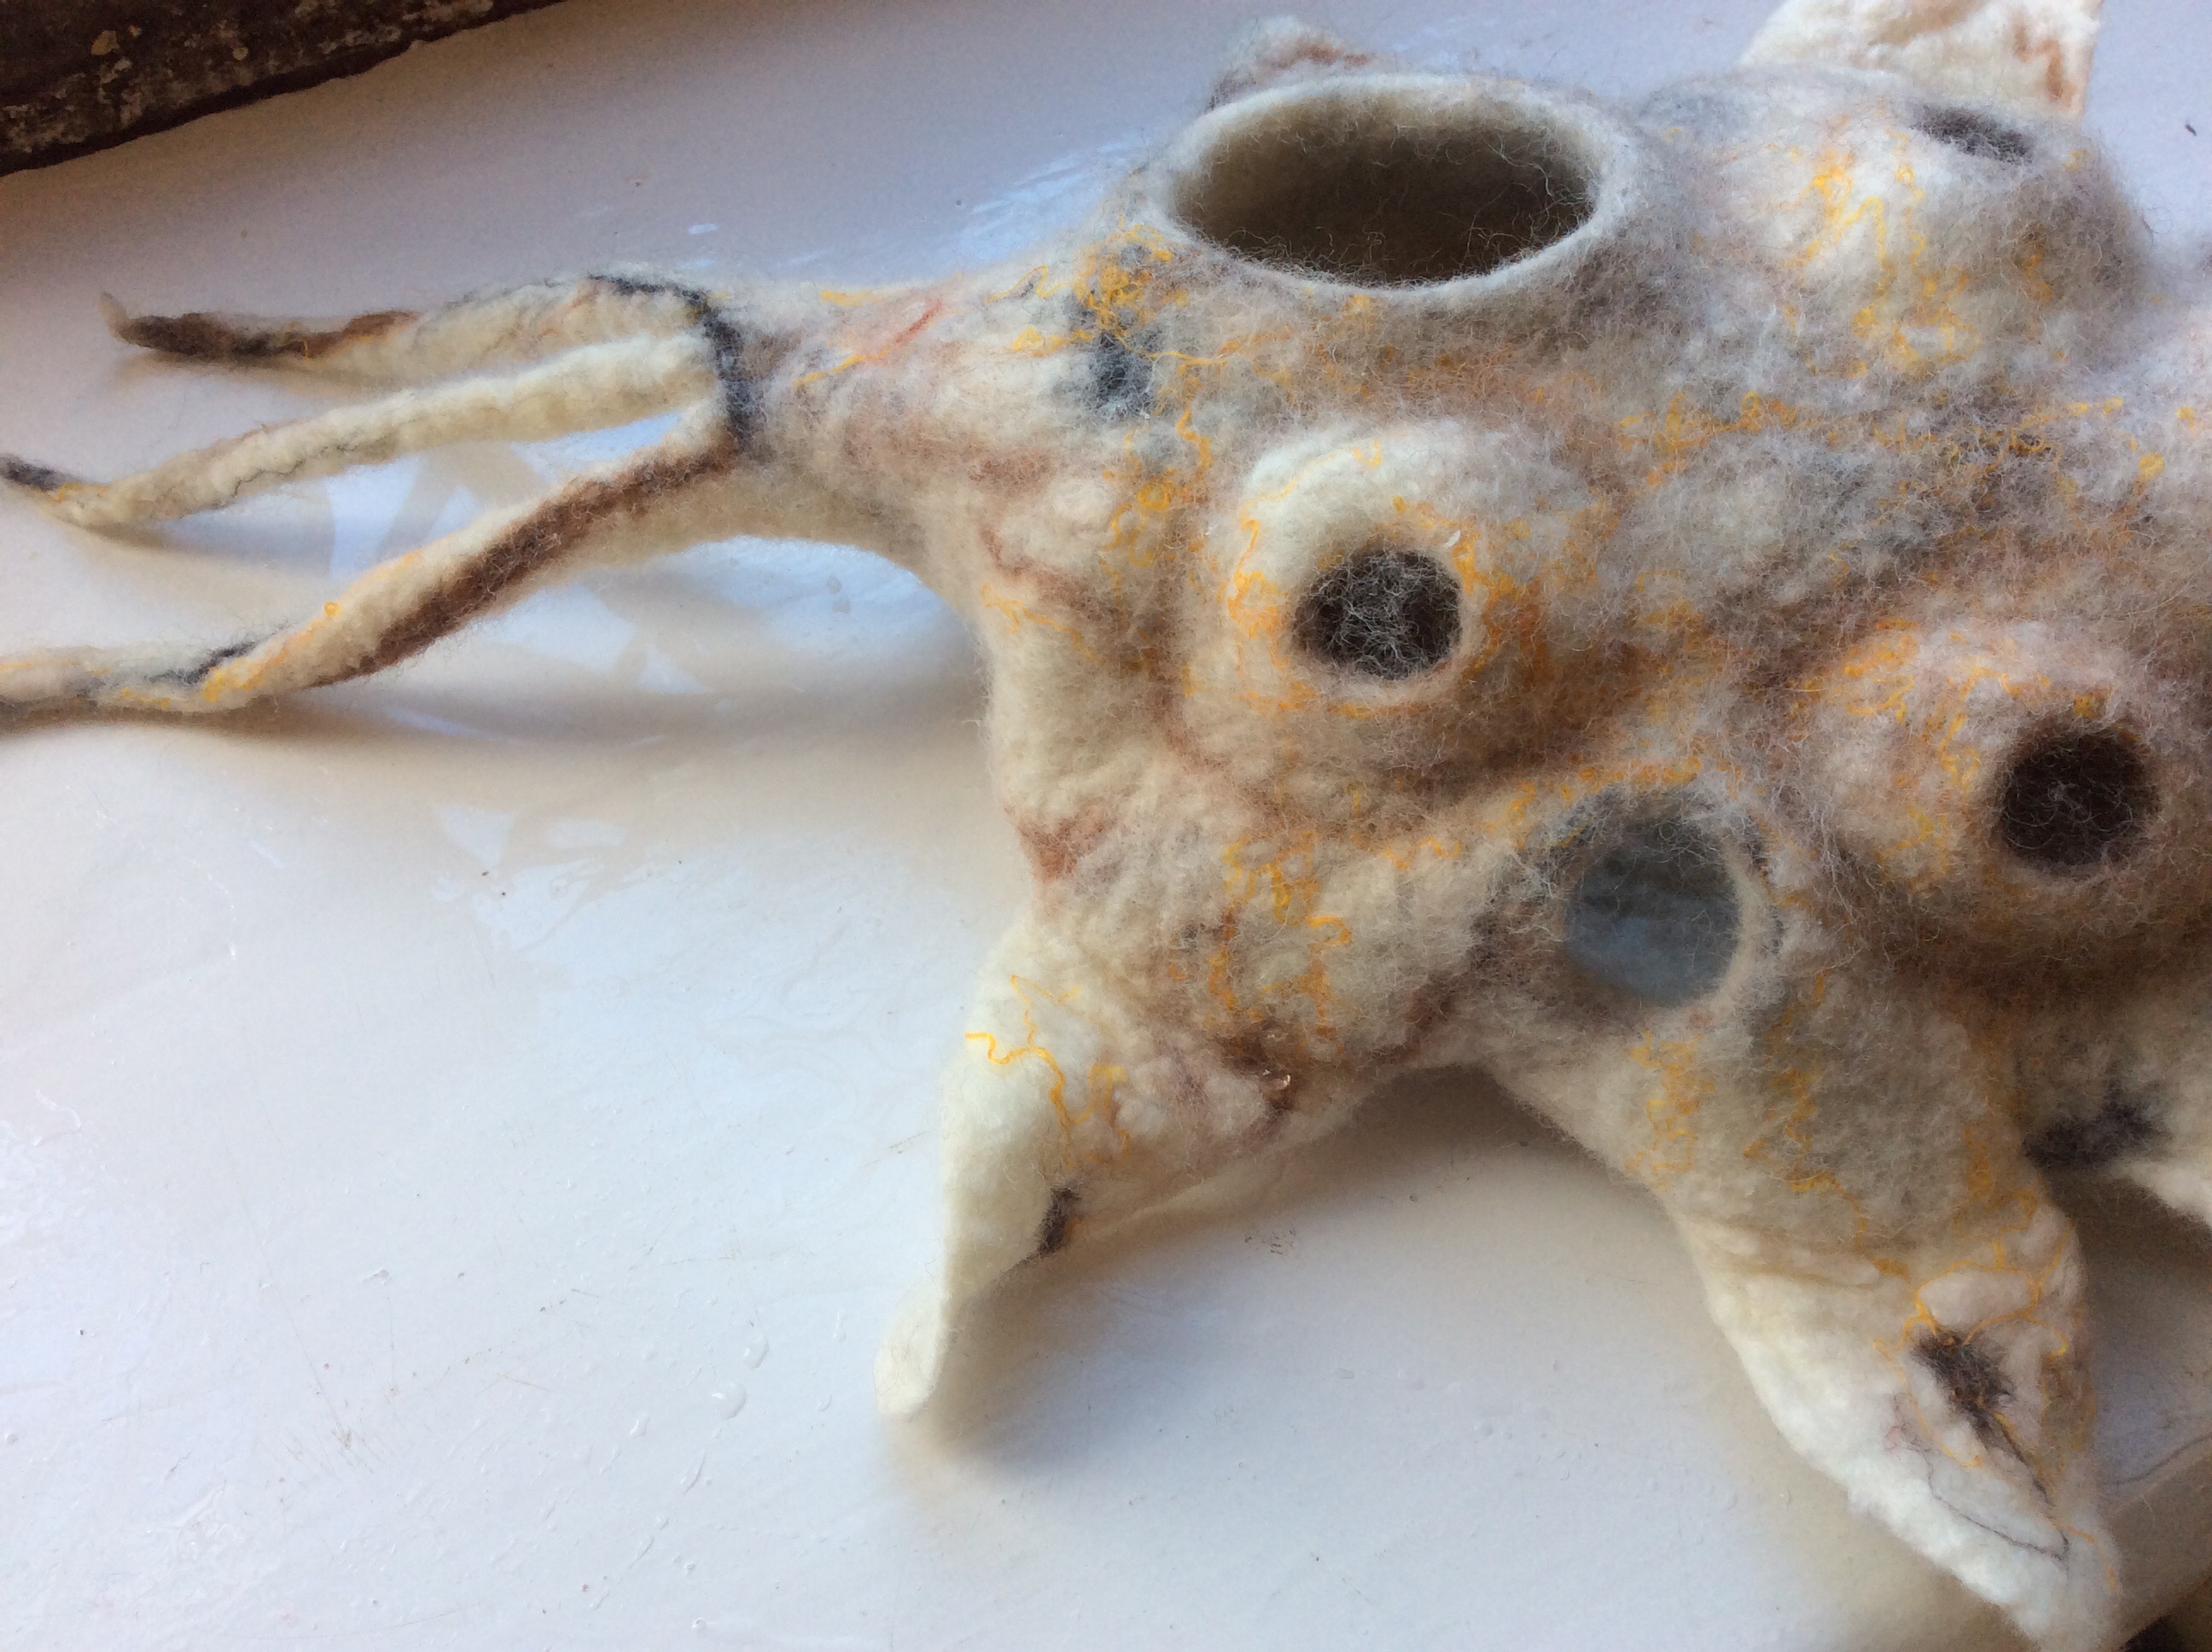
My resist is wrapped in white Merino and the spikes attached at either end.

My top craters and embellishments are added

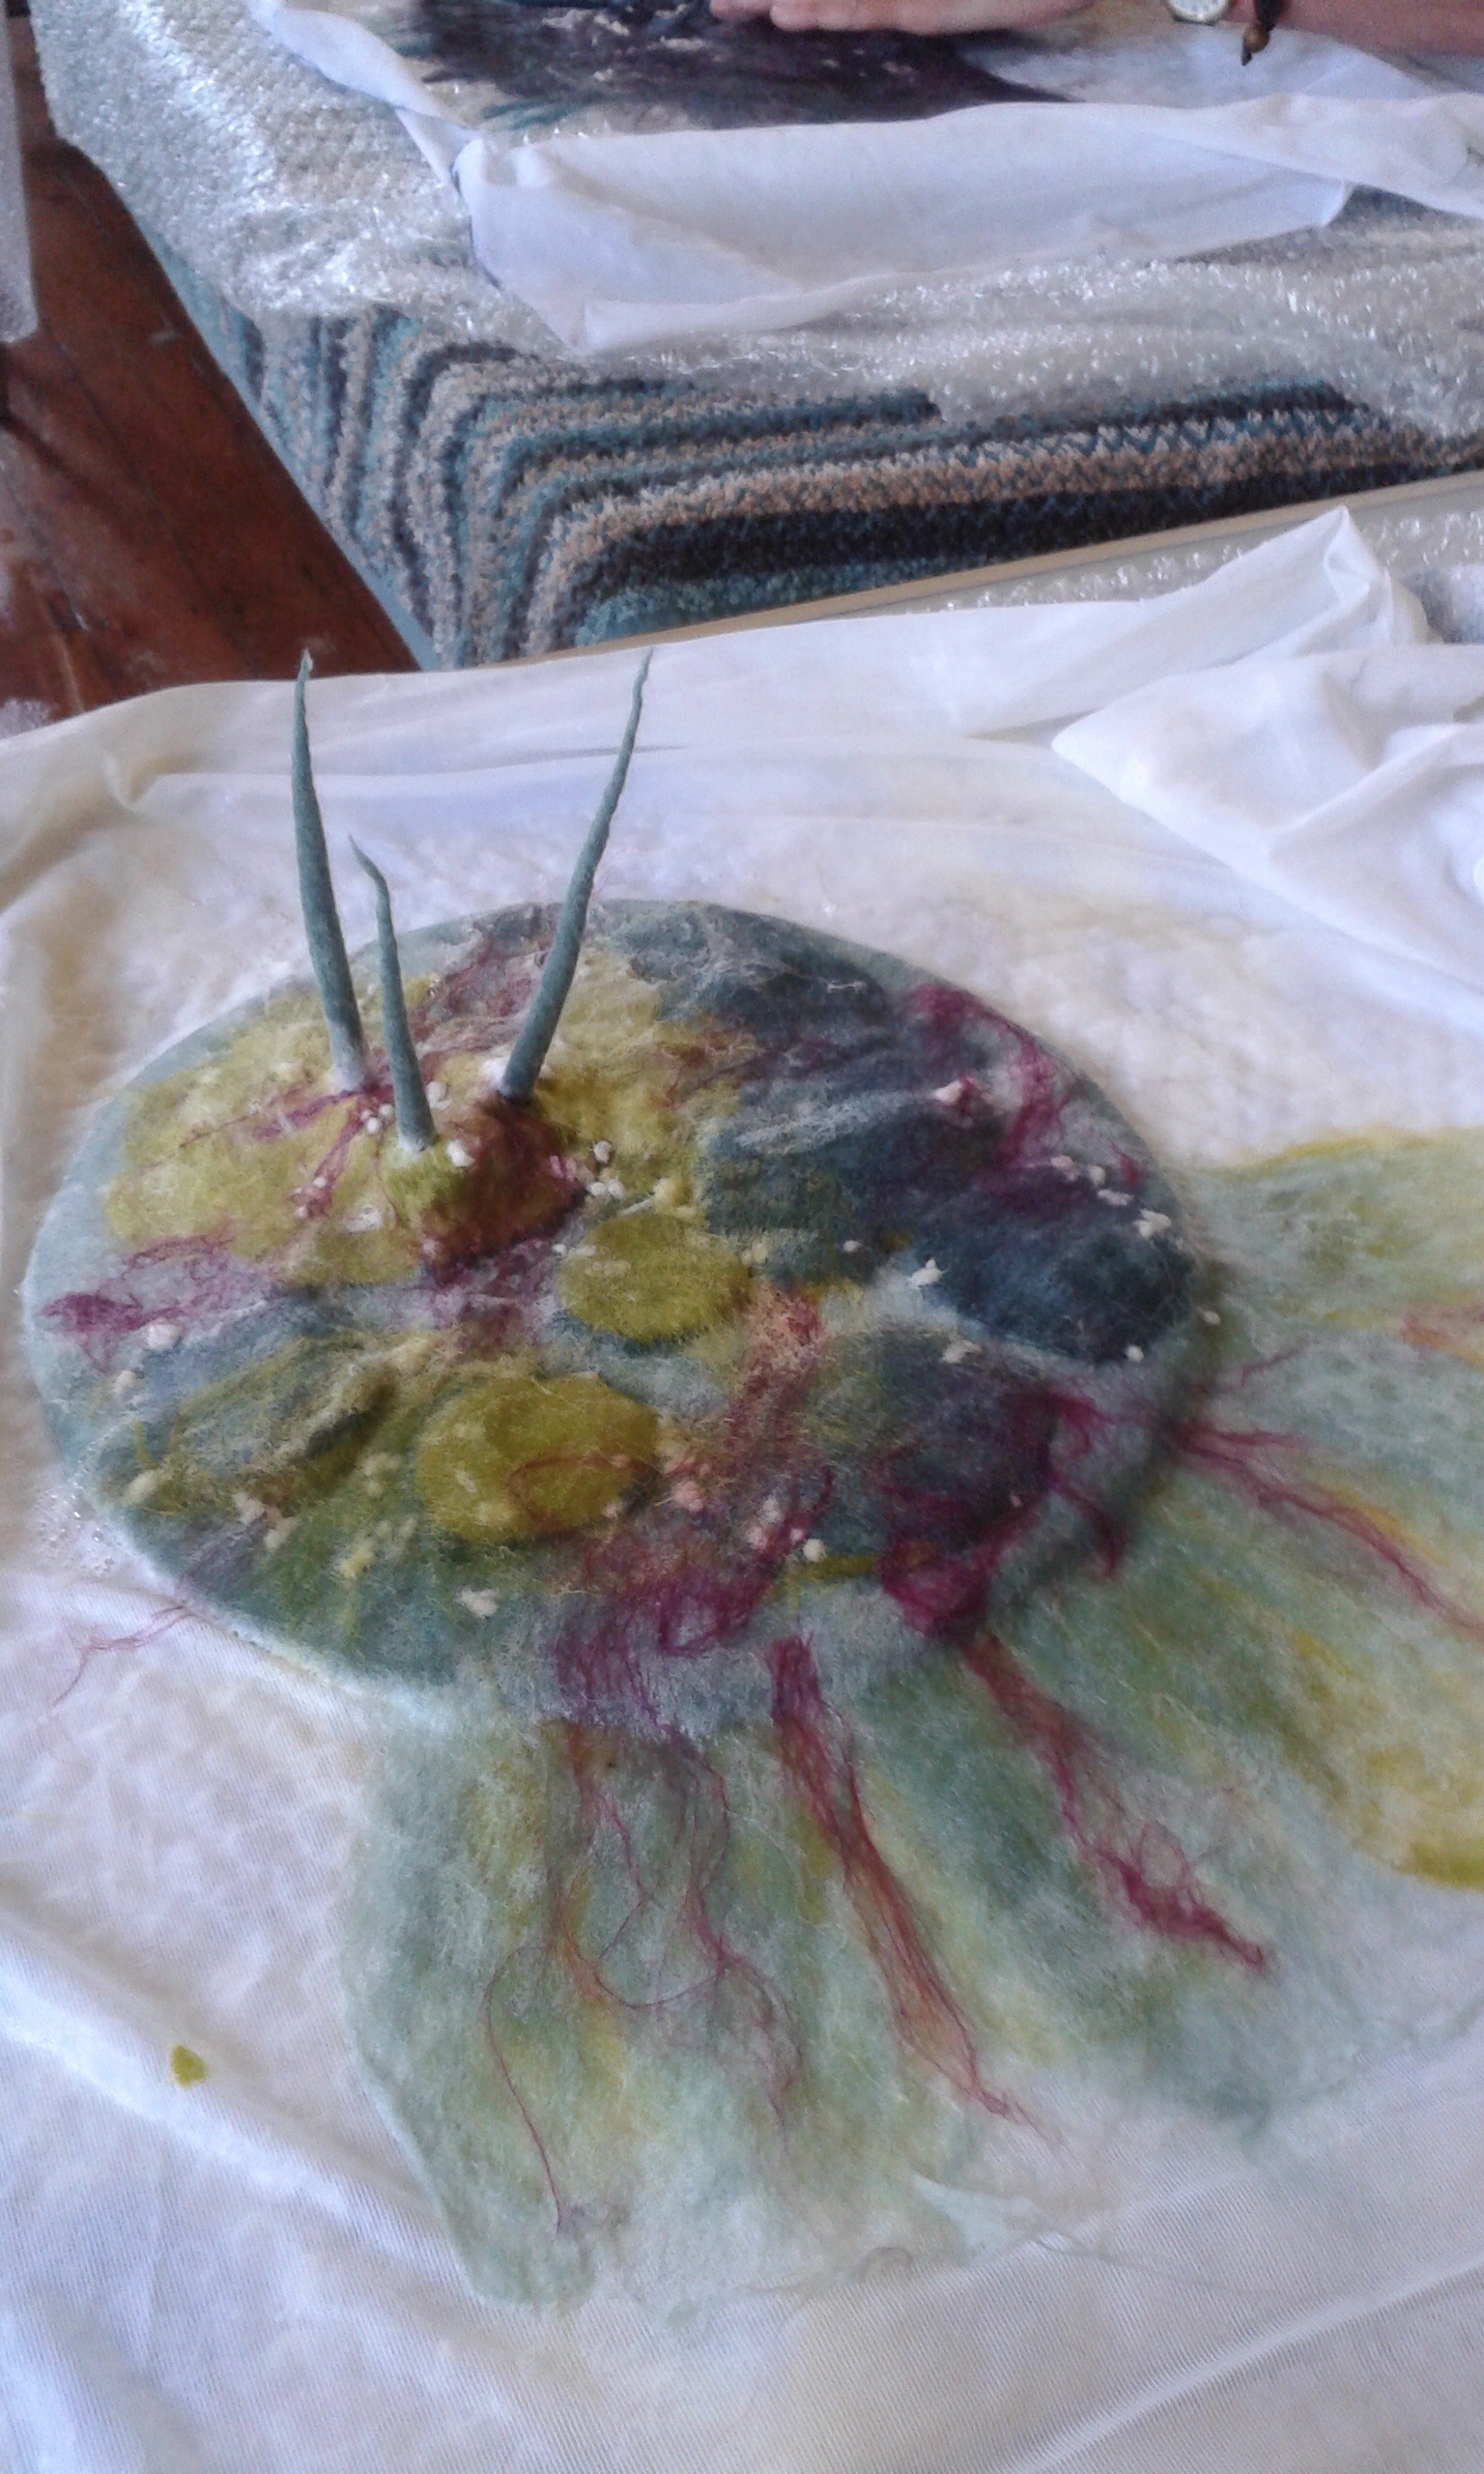
The top craters and embellishments are added to my piece.

The next stage was to place our outer craters where we wanted them and add silks, wools, snippets of prefelt, etc as embellishment before felting our spikes.

After lots of rubbing the dreaded rolling begins……and Jenny sees to it that her students don’t skint on the rolling!

Rolling, rolling and more rolling.....

Rolling, rolling and more rolling…..

image

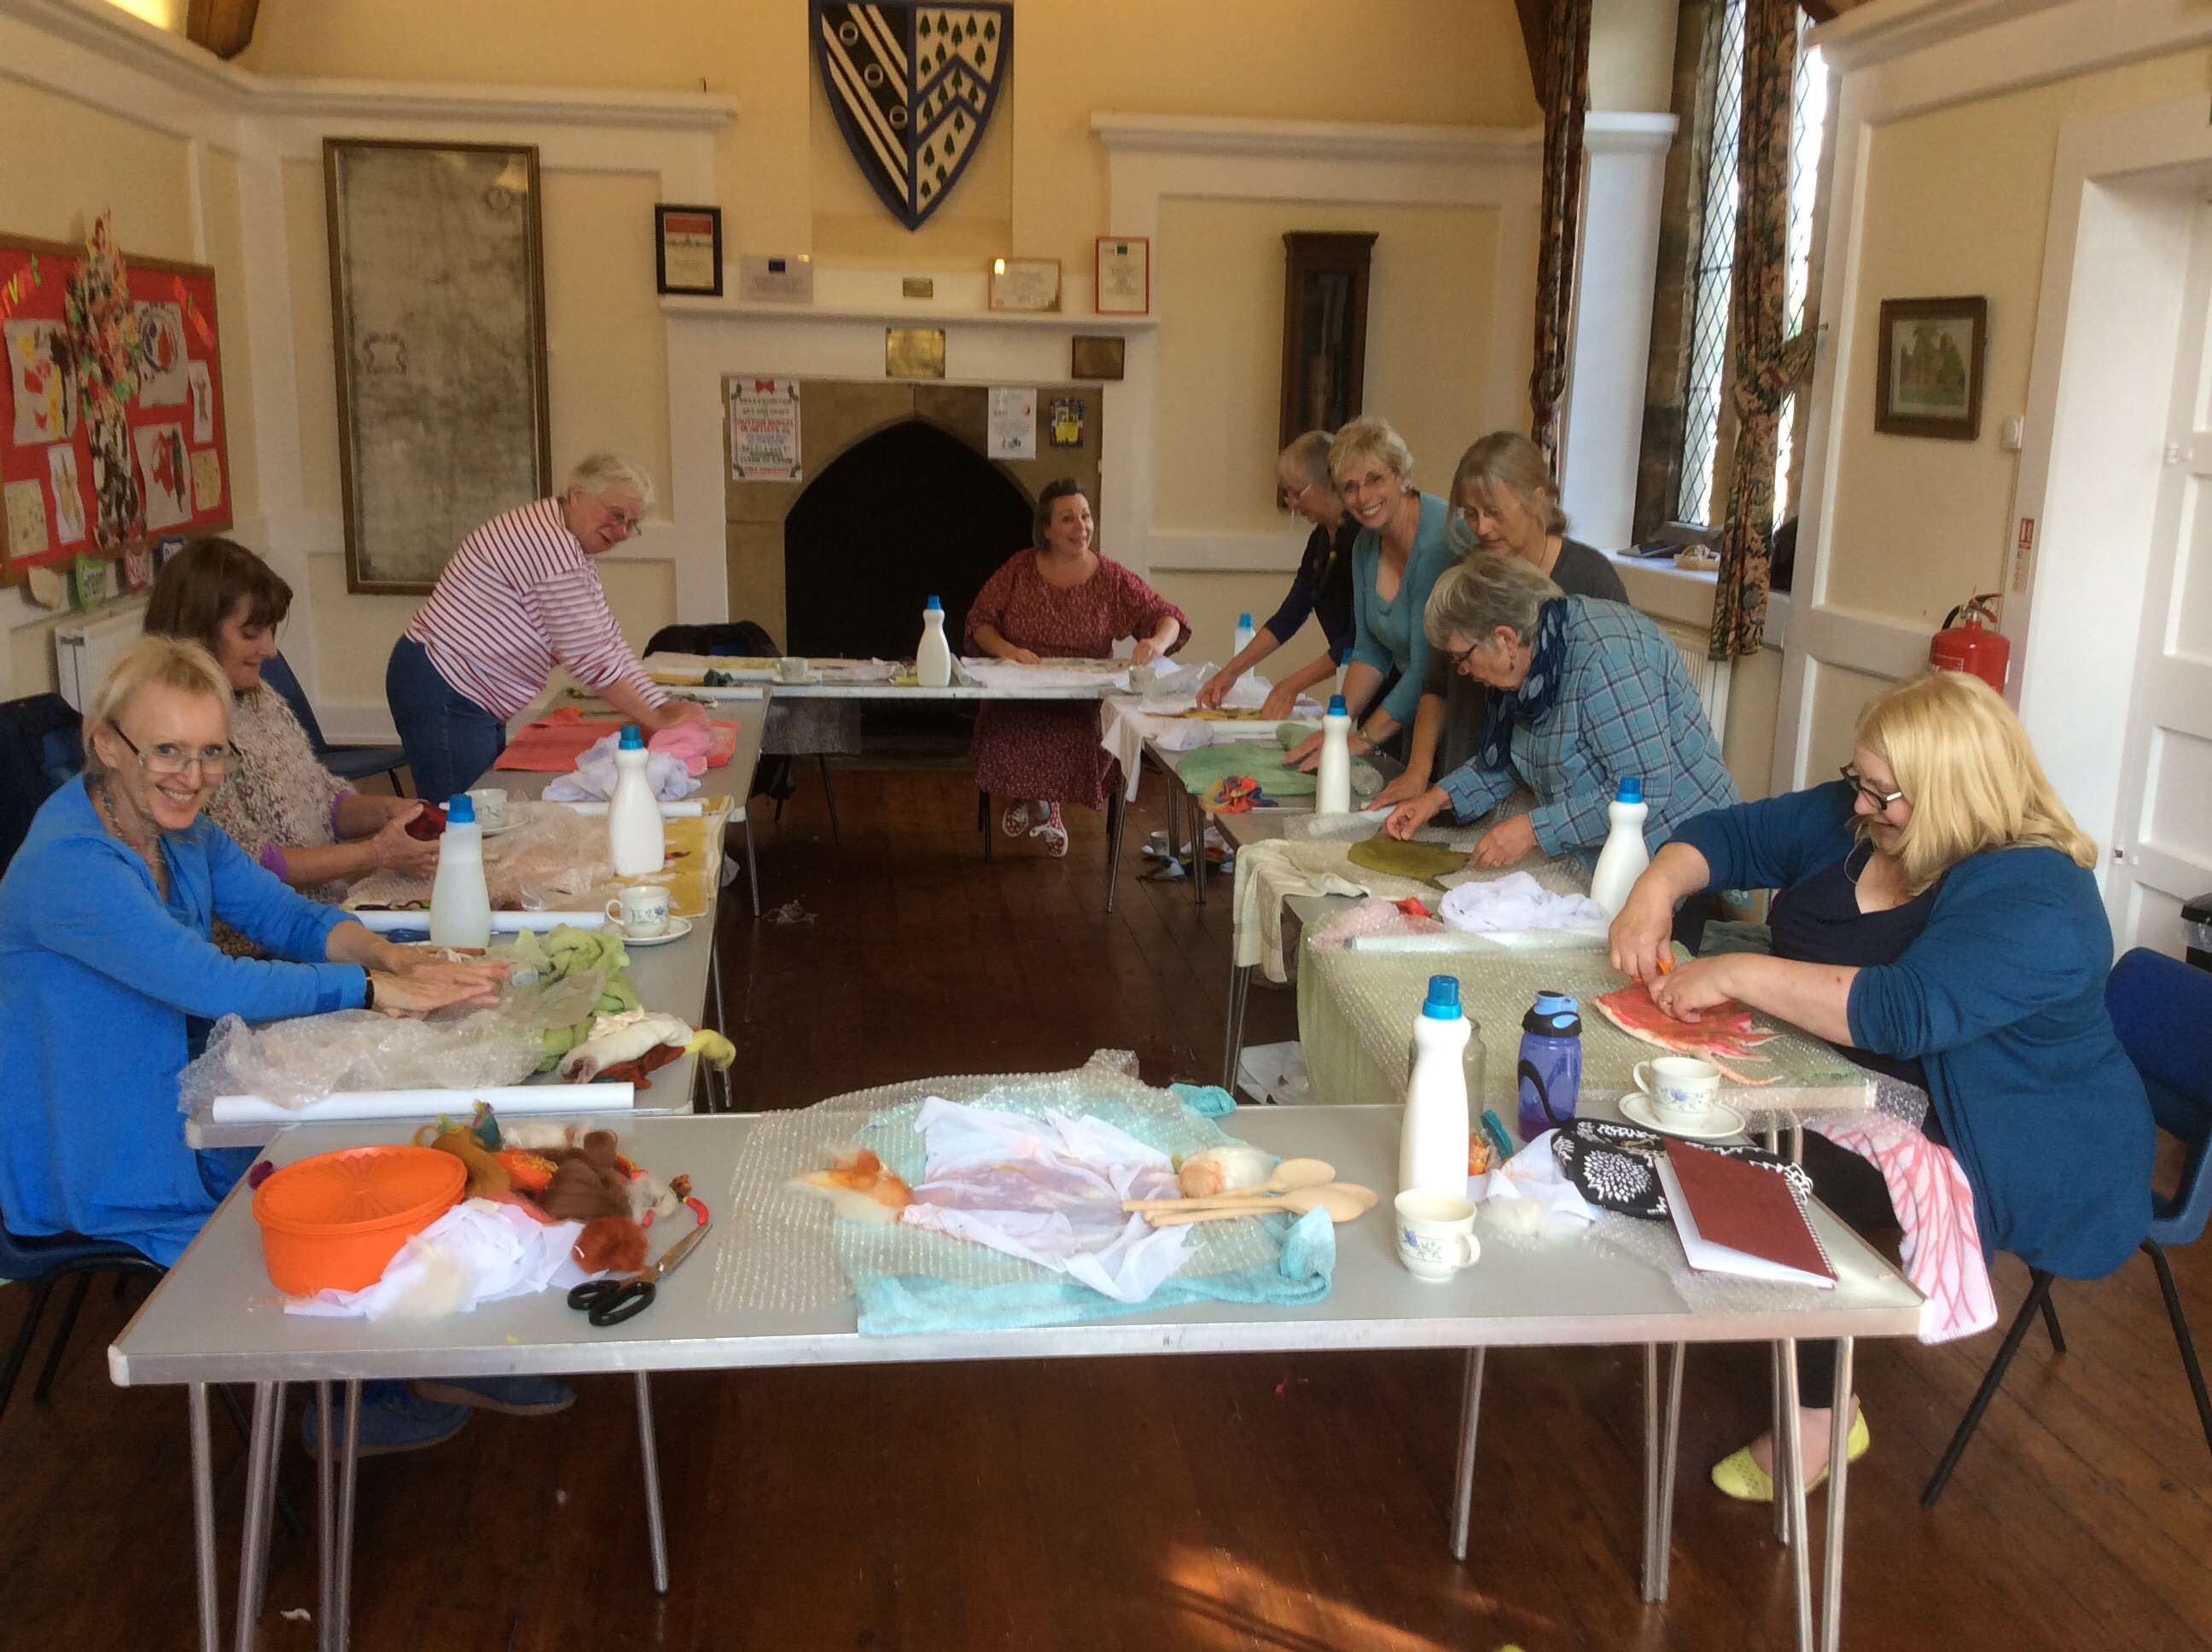
Once again the company was great and day past very quickly with Jenny on hand to encourage, inform and see to it that we all manage to complete our work on time.

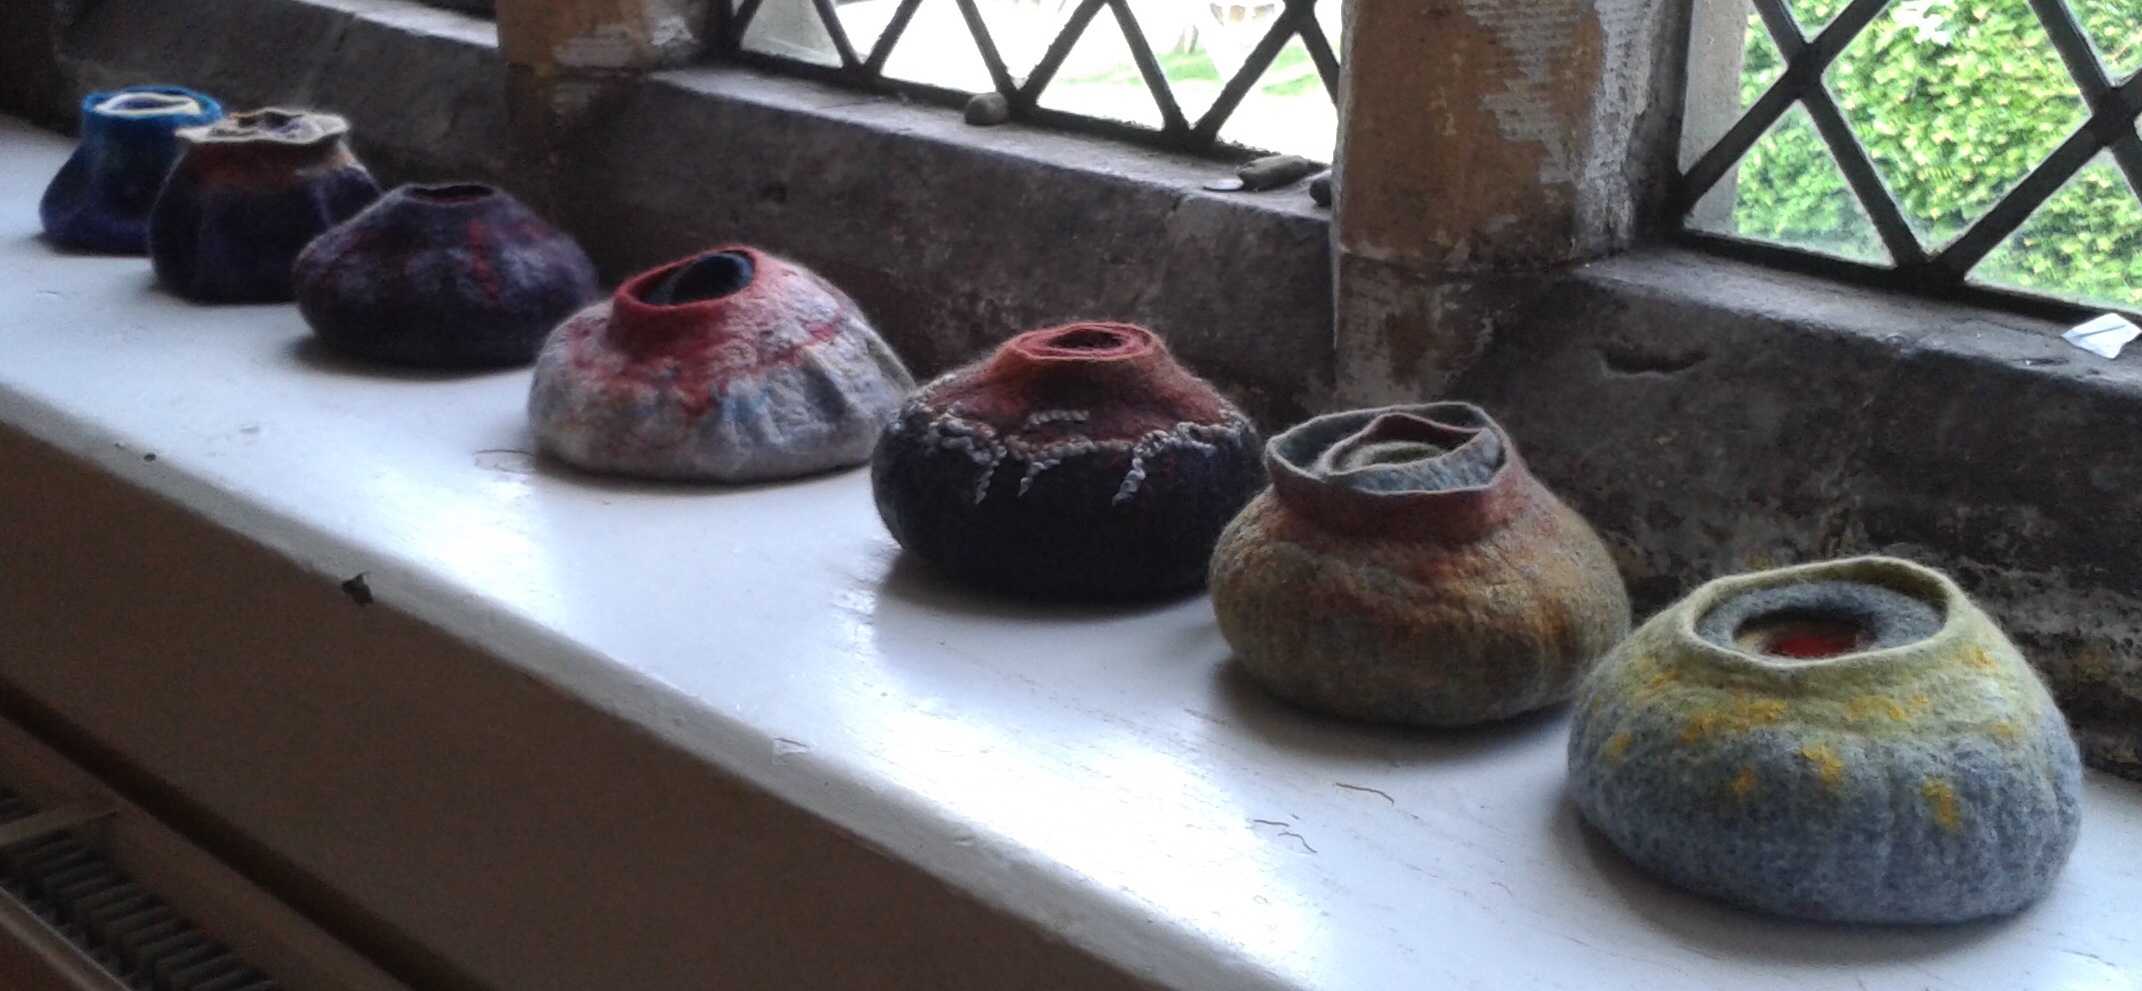
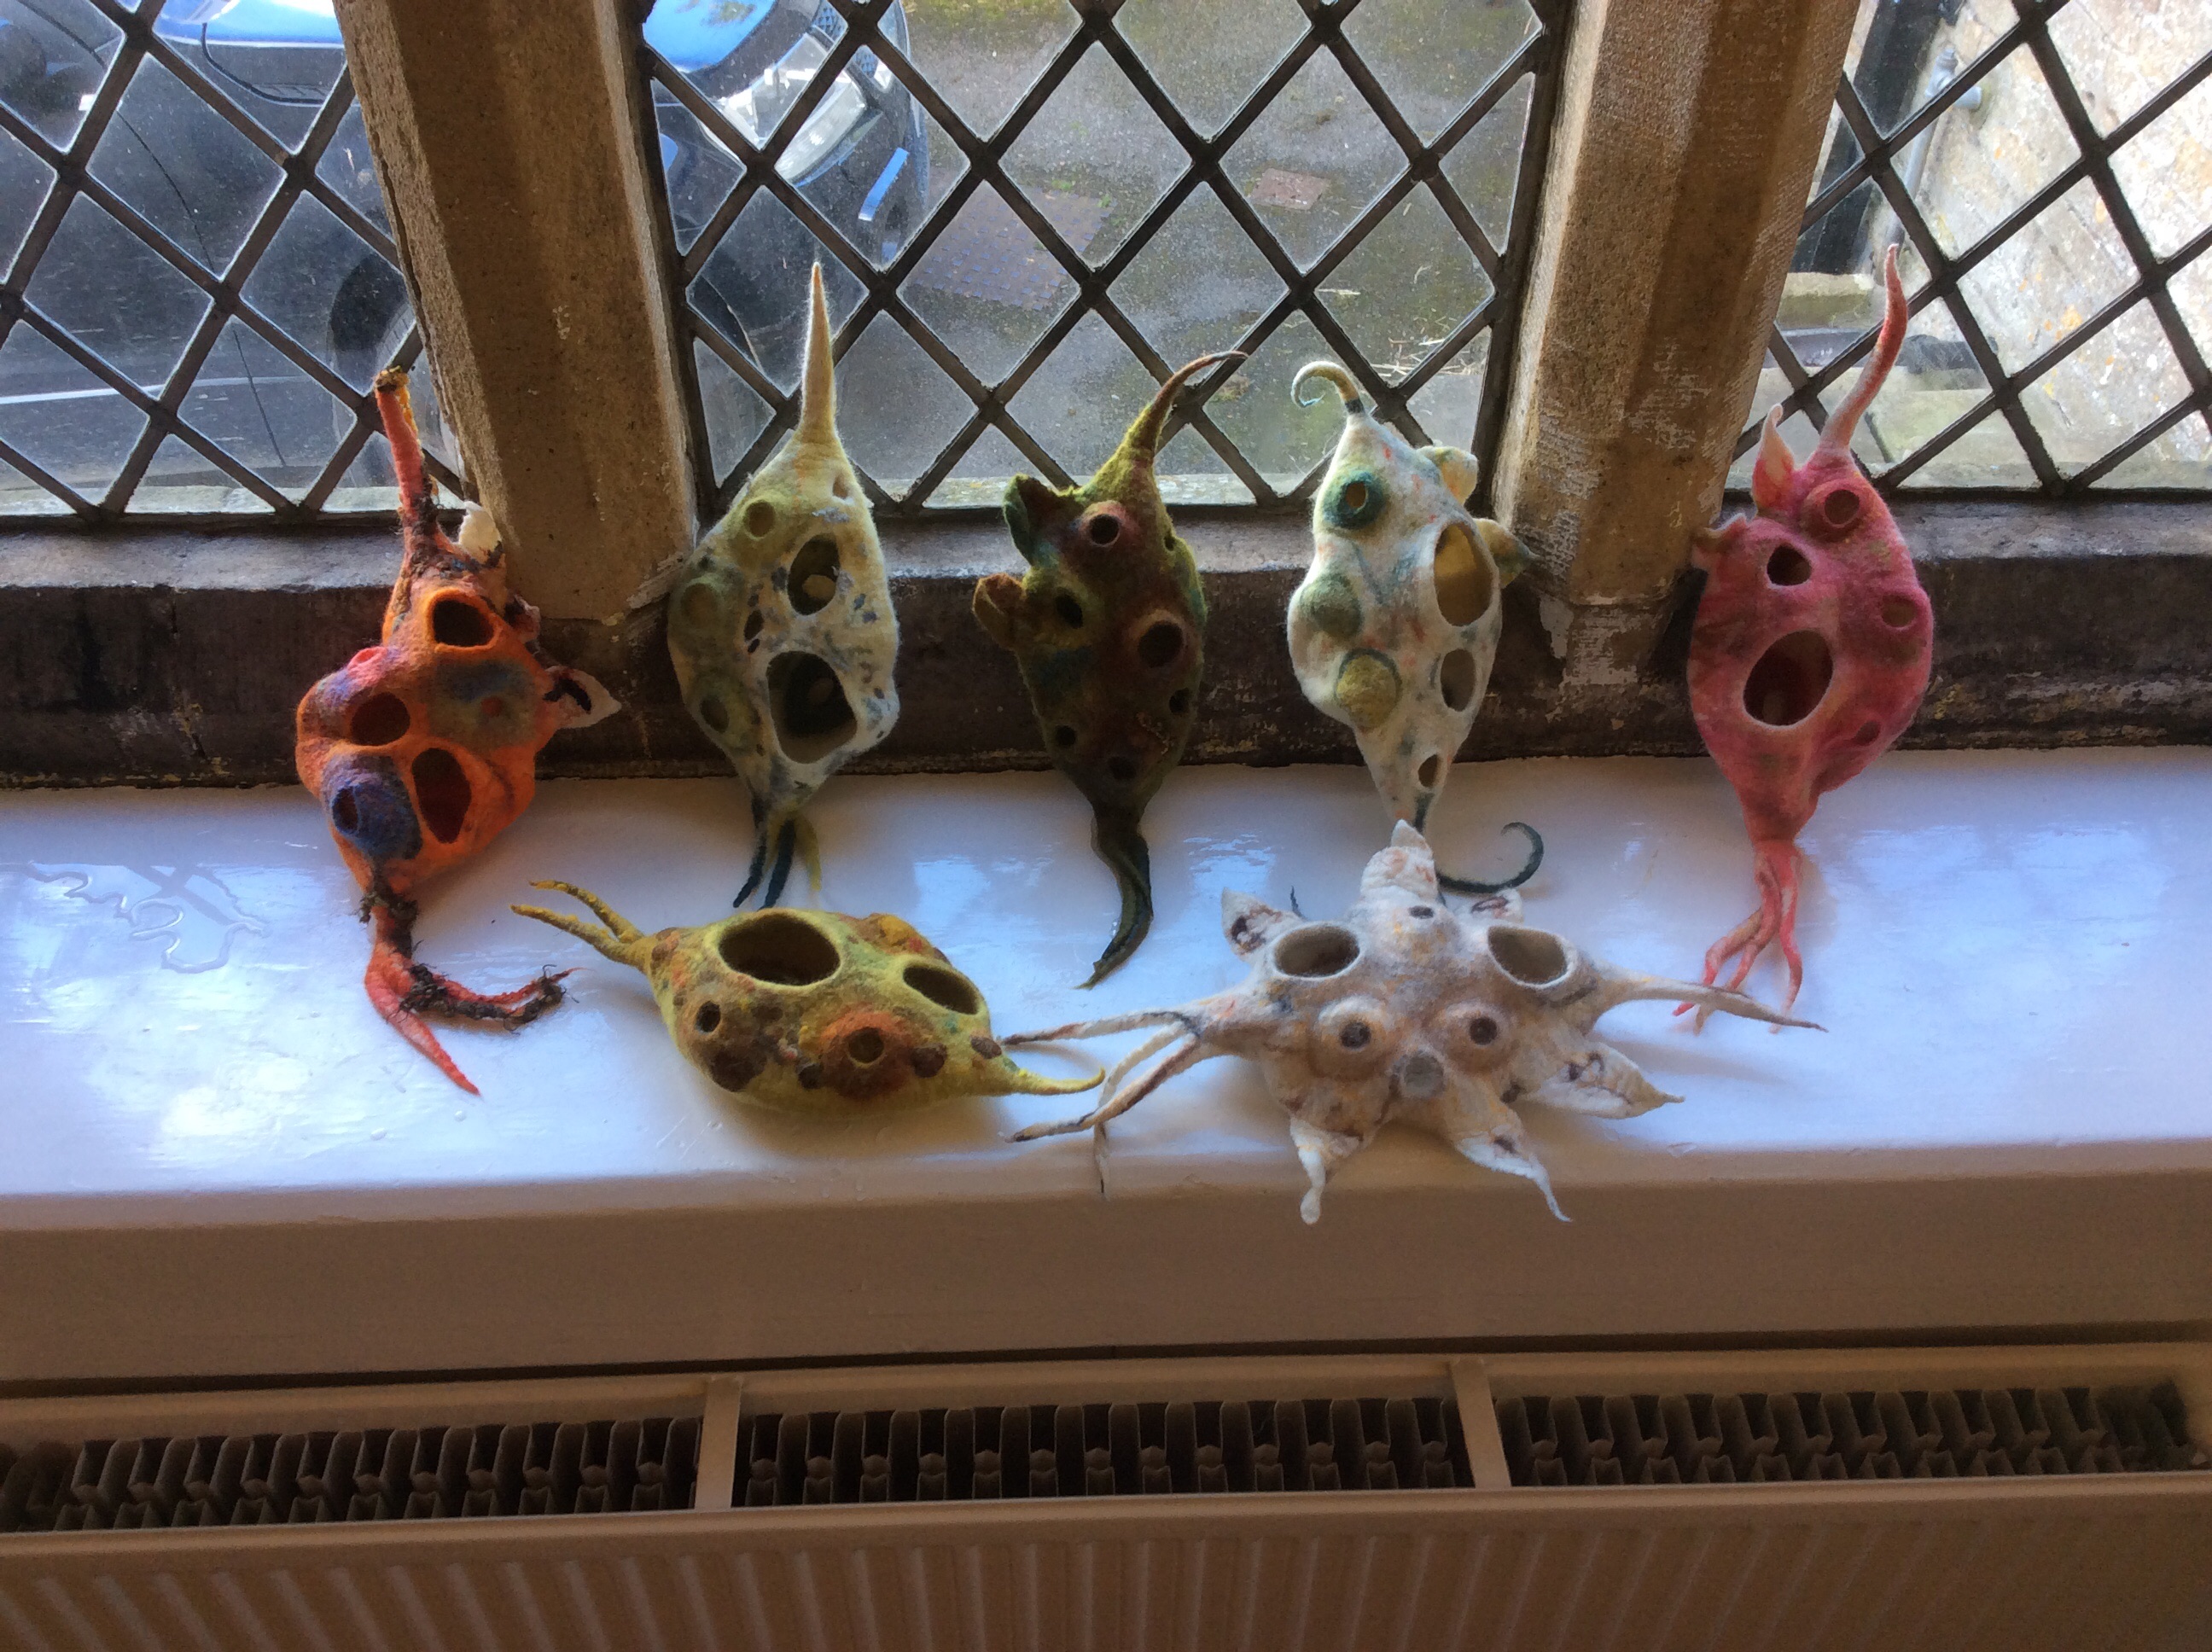
Two of the ladies had to leave early and unfortunately I didn’t get pictures of their finished work but here are the other seven.

image

image

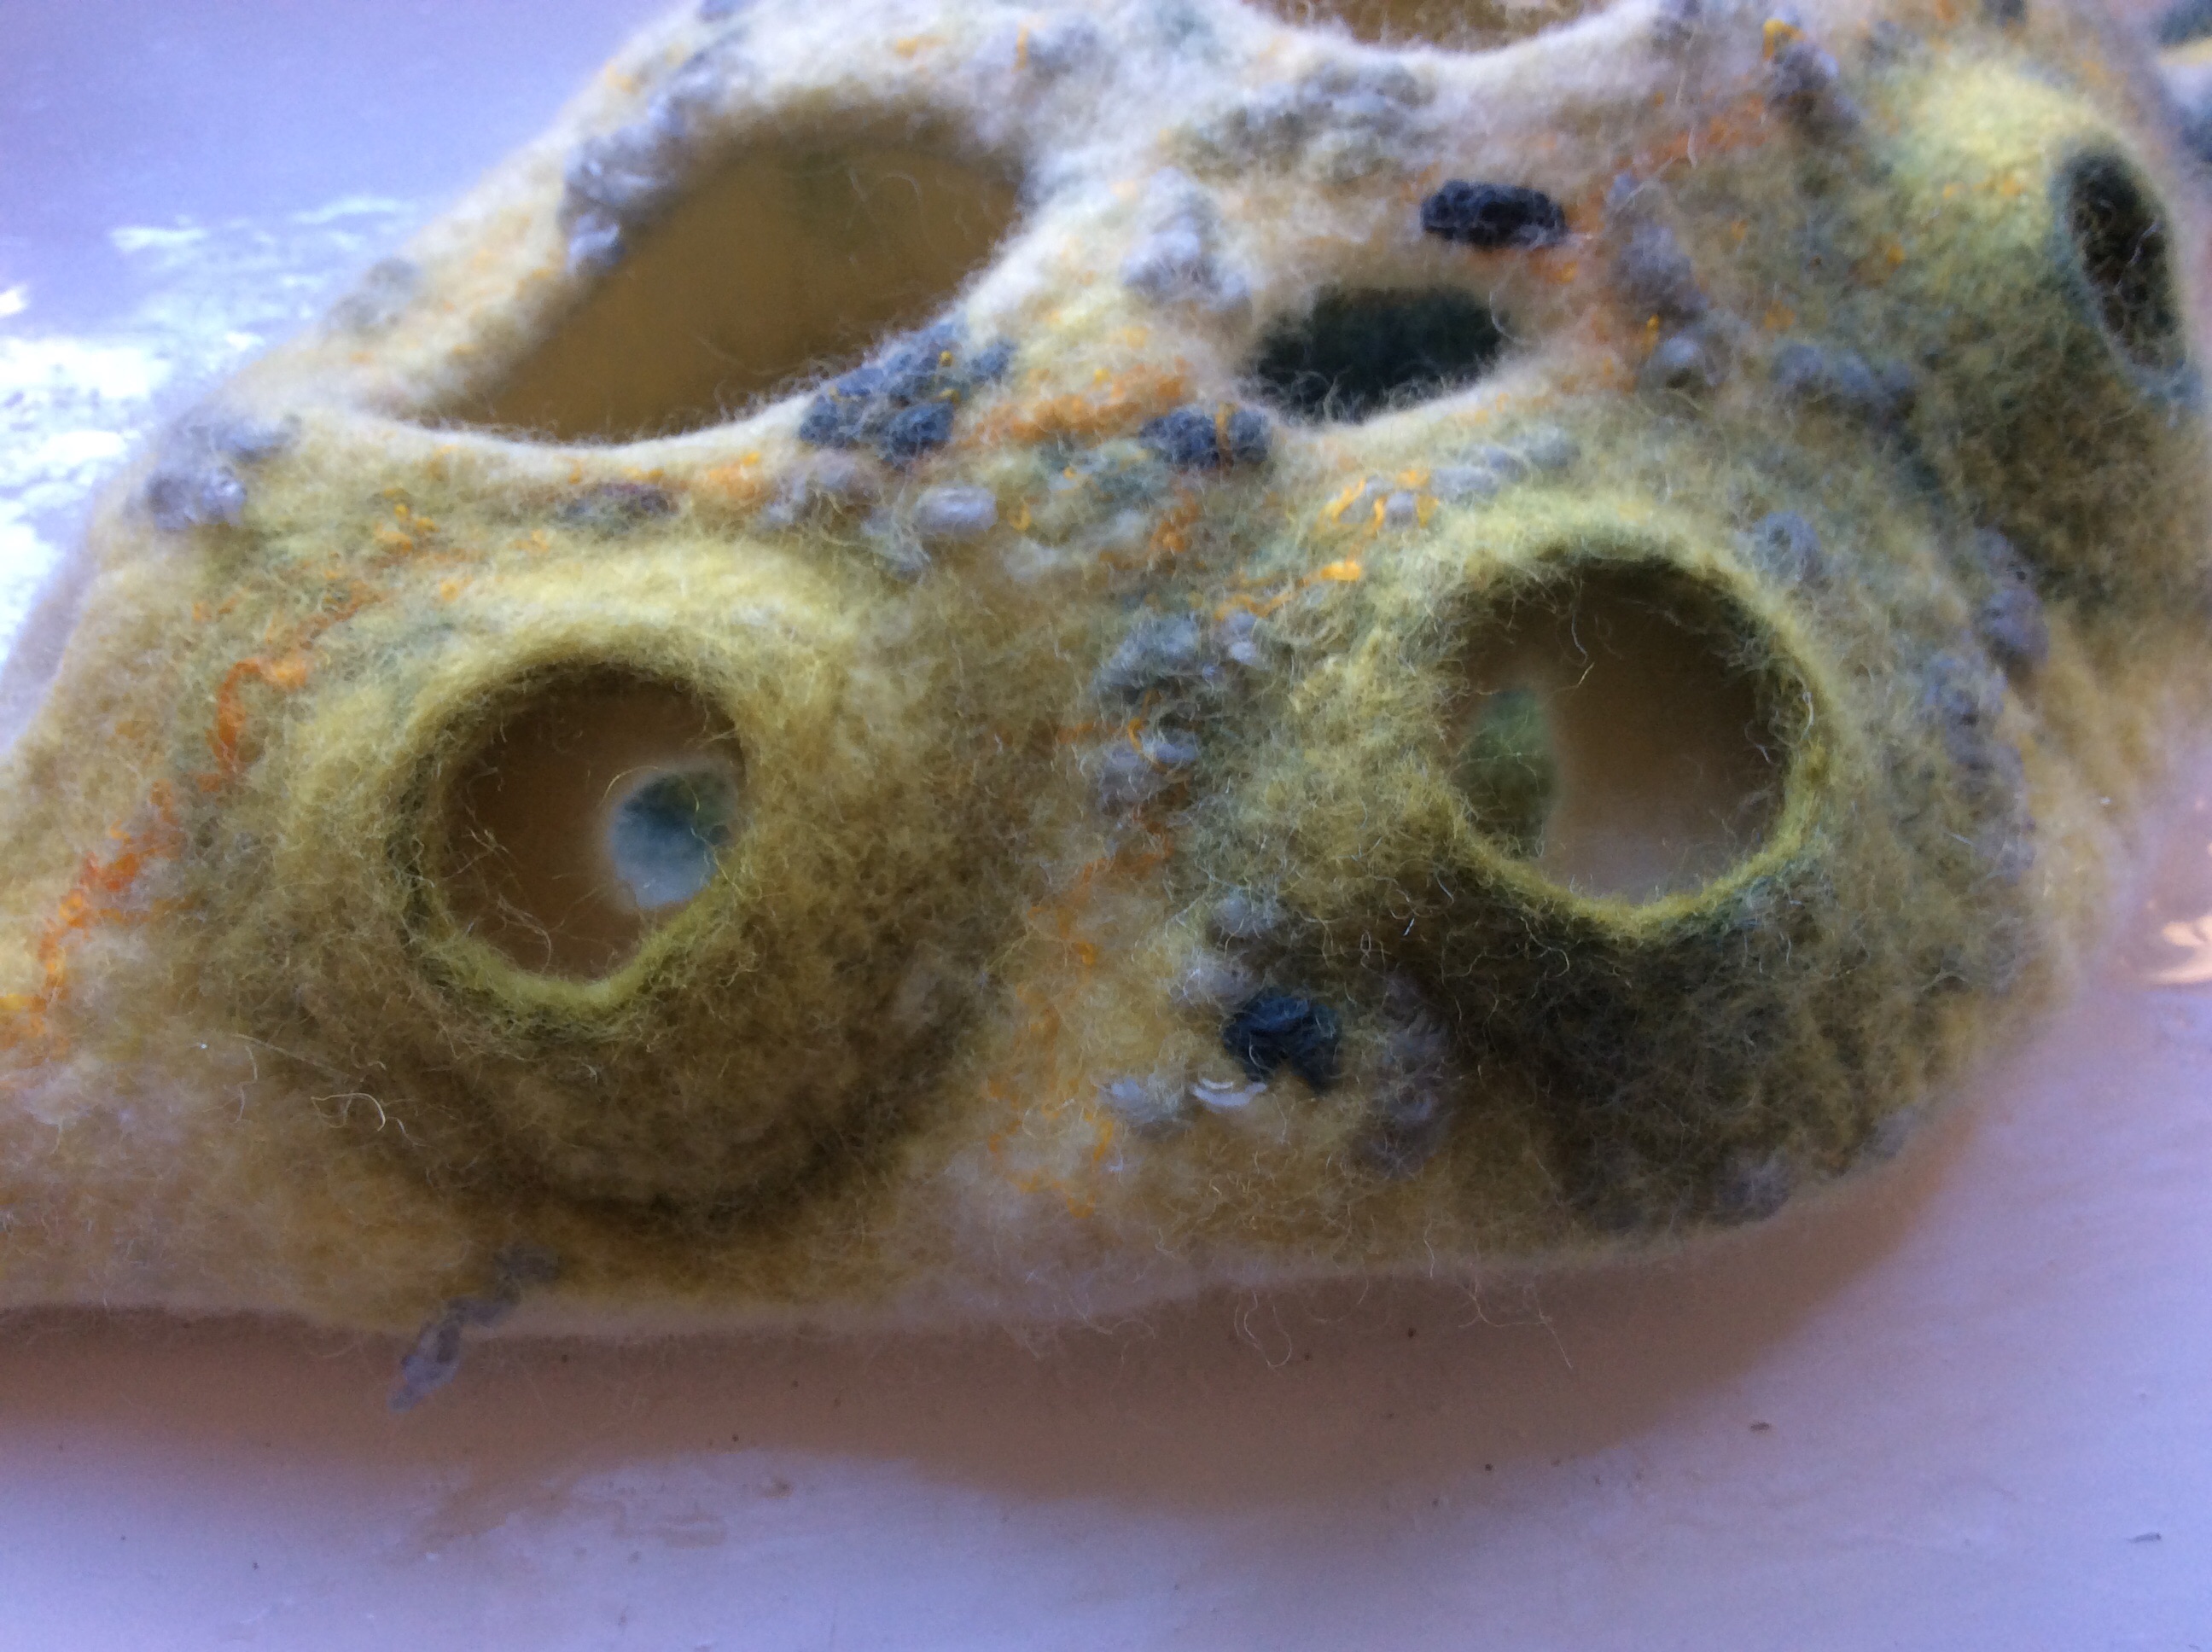
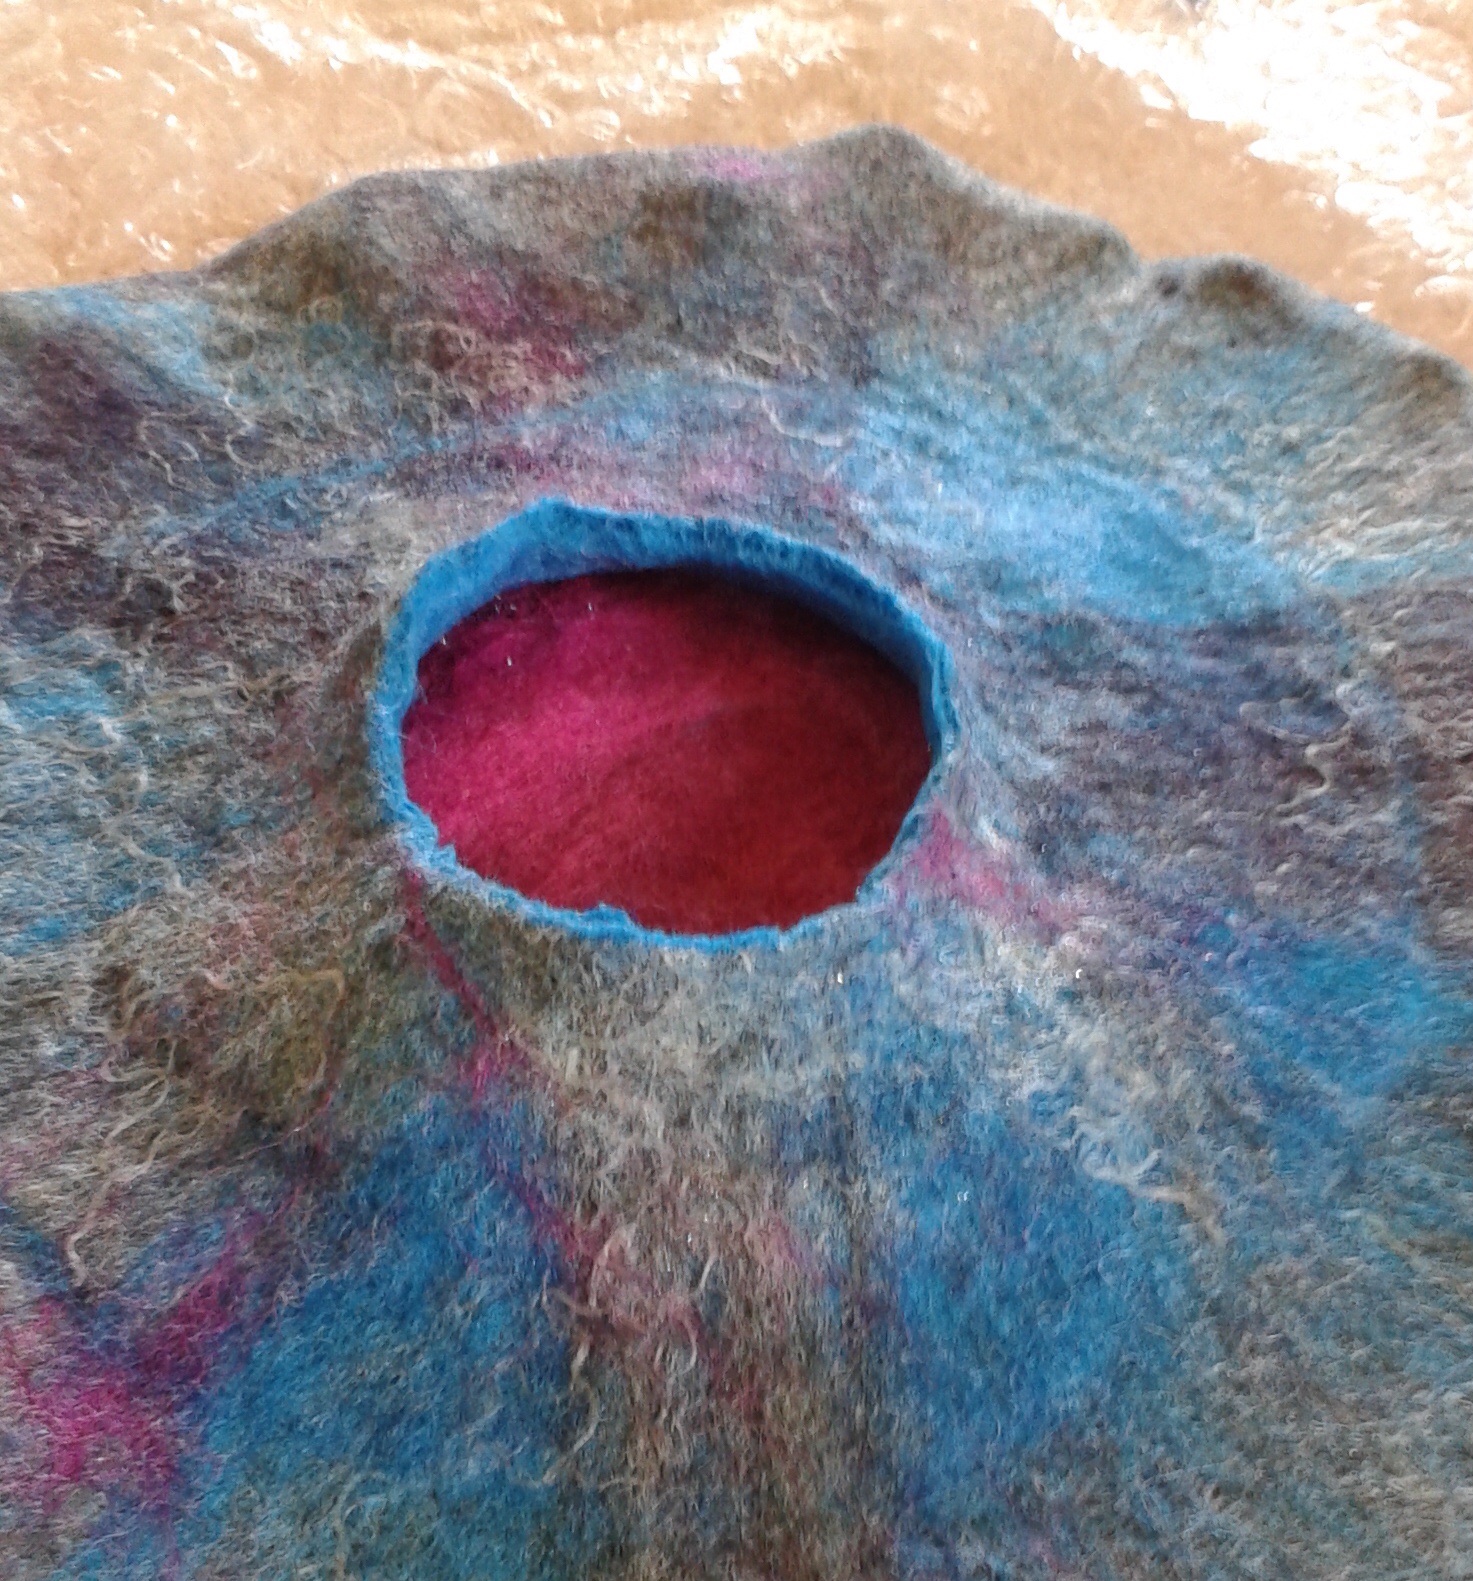
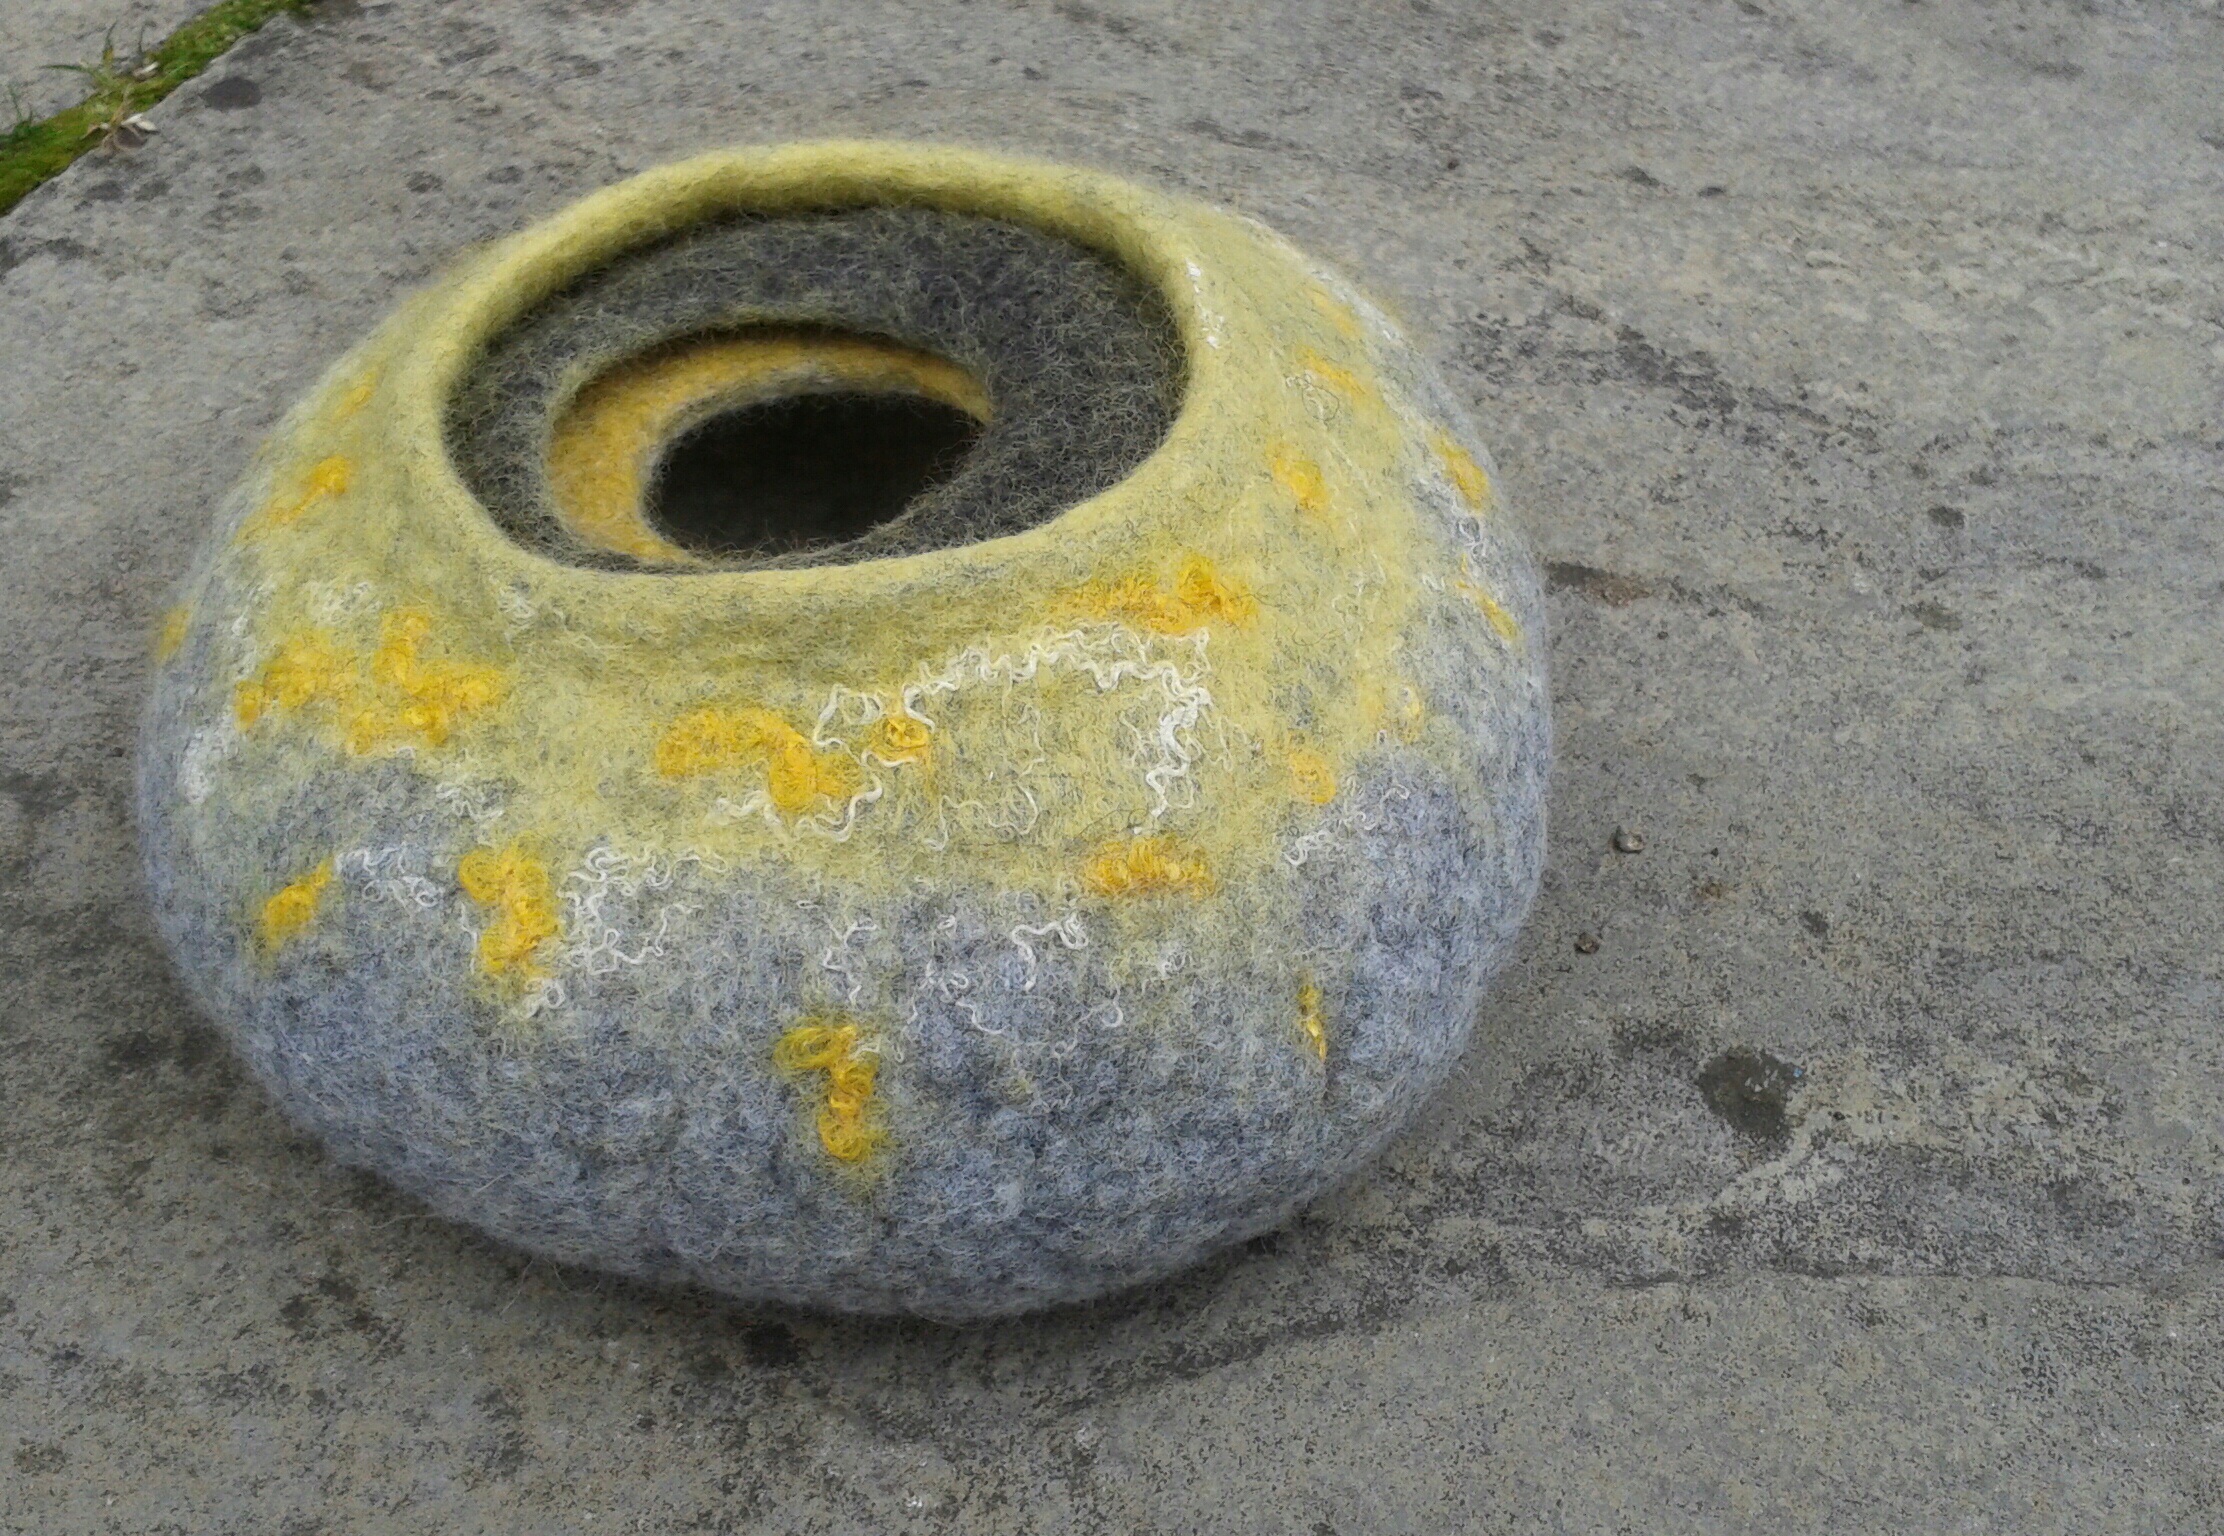
Detail of my finished pod.

image

image

image

image

image

Another 3d vessel…..

Since finishing my Flower Tower (and wondering what on earth I am going to do with it) I’ve been thinking about making another 3d vessel.  If it’s a success it will be destined for the lounge to sit next to a felted bowl I made last year with Jenny Pepper.  I love the grey and lemon colour scheme of the bowl and so I began by wet felting some fibres to match it.

My starting point for the grey/lemon vessel.

My starting point for the grey/lemon vessel.

I didn’t have a shape in mind but they turned out a bit like grey bacon rashers!  I repeated the exercise, this time laying out three lots of very fine fibres and covering each of them with a strip of white organza.  If you click on the photo below to enlarge it you will see the organza more clearly.

The painted Lutradur and pieces of felt ready to be sewn.

The painted Lutradur and pieces of felt ready to be sewn.

The next step was to roughly cut 3 pieces of Lutradur and paint it with Inktense Blocks.  I say “roughly” because I want the finished effect to look organic and distressed so I’m not working to a precise measurement or shape.

The FM embroidery is work in progress.

The FM embroidery is work in progress.

I have several threads of dubious quality (I haven’t a clue what some of them are made of) so I spent a bit of time last night blasting them with my heat gun to confirm which are 100% cotton, as opposed to polyester, and which are Rayon, as opposed to Nylon.  That job done, it was time to start machining with cream, grey, gold and dark olive.   It needs a lot more stitching yet but I will put this piece to one side for now and work on the other two sections.


If at first you don’t succeed…

Wet felted bowls

Collection of wet felted vessels made at Jenny Peppers “Multiple Resist” Workshop.

Last Saturday I rode back up north to the beautiful little village of Hutton Buscel to take part in another of Jenny Peppers felting workshops. Once again it was a lovely day with good company, excellent tuition from Jenny, and lots of hard work from the “students”, but with great results all round.
This was Jenny’s “Multiple Resist” workshop, in which she demonstrated how to create a bowl with the illusion of two smaller bowls inside it. As with Jenny’s last workshop, we all began with the same size and shape of resist for our vessel but you can see from the photos, the end results were all very unique, which was brilliant.

The first layer is cut away to reveal the colour below.

The piece has been rubbed and rolled and now the first layer is cut away to reveal the colour of the layer below.

One of the bowls taking shape.

One of the bowls taking shape.

I chose to use a subtle colour scheme of greys and yellows and added snippets of yellow knitting wool and cream silks as embellishment.

My bowl was looking more like a beret at this stage.

My bowl was looking more like a beret at this stage.

Some of the other ladies made fabulously colourful bowls and some added extra interest by shaping the openings rather than leaving them circular.

A beautiful bowl with an unusual shaped opening.

A beautiful bowl with an unusual shaped opening.

image
image
The following photos show what a difference the workshops with Robyn from Feltybits and Jenny have made to my work. One of the key things I have learnt about making vessels is the importance of basic rubbing and rolling to strengthen the felt. My first little bowl was so poorly felted it could hardly stand up on its own but I am glad it didn’t put me off. I am a big believer in “if at first you don’t succeed….”

First attempt at a wet felted bowl...it can only get better!

My first bowl…a bit fluffy and floppy and very poorly felted!

Blue Merino Bowl.

Wet felted Merino Bowl – 2nd attempt and feel like I am getting somewhere!

Wet felted bowl made with multiple resists.

My multiple resist bowl – worlds apart from the first, flimsy vessel!

Spiky Vessels Workshop…

Eight of the finished vessels displayed on a window ledge. looking particularly alien-like

A few of the awesome finished vessels!

Several months ago I discovered a website showcasing the fabulous work of a lady called Jenny Pepper.  I was very excited to see that Jenny holds workshops, not a million miles away, and immediately got myself booked onto two of them.  Earlier this month I rode up to Scarborough to attend Jenny’s ‘Spiky Vessels’ Workshop which was being held in the beautiful village of Hutton Buscel, just a few miles outside of Scarborough.

The fibres have been laid for the basic vessels and now the spikes and craters are being added.

Hard at work applying the spikes and craters.

The workshop was fun, informative and very inspiring.  Jenny demonstrated various techniques for creating spikes, holes, craters and frills to add to a 3-D vessel.  The day was very well structured but at the same time the session was quite relaxed and we were encouraged to work at our own pace rather than trying to keep up with each other – great for me as I always seem to be the last to finish!  It  was fascinating to learn how useful ‘pre-felt’ can be and since coming home I have made myself quite a supply of it in various colours ready for future projects.  The pieces we made were really designed to be ‘samples’ but I think we all came to see them as more than this once they were finished….they seem to have an alien quality and every one of them was unique.

Adding the frill to the vessel

My vessel in the making

It was a great day all round and lovely to meet the other felters.  I am looking forward to meeting up with many of them again at Jenny’s ‘Multiple Resist Workshop in July.

My finished 3D vessel complete with spikes, holes and craters

My finished vessel