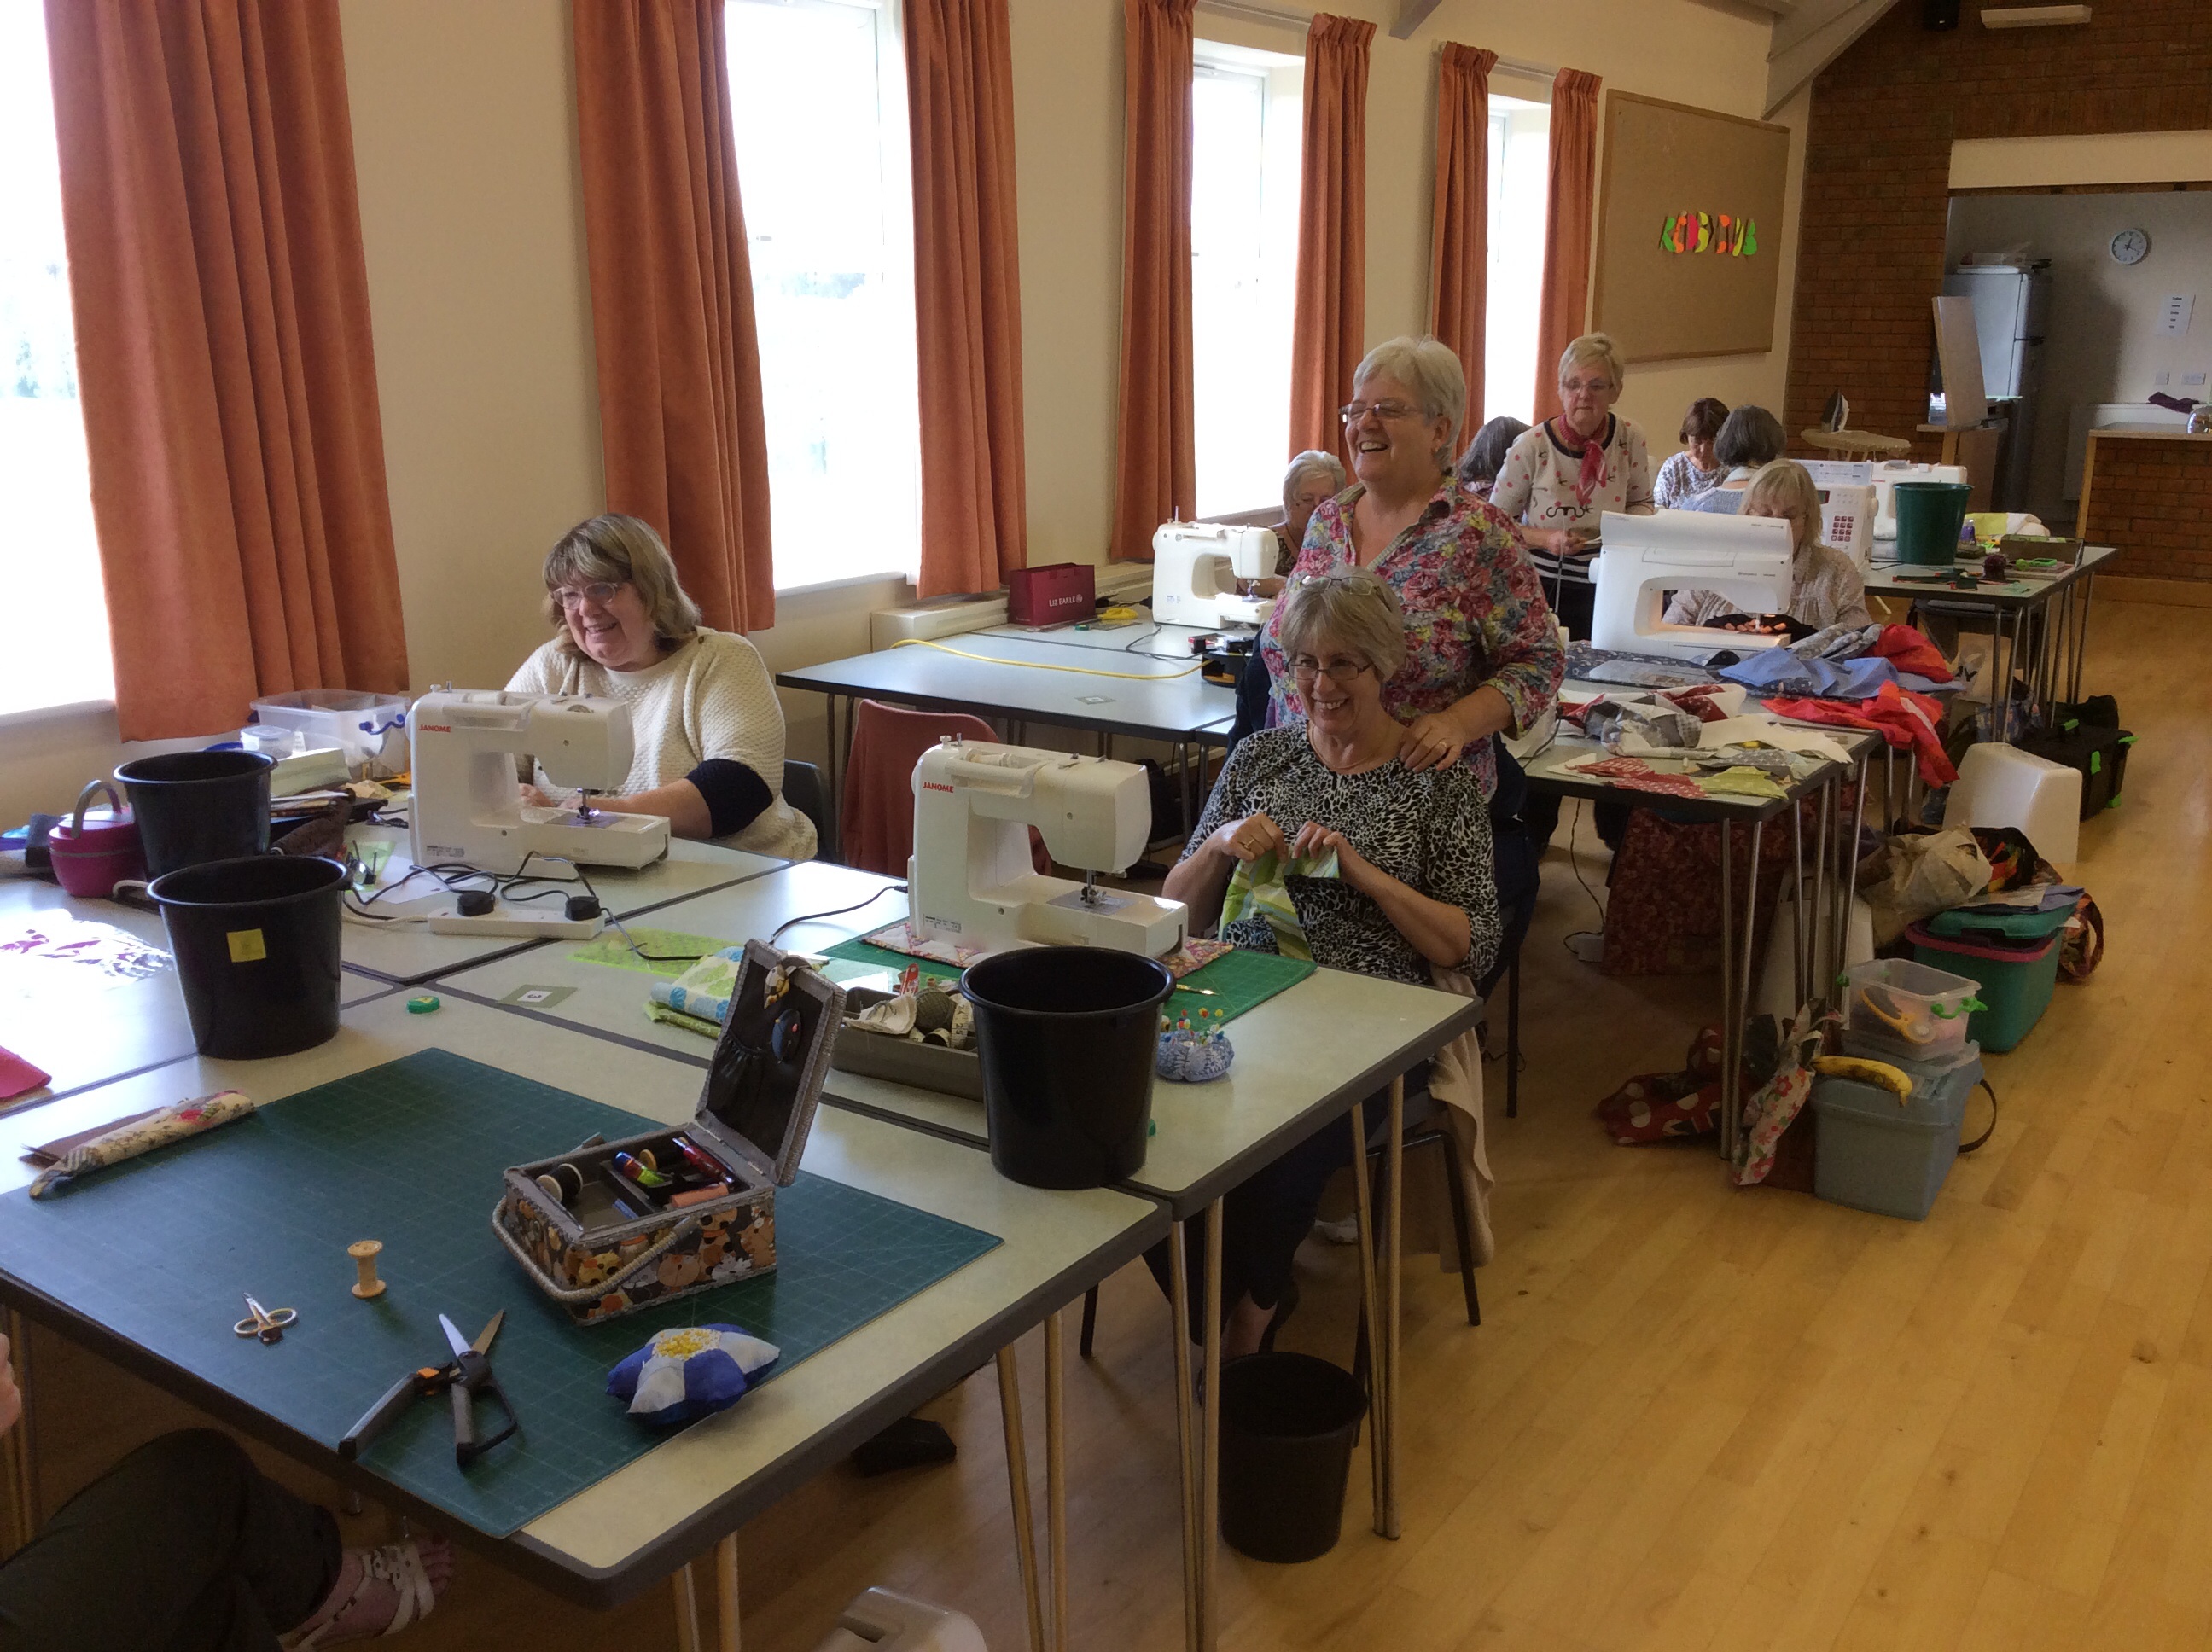
Last weekend saw the second meeting of the LINQS group at The Coach and Horses in Billinghay. It was a very good turn out with 25 ladies attending the meeting, most of whom arrived early to take advantage of the delicious lunch time menu.

Sheila chaired the meeting and it was great to hear that, as well as now having 39 members, we also have a number of venues showing an interest in exhibiting our DH quilts when they go on the road next year.
Several of the ladies brought along the quilts they have started, while others were keen to show which of the DH paintings they are intending to use for inspiration for their work.

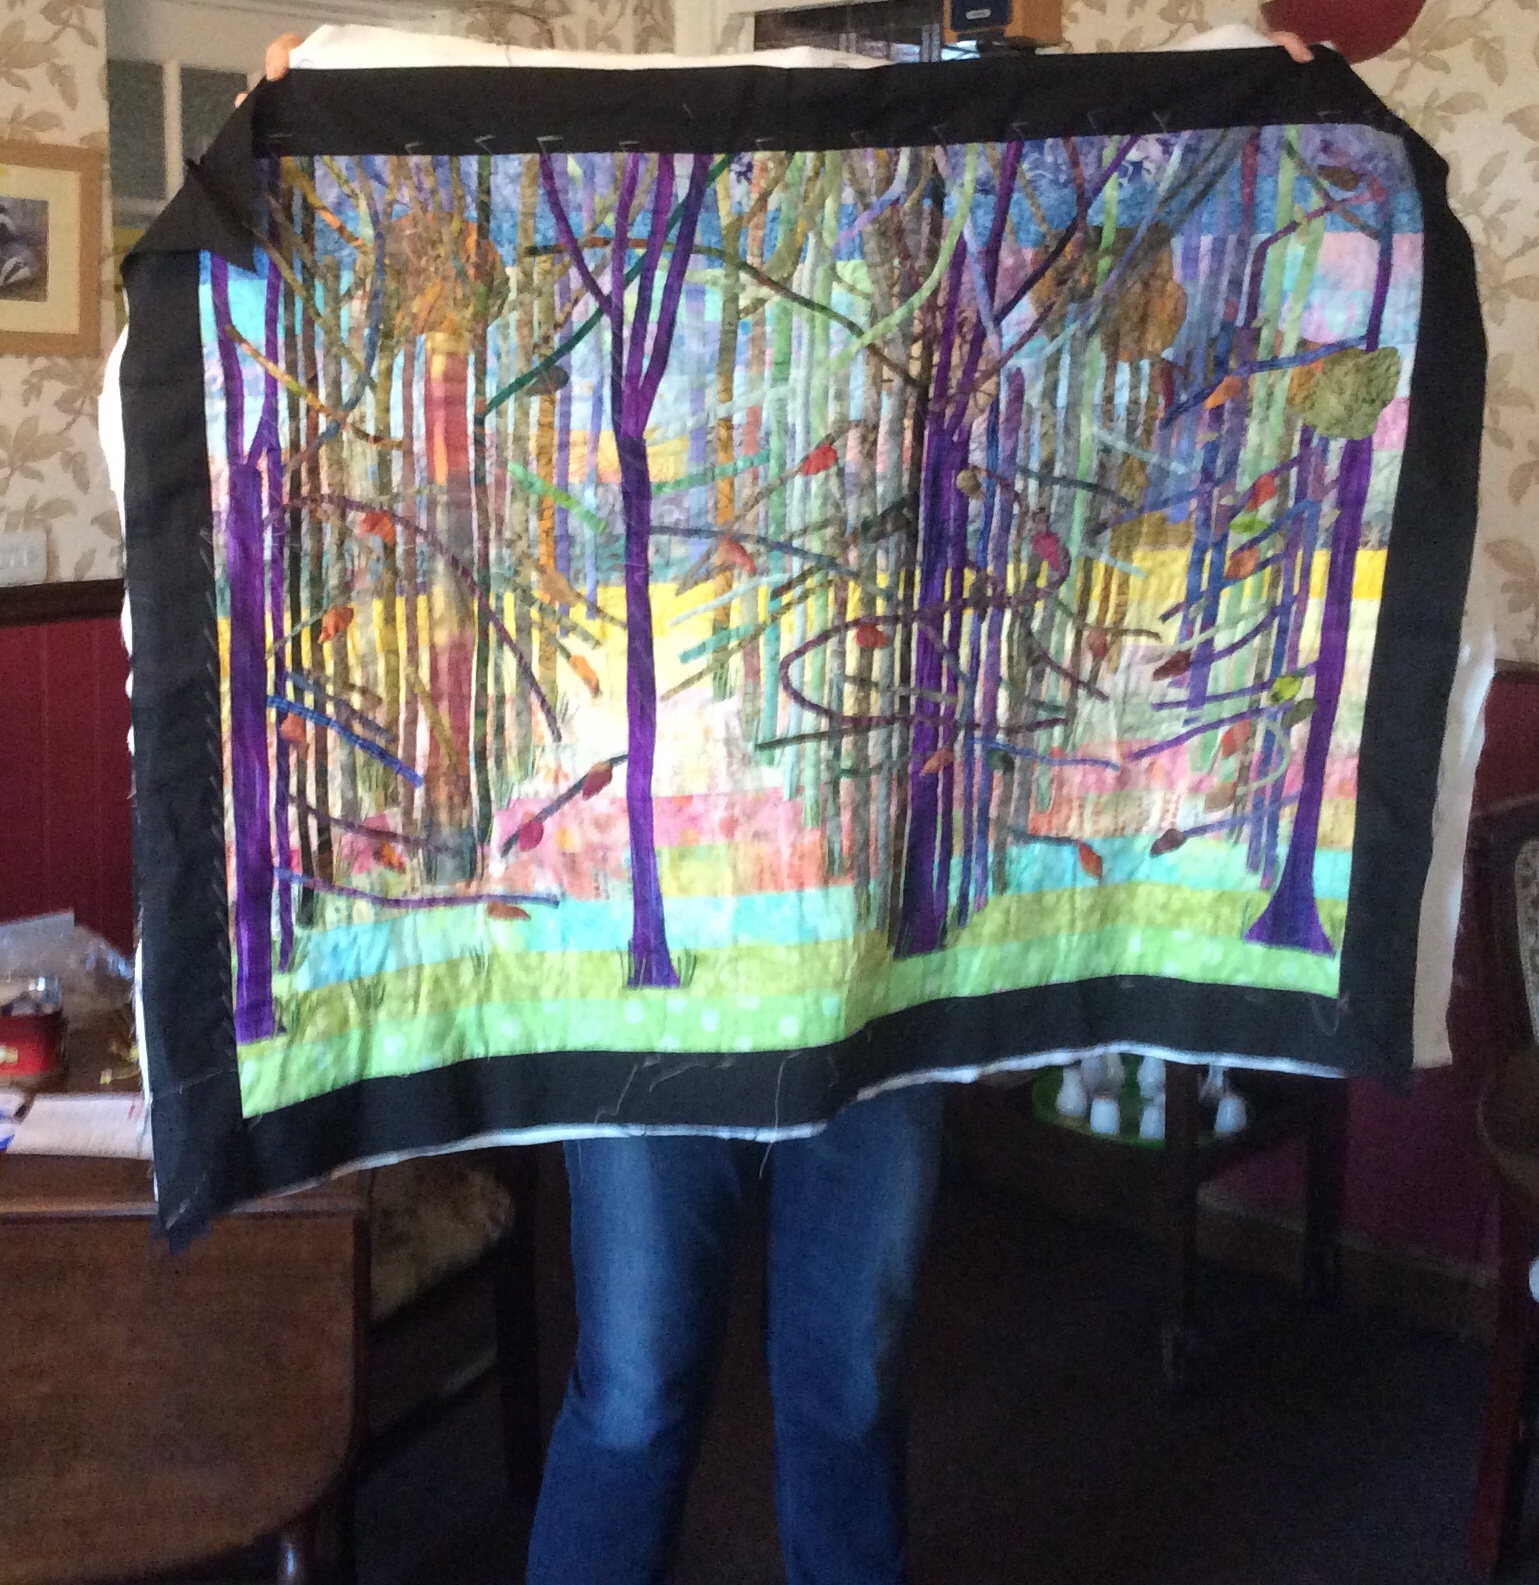
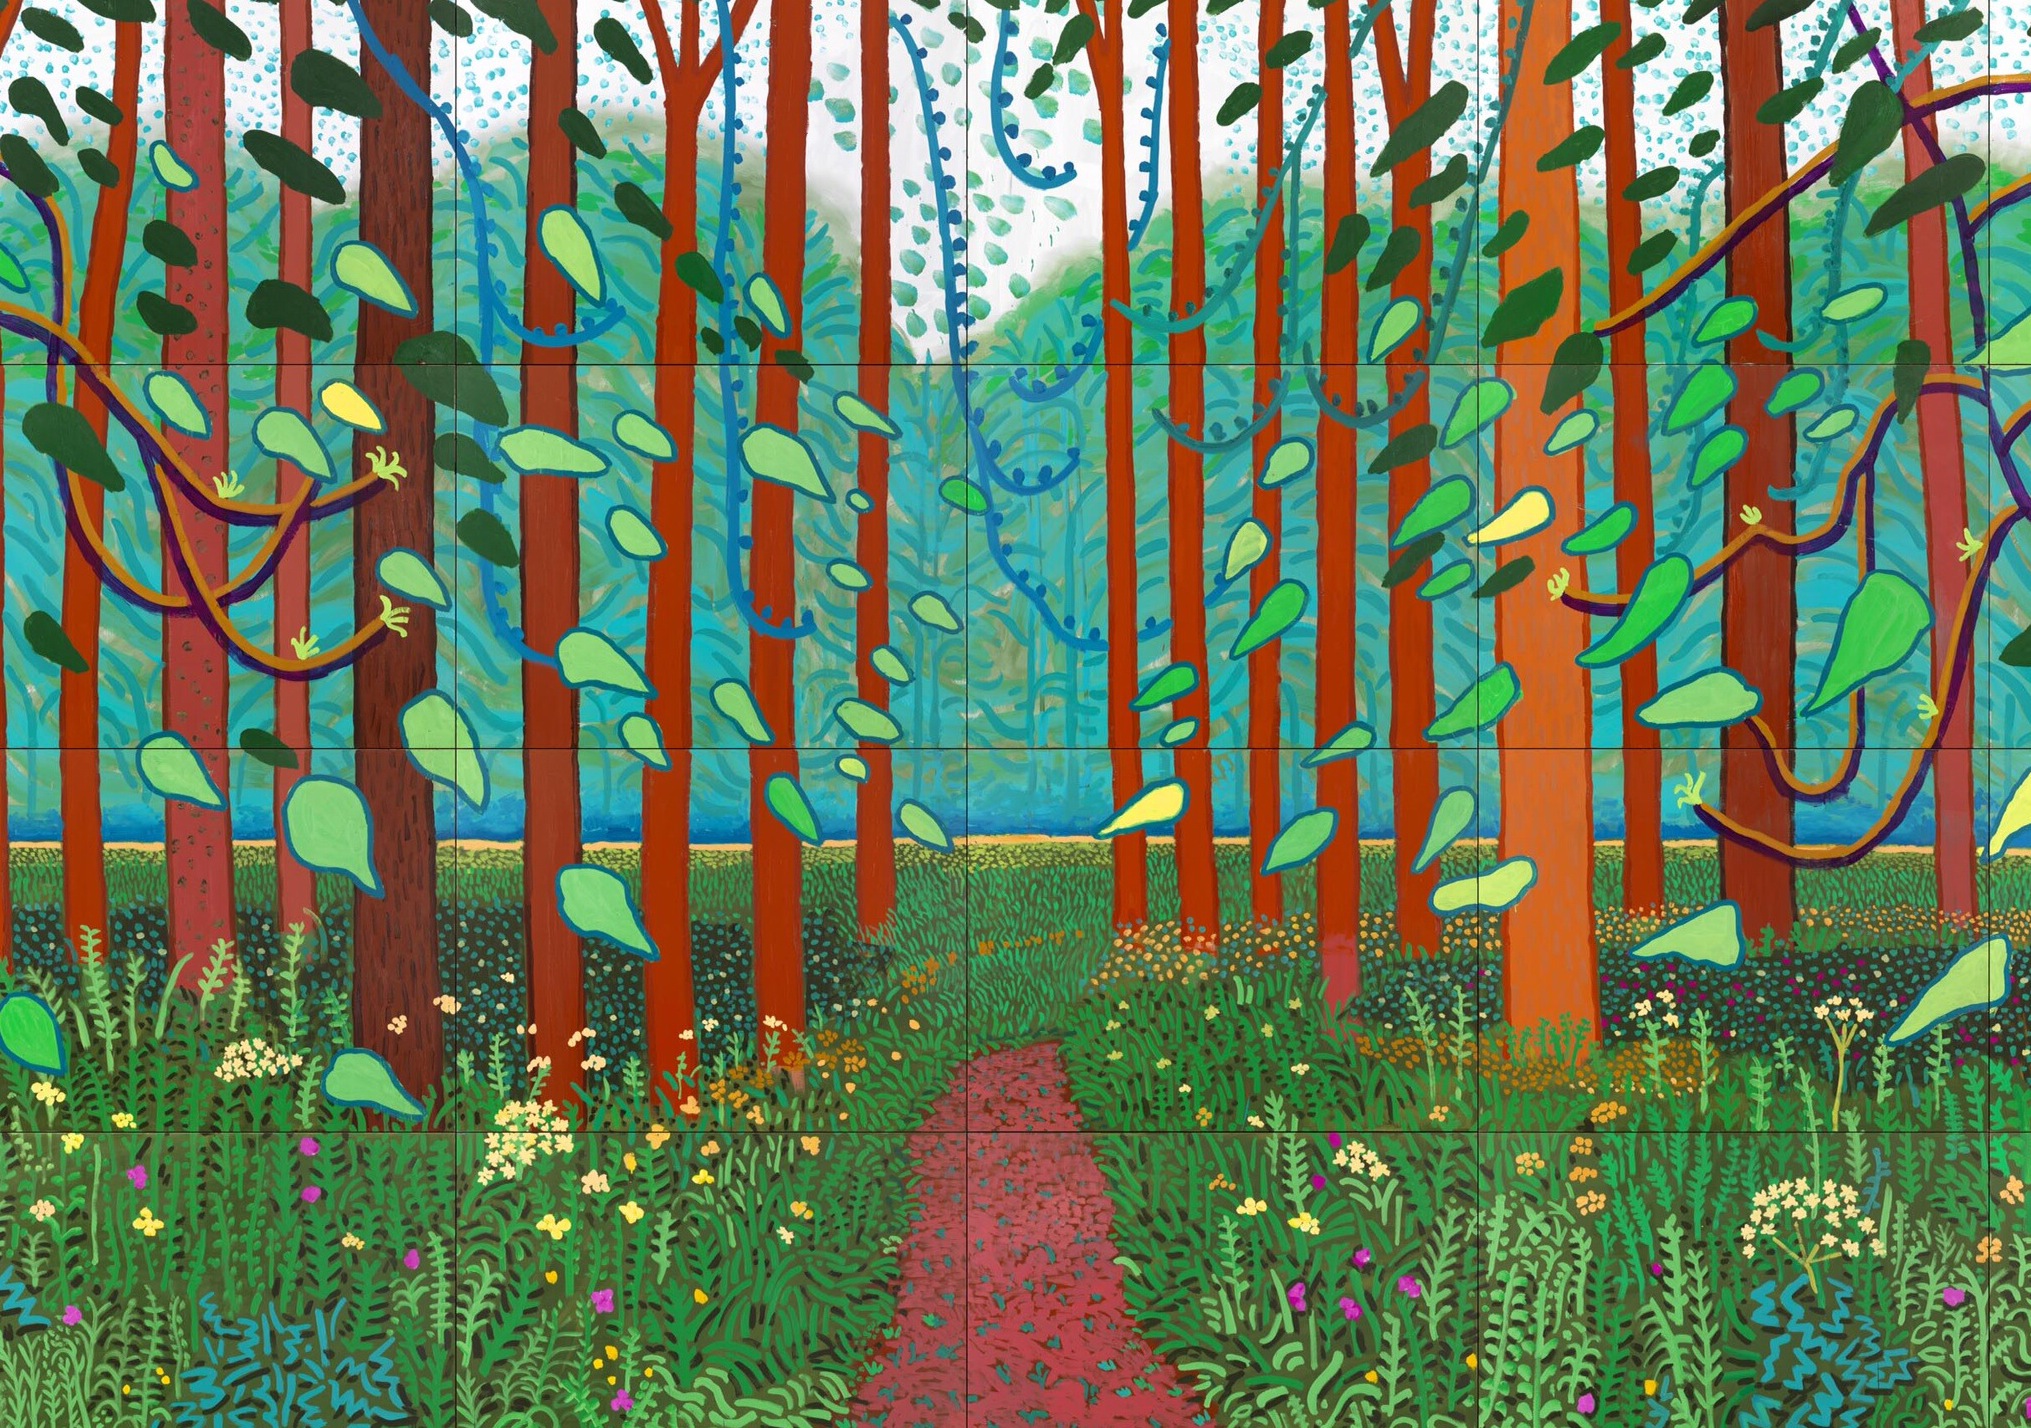
Jean’s quilt is inspired by Hockney’s Woldgate Woods.
Jean took her inspiration from Hockney’s paintings of “Woldgate Woods”. This beautiful, hand sewn quilt has been created using a jelly roll for the background and appliqué for the foreground.

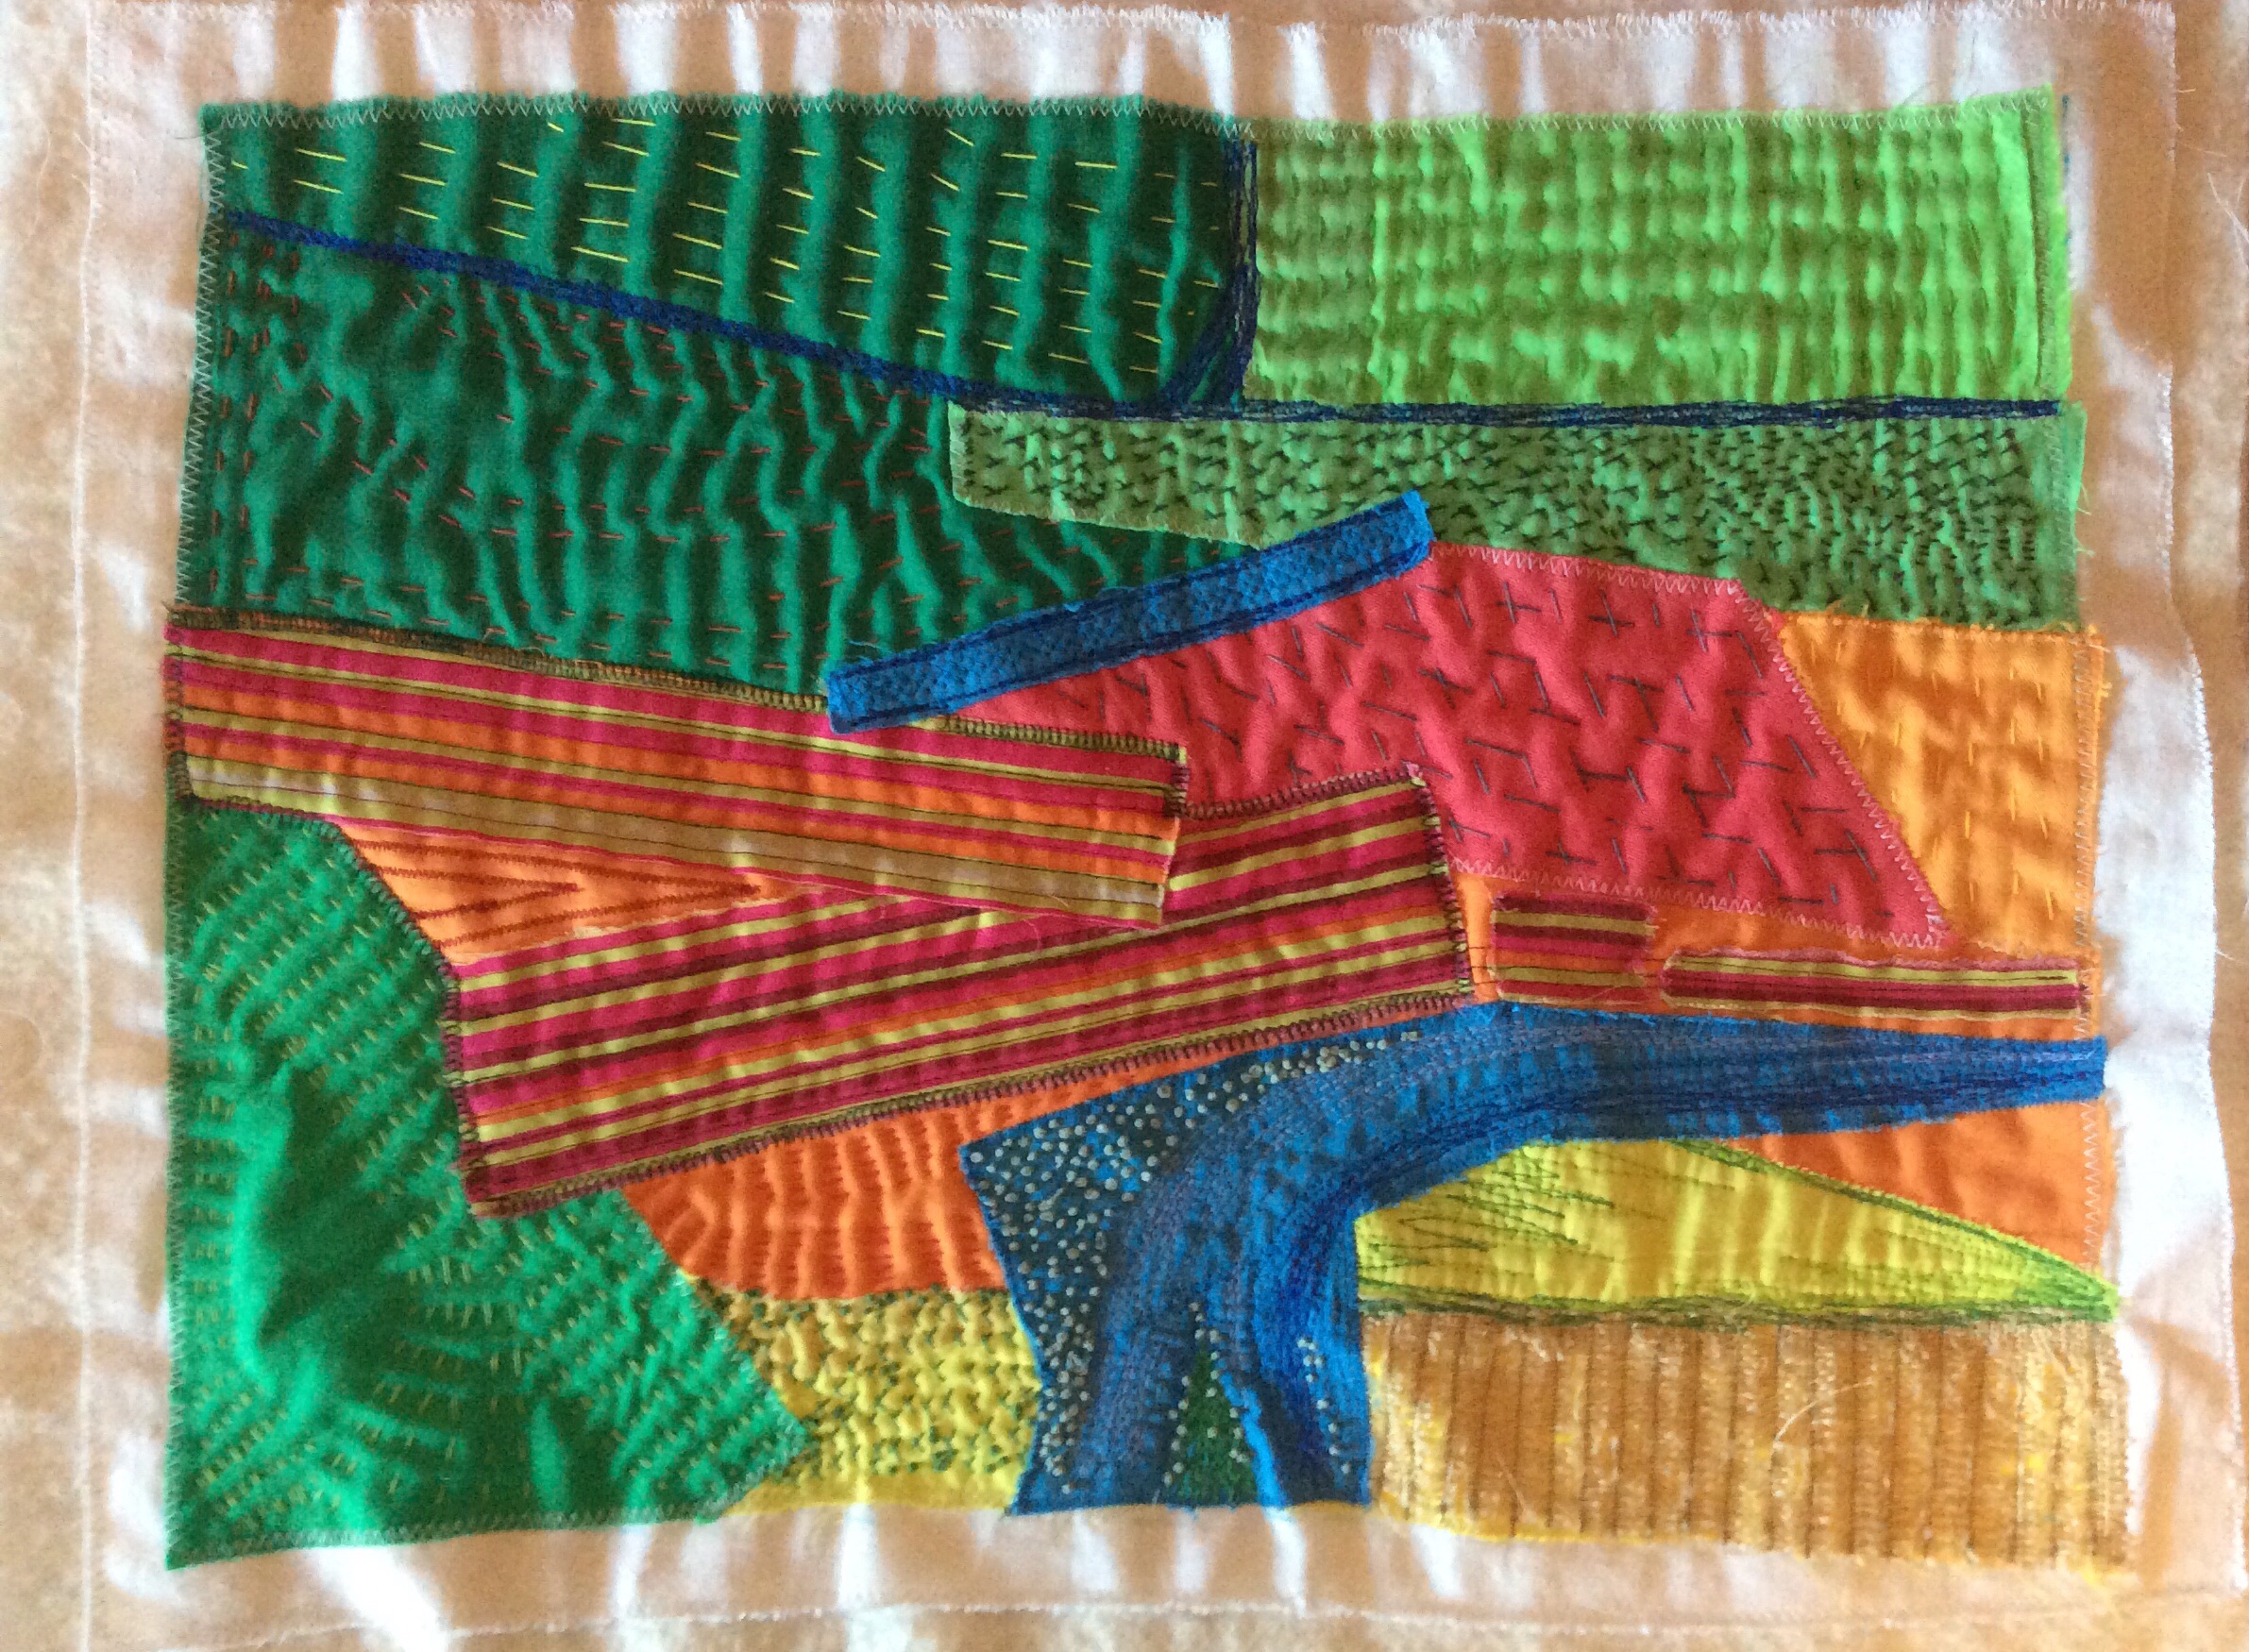
Karin’s quilt inspired by Hockney’s painting of Garrowby Hill.
The shapes and colours in Karin’s quilt have been influenced by Hockney’s landscape painting “Garrowby Hill” with its winding road and patchwork fields.

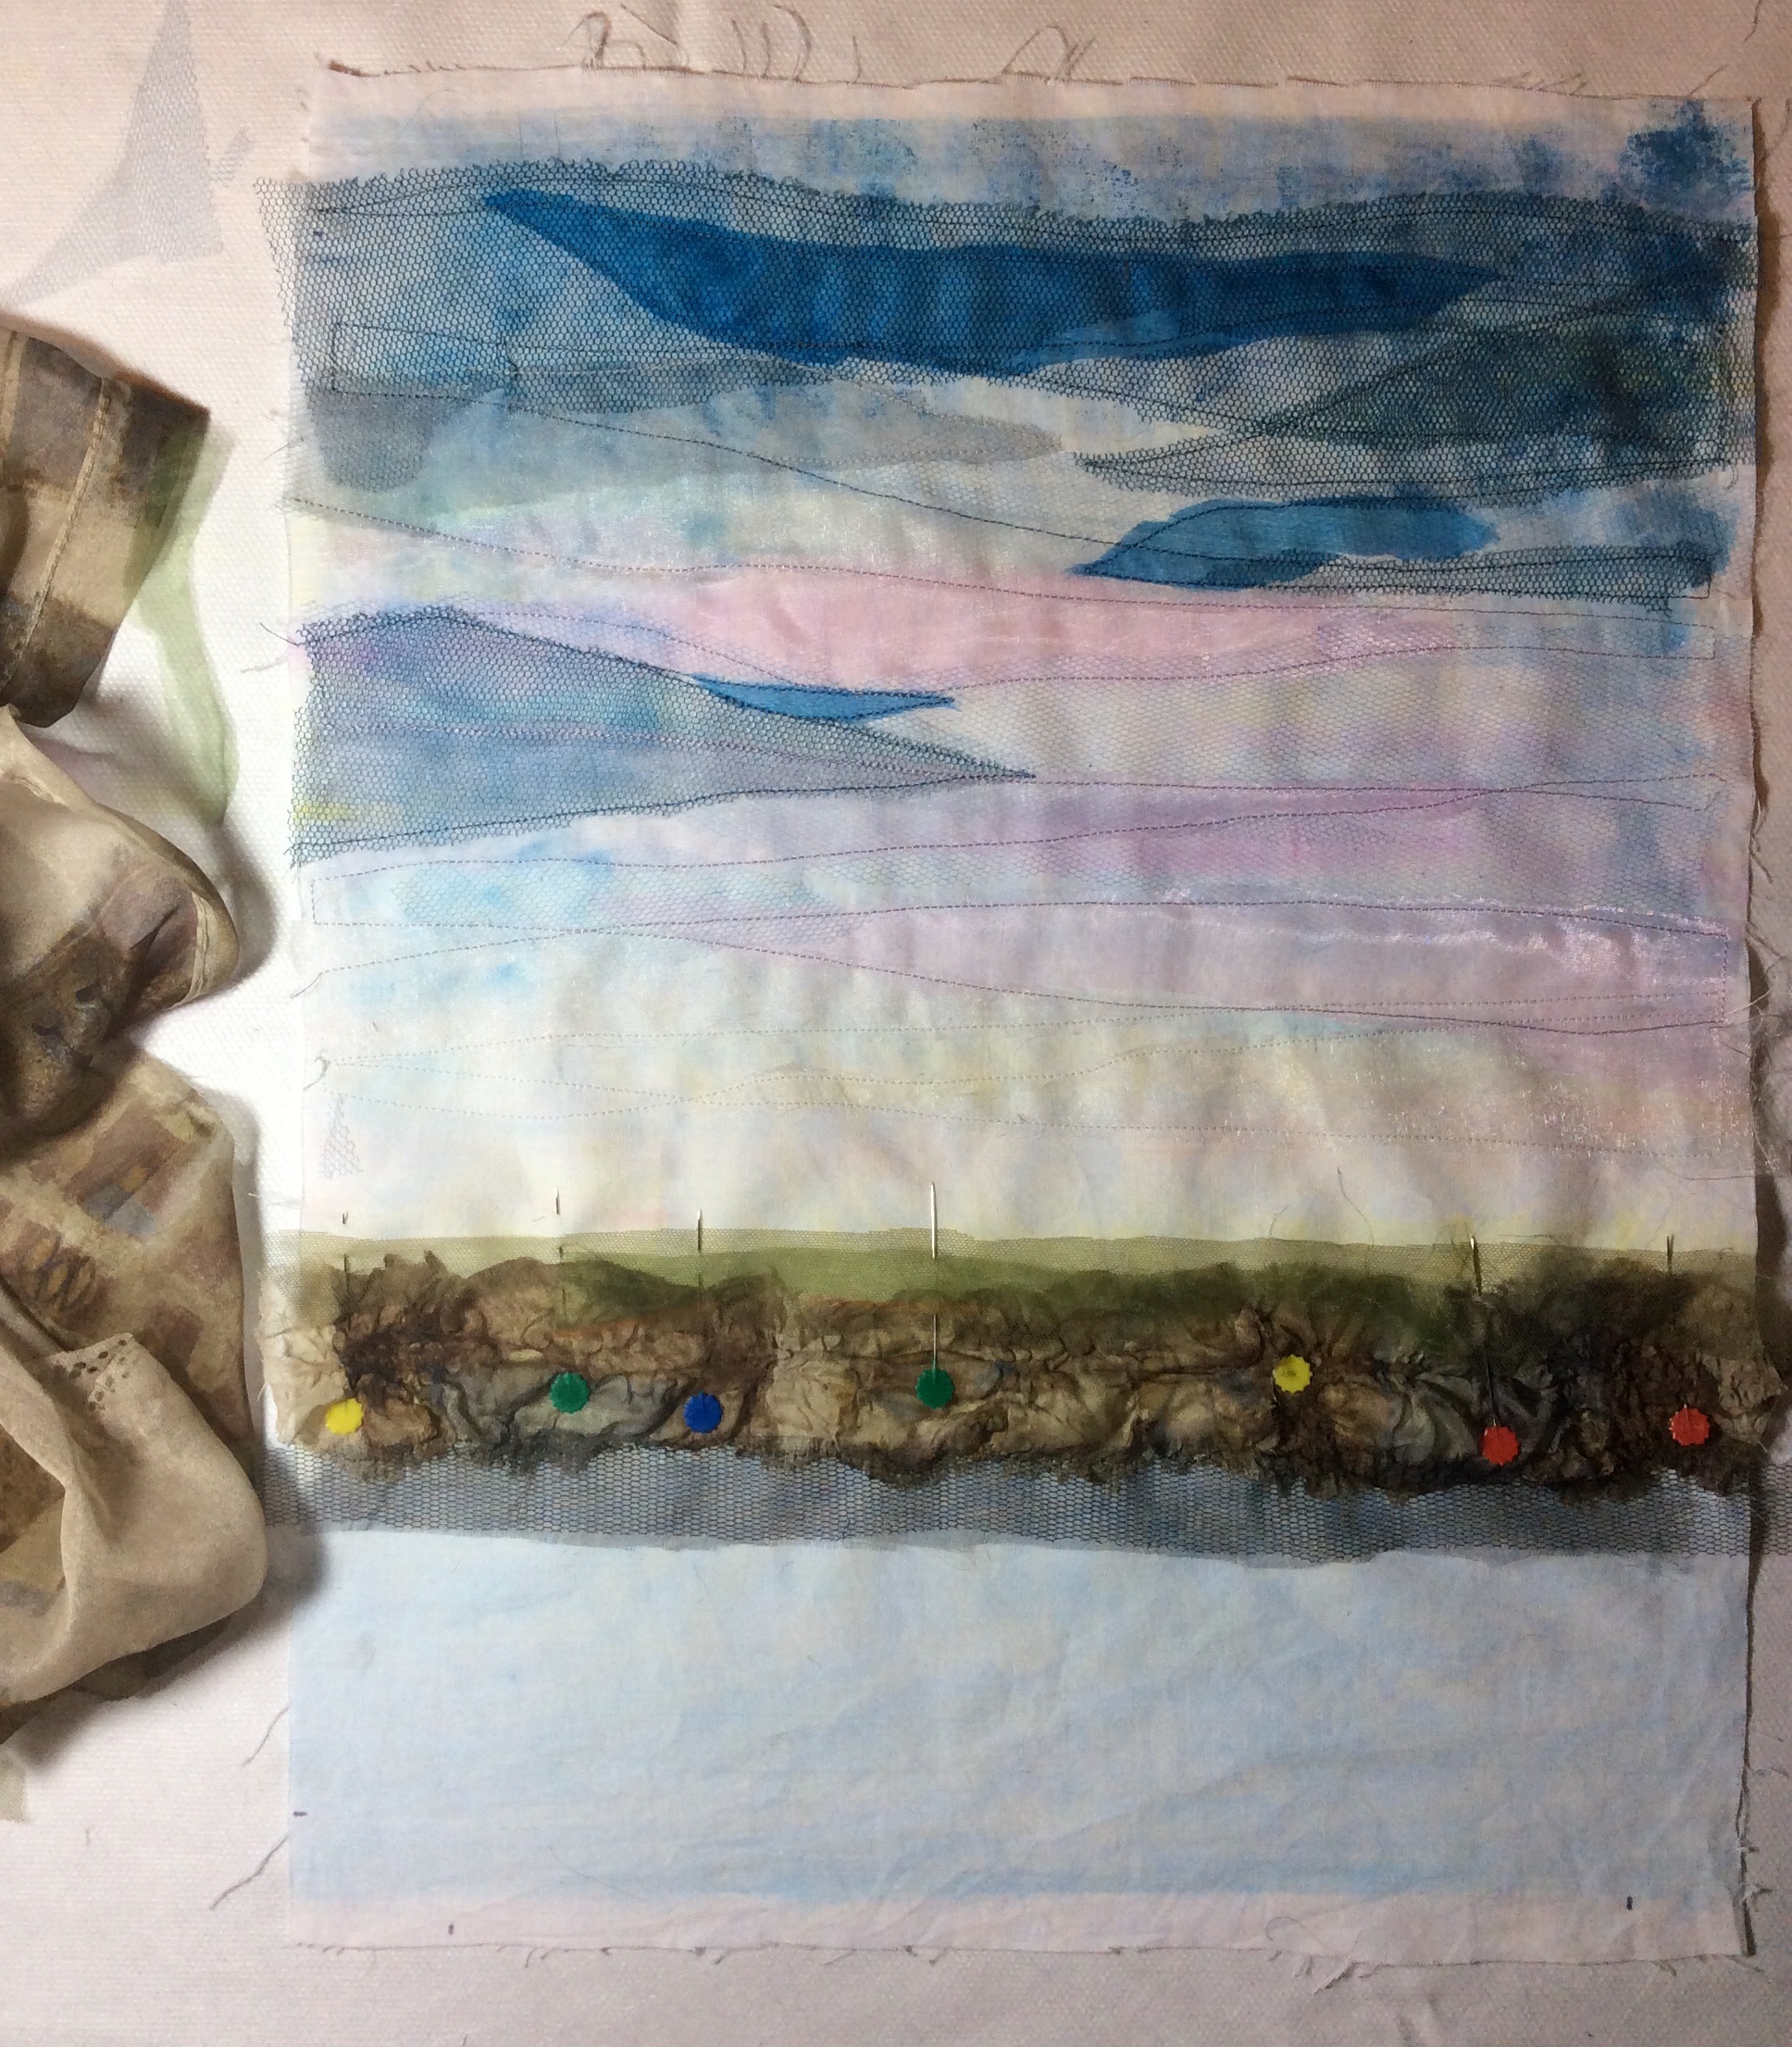
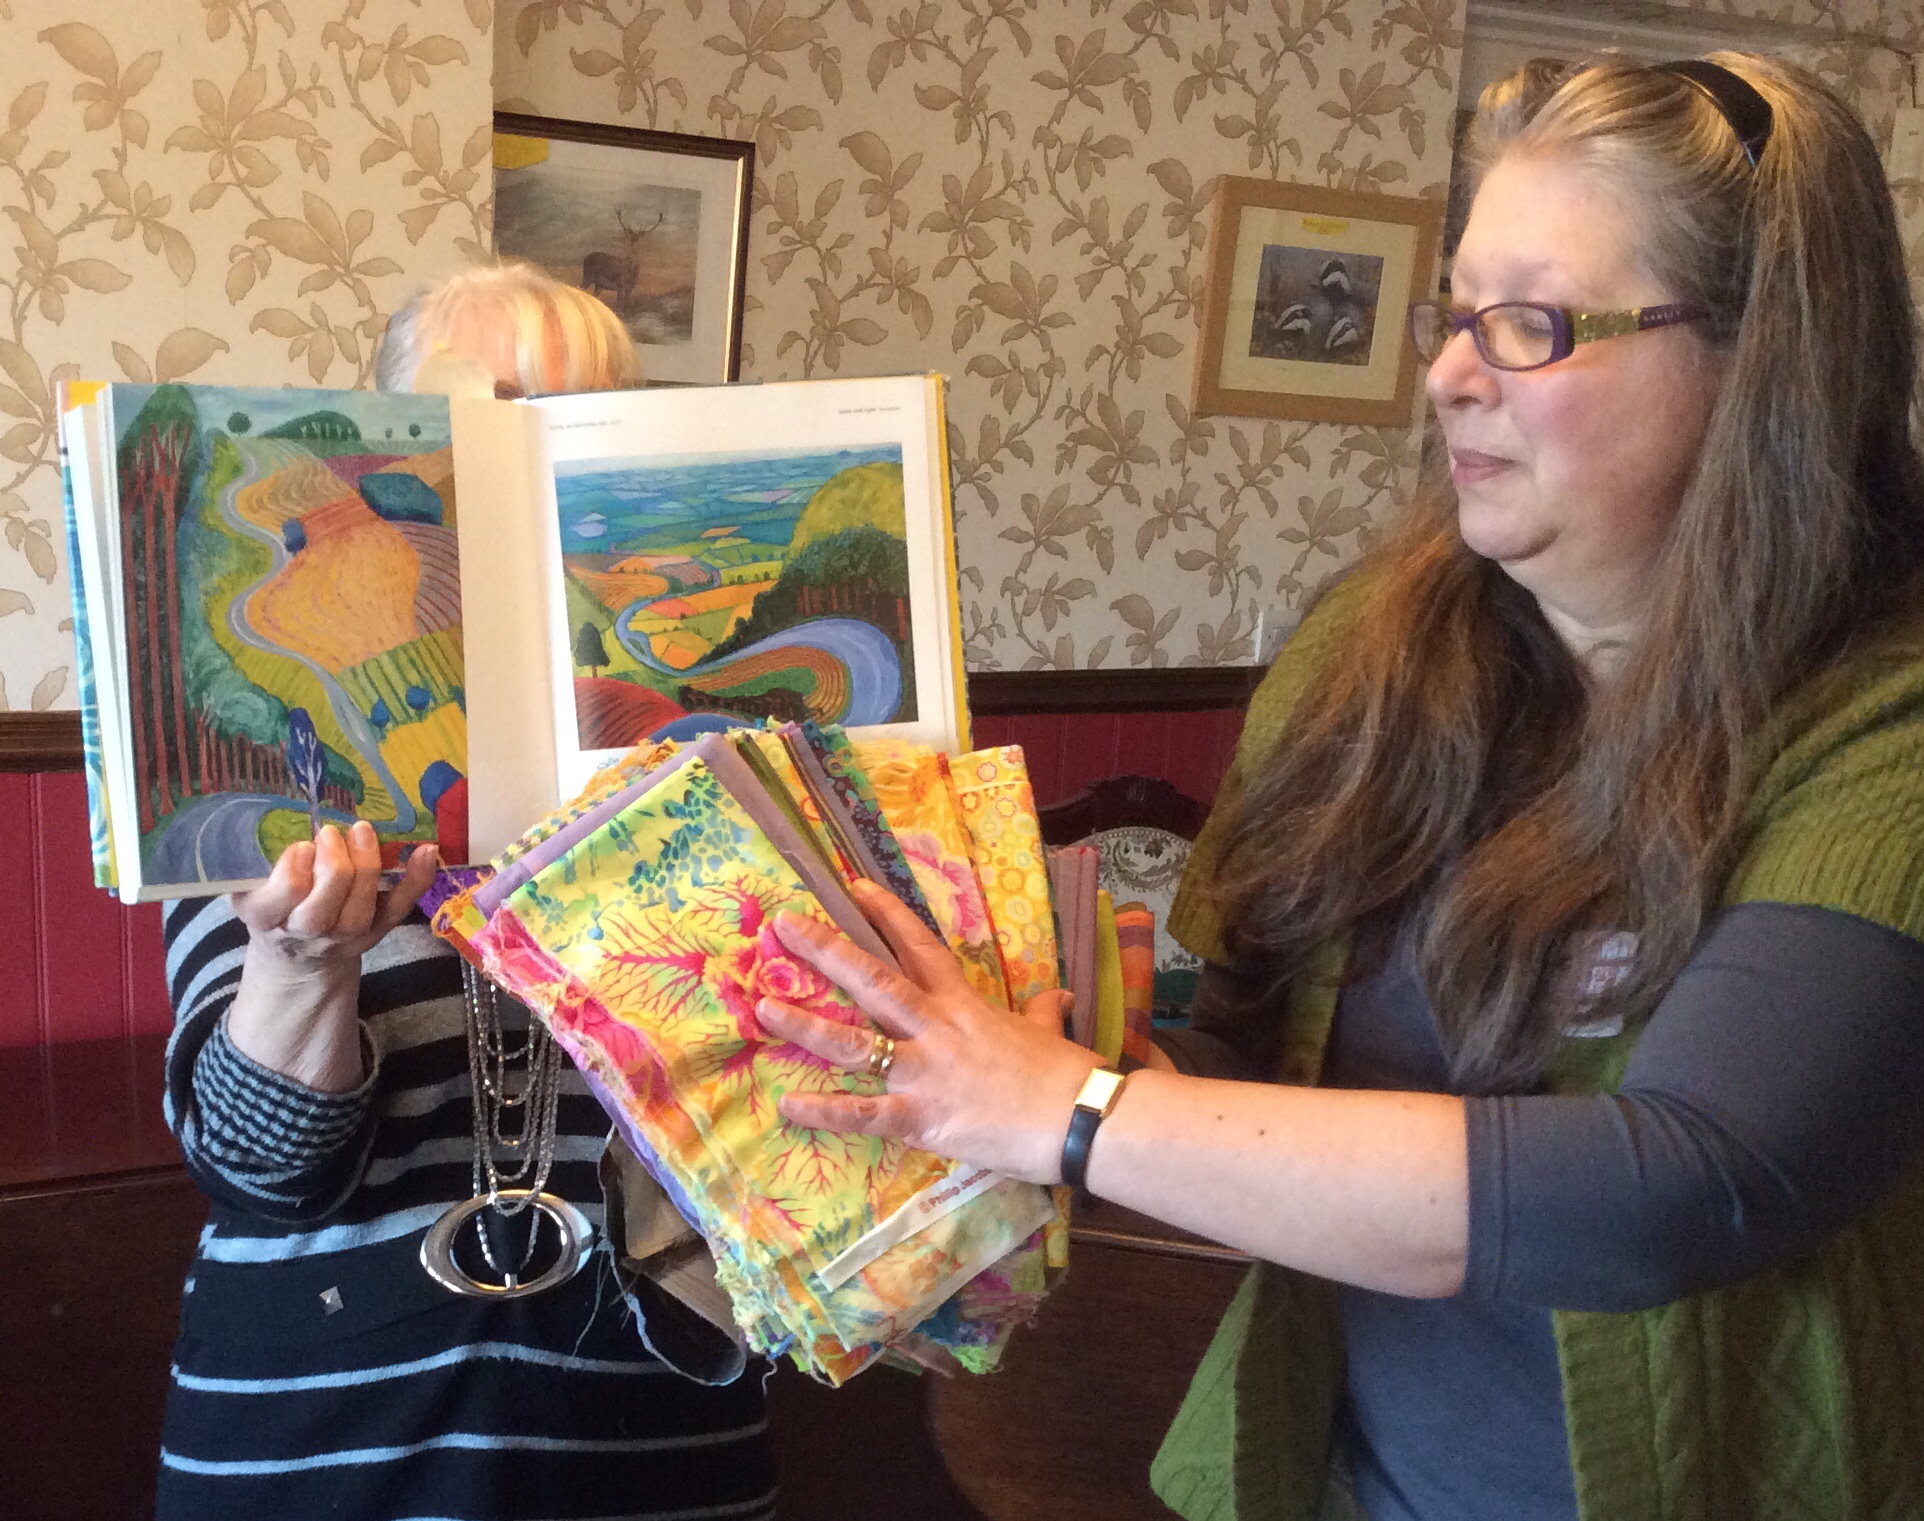
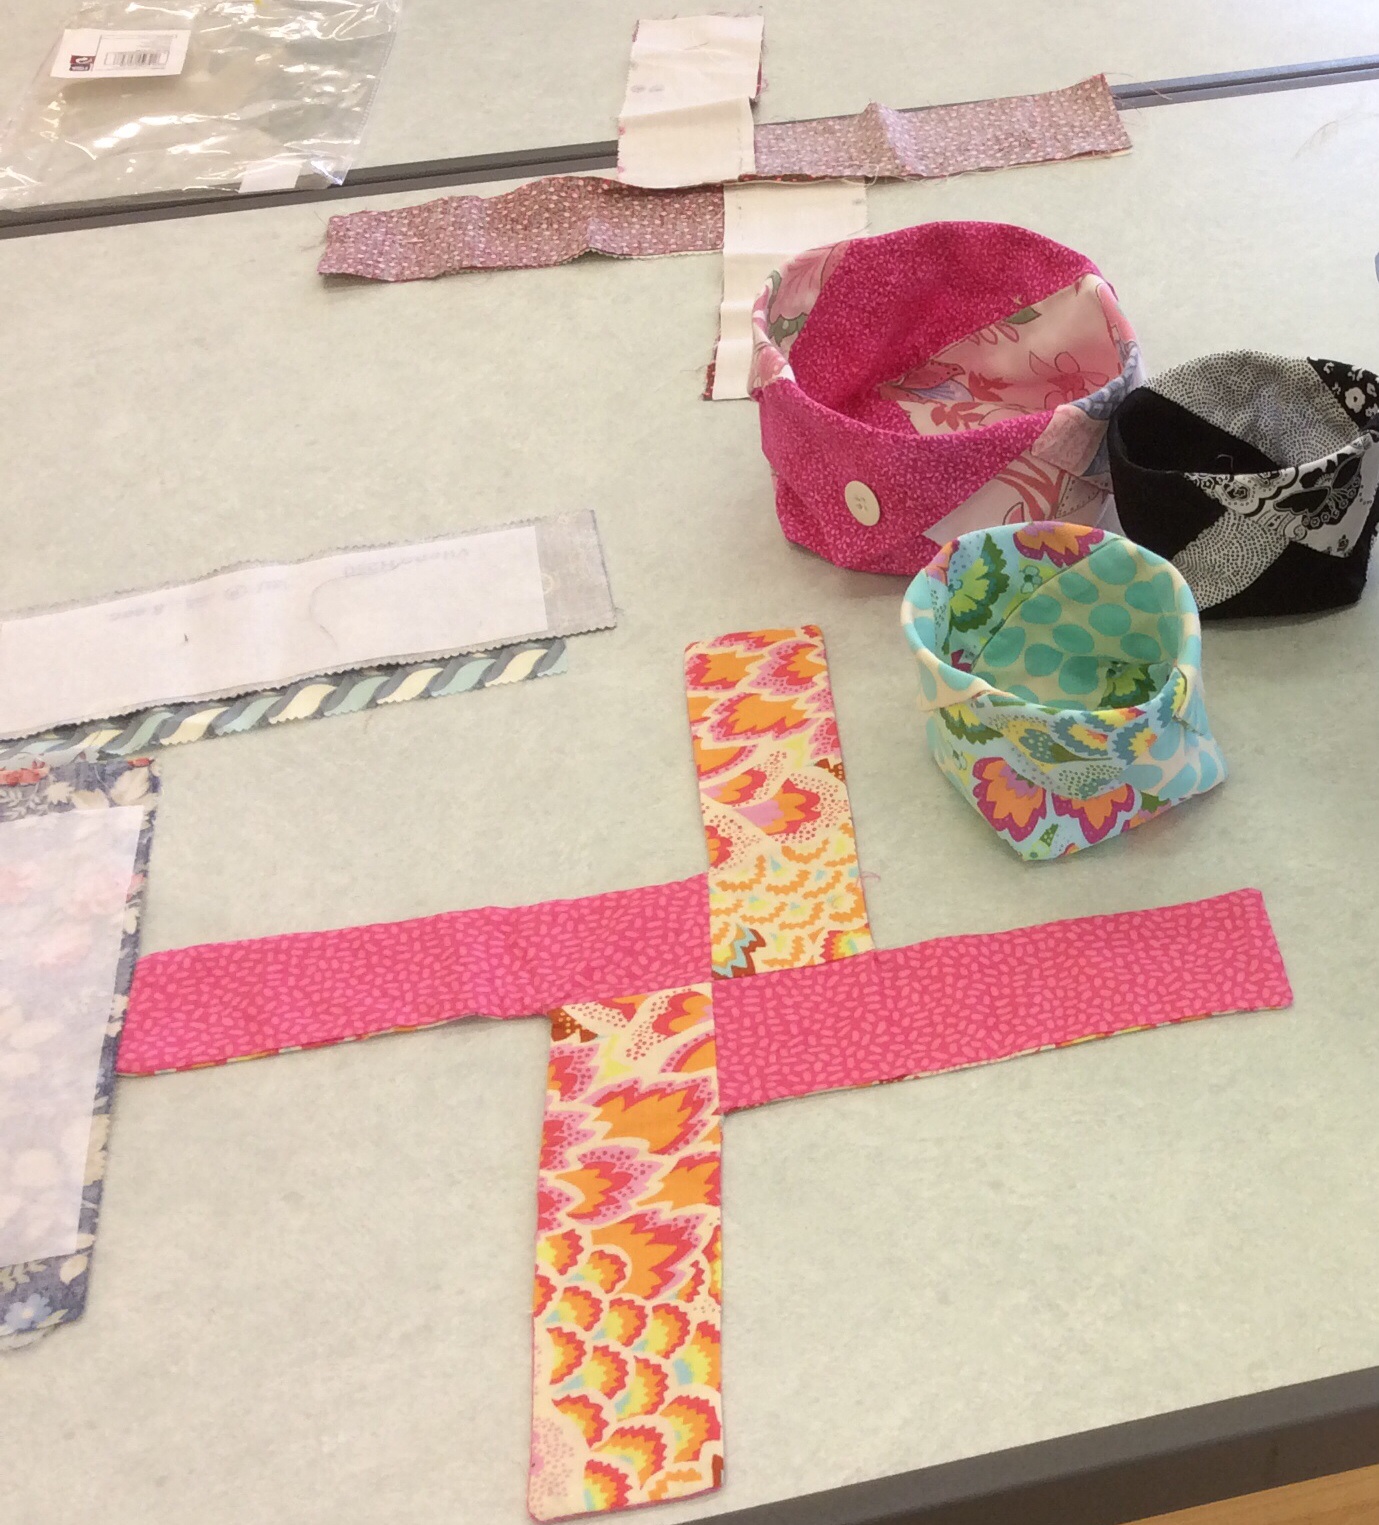
Rosie shows the fabrics she will use for her quilt.
Rosie is also taking Garrowby Hill as her starting point. It’s all in her head at the moment but her fabrics have been selected and are ready for the cutting mat!

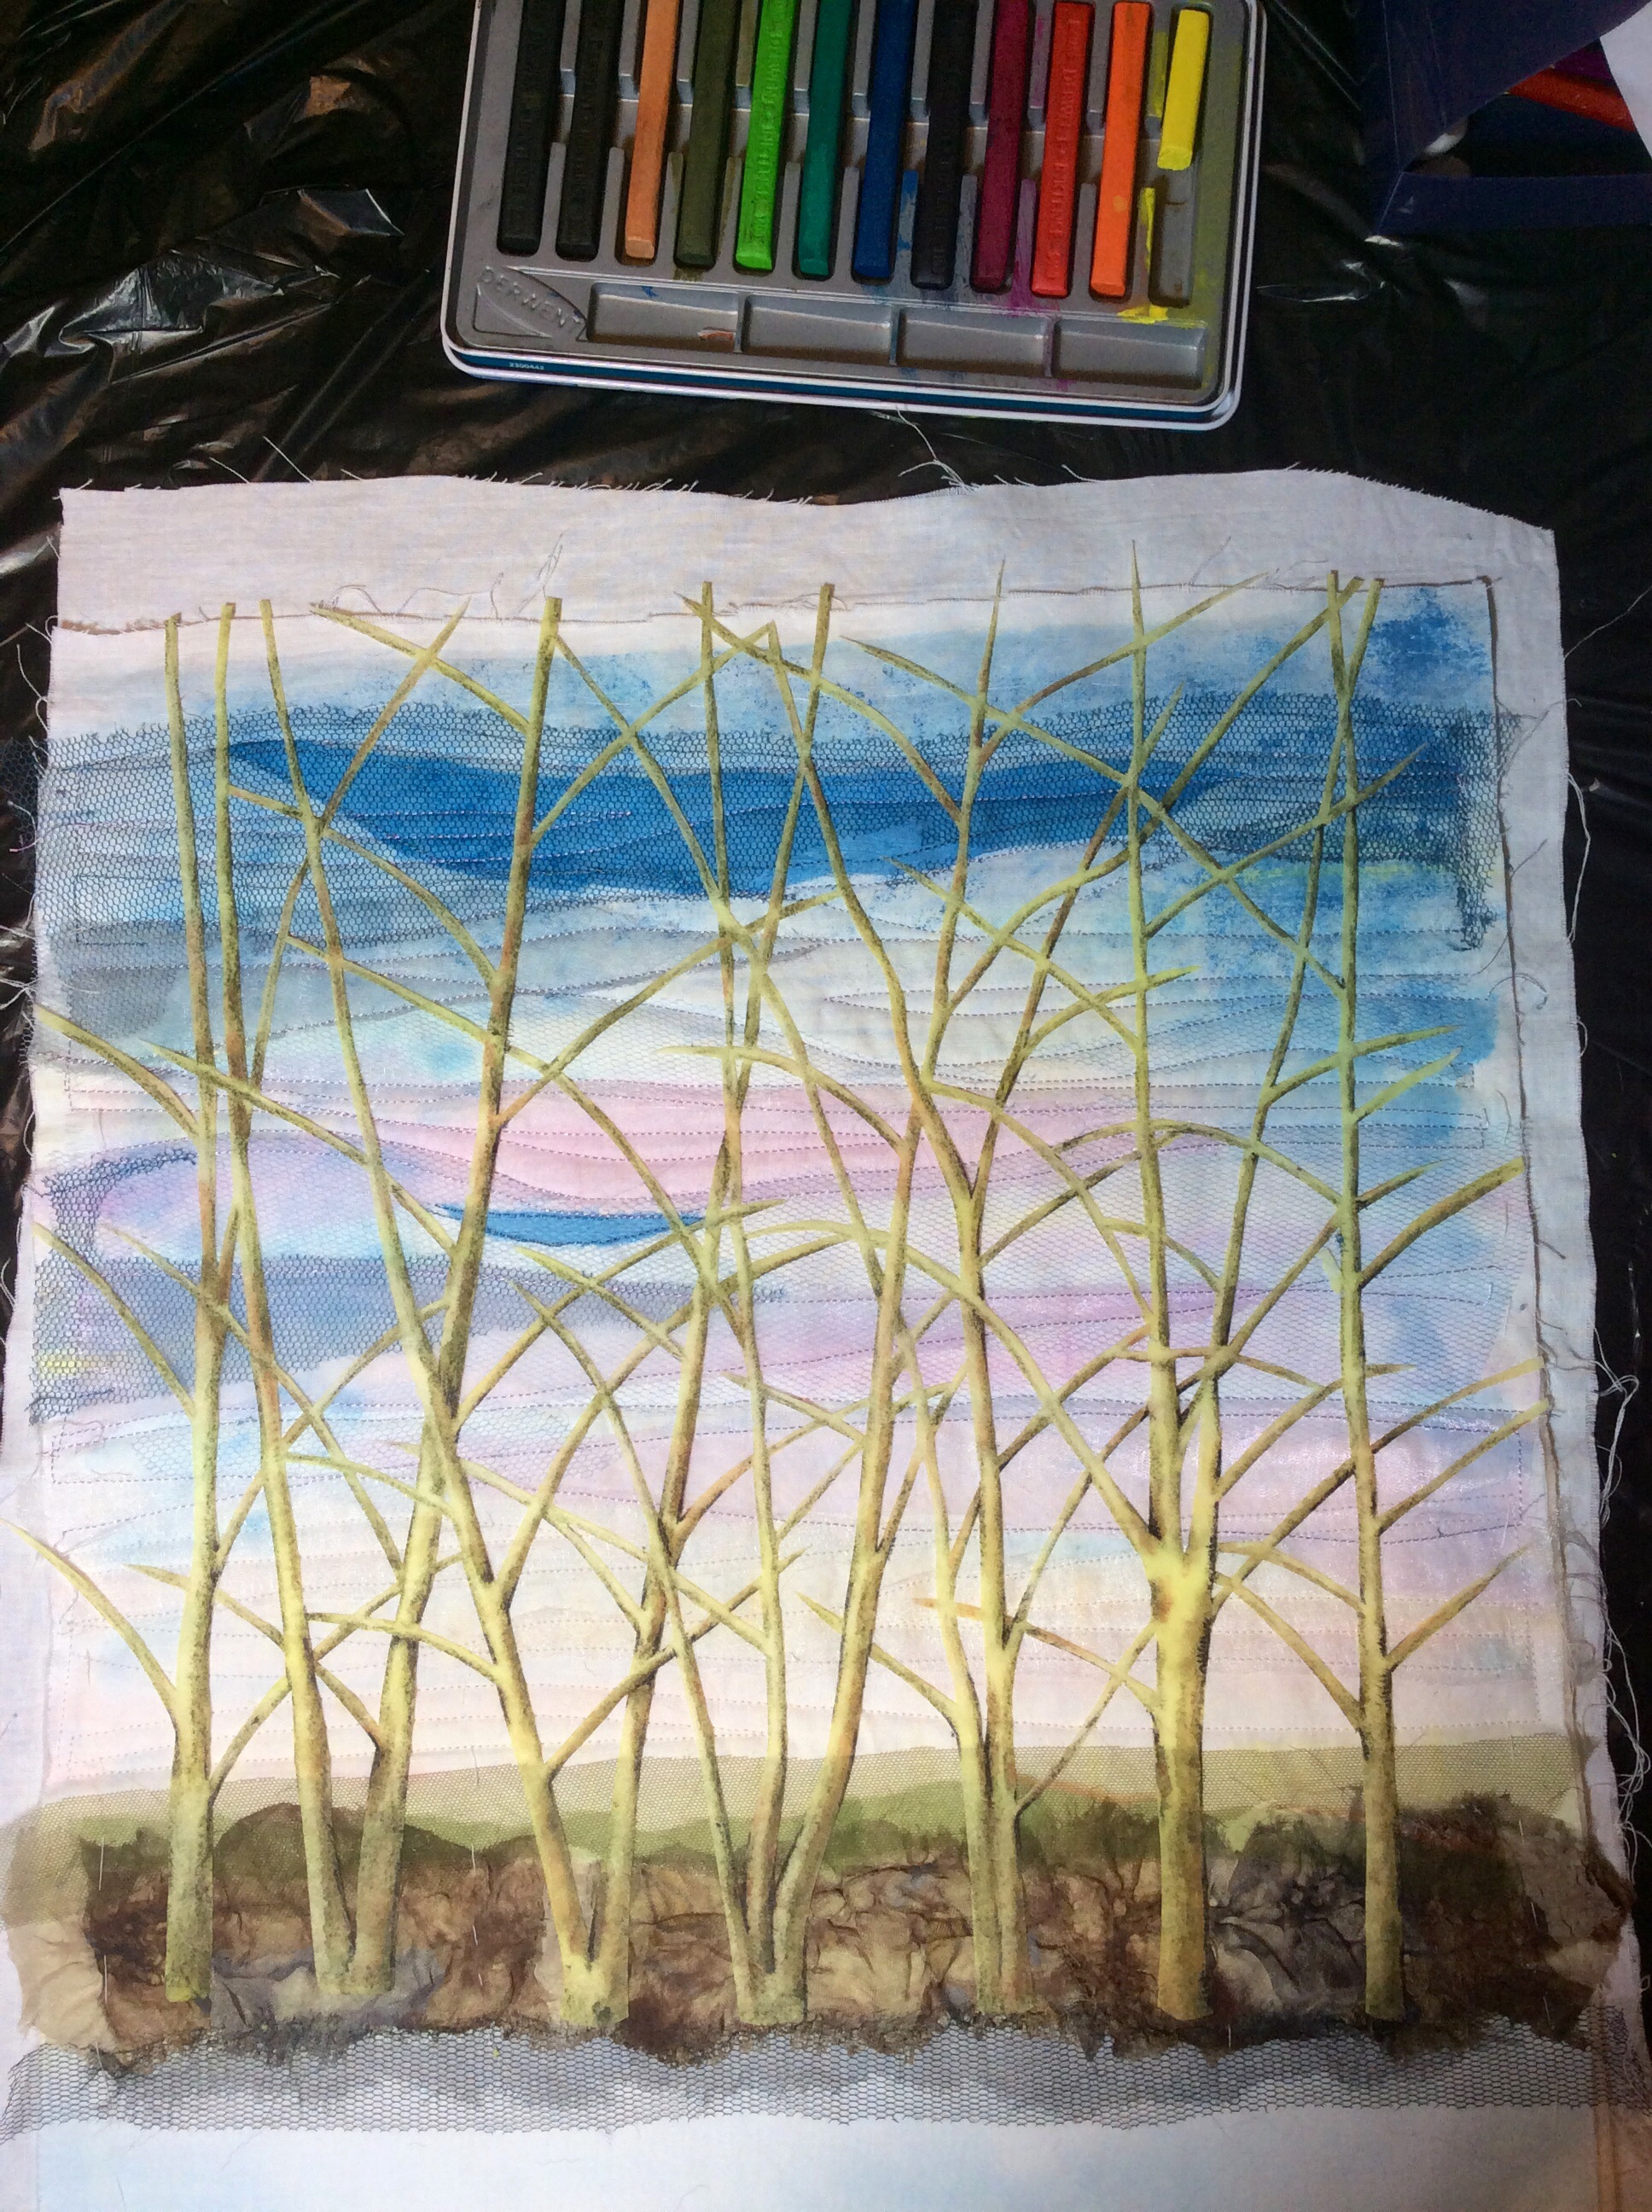
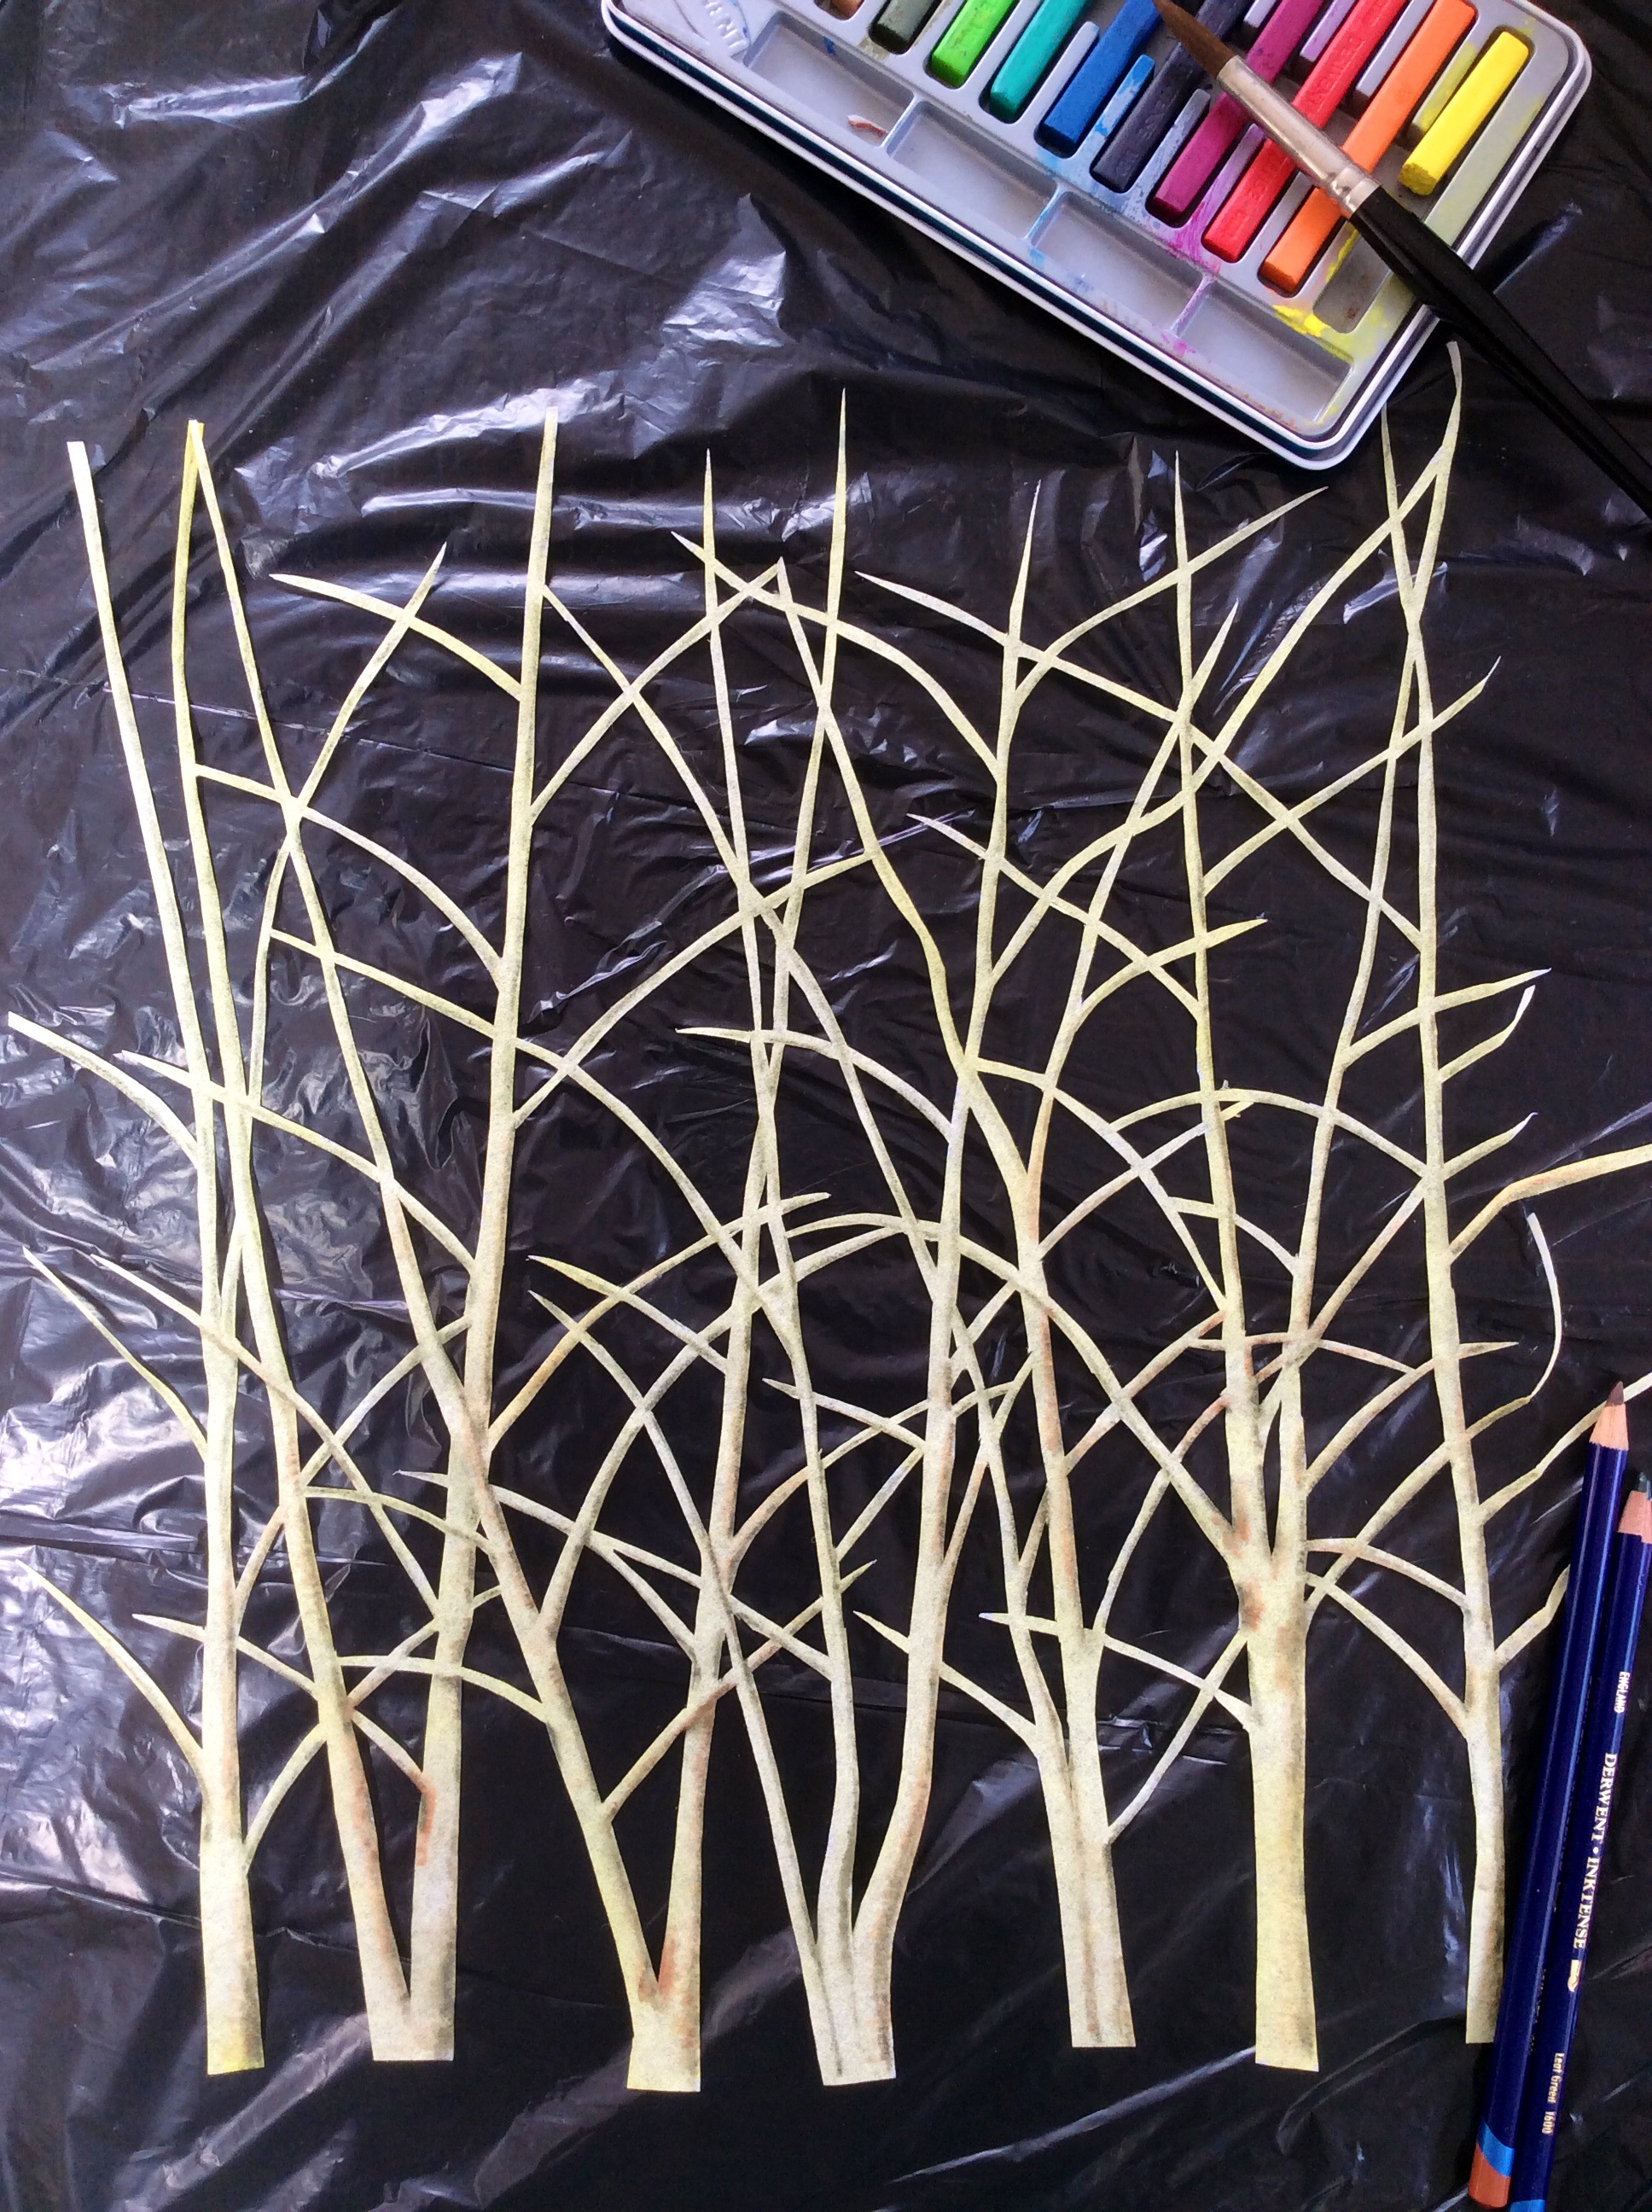
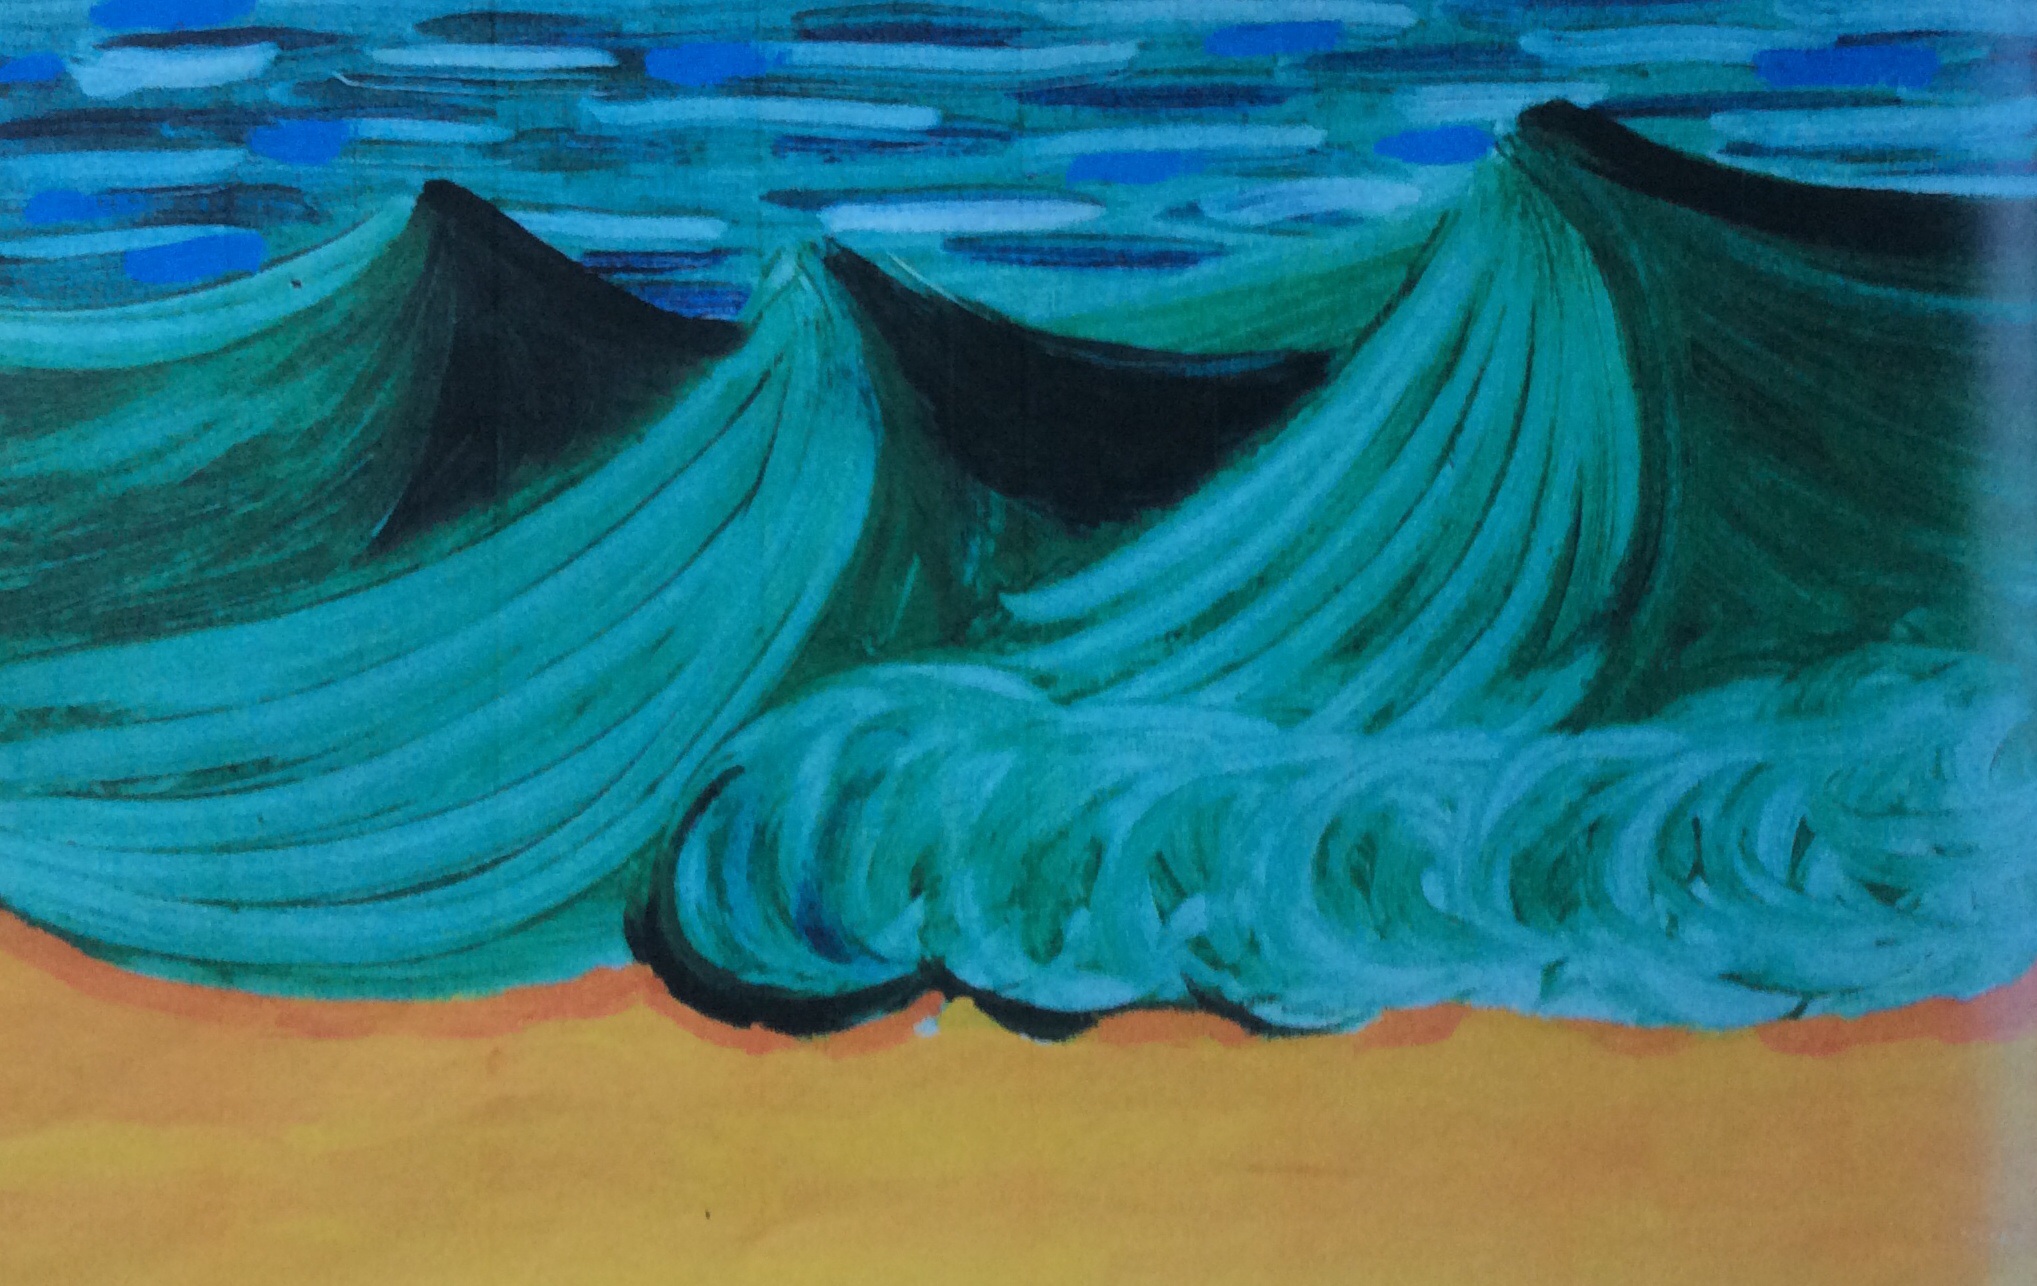
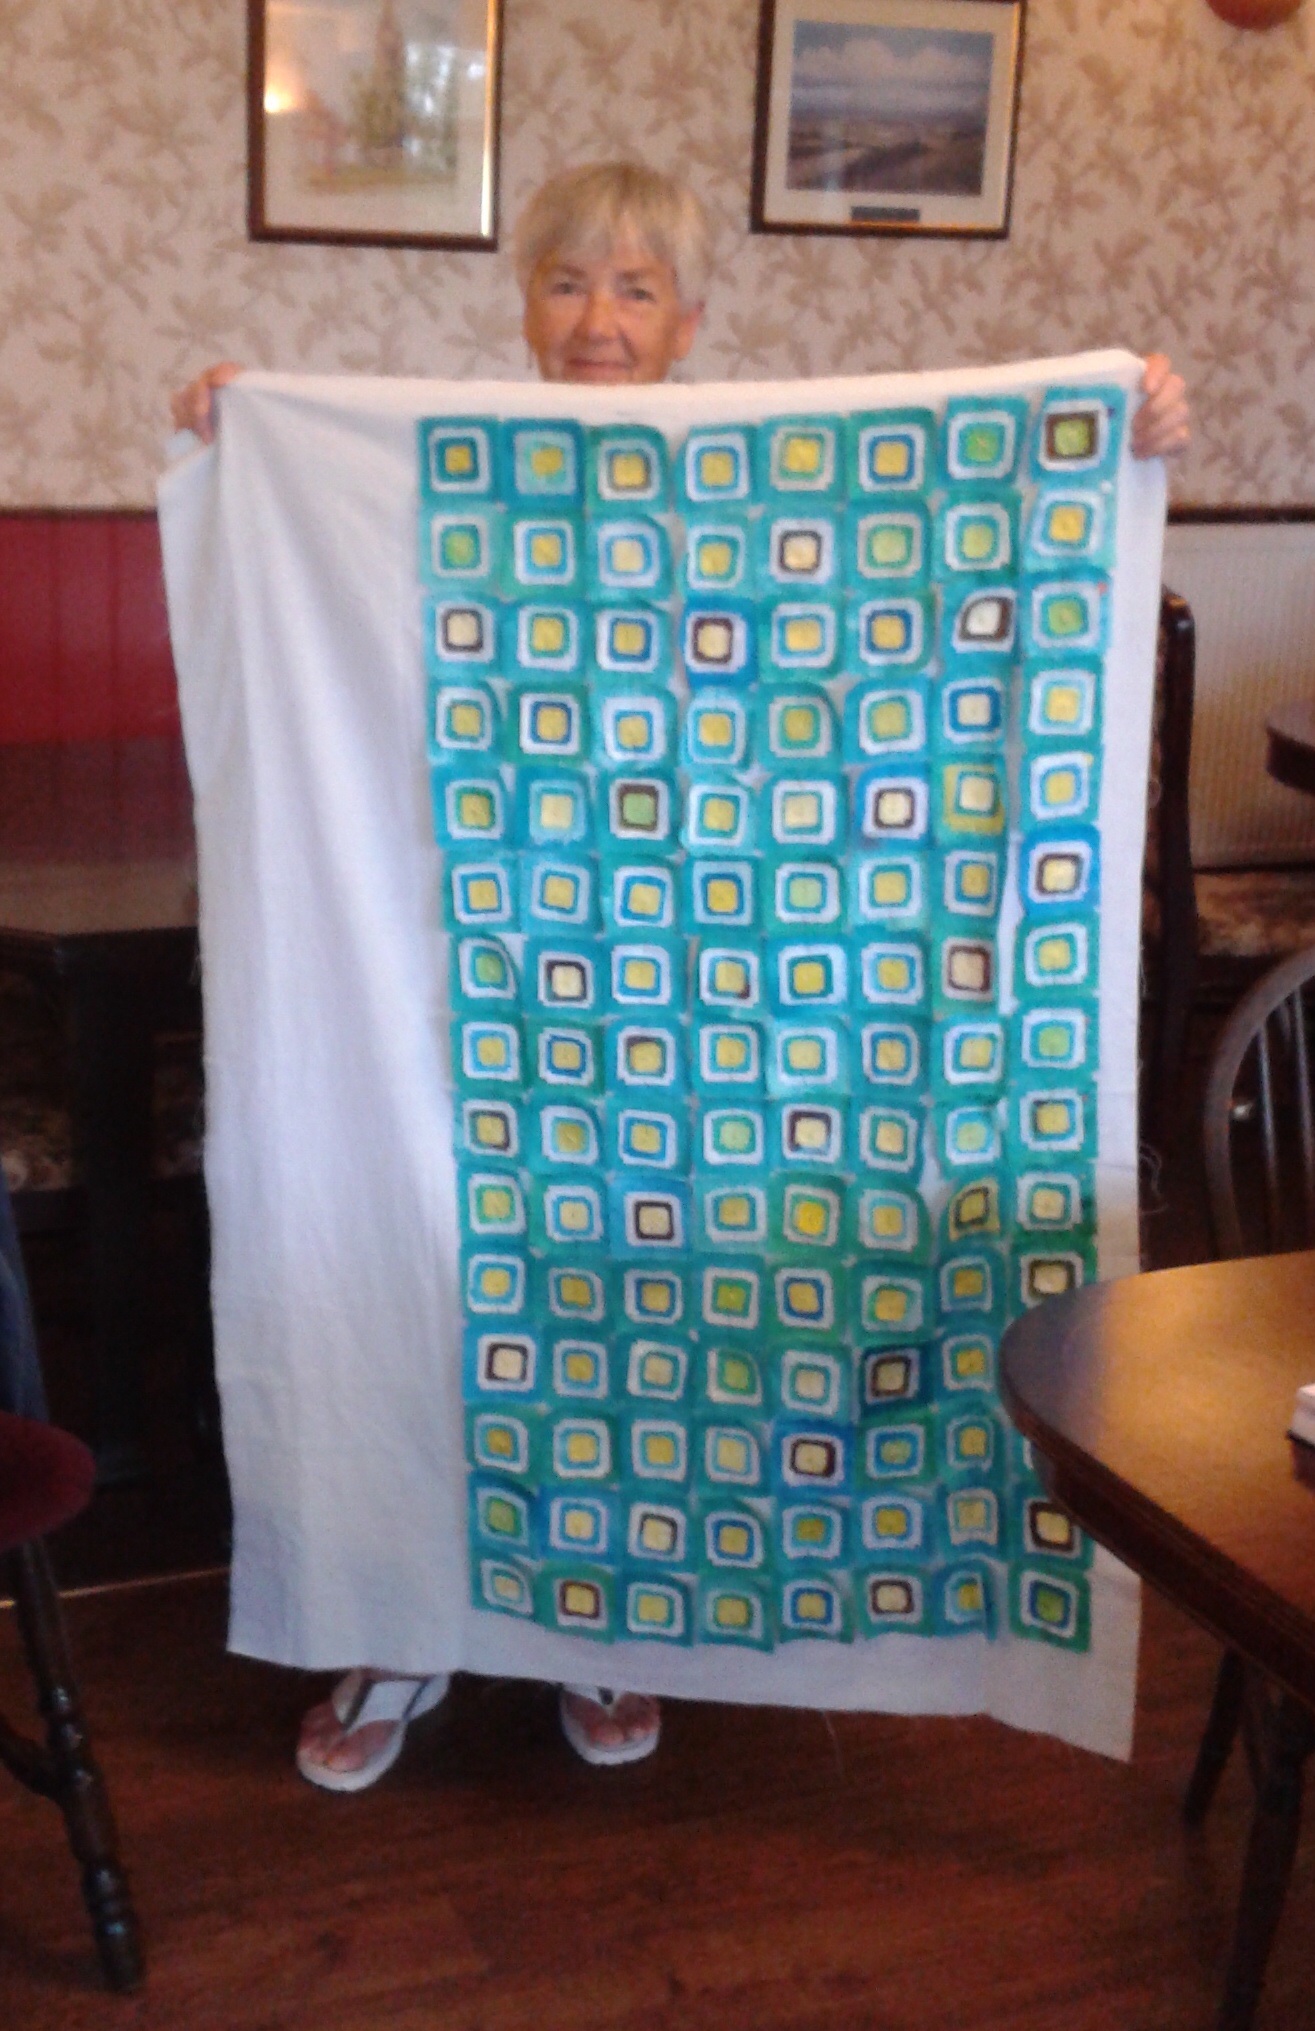
Sandra’s choice is Hockney’s “Three Green Waves with Orange Sand”.
Sandra’s choice is a little known image entitled “Three Green Waves with Orange Sand” which features in the book “Hockney’s Pictures: The Definitive Retrospective”.

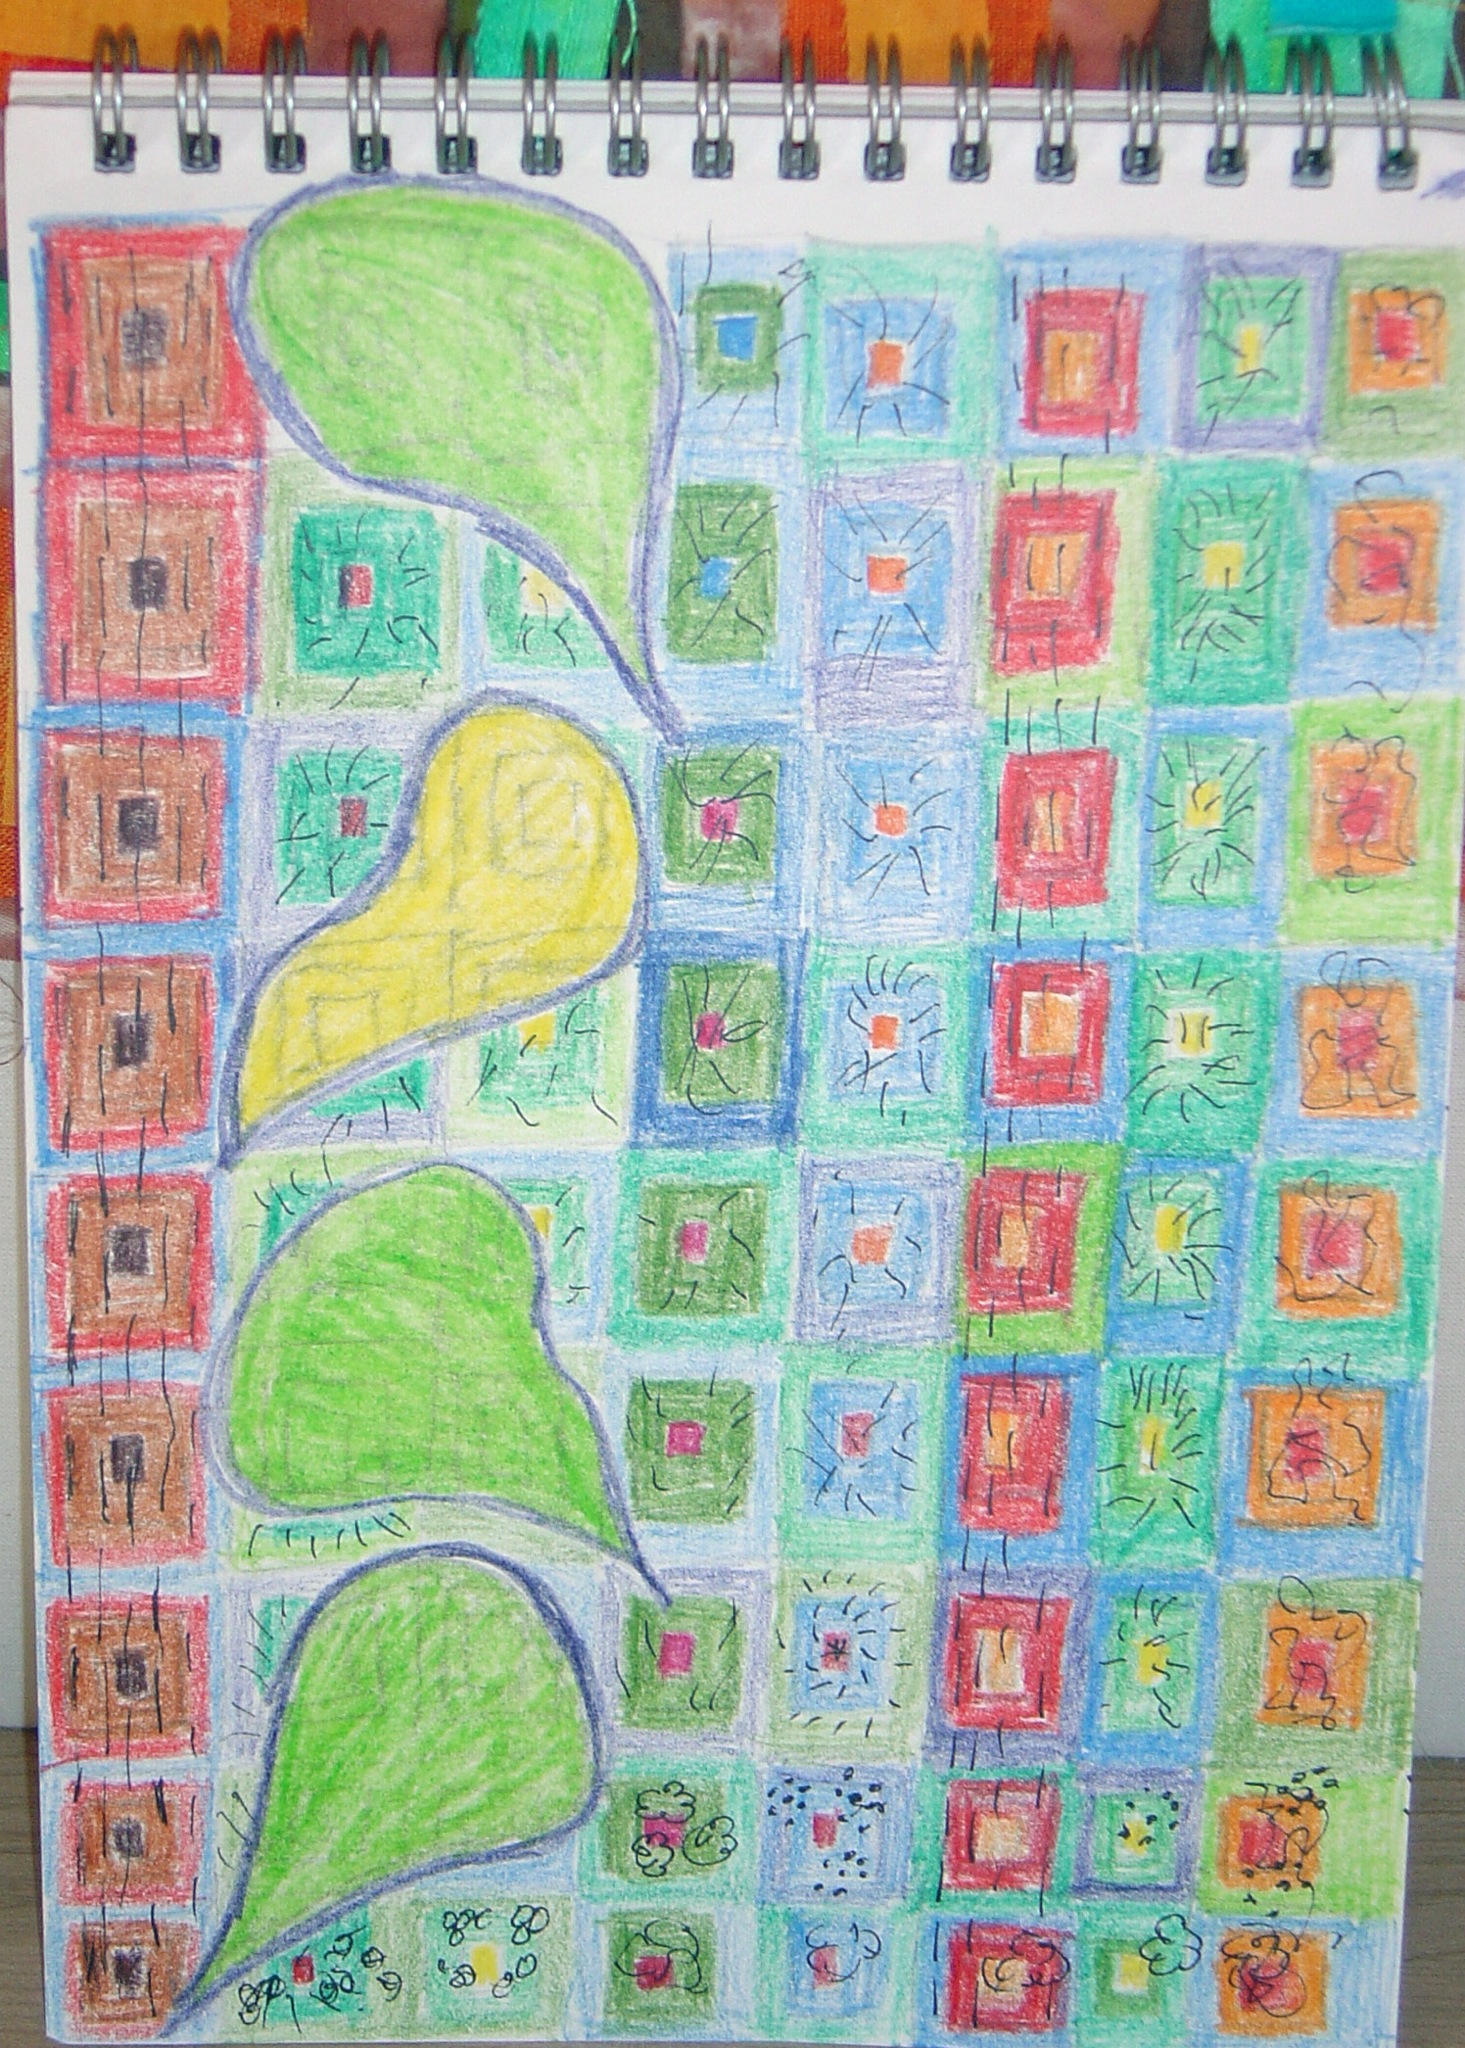
Molly and her quilt.
Molly designed her quilt after seeing the Hockney collection on a visit to Salts Mill Gallery.

The red background for Carole’s quilt.
Carole has created a background for her quilt using curved strips of fabric in various shades of red. The foreground will feature a wine glass with a reflection of Hockney’s face. Carole told me she is experimenting with a new technique for creating the wine glass. Once it’s finished we will show a photograph and get Carole to explain in her own words how she created it.
The next meeting was scheduled for March.