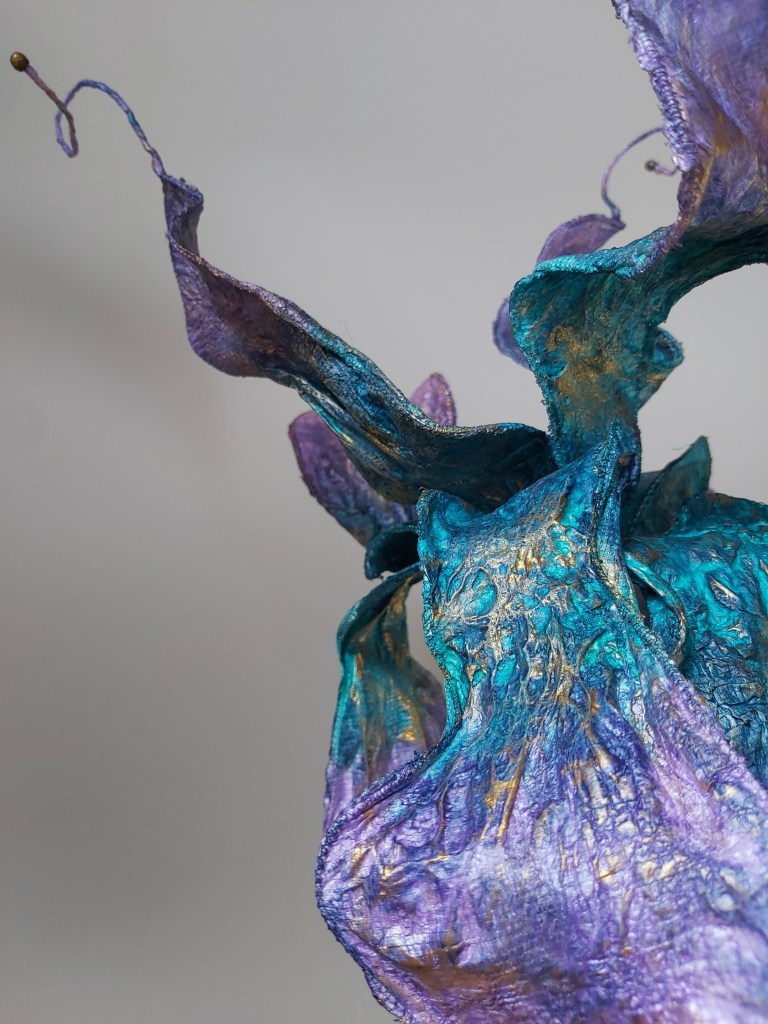
At the Lincolnshire Textile Group this month members were invited to submit a piece of work inspired by our current theme of Bountiful Botanicals. I’ve been working on two pieces for the group exhibition and on Saturday morning I had to finally make up my mind which to submit. Would I show my tall, slender Iris, or would it be the wacky, over the top, carnivorous Banksia nut? Being a bit of a rebel, and knowing not everyone is a fan of six and eight legged creatures, I decided to chose the piece that I thought may not win but would get the strongest reaction……regardless of whether that reaction be good or bad! And so it was that I put the Iris back in the lounge and took the insects for an outing!


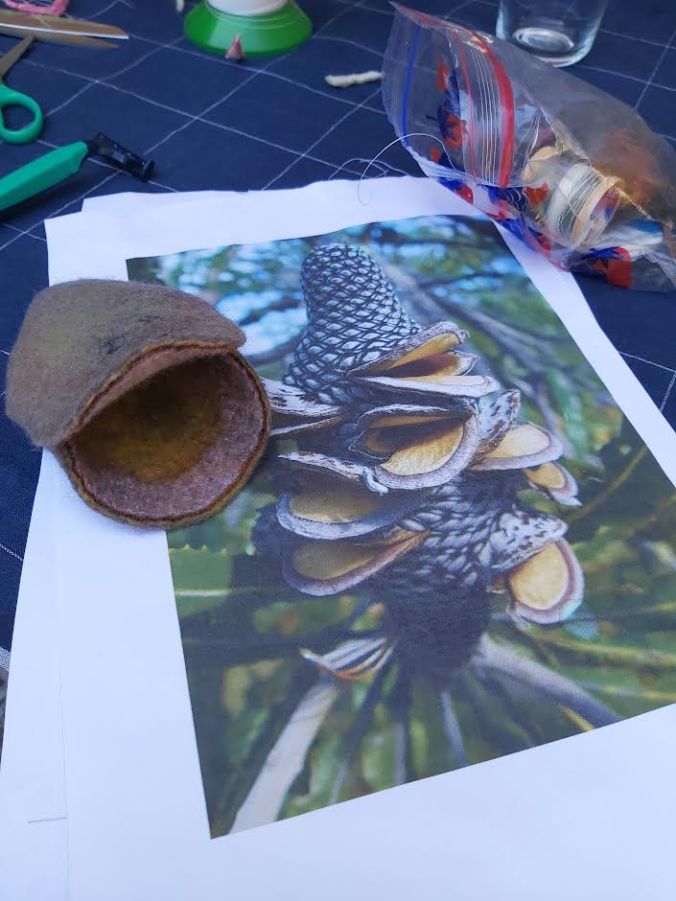
This piece has been a long time in the making as it began life in France last year when I attended a week long workshop with the very talented feltmaker/tutor Saar Snoek. We were asked to take along images of a 3D object, inspired by the natural world, that we would like to create during our week in the Dordogne. Mine was a photo of a Banksia nut, named after the explorer and botanist Joseph Banks who discovered and gave his name to the plant when he sailed to Australia with Captain Cook in 1768 aboard the Endeavour.
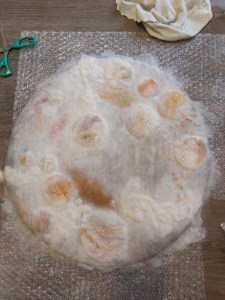
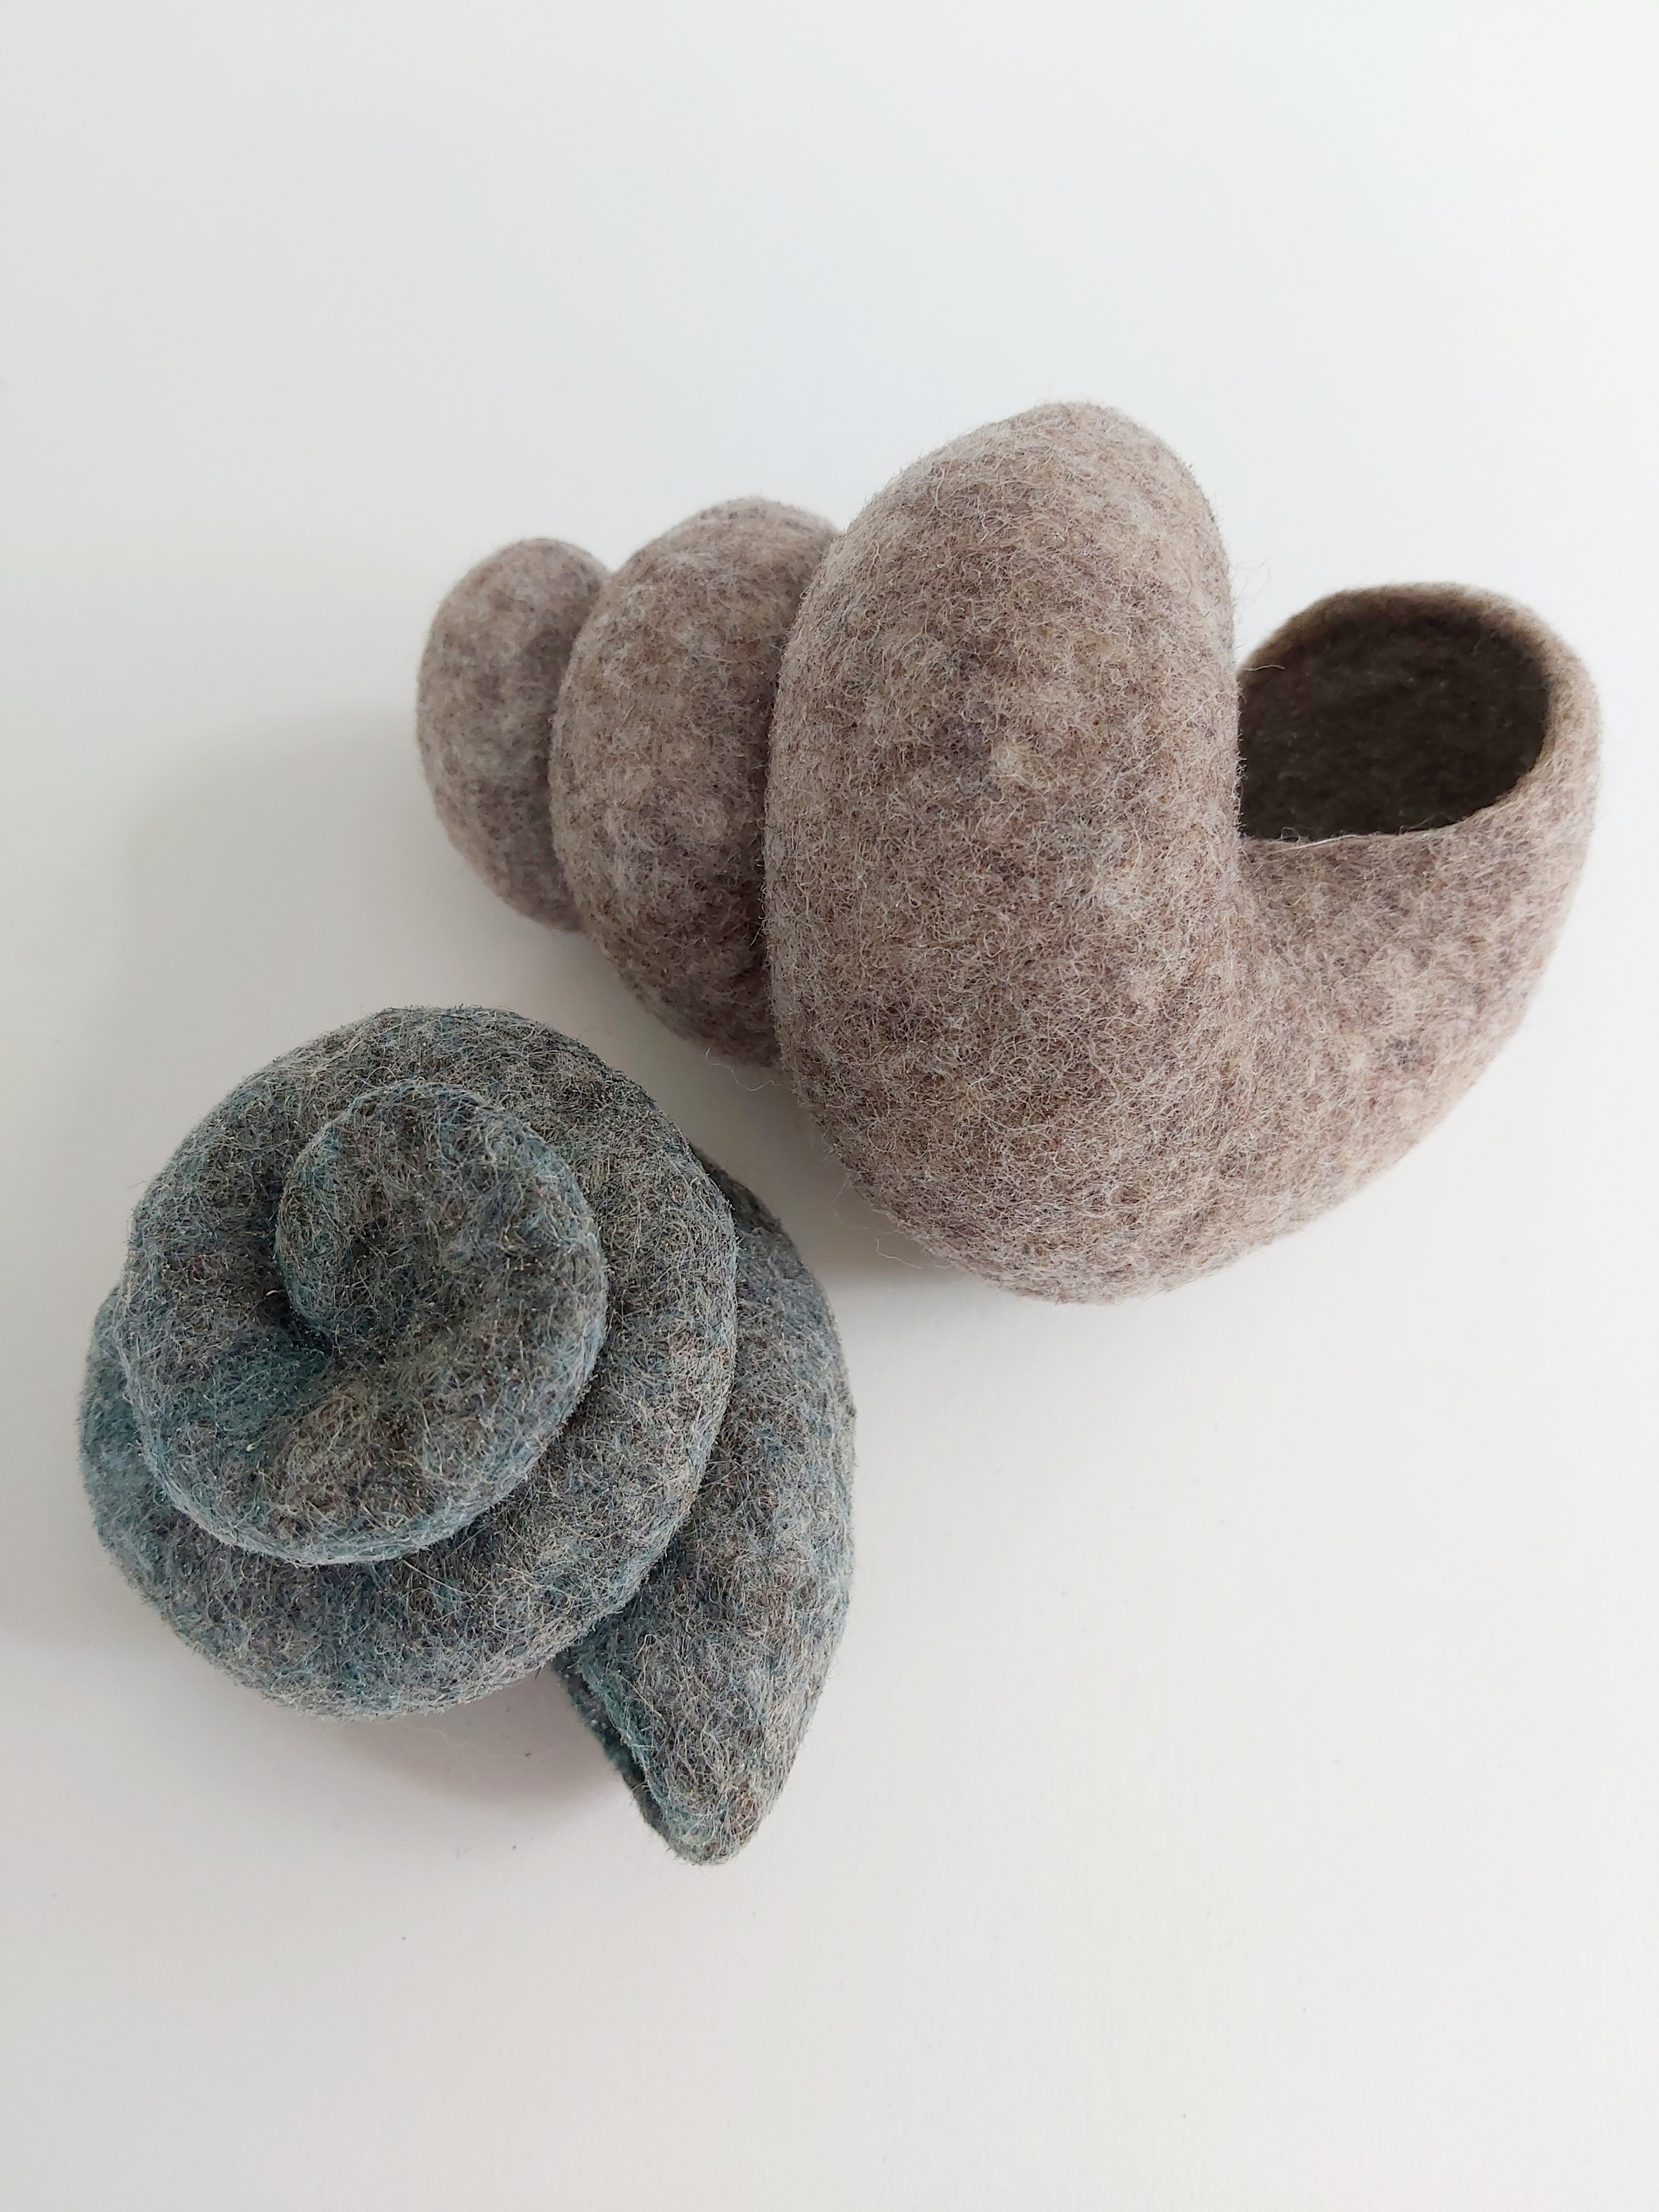
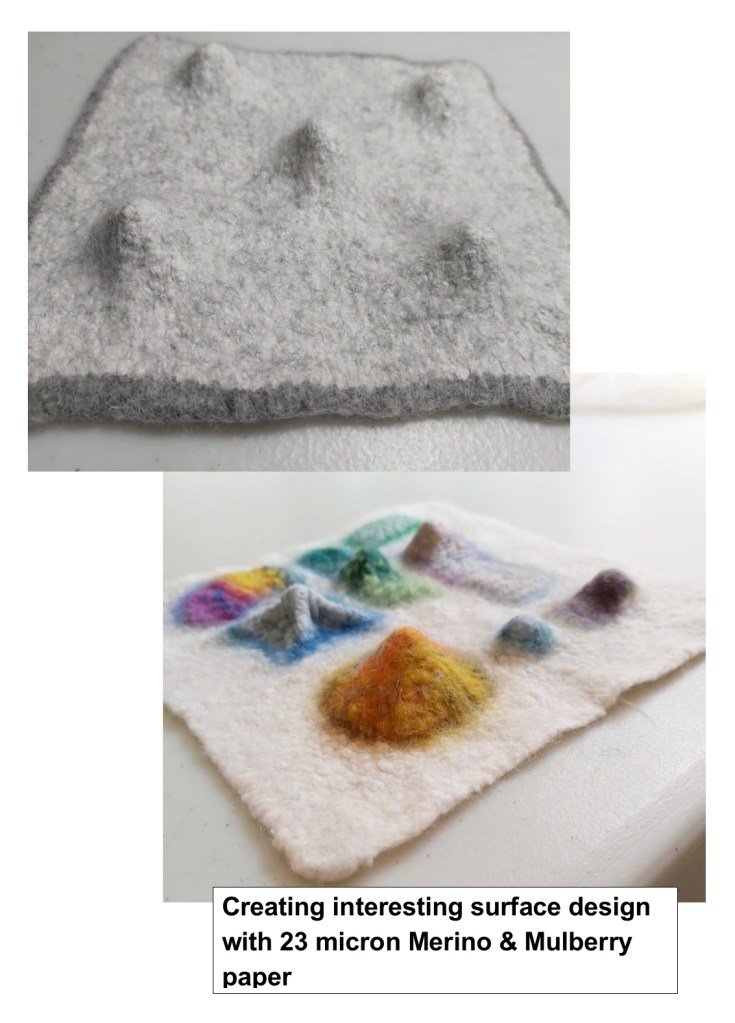
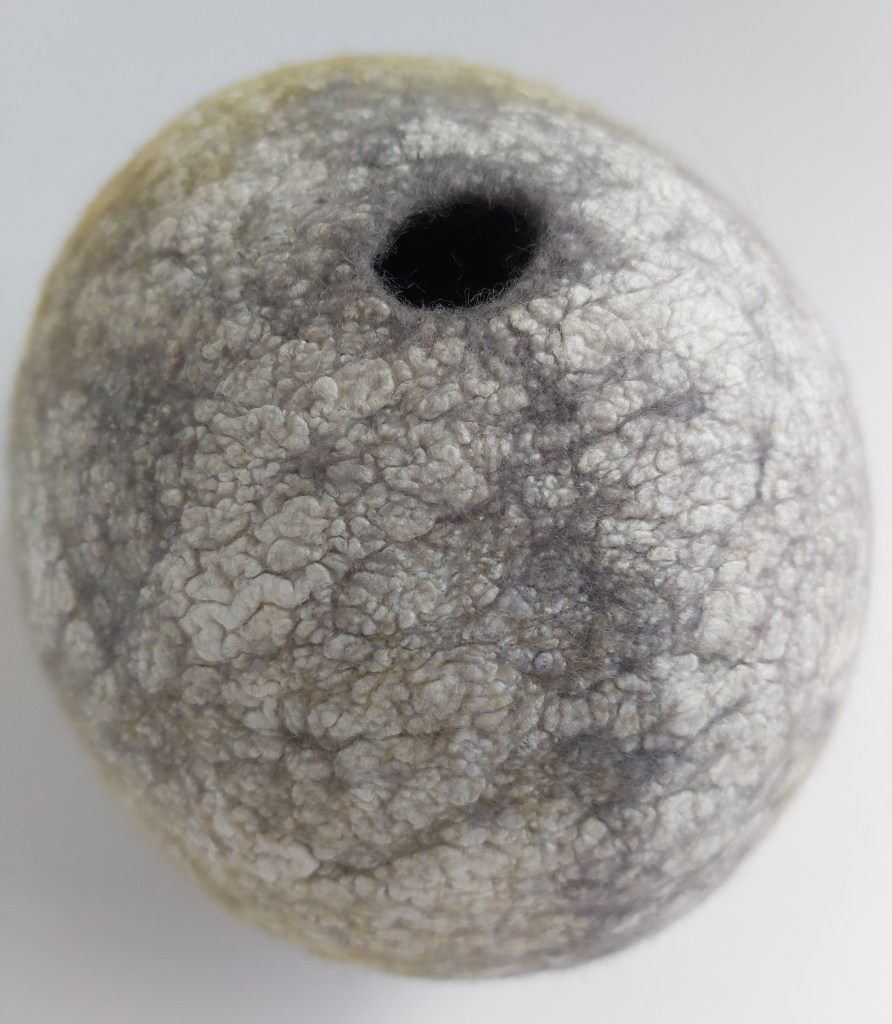
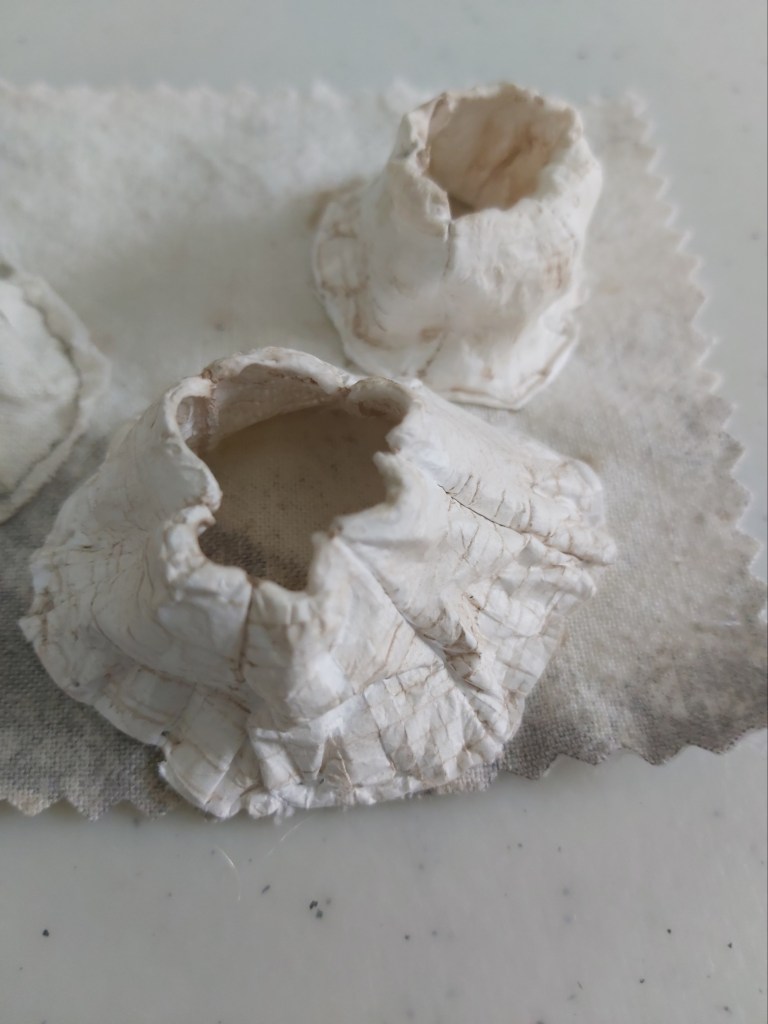
Saar taught me a fantastic technique which allowed me to achieve the bumpy texture I needed on the surface of the nut. Once the main body was laid out I set about making the follicles, the mouth shaped parts that are woody seed pods which split open to release the seeds. I don’t know what got in to me but I thought these needed to be substantial so I laid layer, upon layer, upon layer and as any feltmaker knows, the thicker the felt the harder it is to it shrink. Consequently I couldn’t shrink the lips as far as I’d intended, hence the finished nut became known as Mick (Jagger) or “Ducky”!
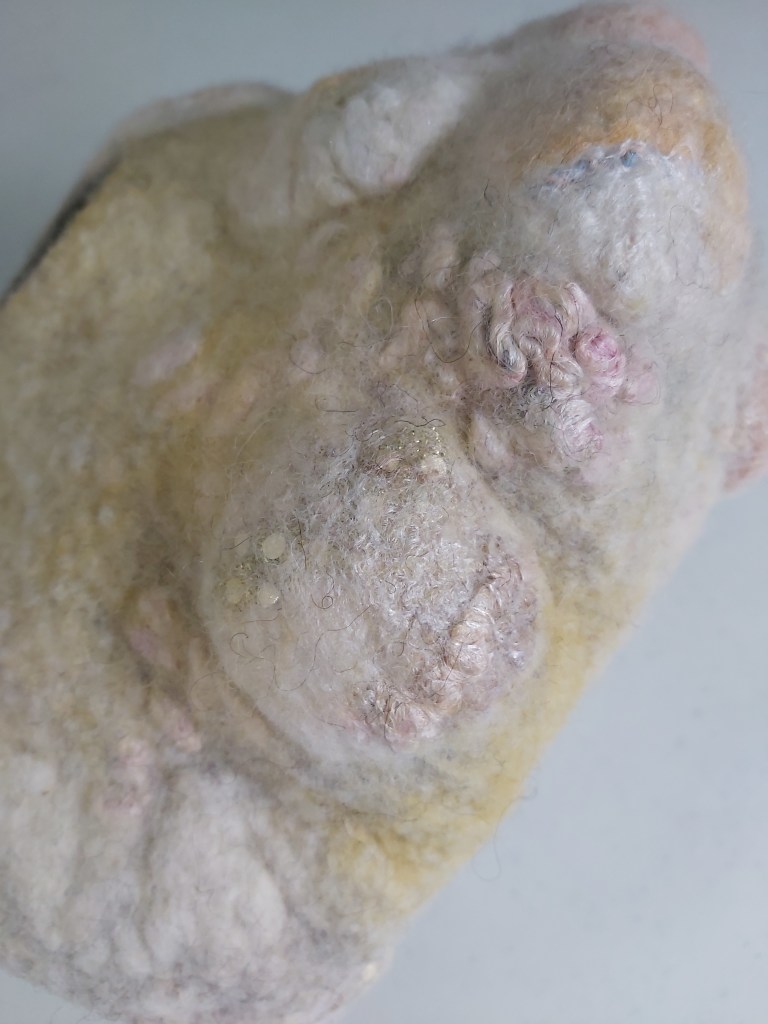
Not all projects go to plan and this one certainly didn’t work out as I’d hoped. After all that work, I’d got my proportions sooo wrong it ended up looking more like a child’s toy!

The upside was that I’d had a fabulous time with our hosts Esther & Jan at Studio Felt & Fibre, tutor Saar Snoek and my fellow students. It was a crazy week from start to finish with lots of laughs, lovely food and beautiful evening walks. I’d learnt a lot and came home with my head buzzing with ideas, however, that nut would lay in my studio for approximately a year before an idea was formed as to how I could reinvent it.
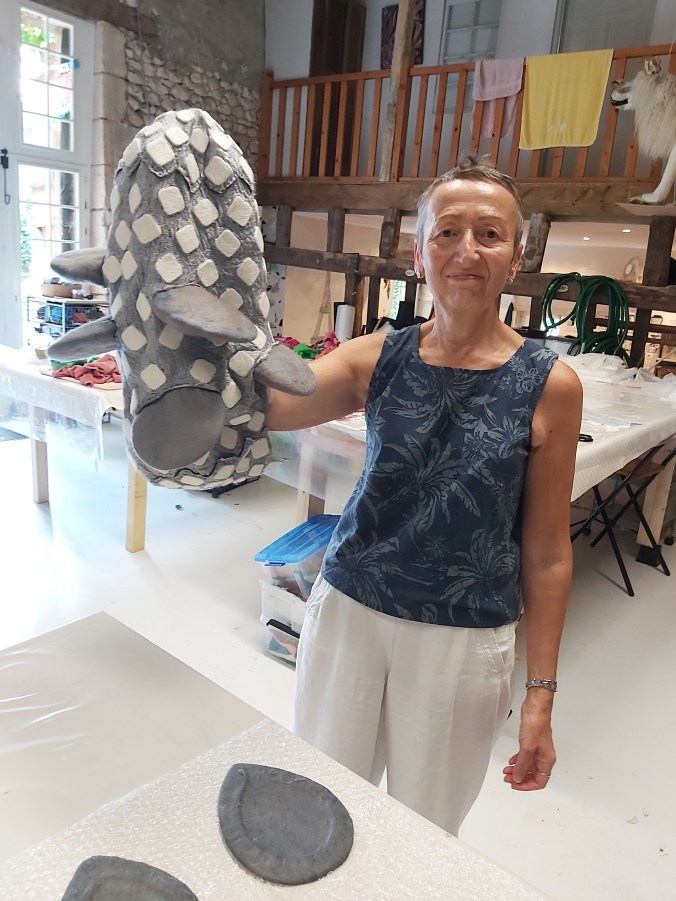

My “toy” Banksia Nut 
Minka laying out her enormous petals 
Minka’s flower in progress 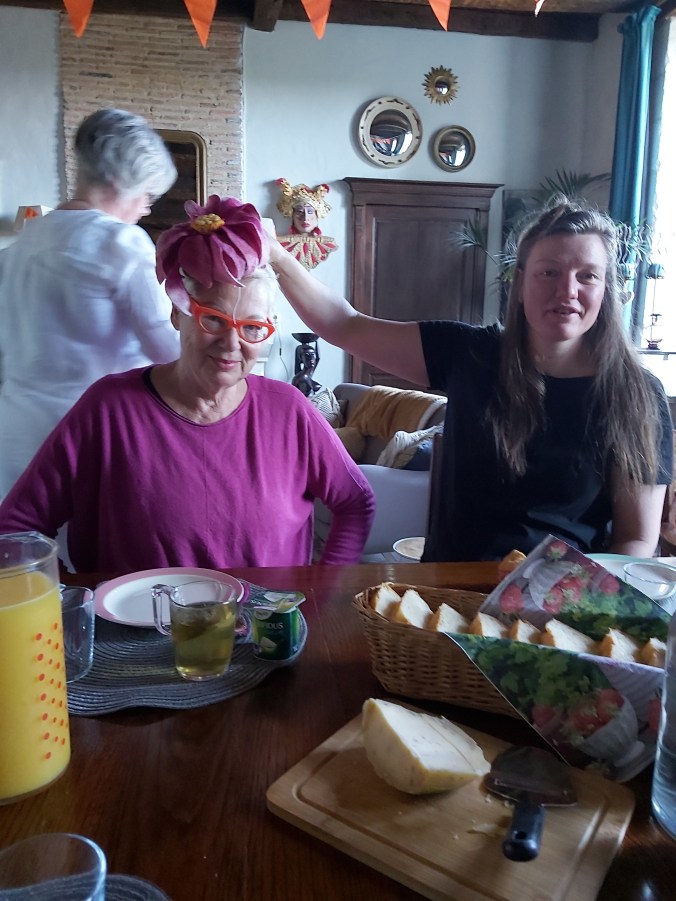
Ava’s work in progress fascinator 
Ava models her wonderful fascinator 
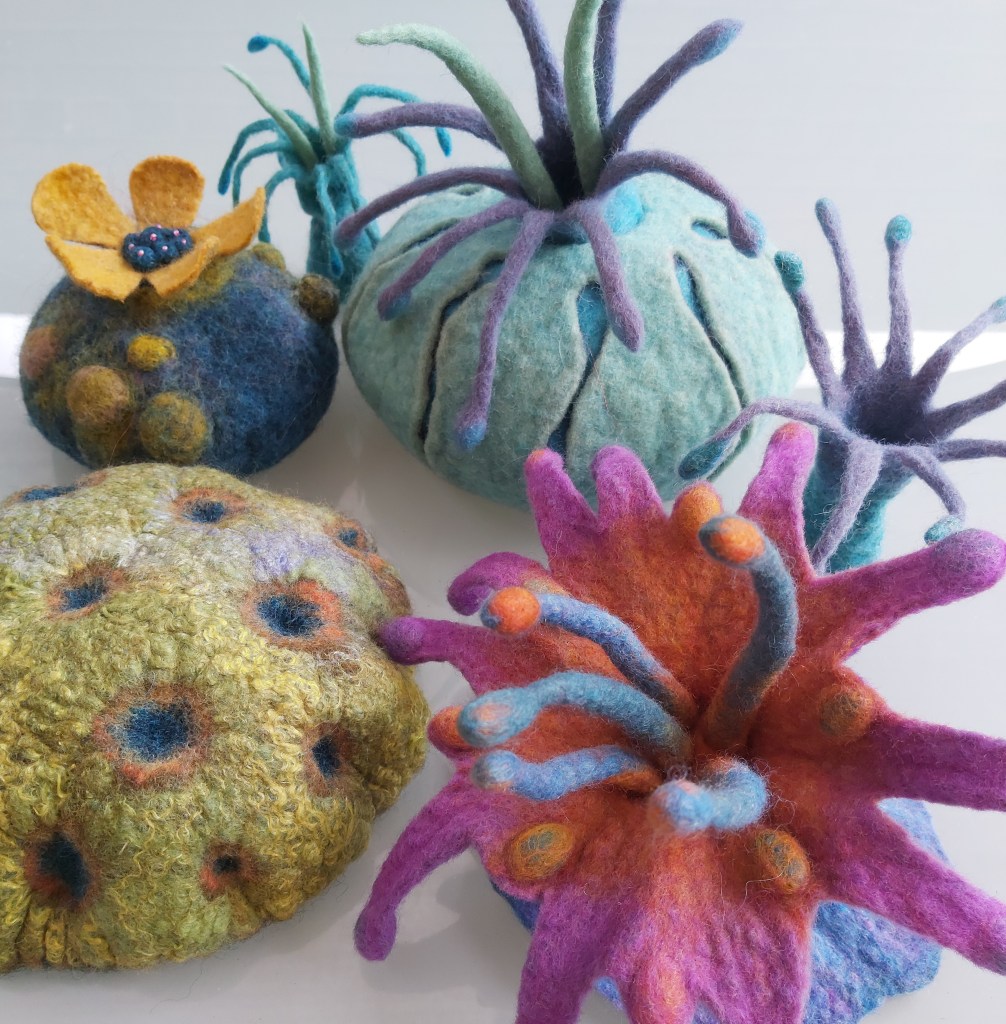
Esther with her Ernst Heckle inspired sculpture 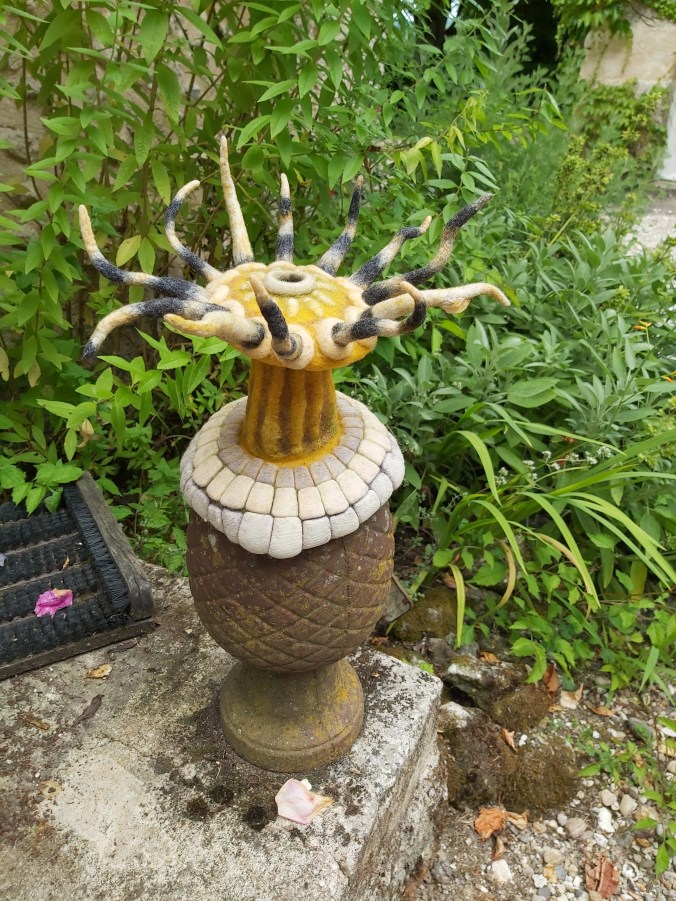
Esther’s finished sculpture 
Saar models Esther’s work in progress! 
Emily couldn’t resist trying Esther’s sculpture on! 

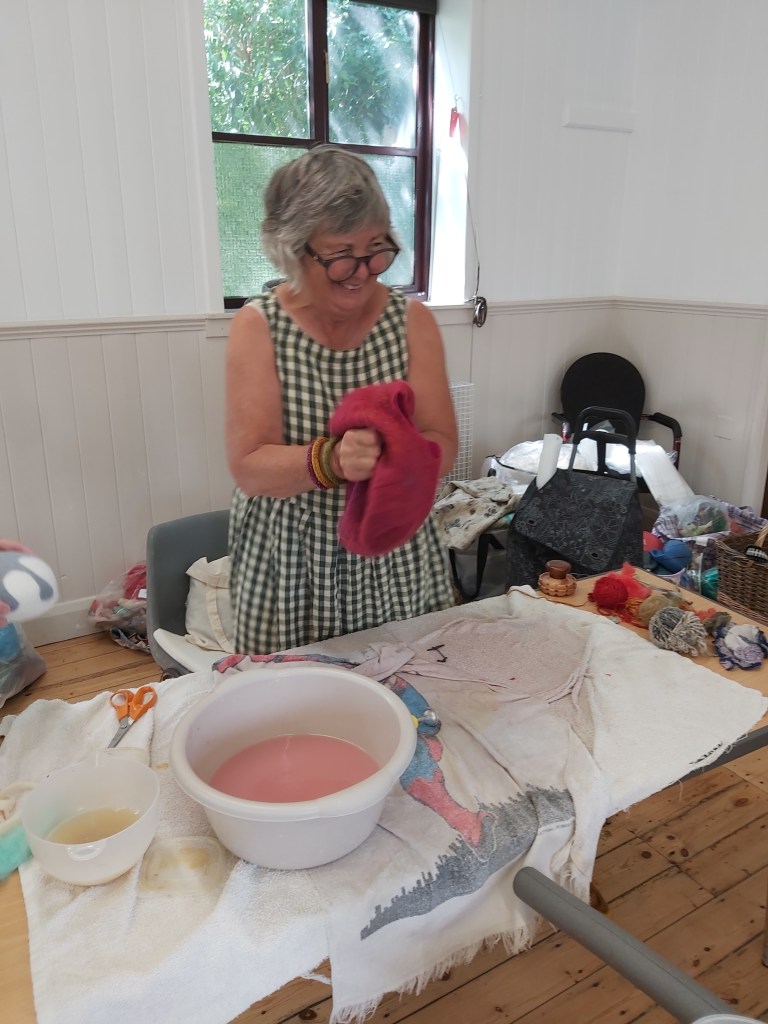
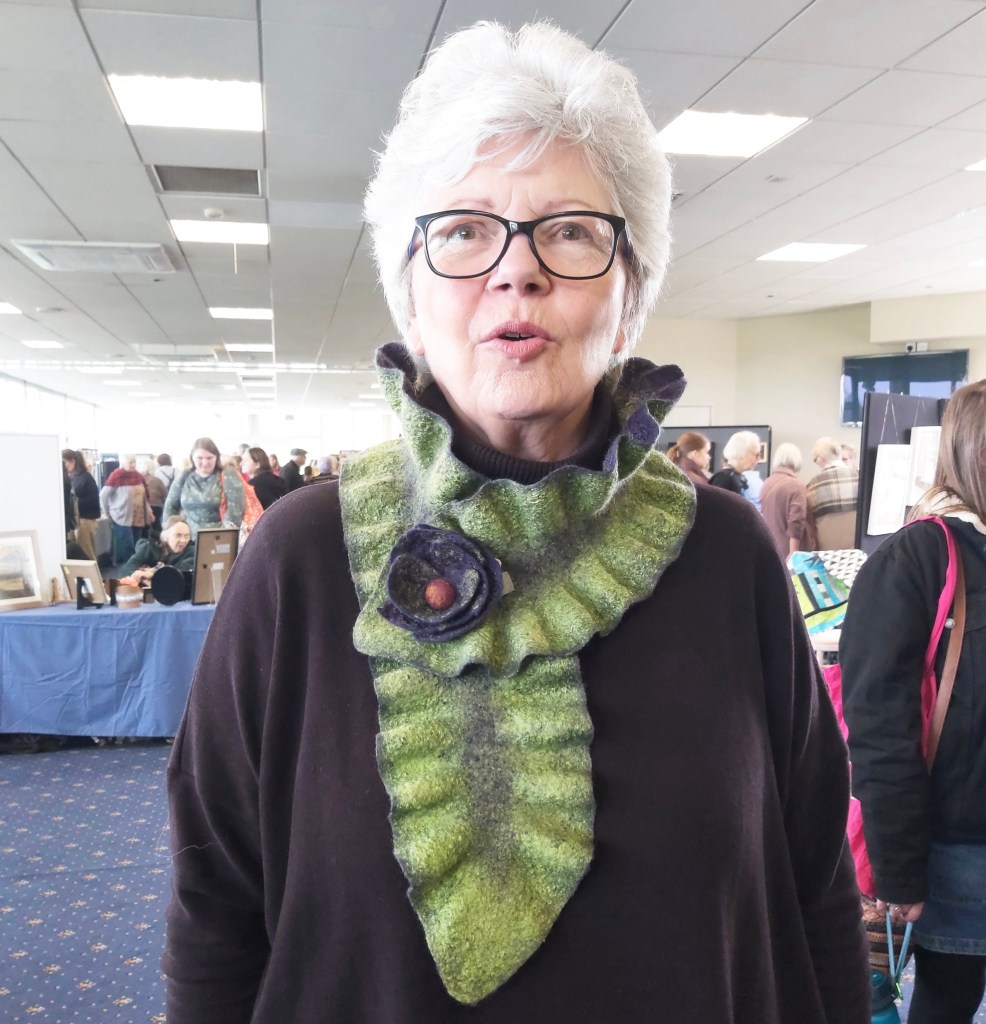
Joyce models her shroud embellishment 
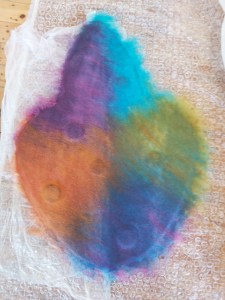
Emily laying out her flower 
Emily’s finished flower 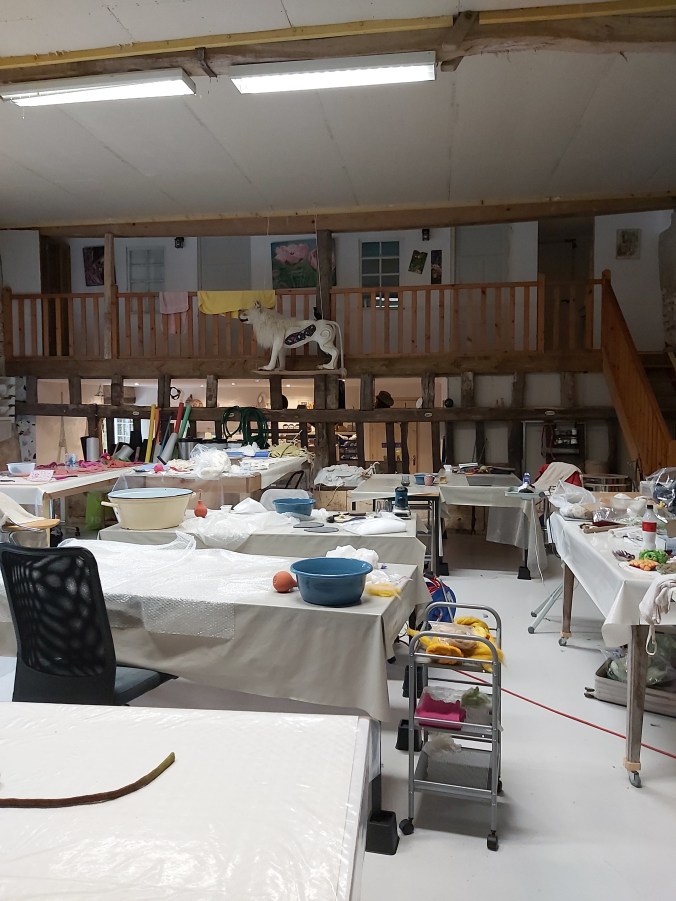
Studio Felt & Fibre
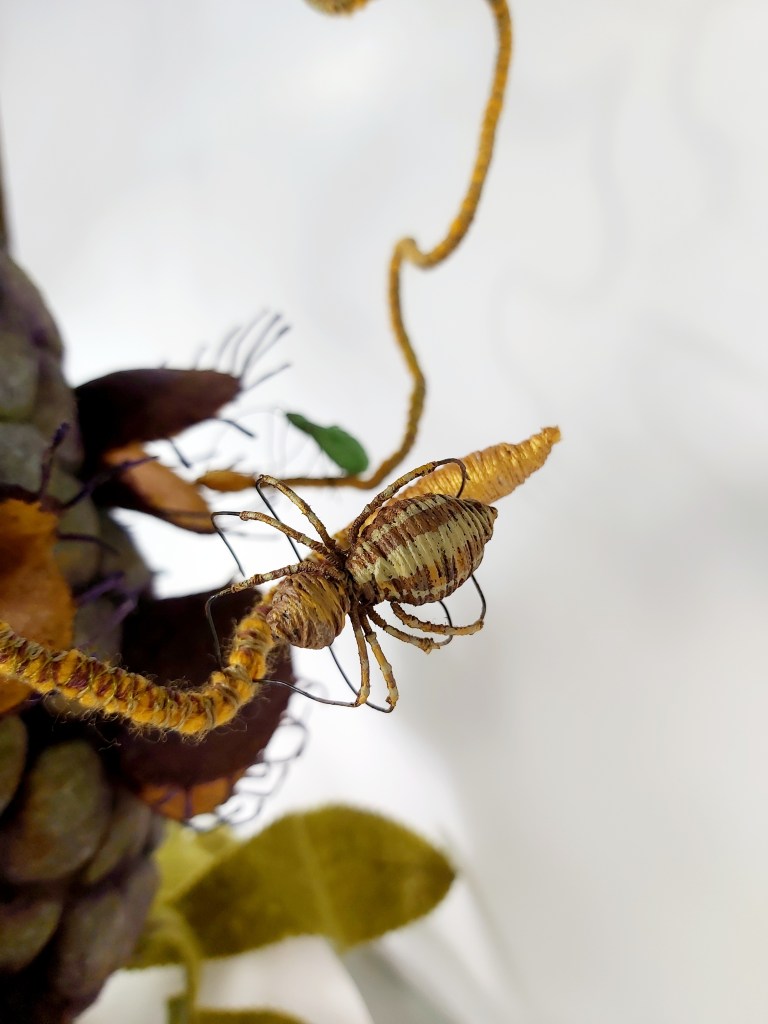
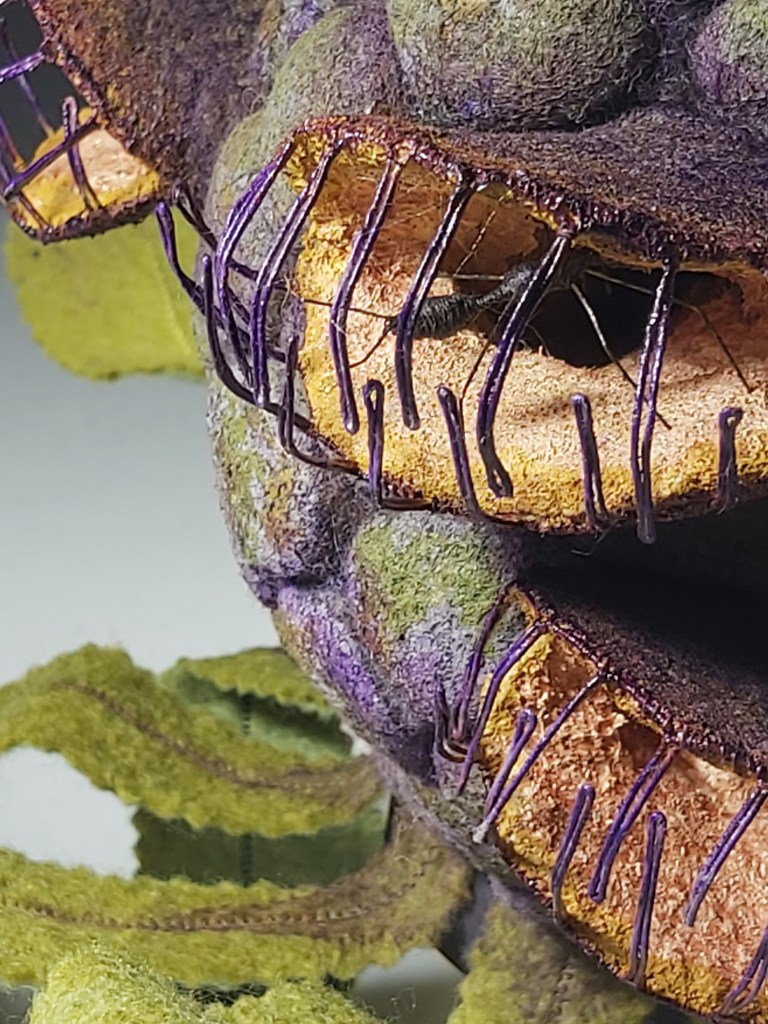
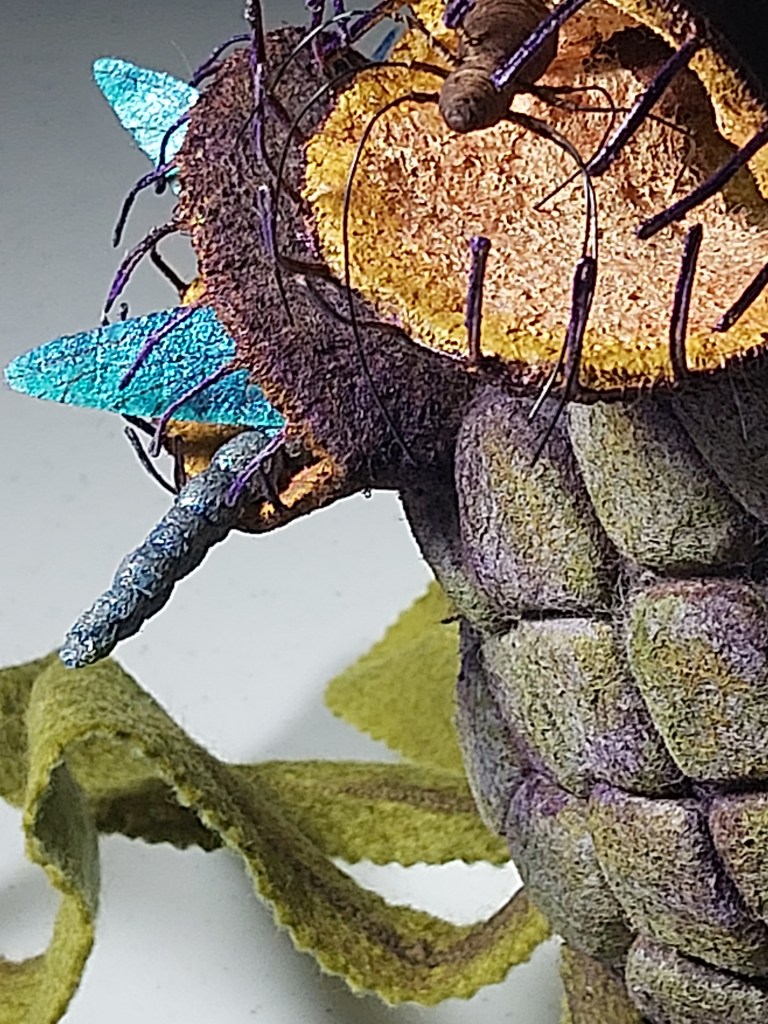
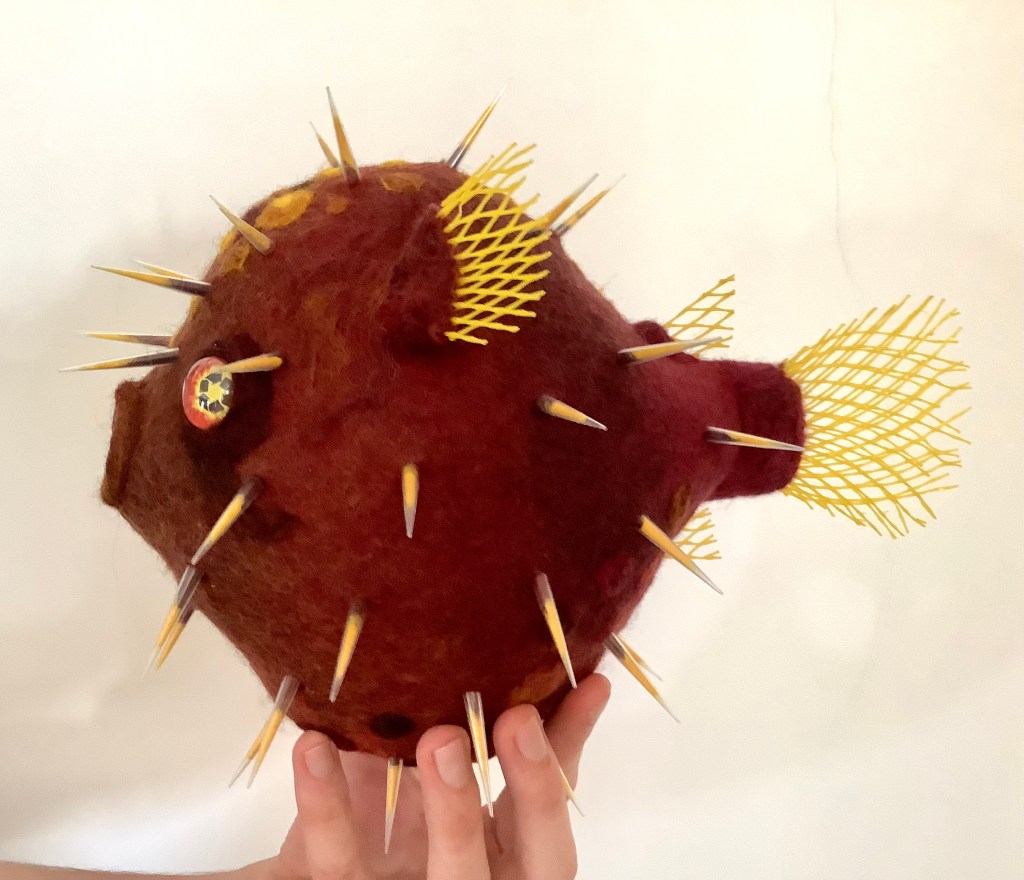
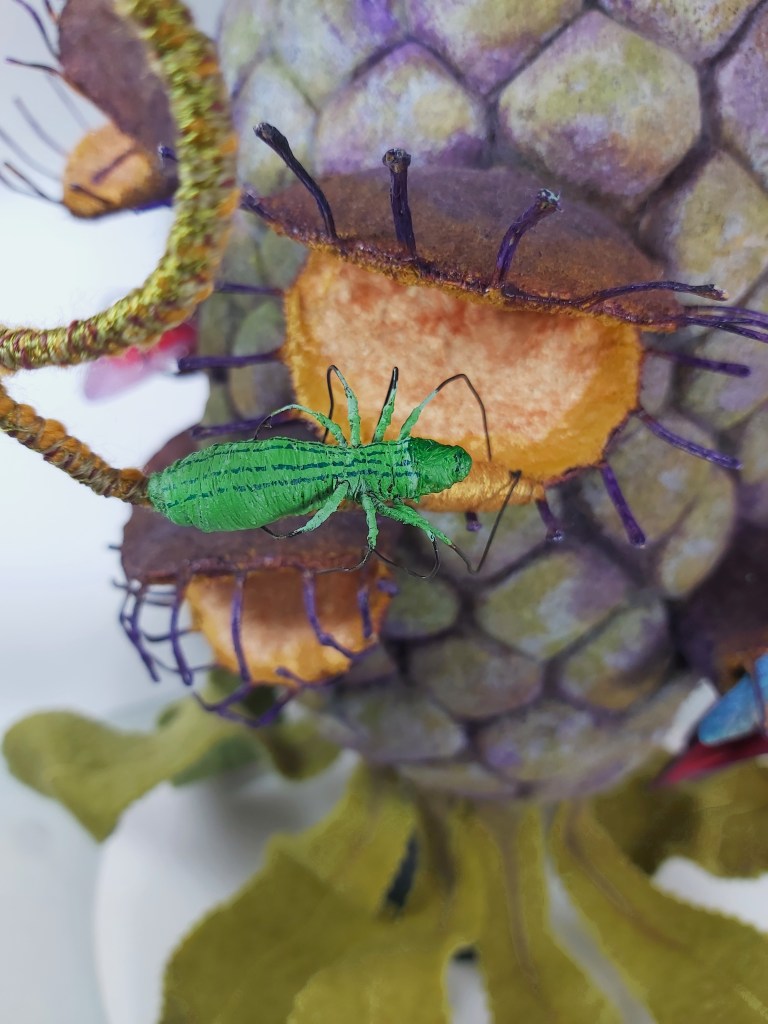
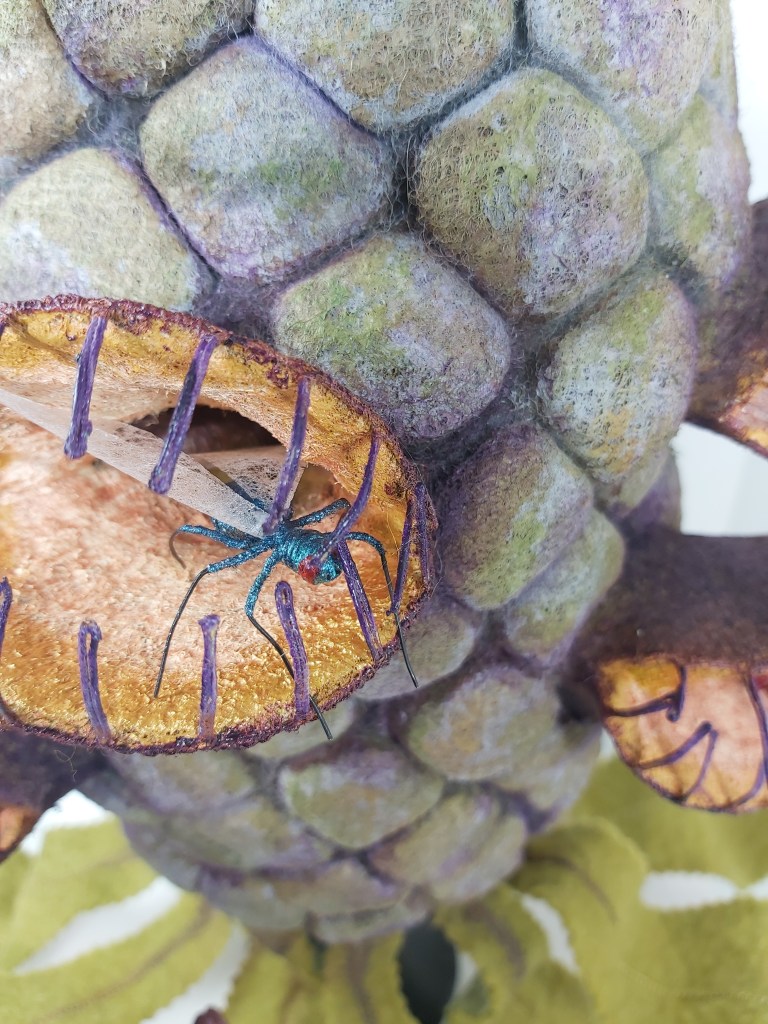
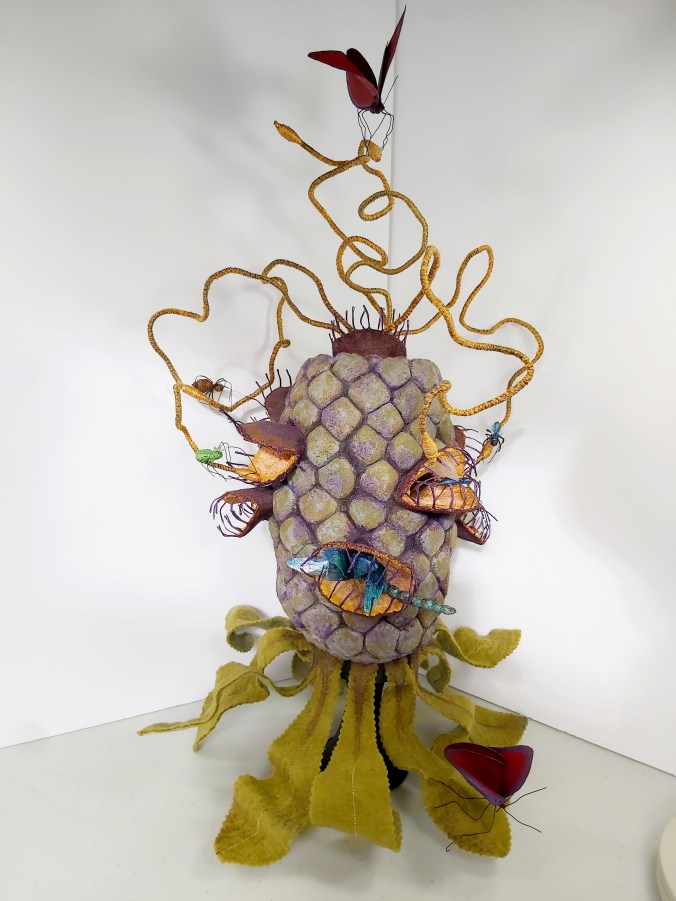
It was a few months back, while I was working through ideas for a wet felted carnivorous plant for the Lincolnshire Textile Groups “Bountiful Botanical” exhibition, that I had a light bulb moment. Why not restyle my Banksia, imagining a world where the plants gone rogue and has evolved in to an insect eater…..think Banksia nut meets Little Shop of Horrors! So I set to, adding some spikes to trap the insects in the mouths (took forever but was so worth it!) and some insect seeking tongue (ish) appendages snaking out of the mouth on top of the nut to catch even more unsuspecting prey and deposit them straight in to its jaws!

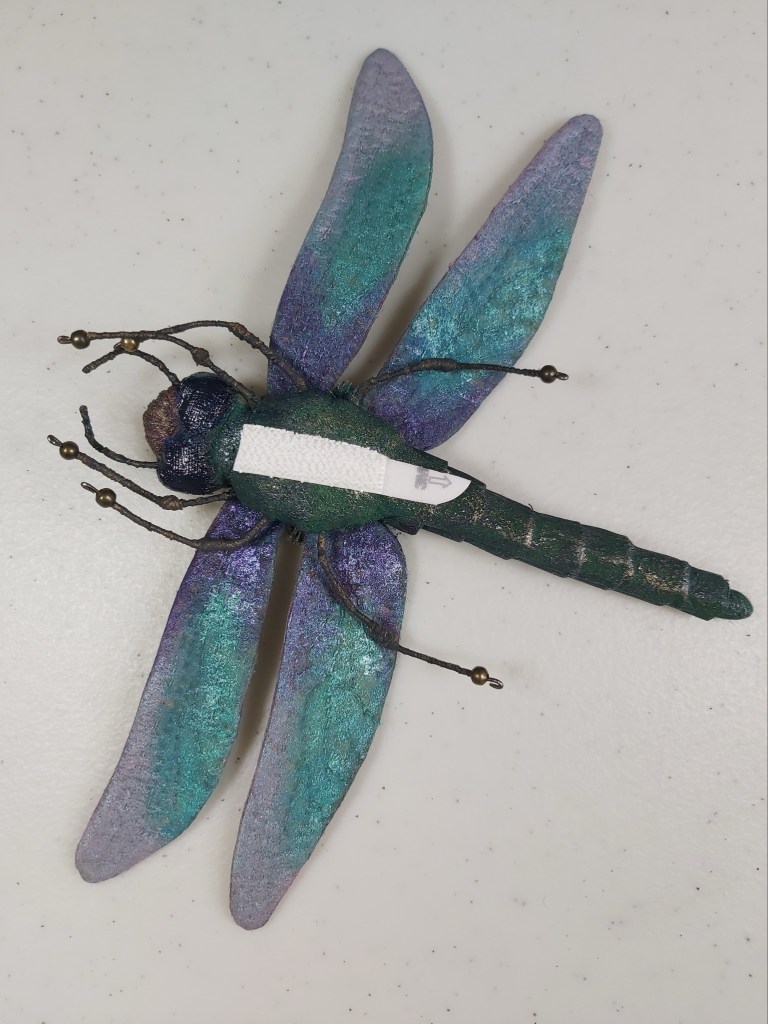
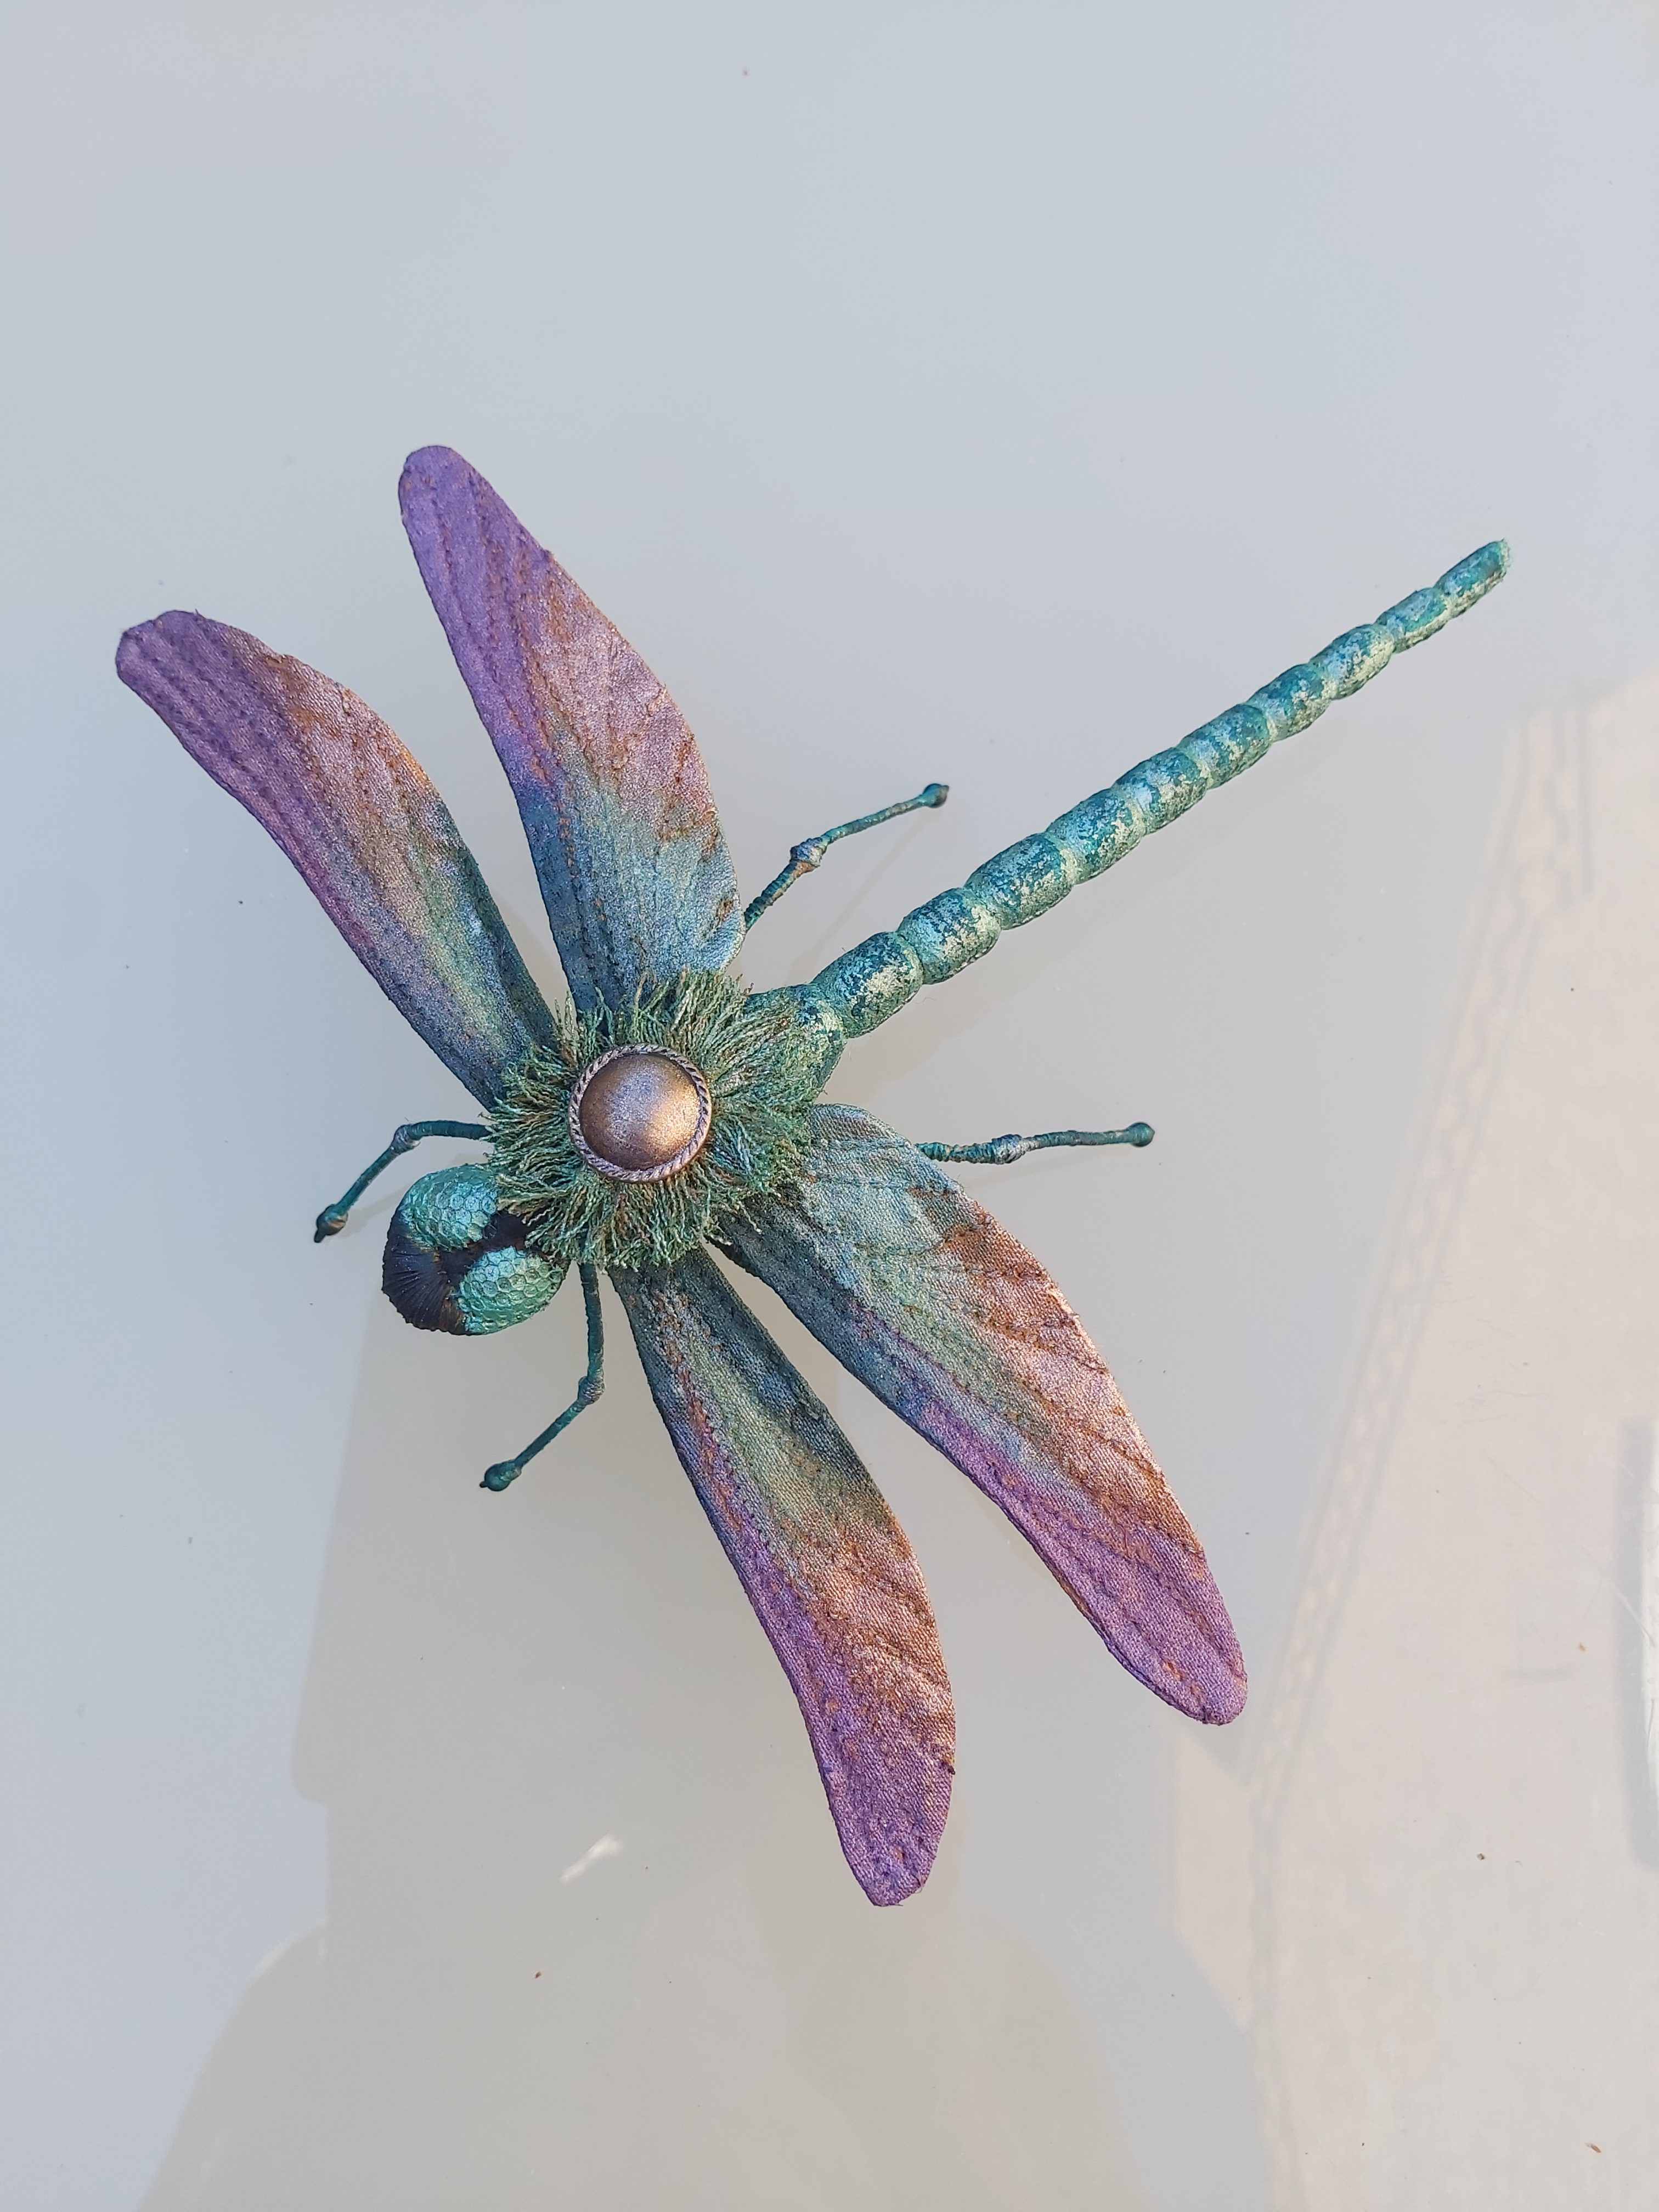
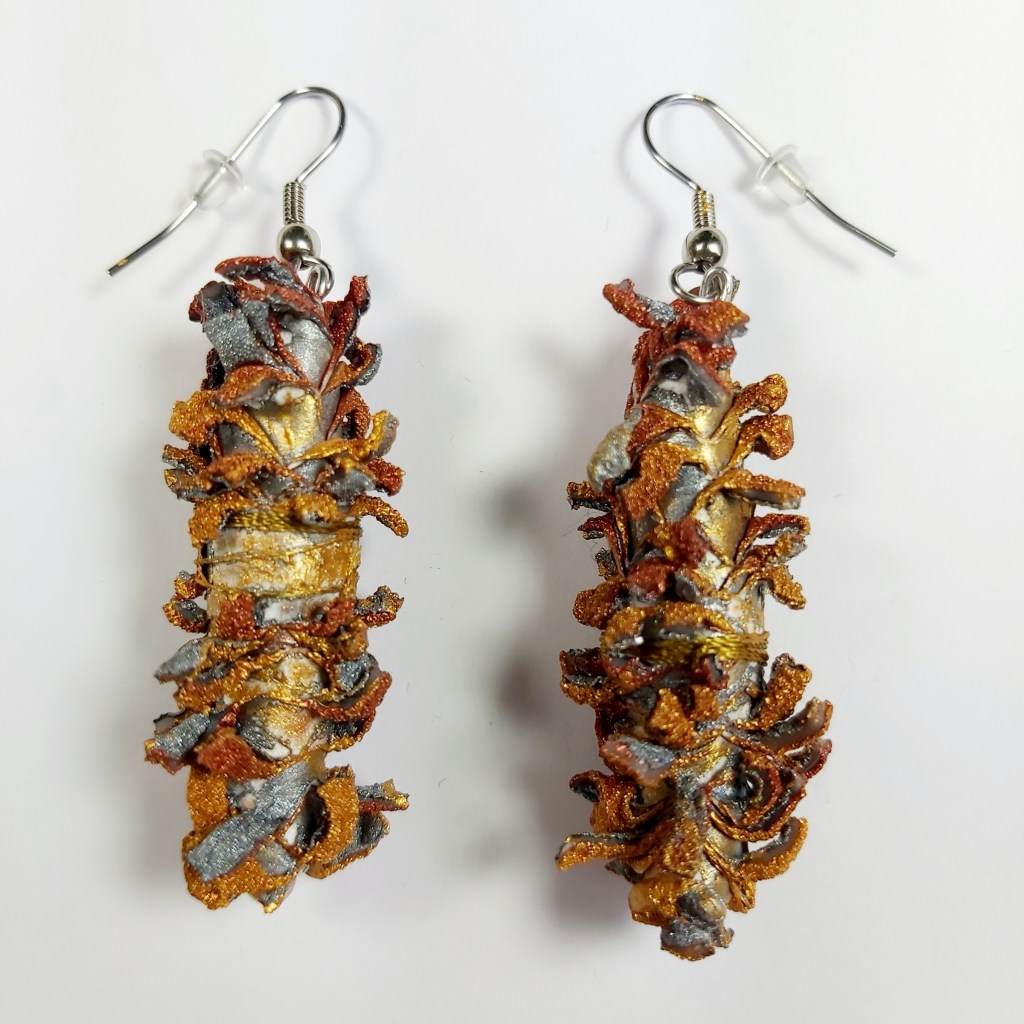
It was very fiddly and time consuming to retro fit the “teeth”, not to mention the three extra follicles, and there were several occasions when I wondered if I was completely wasting my time! Then it came to the point where I needed to make the insects and this was far more fun! Most of them were made with wire armatures wrapped with thread and then painted. Creating the insects made me smile and really brought the piece to life and so it was that the rather wacky Banksia Bites Back was born!
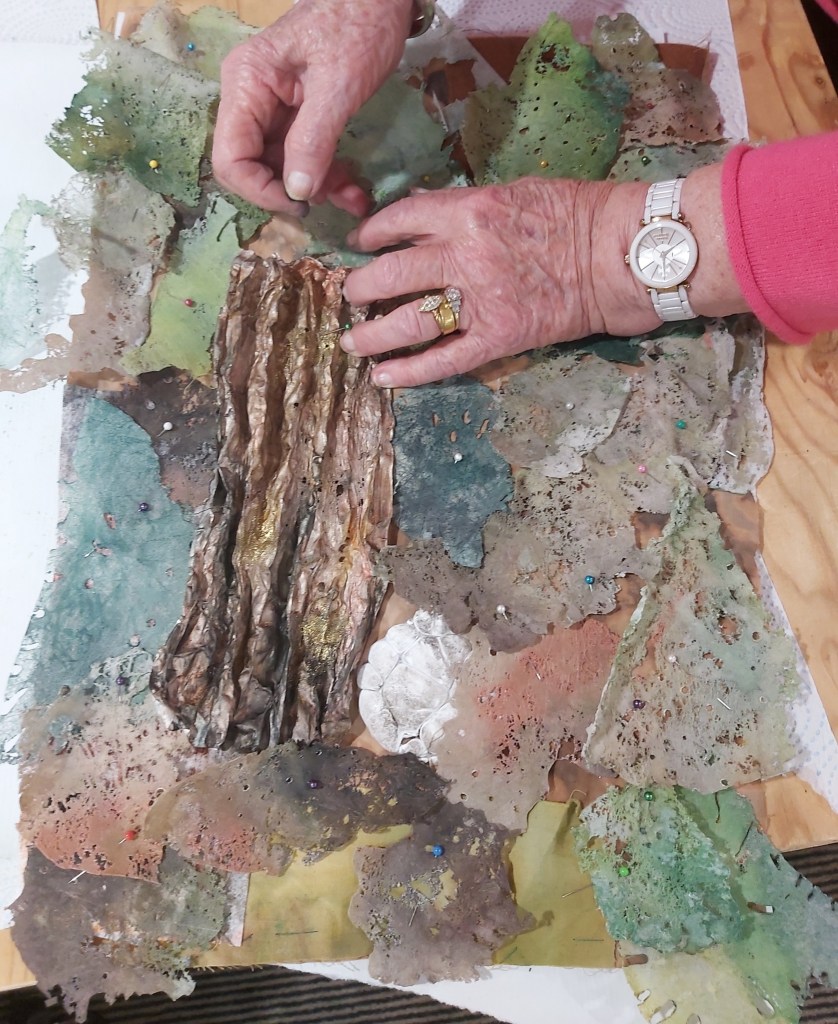
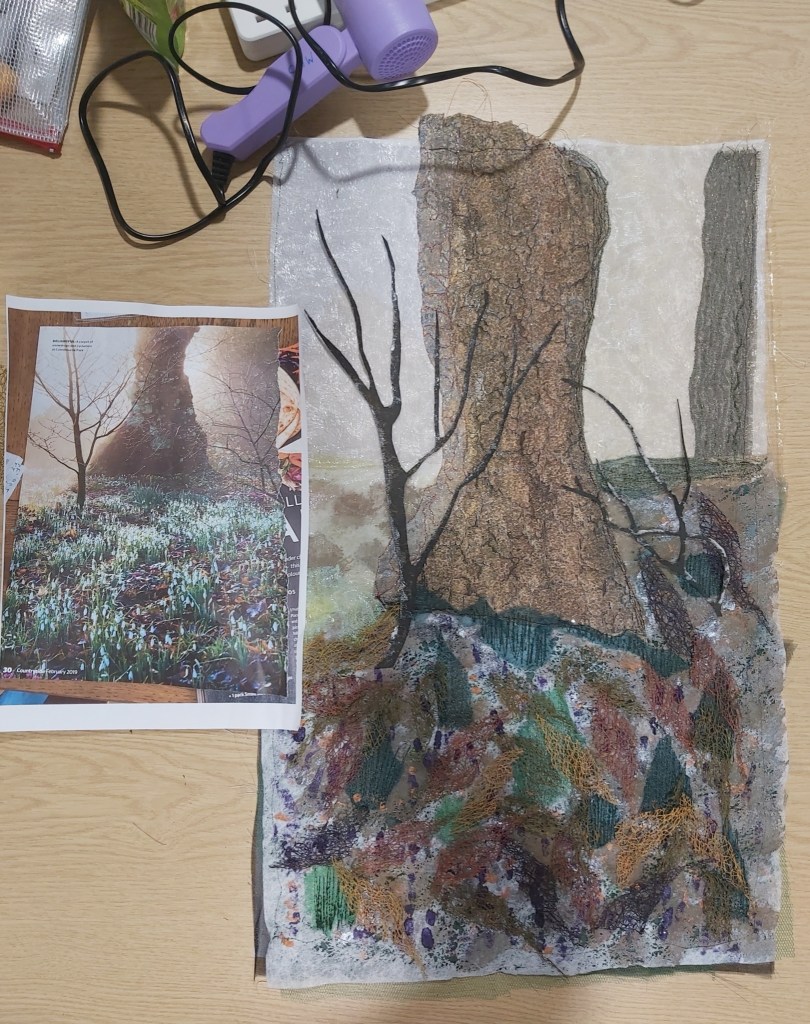
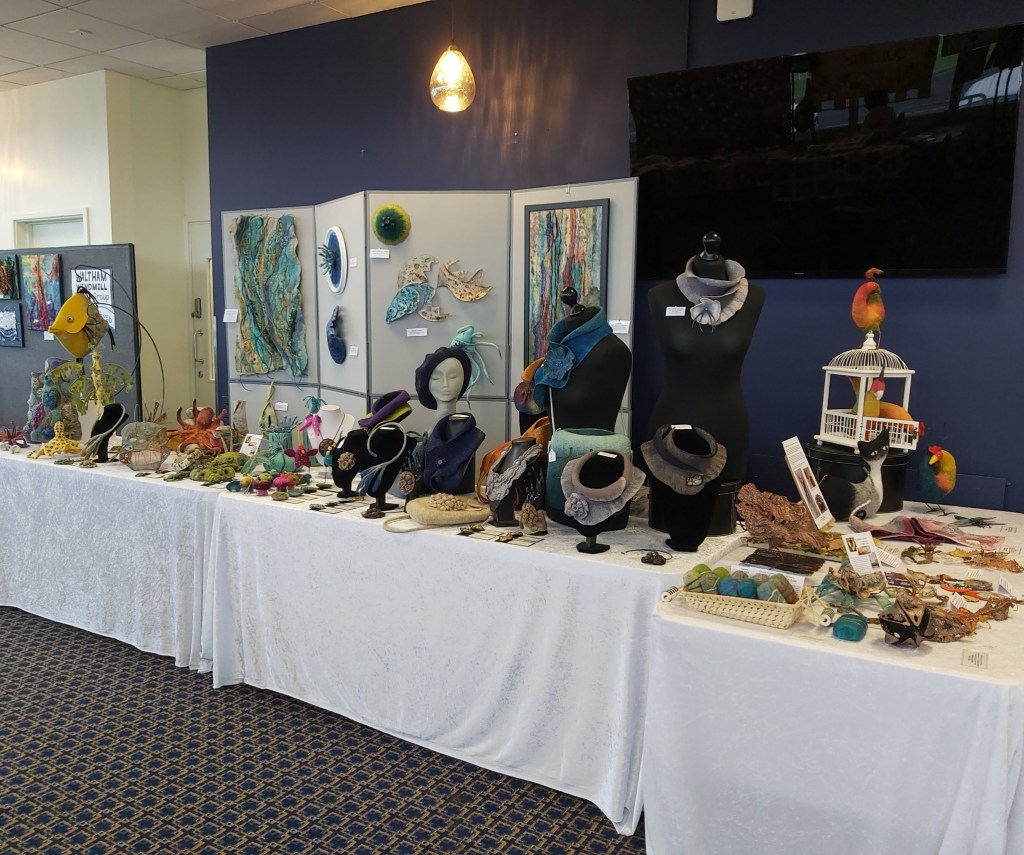
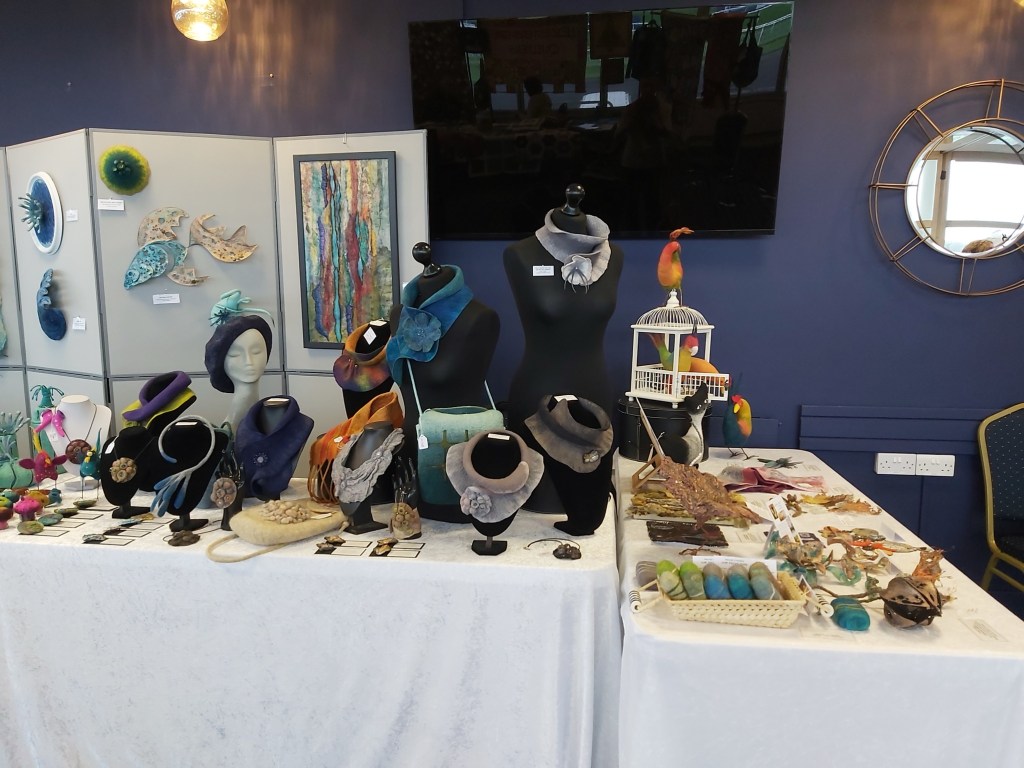
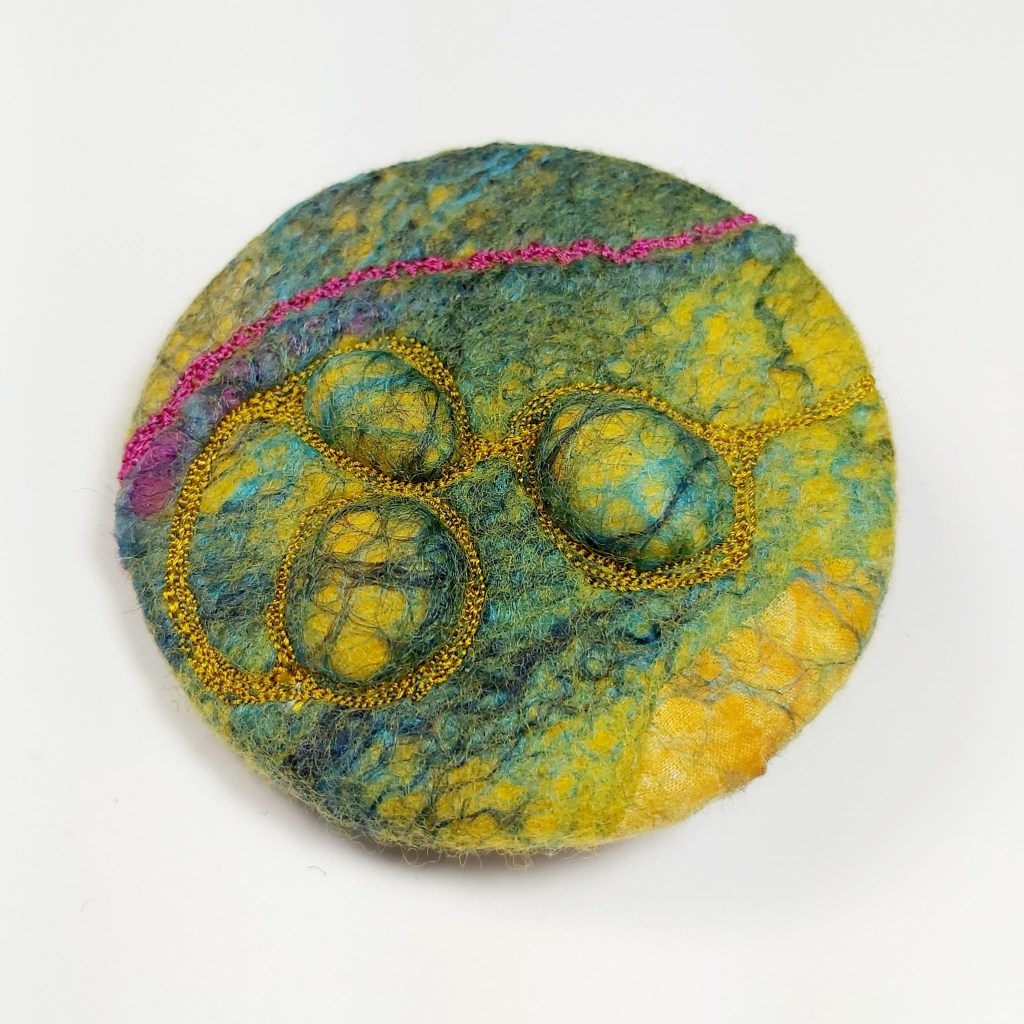
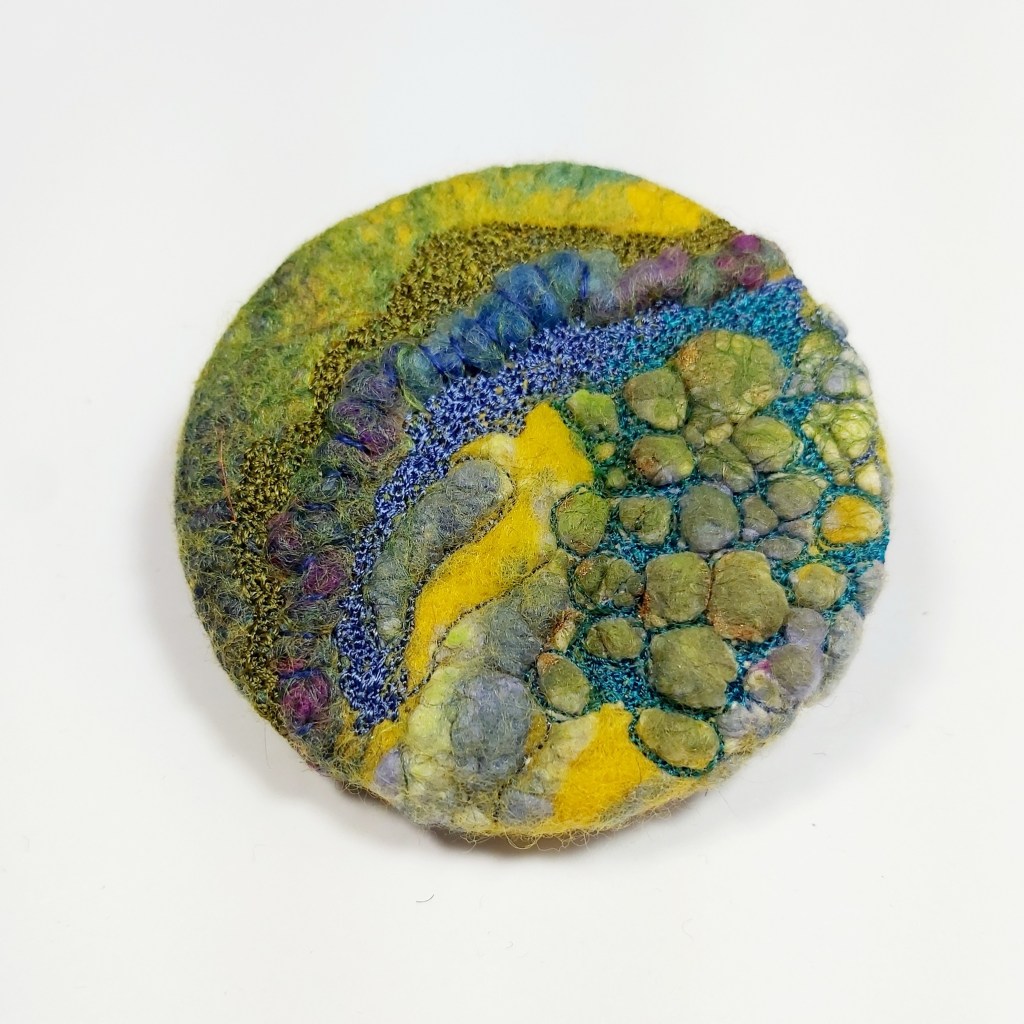
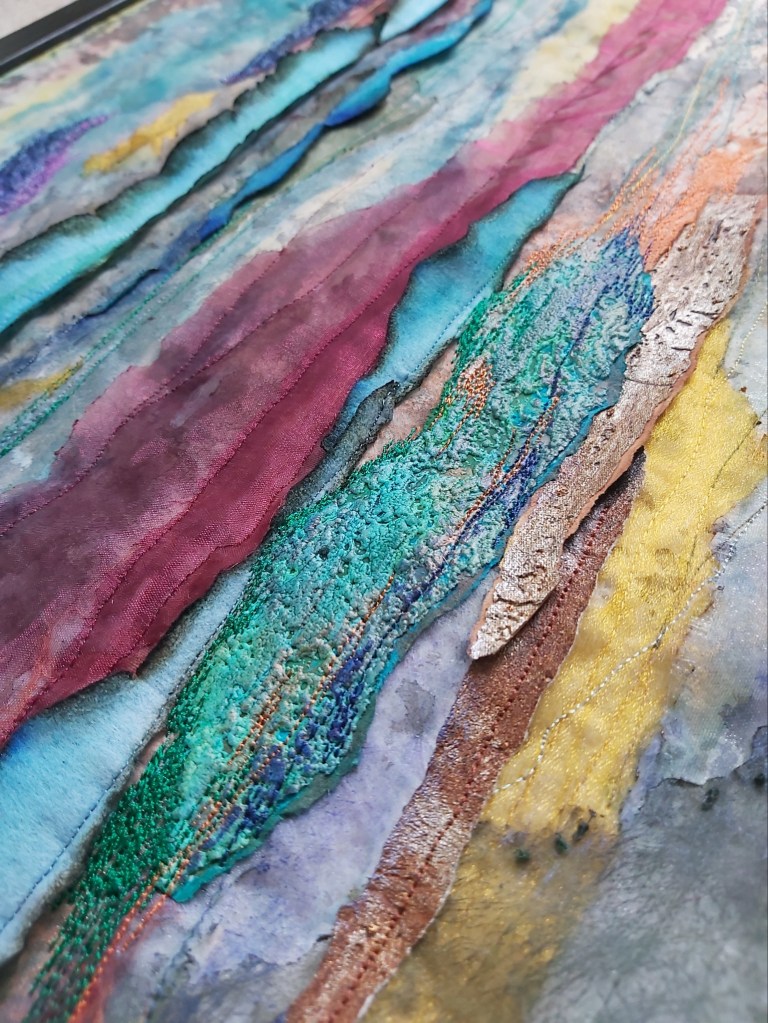
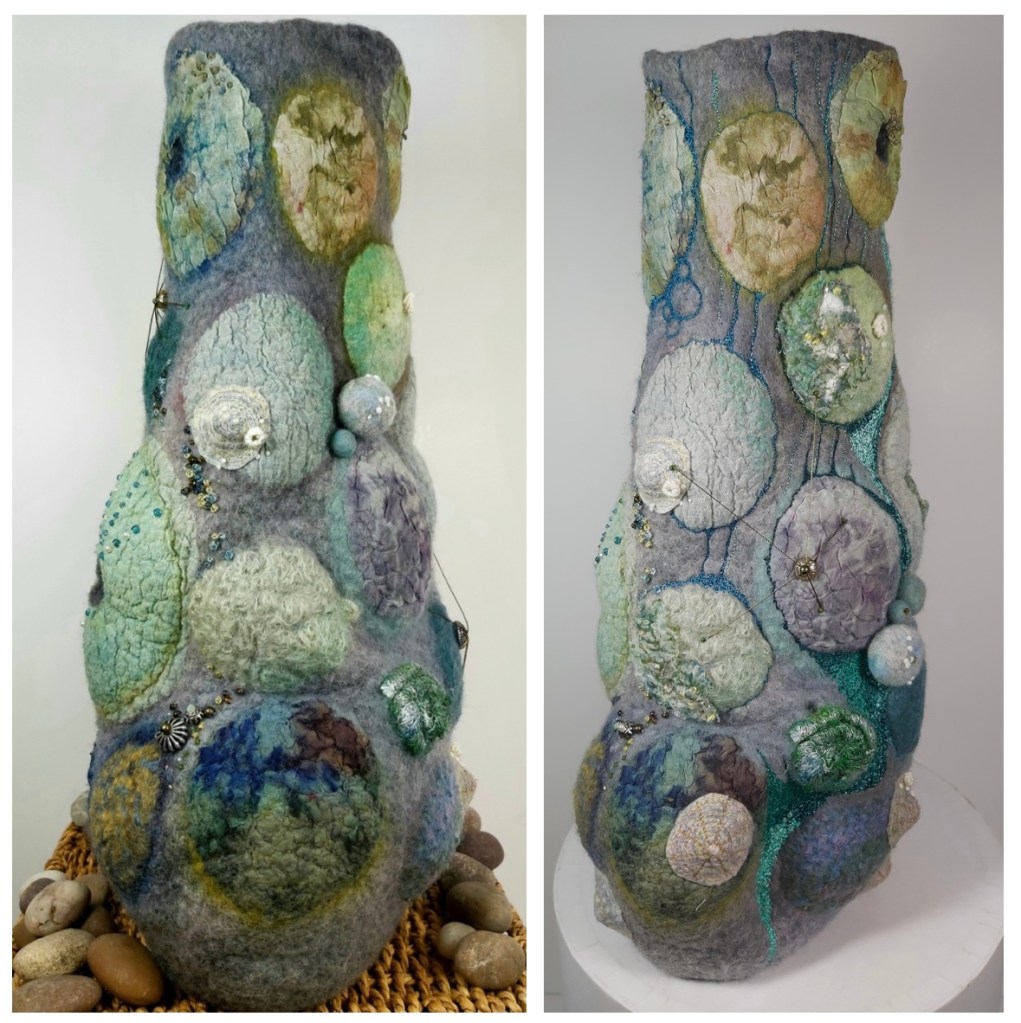
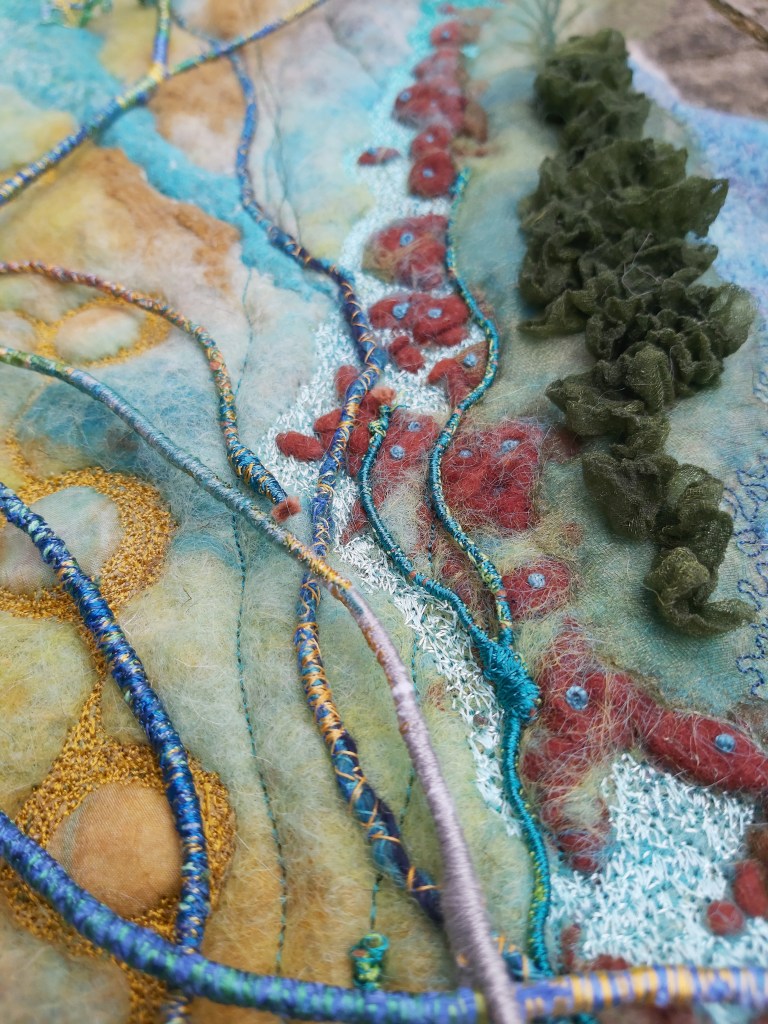
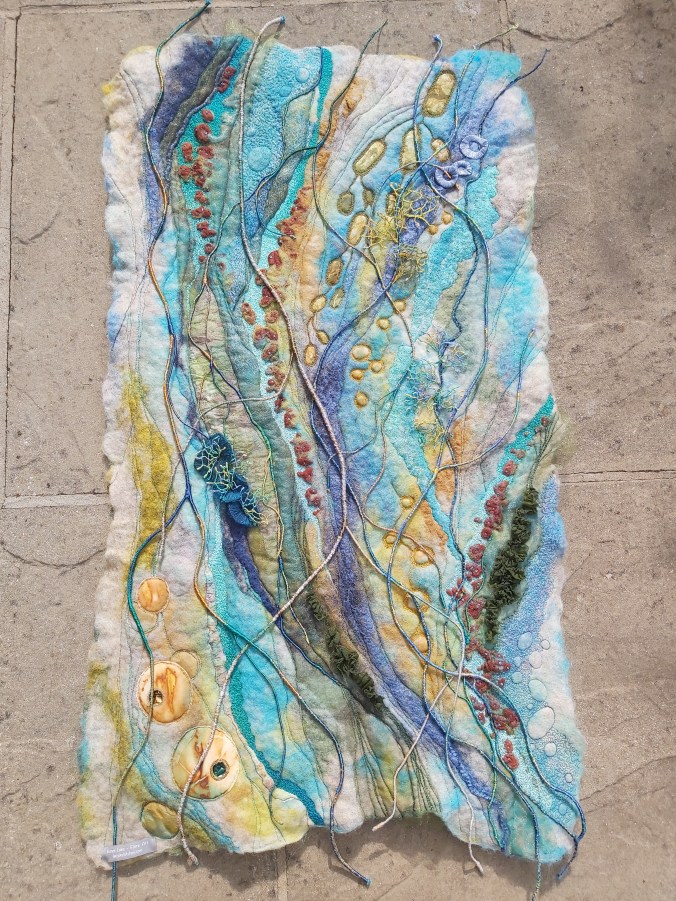
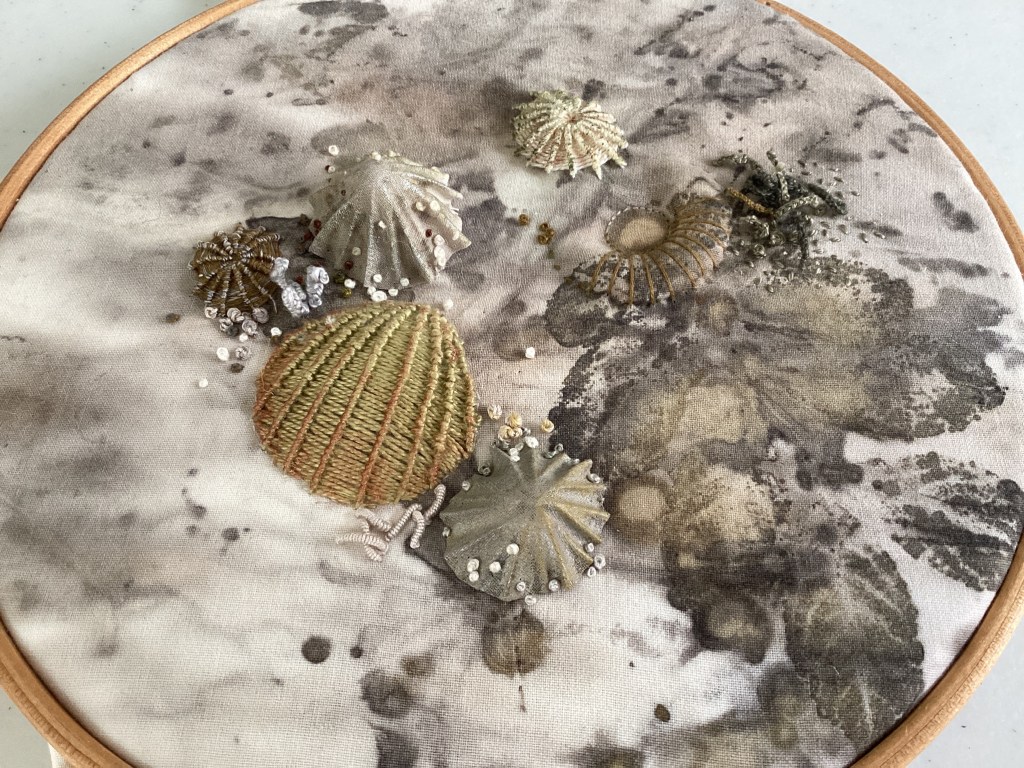
So back to the competition and there were two prizes up for grabs, the members vote and the Judges vote, the latter being chosen by that months visiting Textile Artist. There were lots of inspiring pieces on display and when the winners were announced the Members vote went to this beautiful mixed media piece by Pip Hind. It’s full of wonderful texture and colour and was a worthy winner, sadly this photo really doesn’t do it justice!

Next it was the turn of our speaker, visiting textile artist Anne Brooke, to make her choice. It seems Anne isn’t averse to insects and so I was pleasantly surprised when she announced my piece as her Judges choice! I’m glad I stuck at it and I’m hoping it will bring a smile to visitors faces when its exhibited next year. Like I said, it was a long time in the making but the great thing about a felt project, as with many textile projects, is that if your not happy with the result it simply means it isn’t finished!