Are you living in Lincolnshire? Do you enjoy quilting and fancy a challenge? If you can answer yes to both these questions you might like to join the ladies in LINQS (Lincolnshire Quilters) and create a quilt inspired by any work of David Hockney’s, past or present. Quilts can be made by an individual or a group and the work can feature any technique or style, including traditional.
The criteria we have to adhere to is…..
1. To be a quilt it must have 3 layers
2. The size must be either 30″x40″ or 30cm x 40cm portrait or landscape. If you want to make a larger size quilt you can hang several smaller ones together.
3. No matter what style we use we must be able to link the finished piece back to DH’s work.
For more information or to register your interest click here.
I didn’t really know Hockney’s work before signing up for the challenge but, after talking to one of the members of LINQS, I took a ride up to Salts Mill to see it for myself. Salts Mill is in Saltaire, West Yorkshire, a few miles from Bradford and it houses a permanent display of Hockney’s work. It also has a terrific book shop and a restaurant serving delicious food on the top floor.
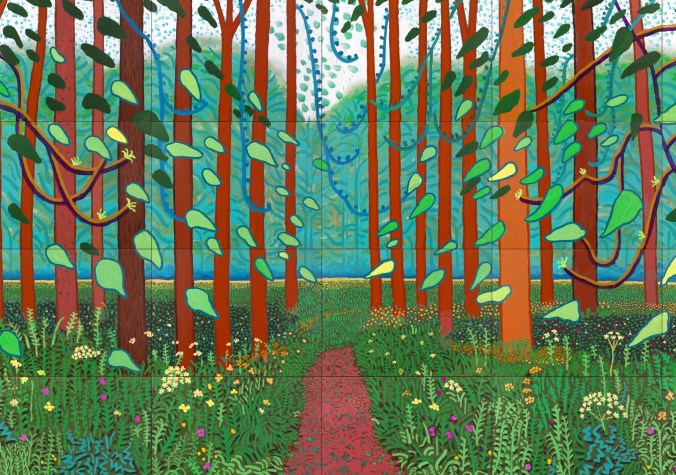
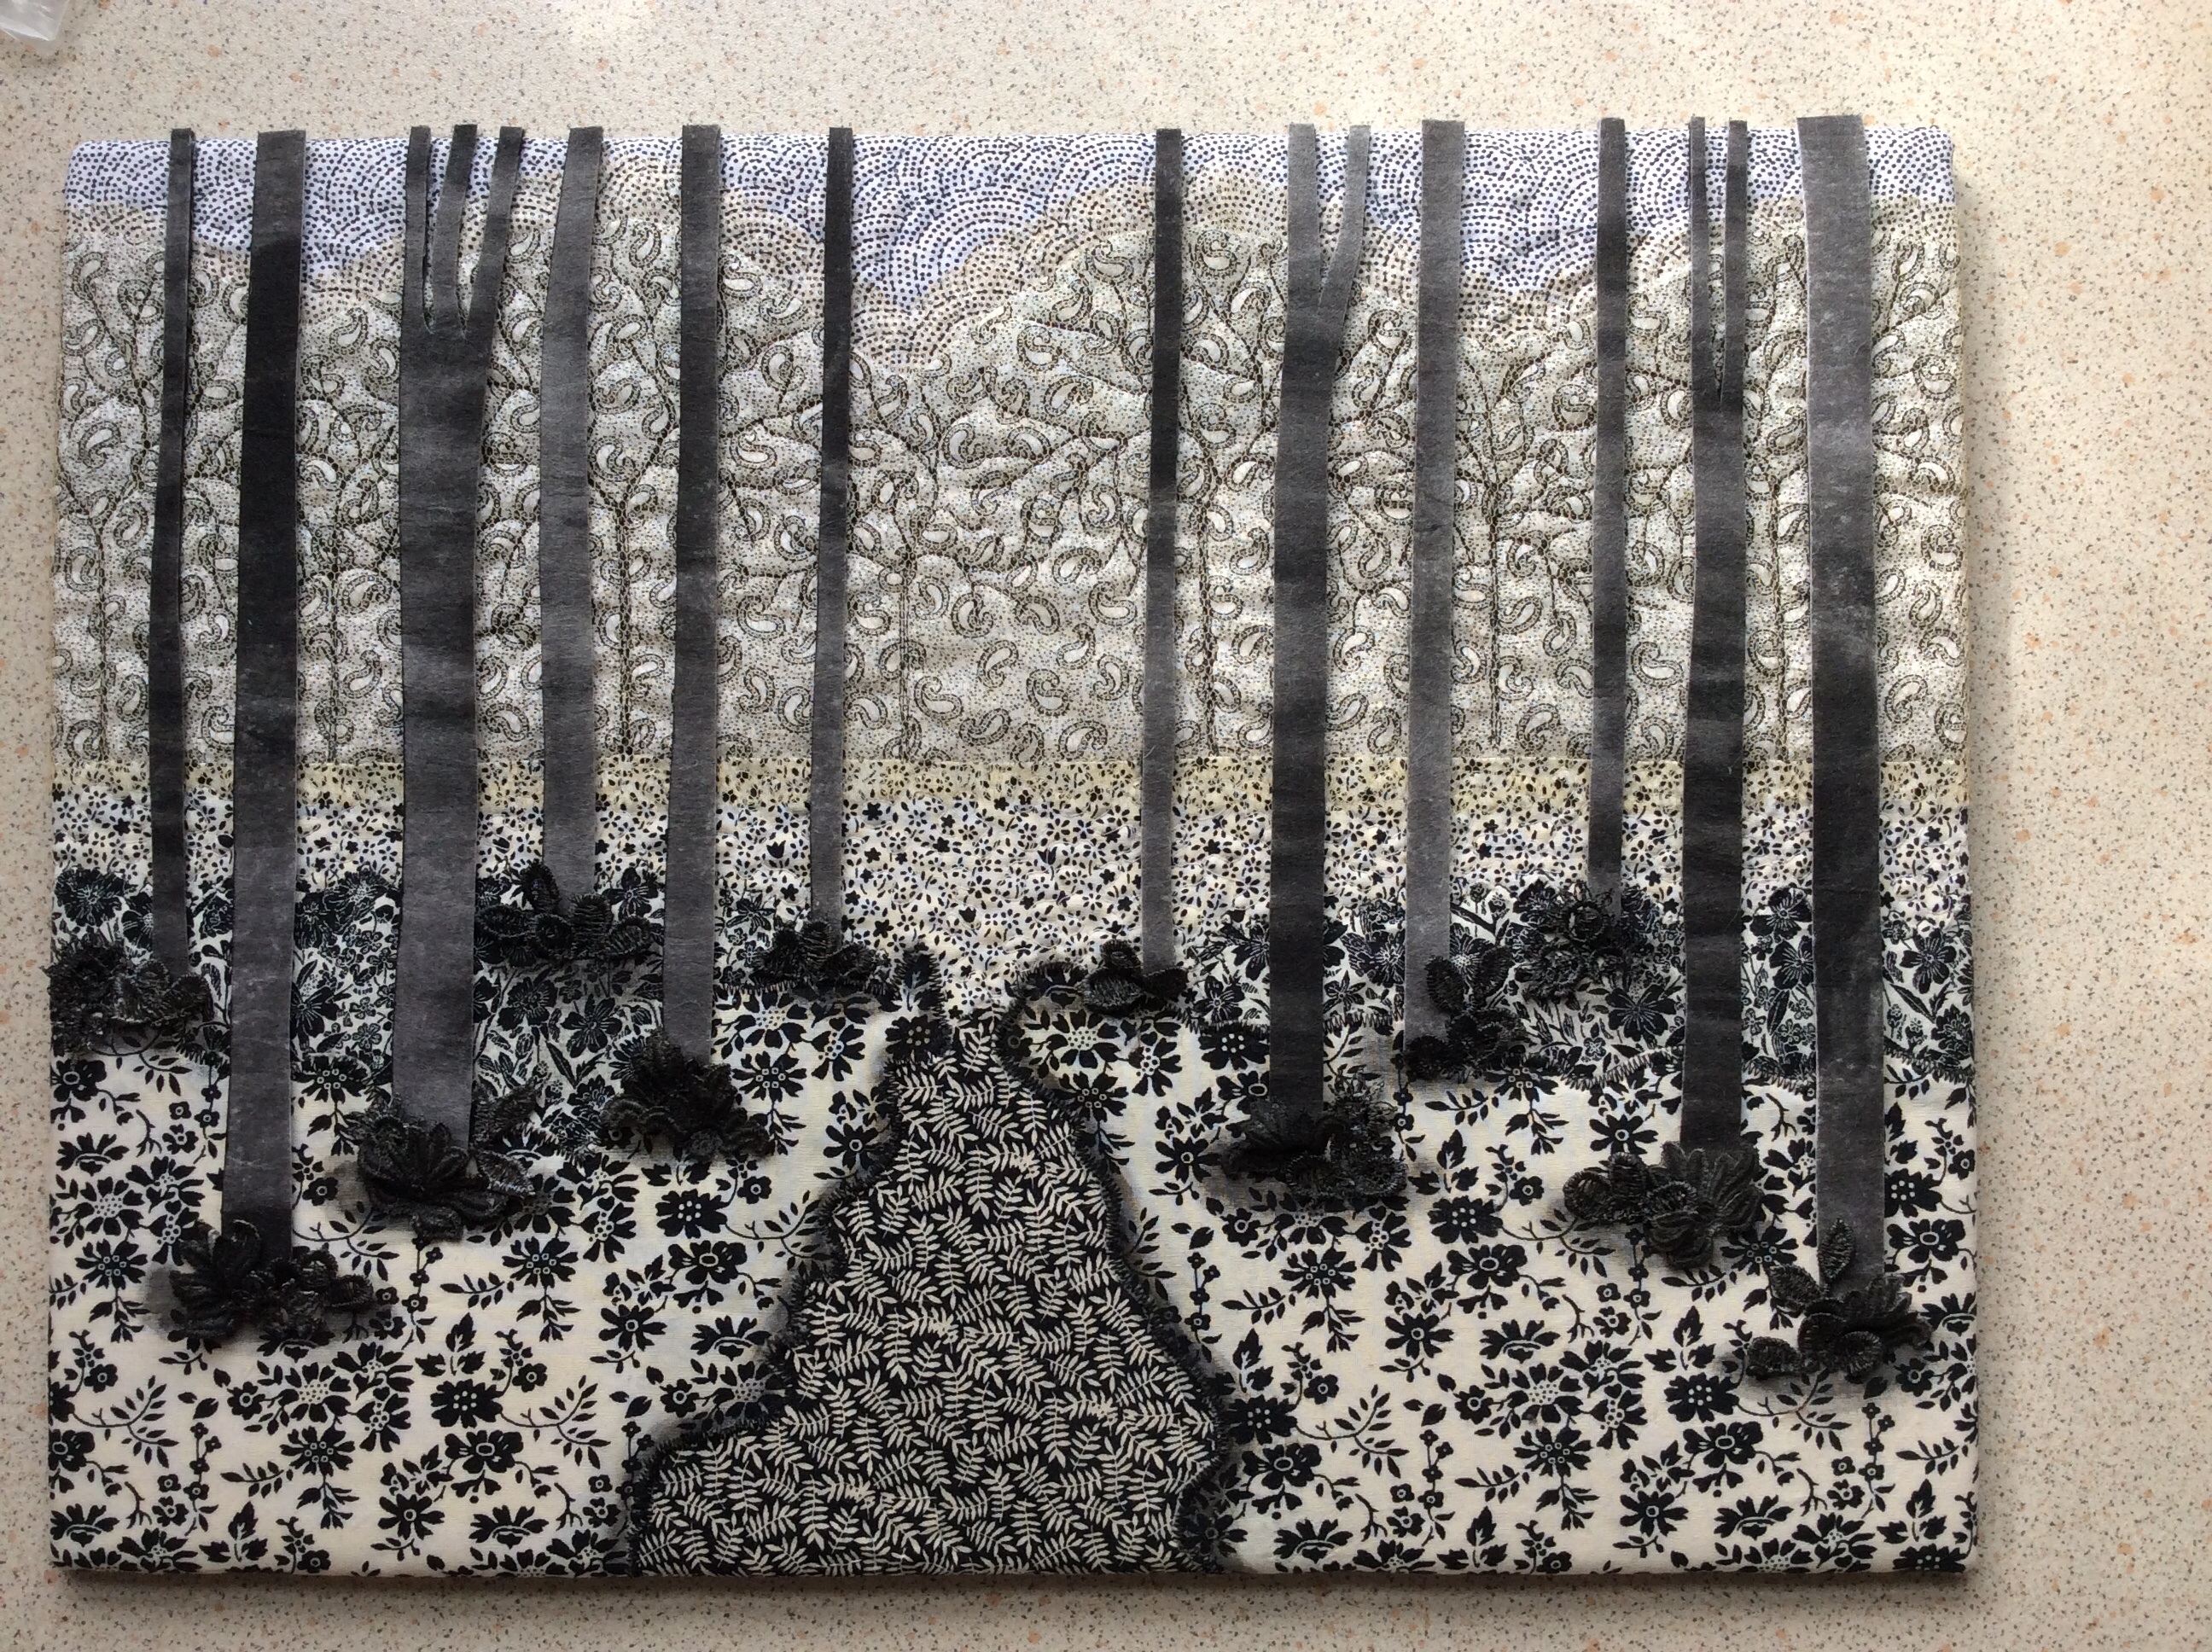
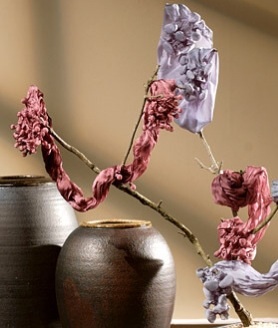
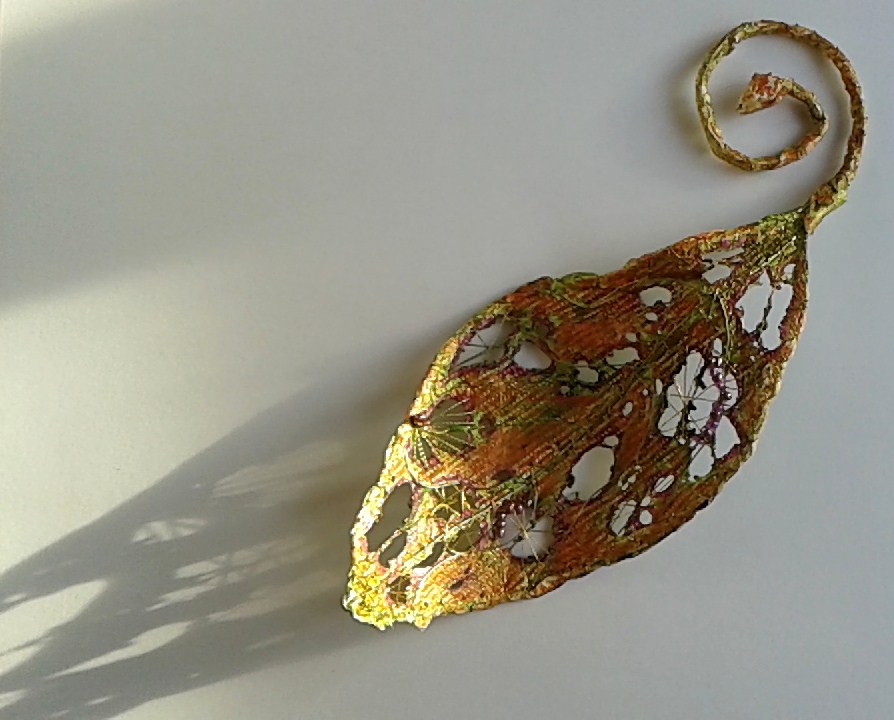
The Arrival of Spring in Woldgate

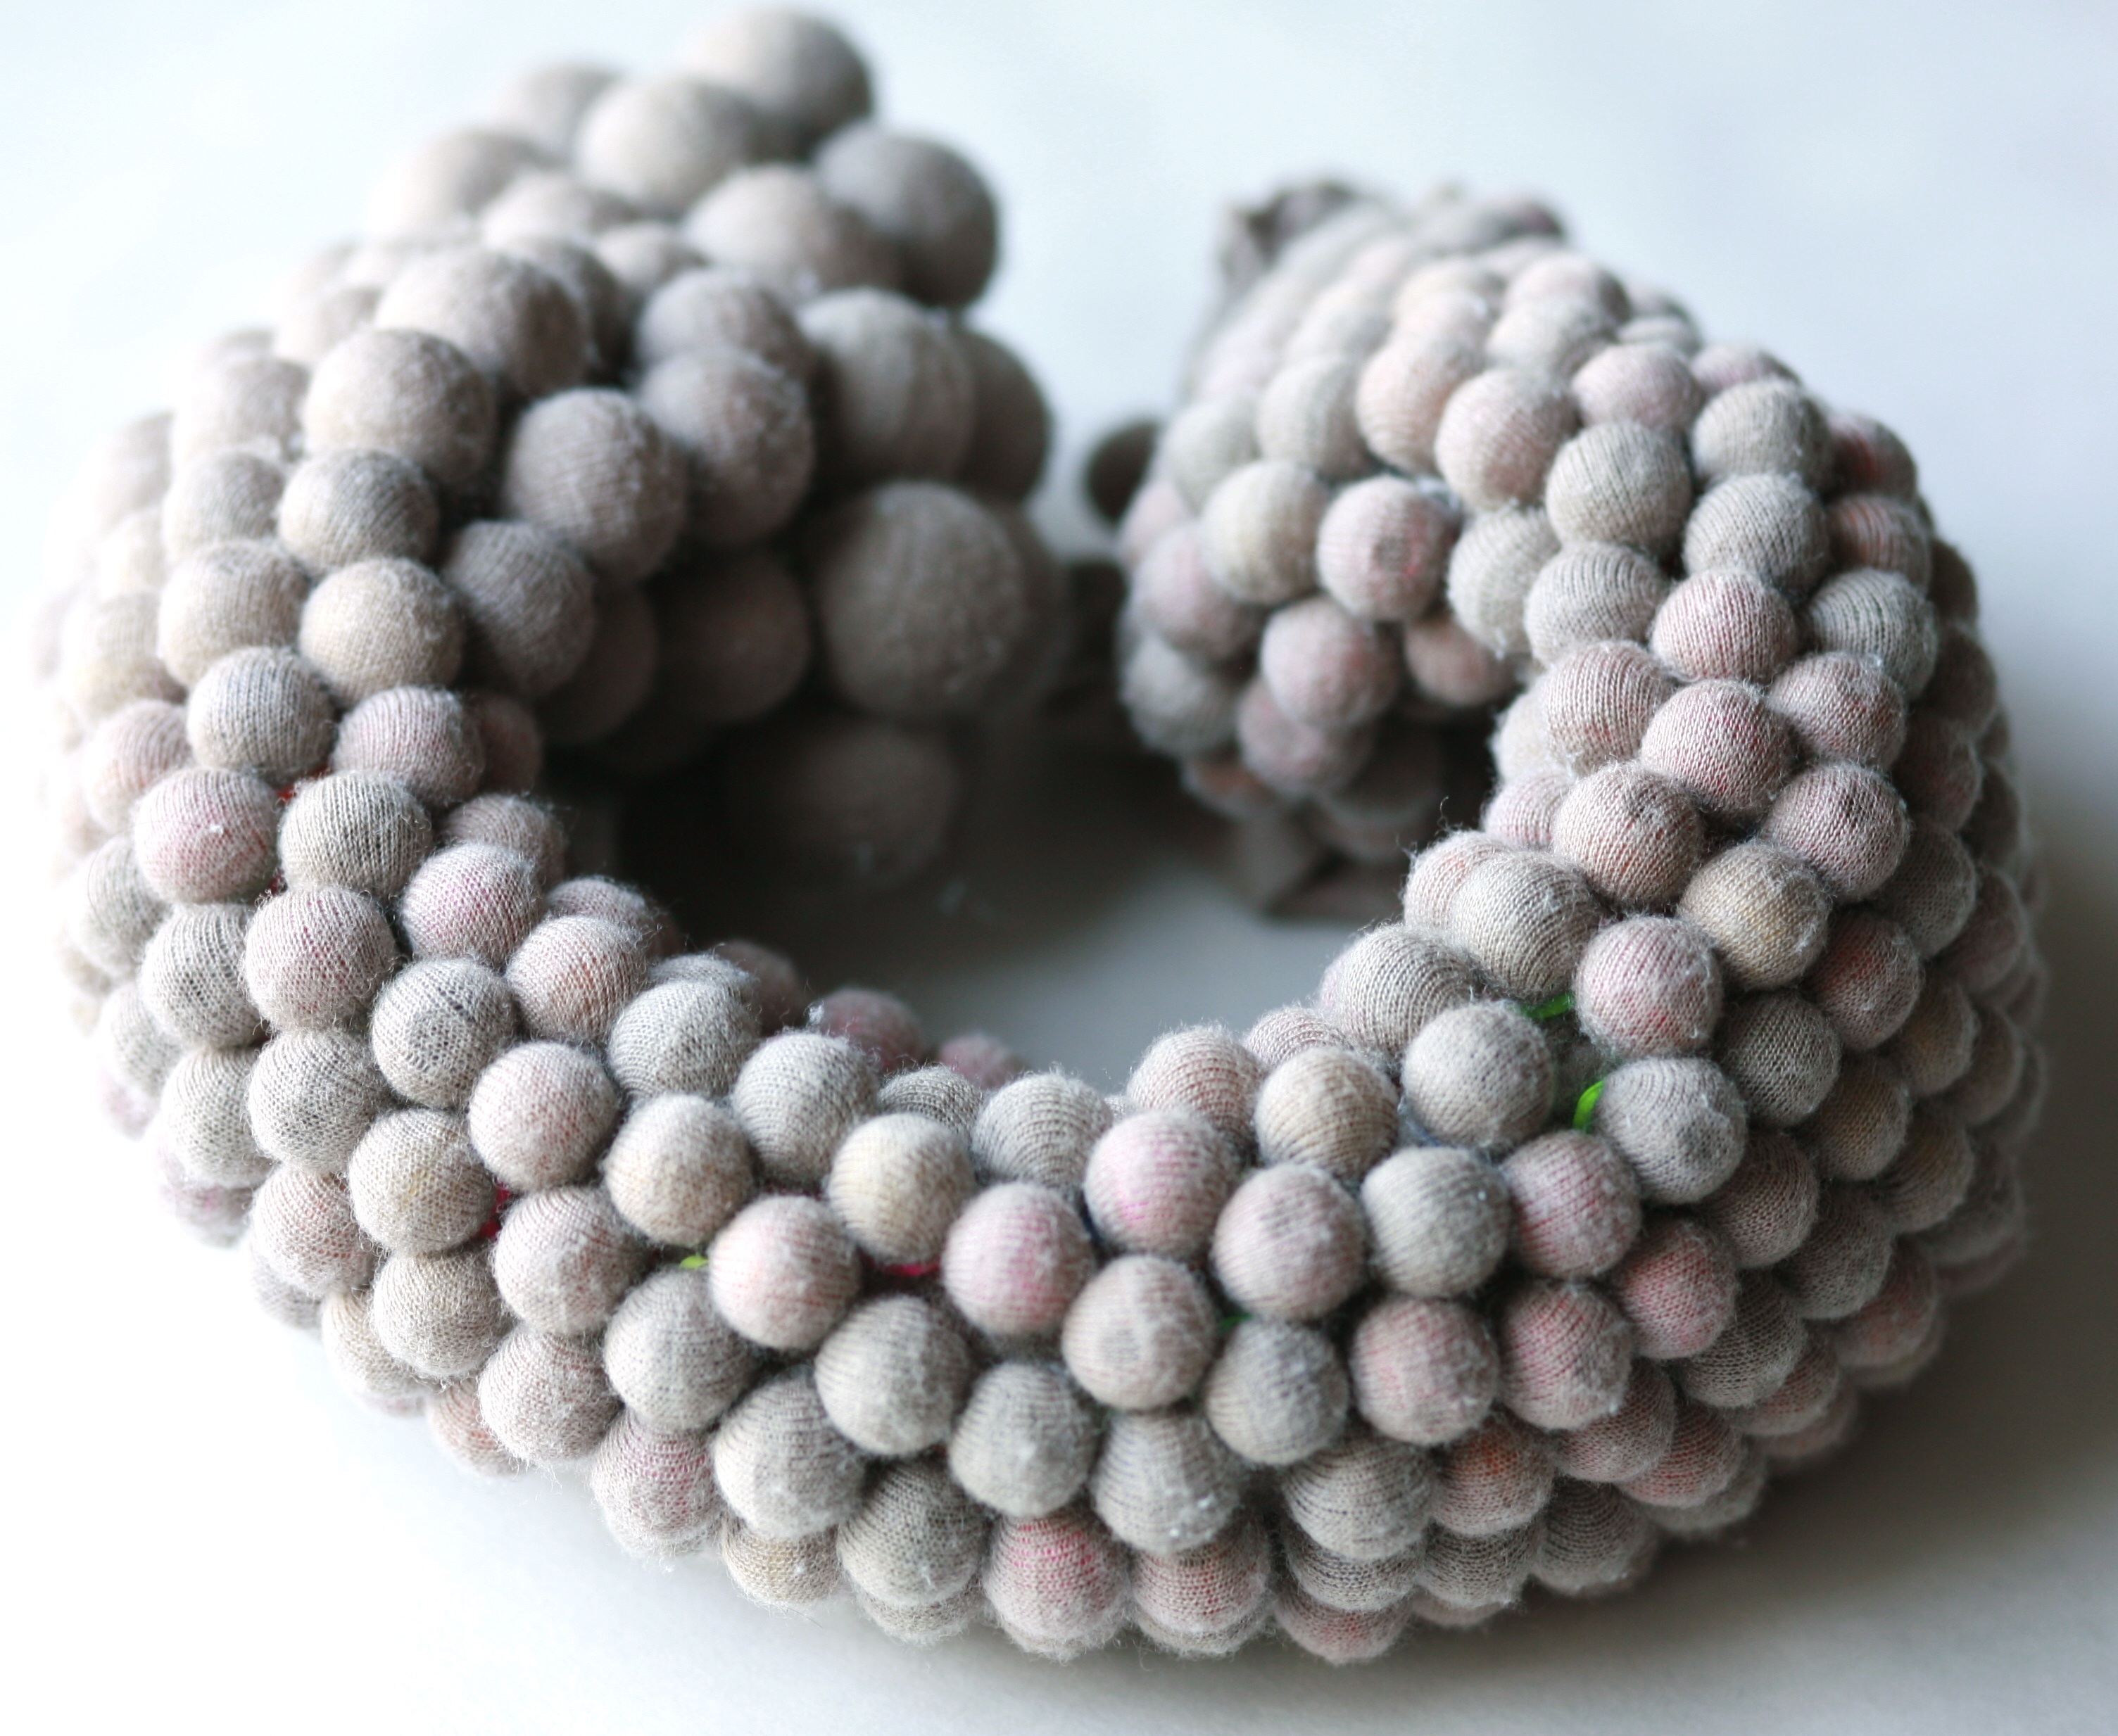
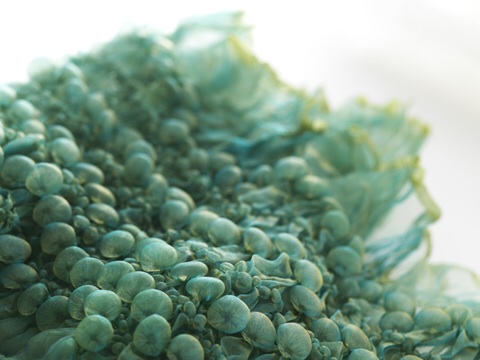
Background of my monotone quilt.

Trees are added to stand away from the background.
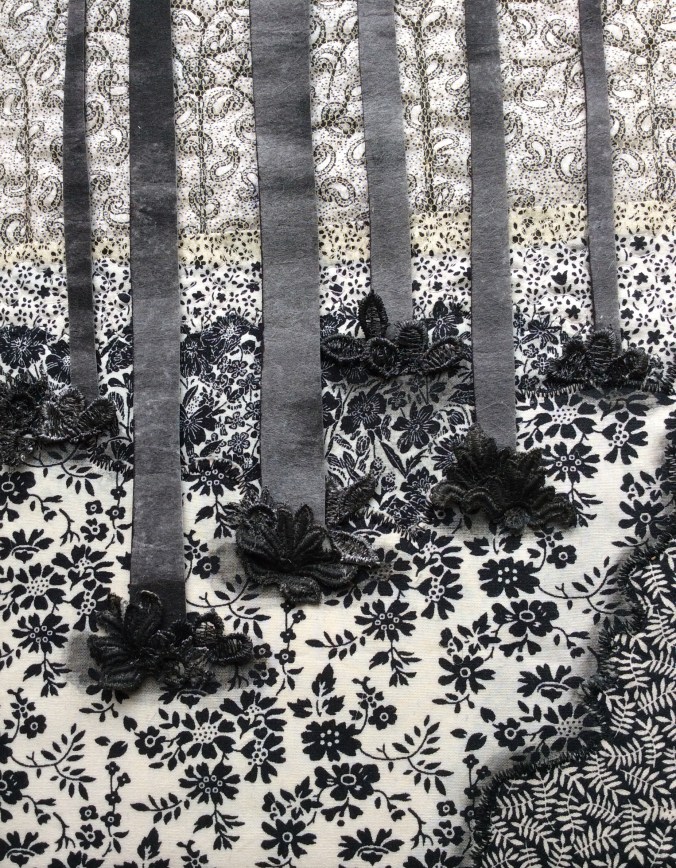
Detail of foliage at base of trees.
I’ve started work on two ‘mini size, quilts, the first is based on The Arrival of Spring in Woldgate. I decided to strip it back to a monotone colour scheme and started off in a fairly traditional way using machine and hand stitching on the background. I wanted the trees to stand out so I used black acrylic paint on vilene, backed with black felt and attached them with my glue gun. The foliage at the base of the trees was cut from a piece of lace which has also been painted with acrylic. I’m not sure how I am going to finish this one…..do I add the large leaves and the vines? I’ll sleep on it a bit longer before deciding my next step.
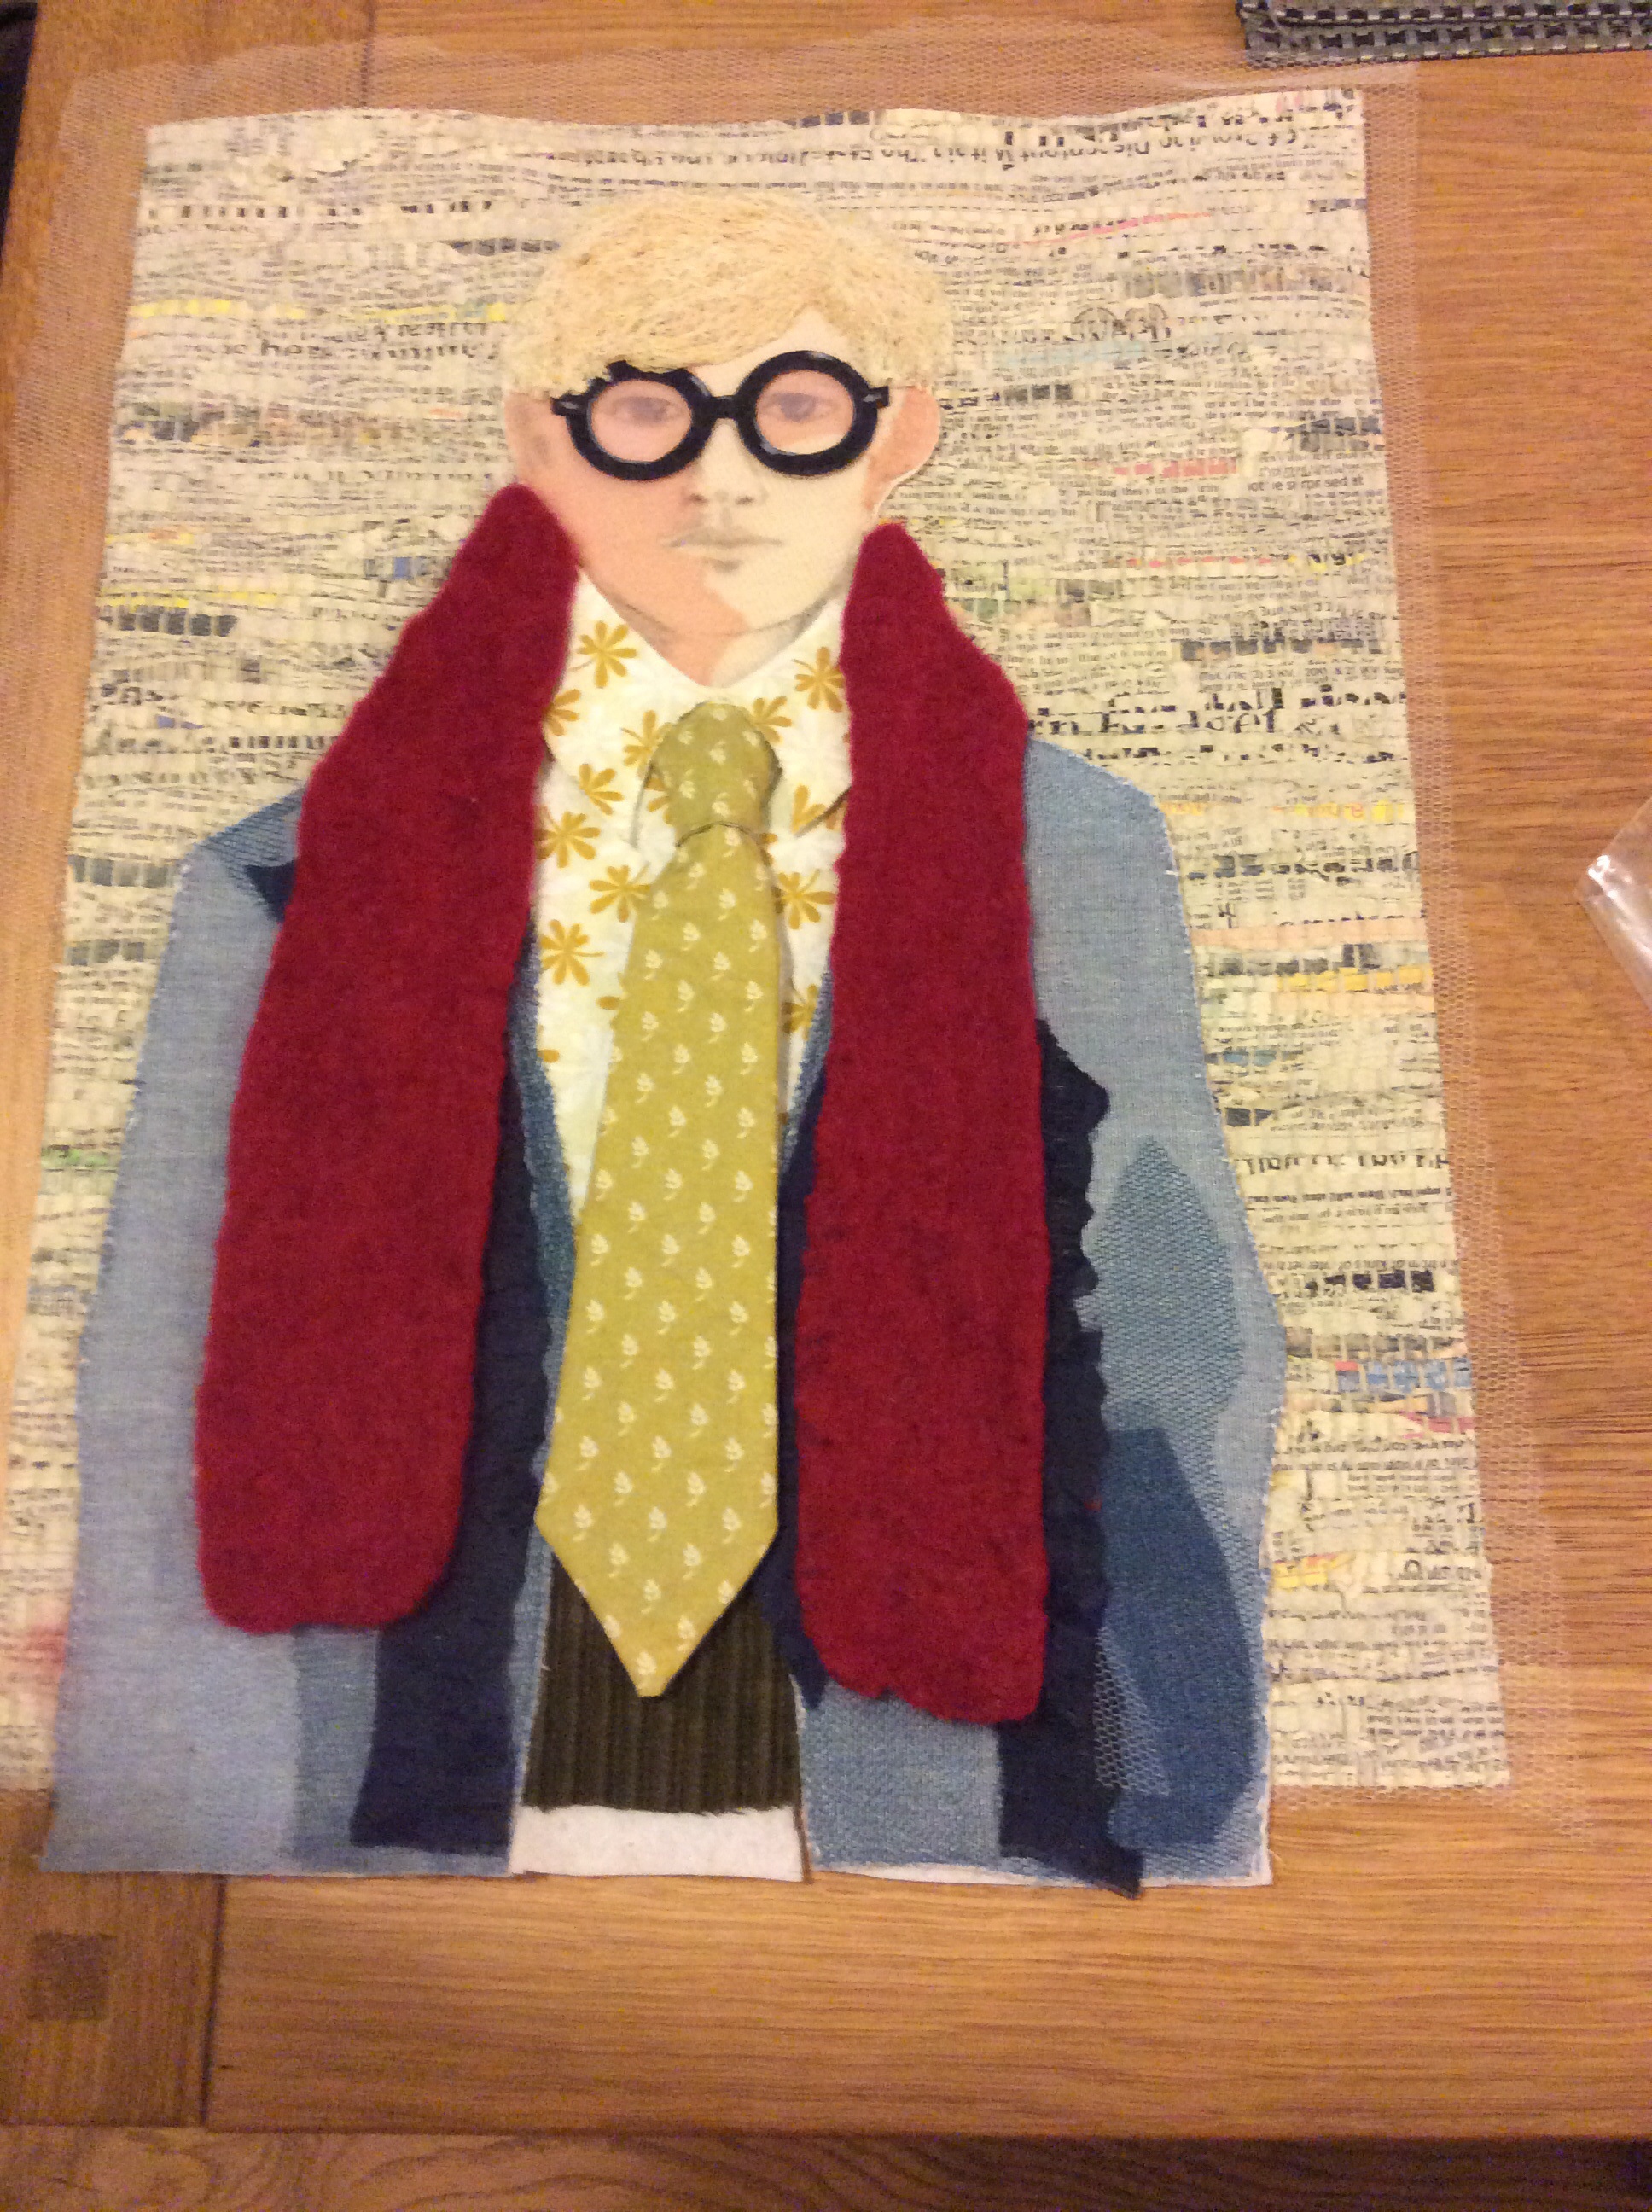
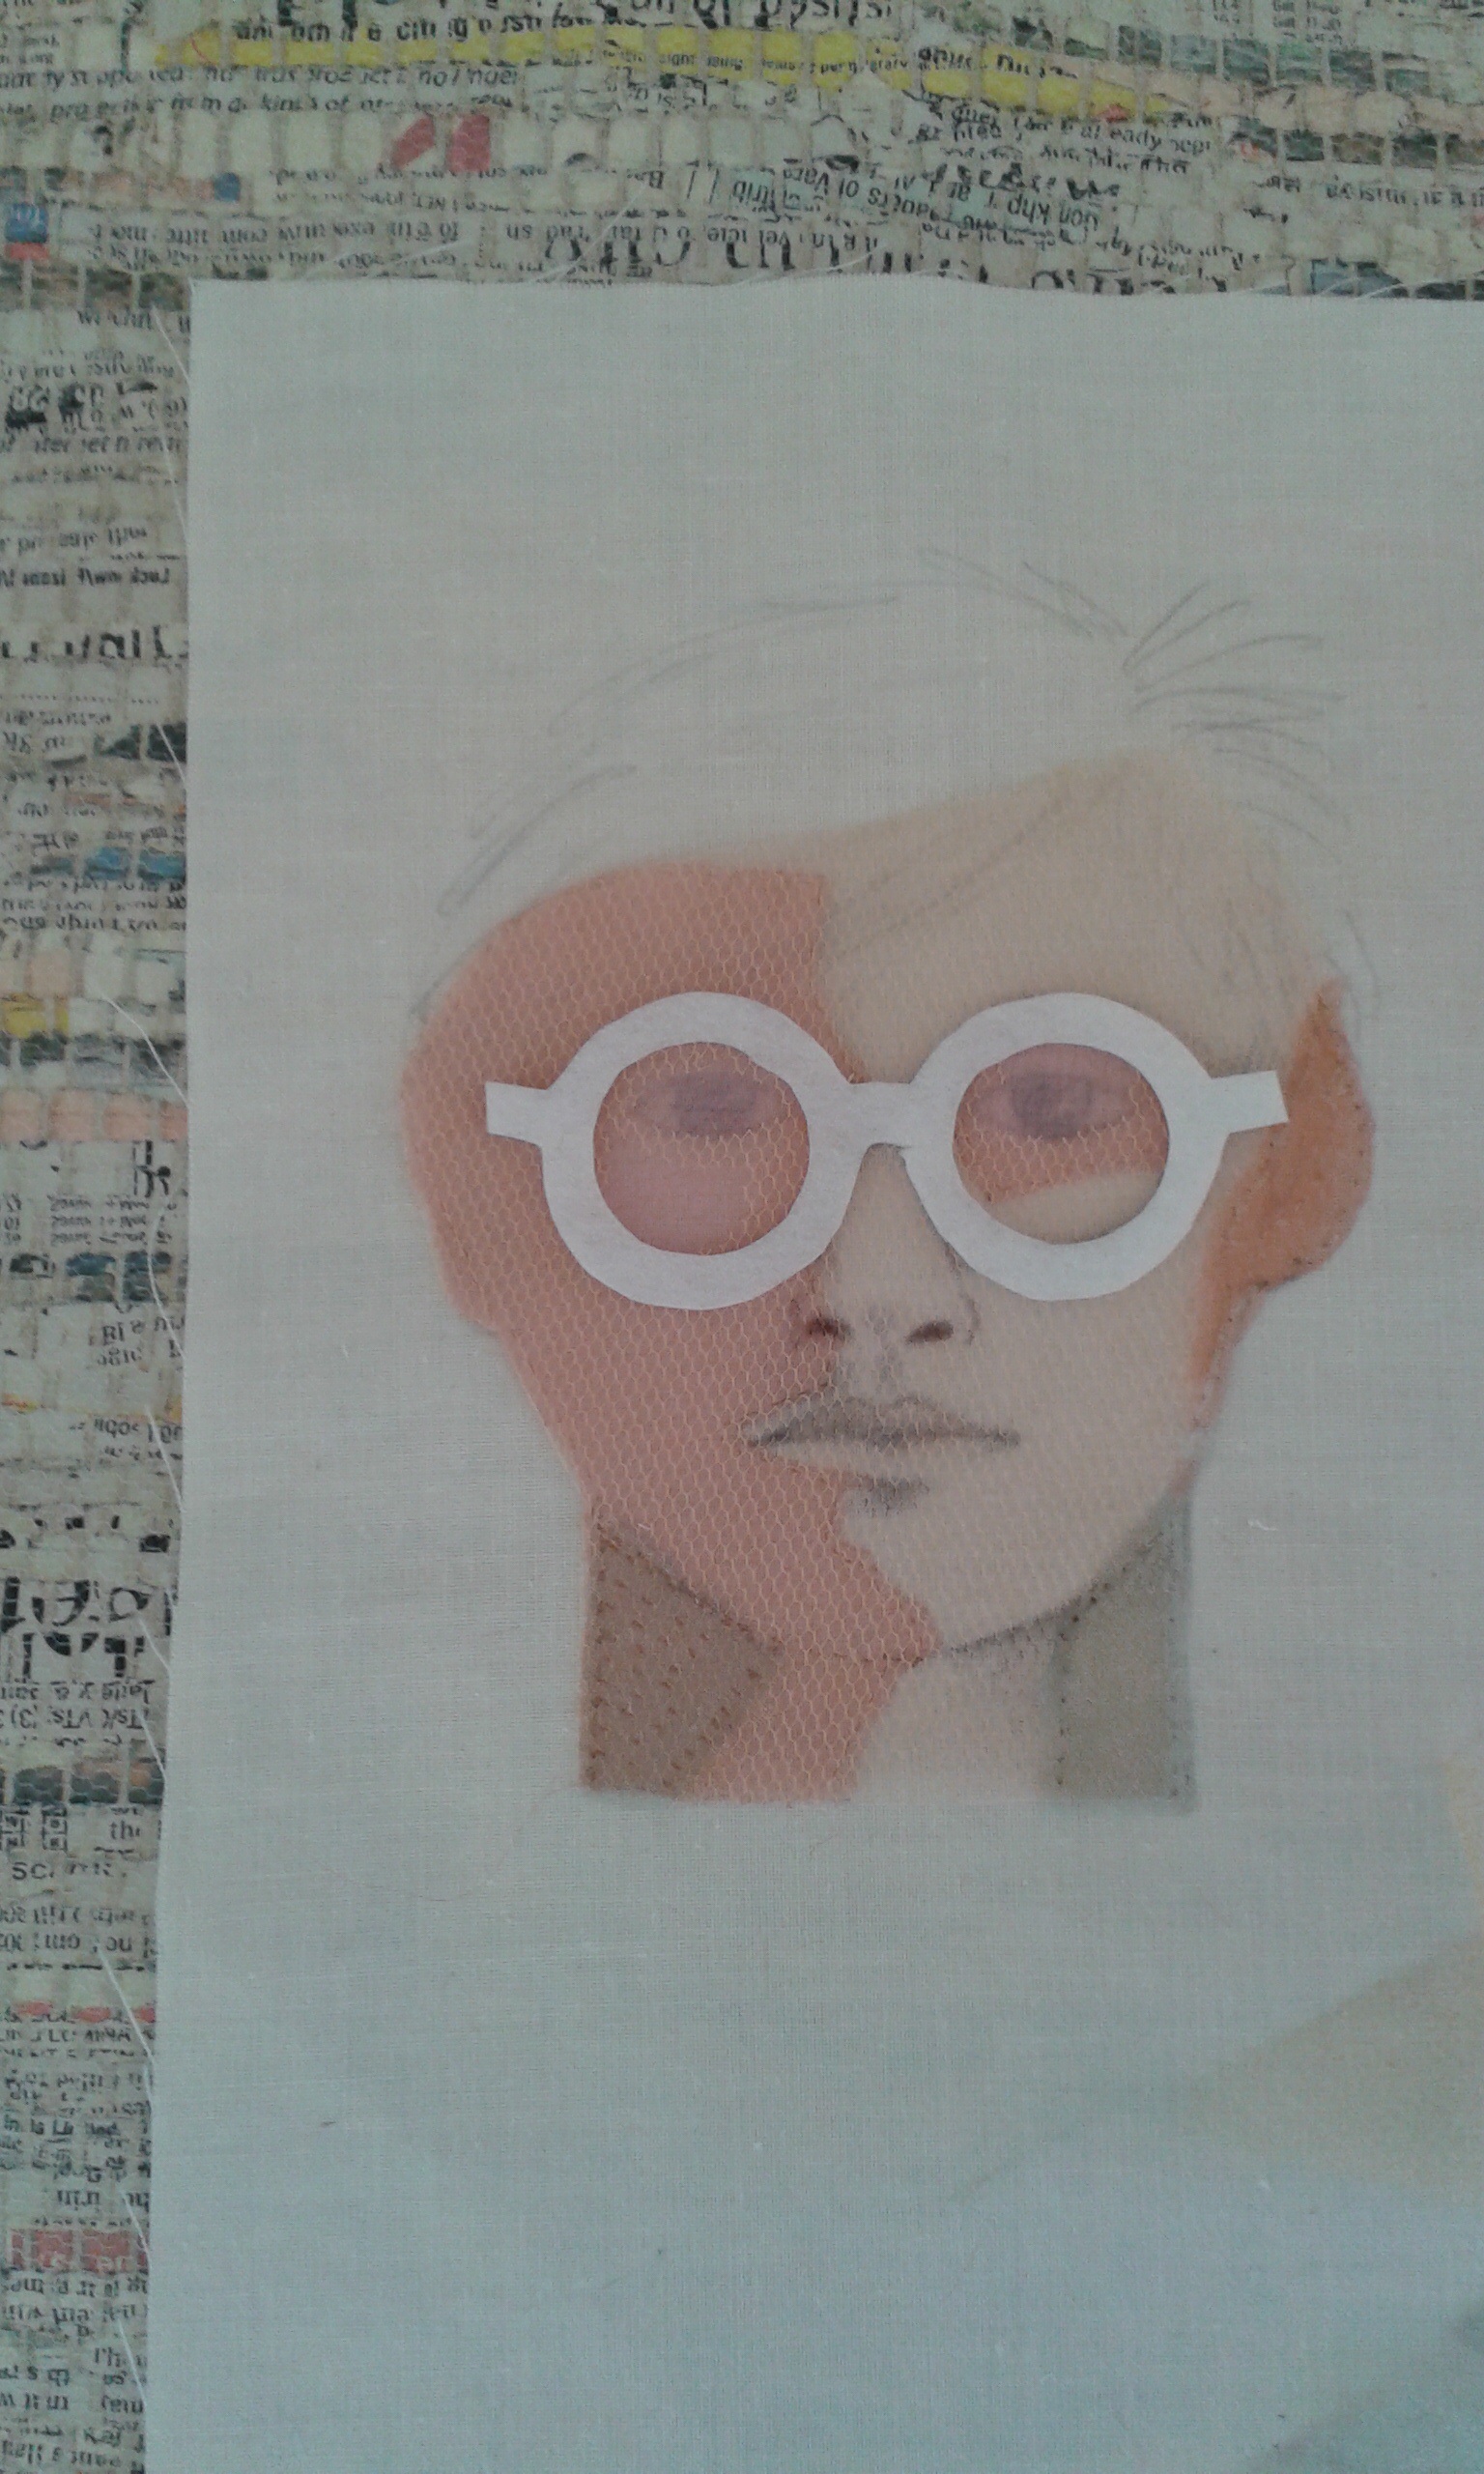
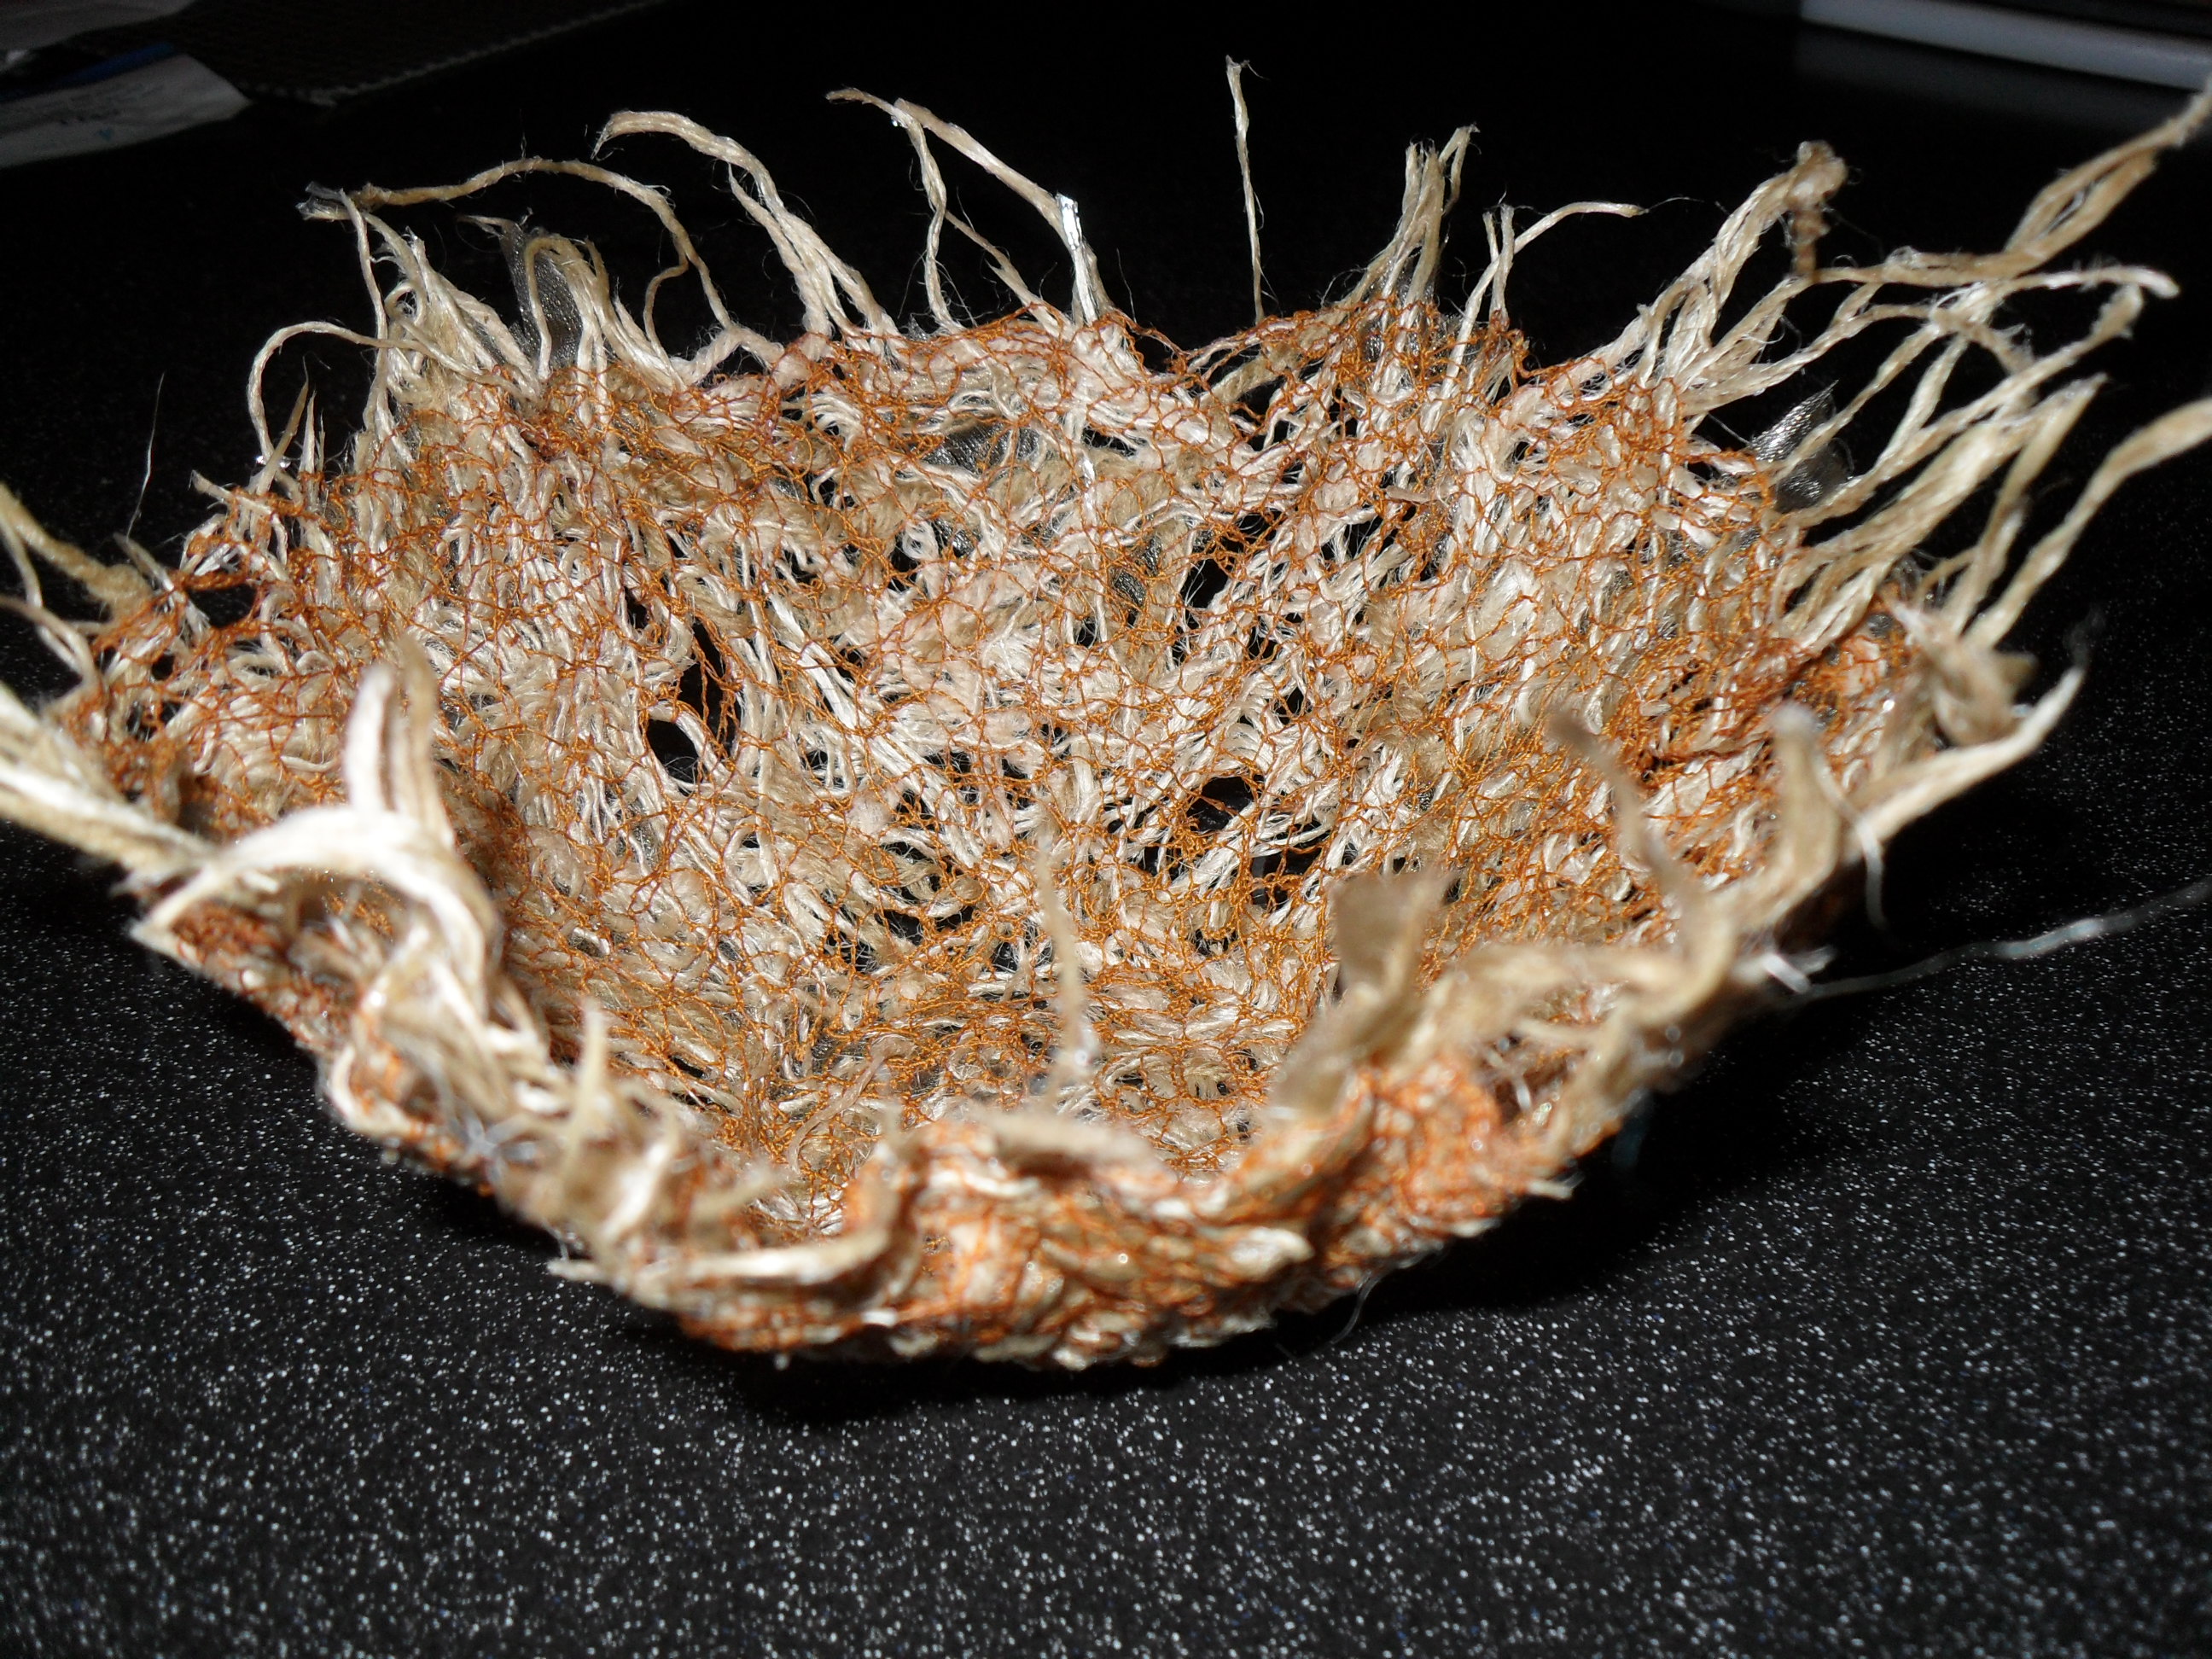
The second piece I’m doing is based on Hockney’s early self portrait collage. This is going to be a mixed media quilt using paper, paint and fabric. The background is the ‘Newsprint’ wallpaper from my last post. I have stuck it onto cream netting using PVA. Once it was dry I turned it over, soaked it with water and gently rubbed the backing paper off until the image was showing through. This has created a nice thin layer which I can quilt at a later stage.
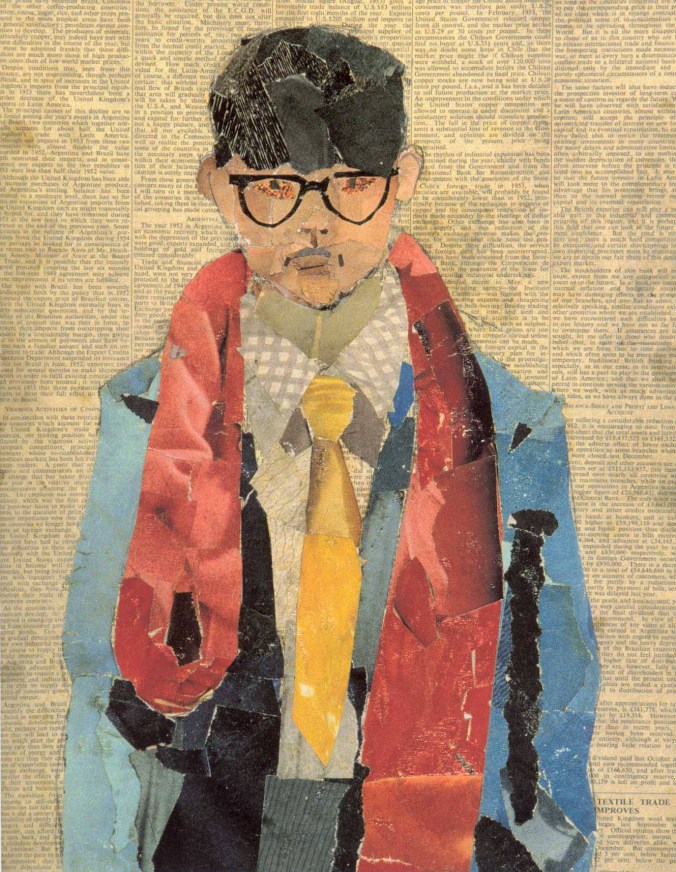
Hockney 1954 Self Portrait
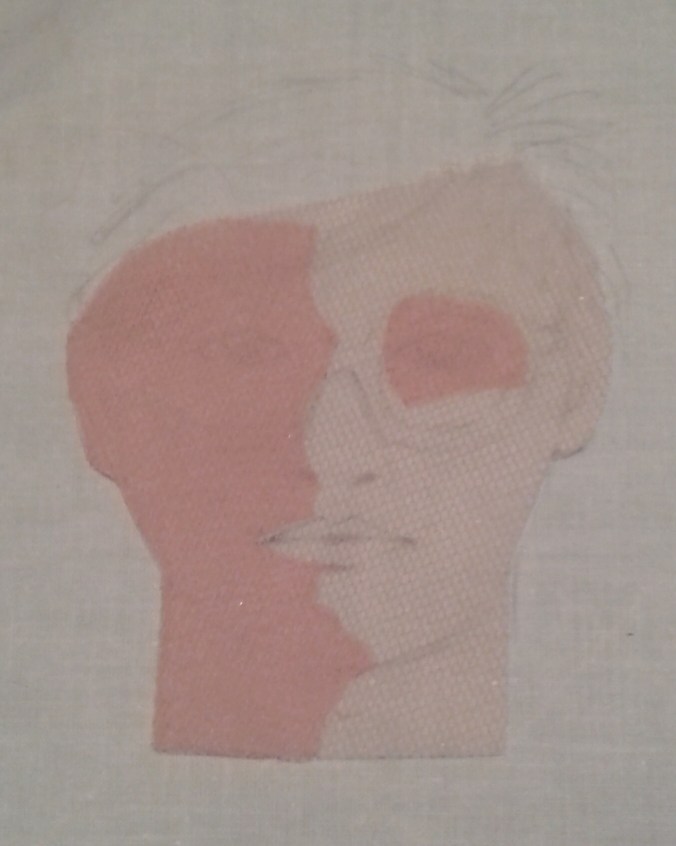
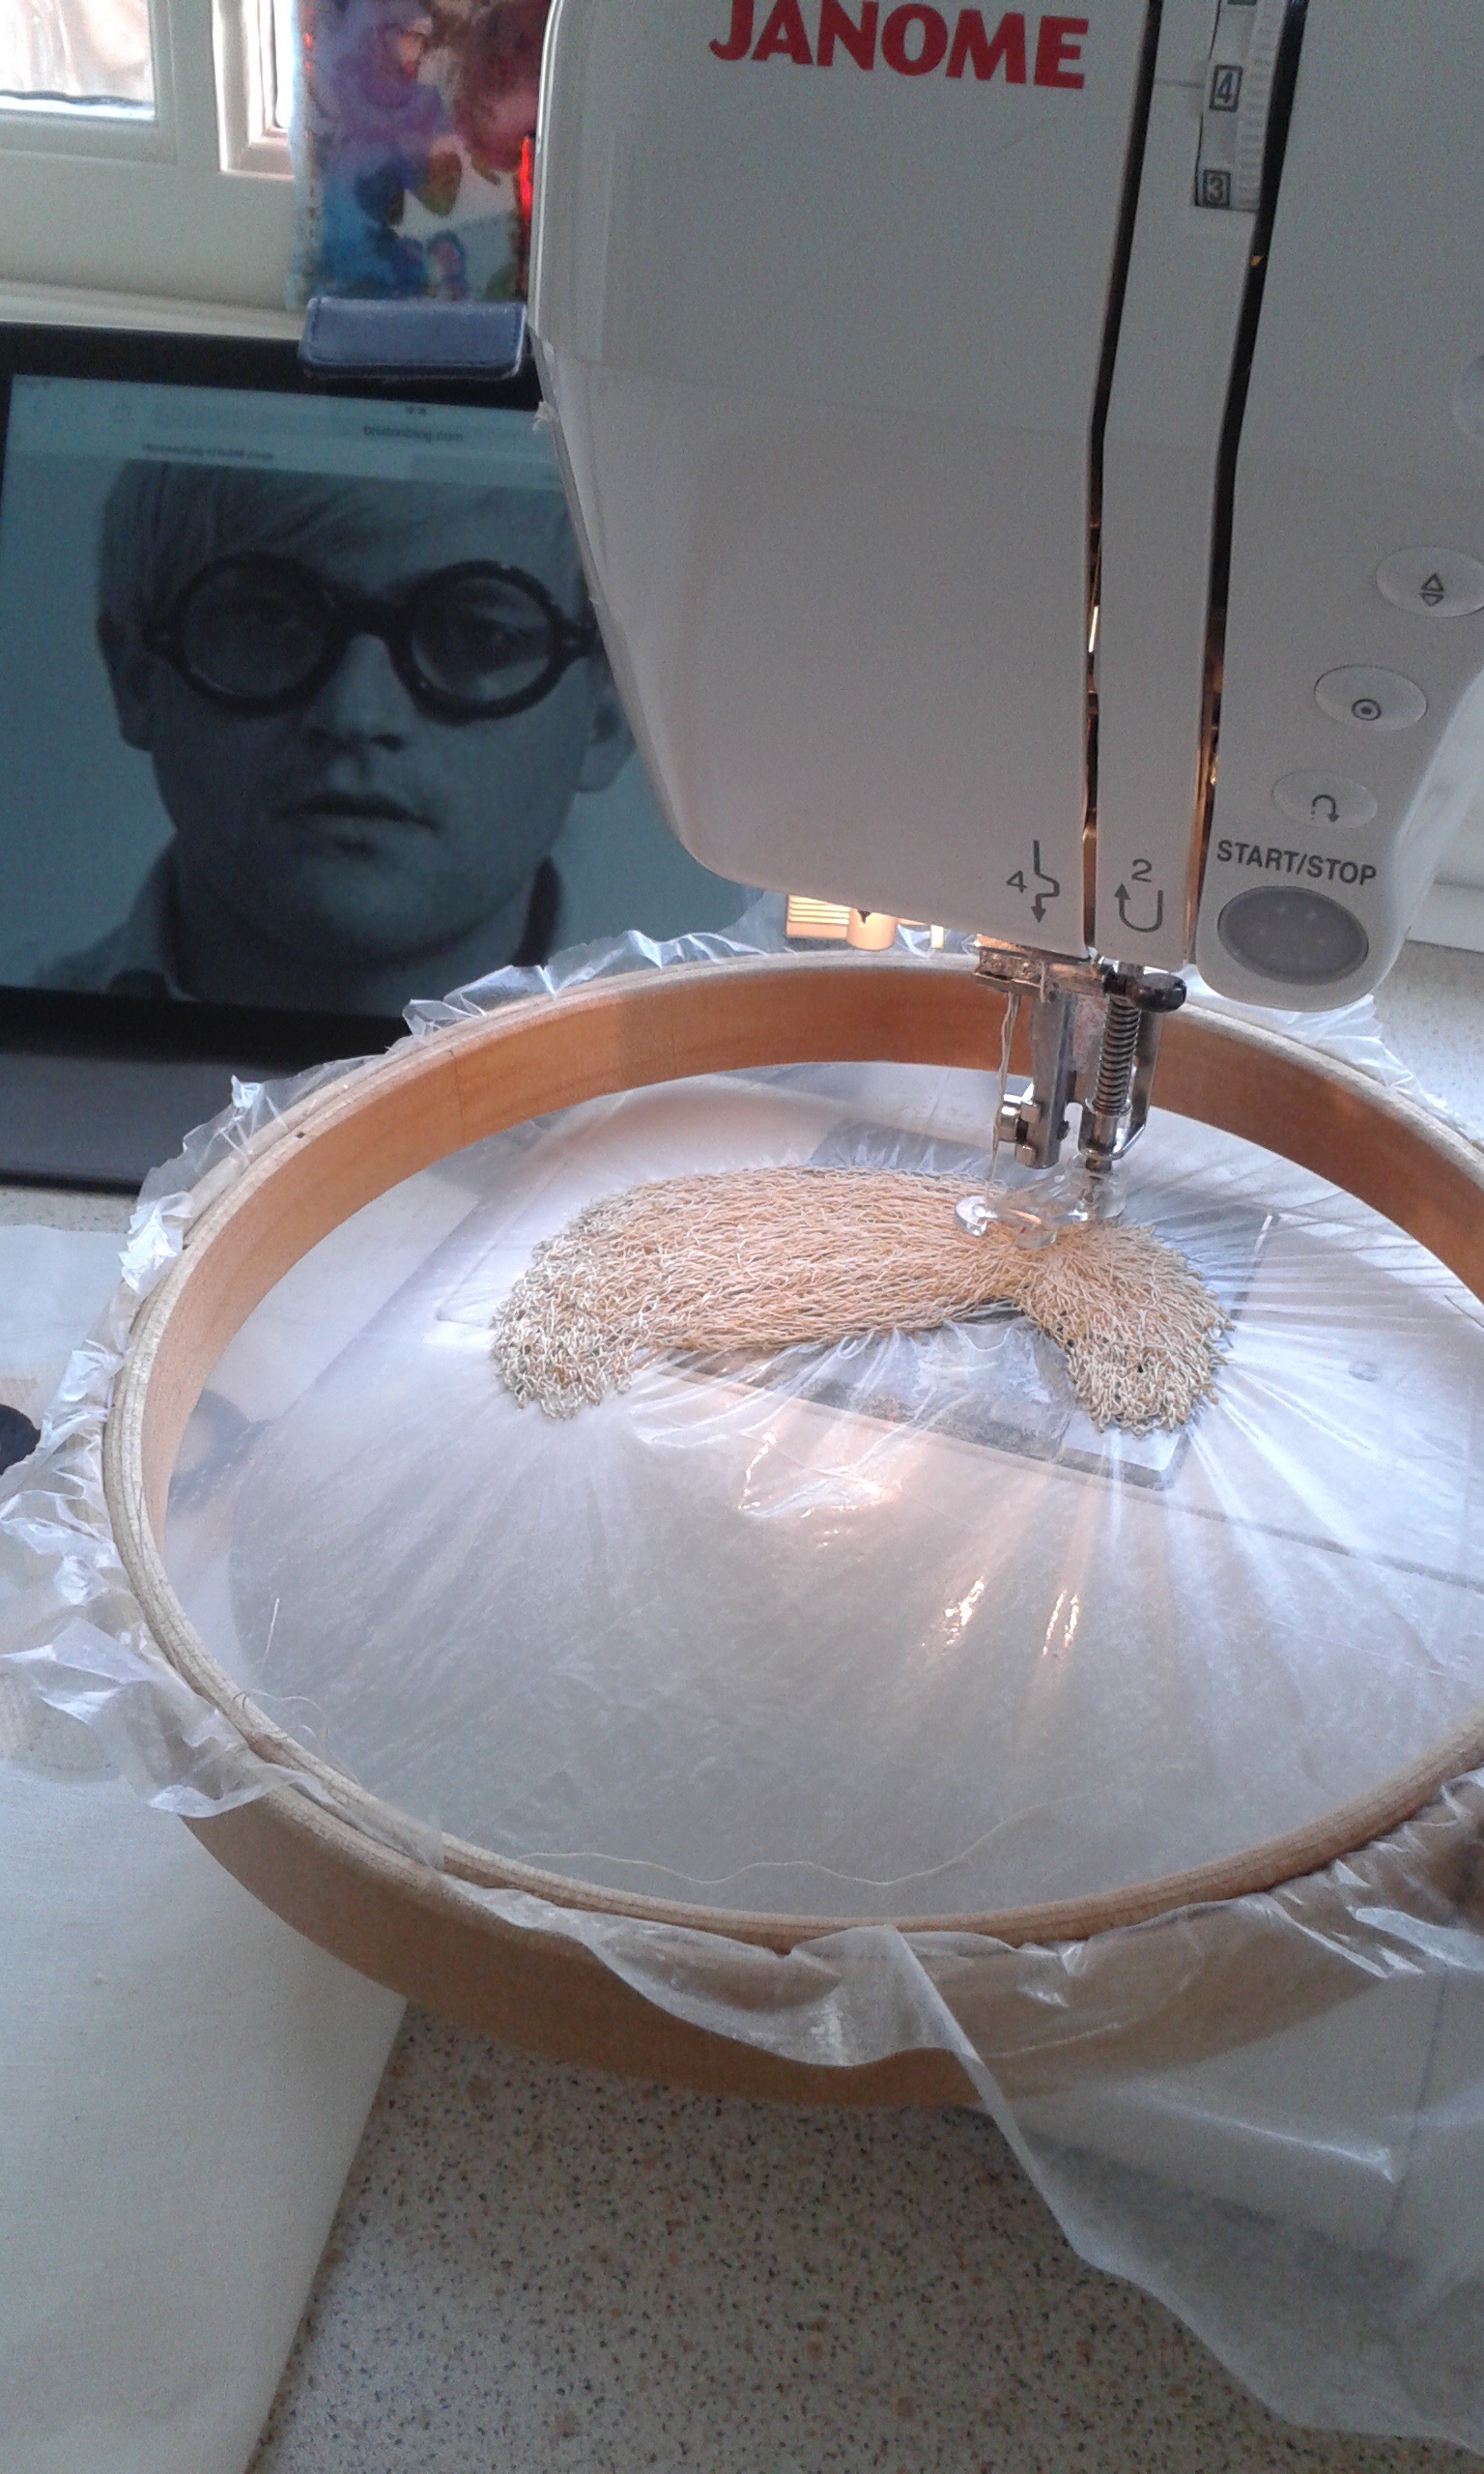
Starting work on Hockney’s face.
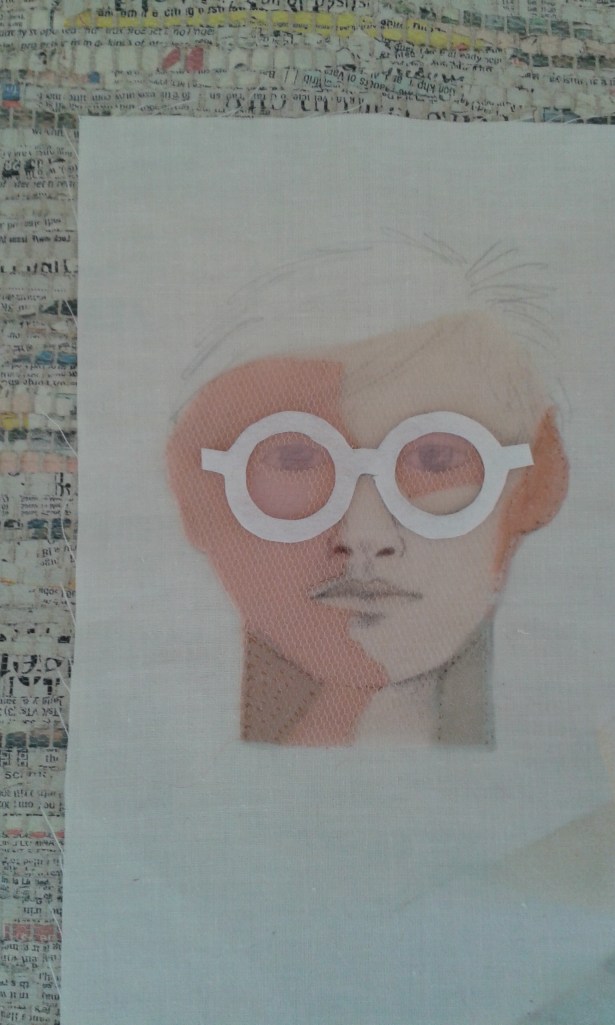
More shading added to the face….the glasses are tried on for positioning.
Rather than copying Hockney’s 1954 self portrait I have chosen to show him as he styled himself in the 60’s with his trademark dyed blond hair and thick black round specs. After drawing the features onto cotton fabric I am trying a new (to me) technique for colouring the face, using a soldering iron to fuse layers of organza. I got the idea after buying the Margaret Beal book New Ideas in Fusing Fabric. The work in this book is so inspirational I had to buy the iron and have a go! I’m hoping to get some more of this quilt done this week so will post an update when I do.